

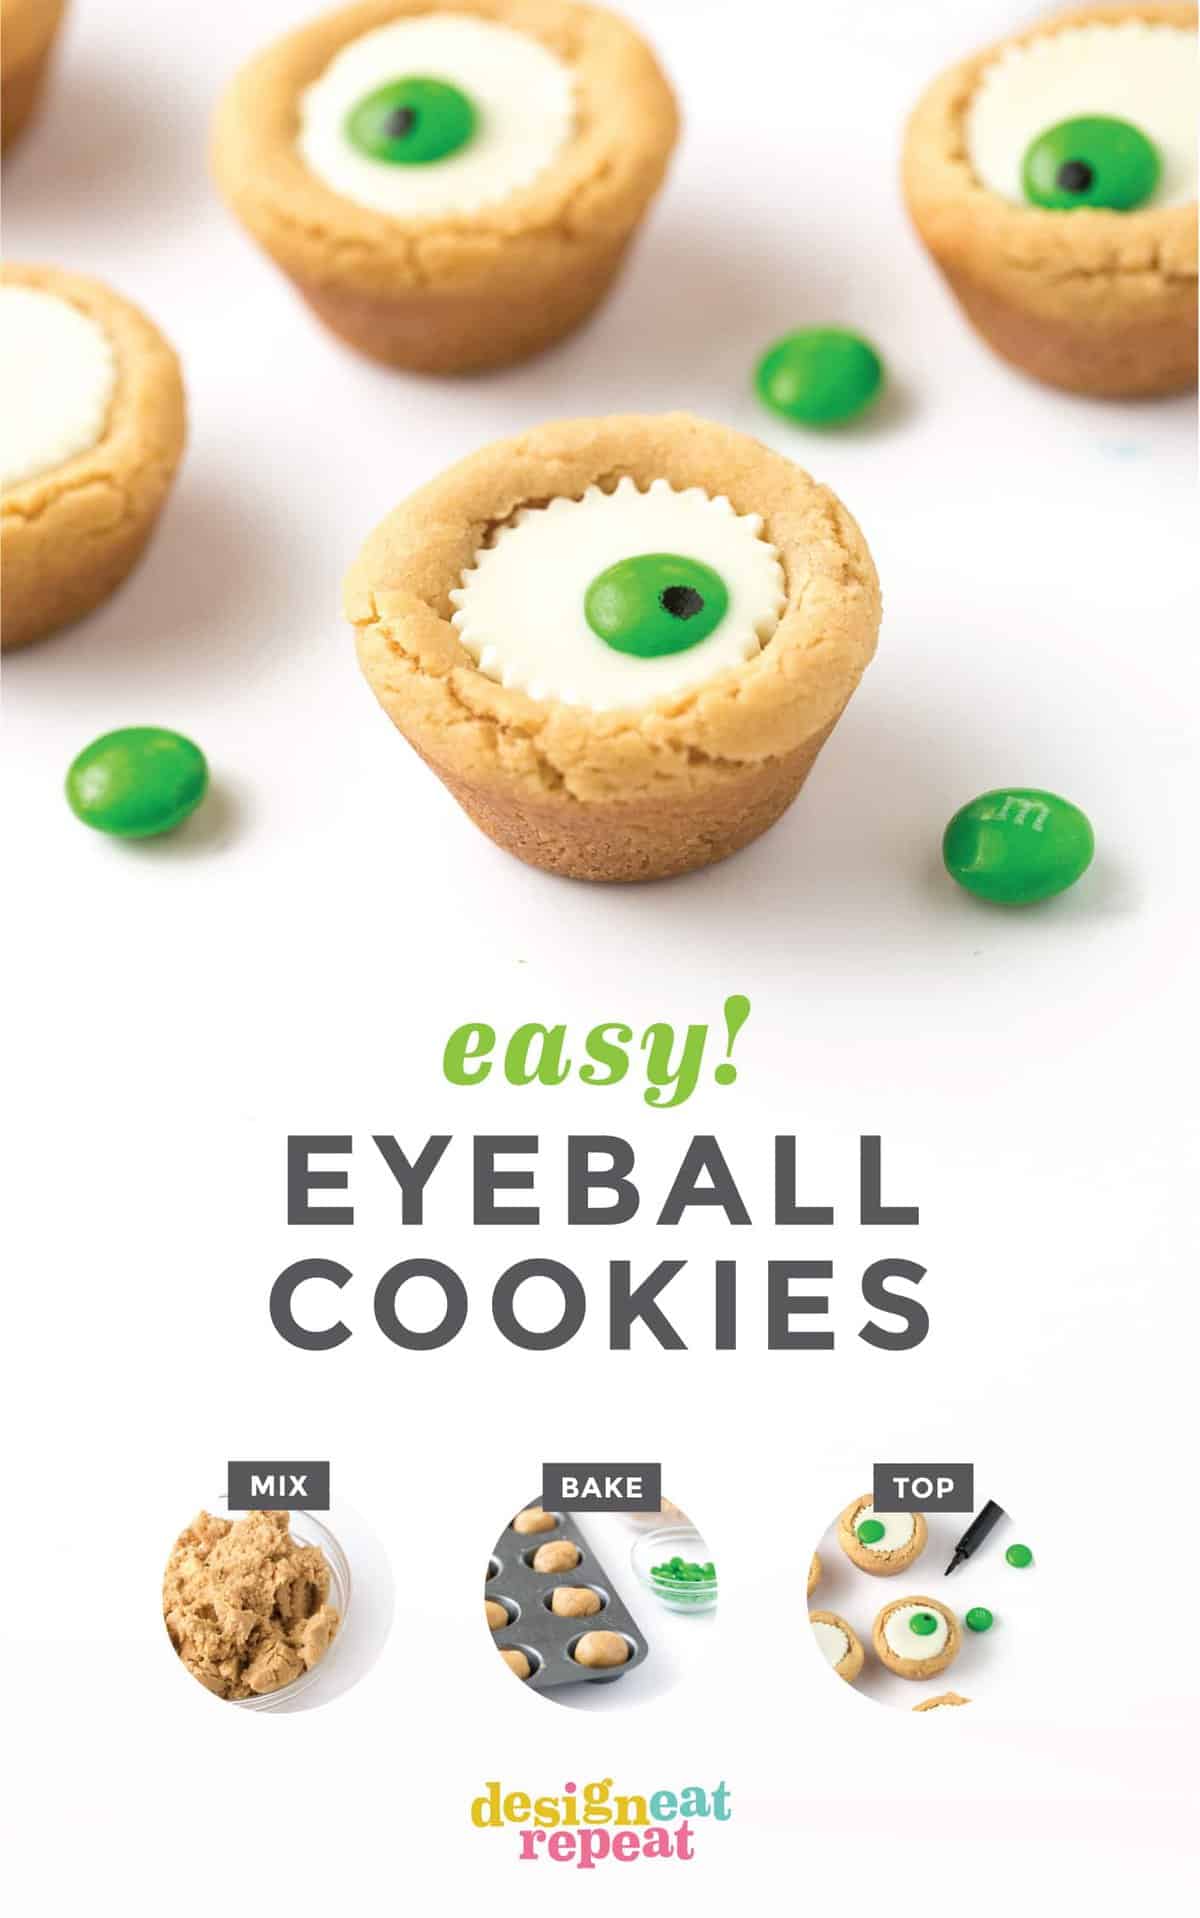
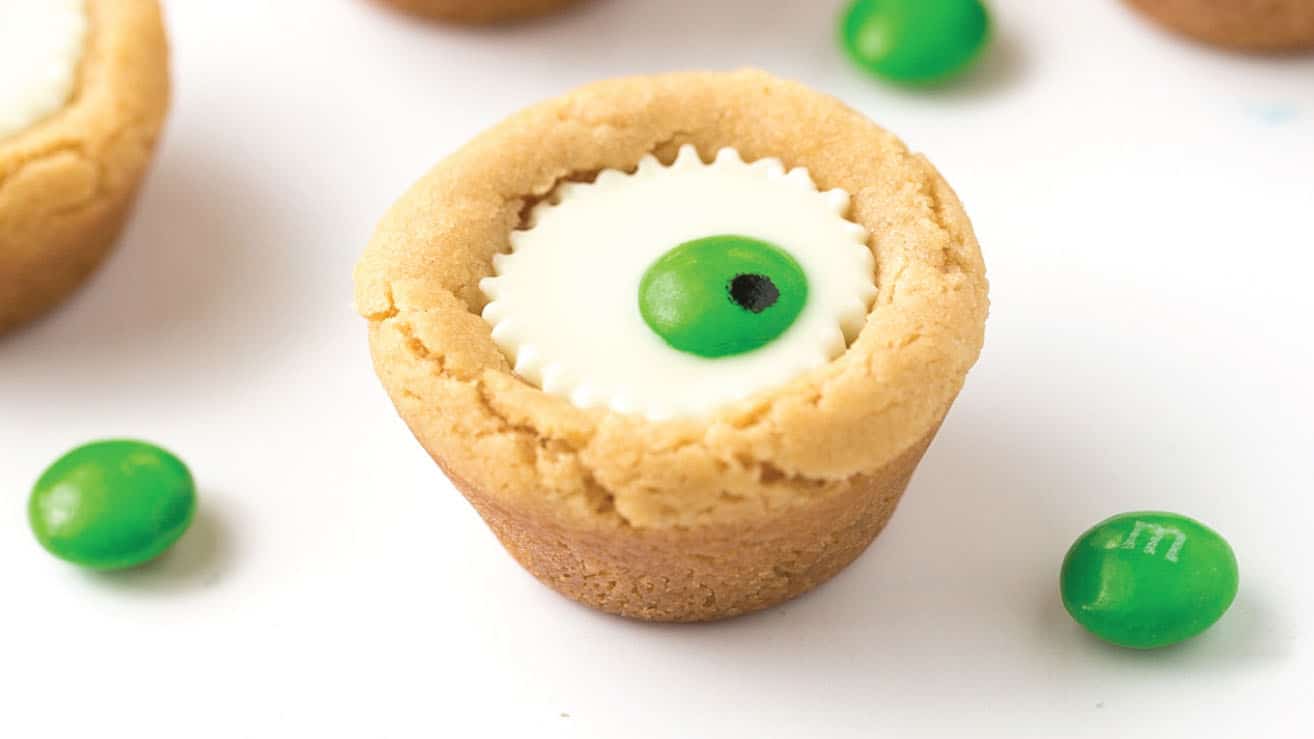
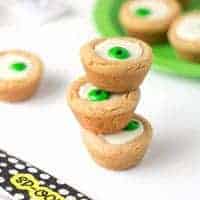
Ditch the fancy decorating - these easy Peanut Butter Cup Eyeball Cookies are easy to make with the kids! After baking, simply press a miniature white peanut butter cup and M&M into the top of each one for a spooky (but cute!) Halloween cookie idea.
Ever since I was little, these peanut butter cup cookies have been a staple in our family's Christmas baking. The base recipe is huge and while it makes 5-6 dozen, the final yield is more like 4 dozen after the cookie-robbing siblings would raid the cooling rack. For that very reason (and #calories, I guess), we usually reserve making these peanut butter cup cookies for holidays.
But since I'll be back in Iowa for a few weeks later this month, I figured I'd get a little creative and turn these into a spooky little Halloween treat that I can freeze then pawn off to the college-aged siblings when I go home.

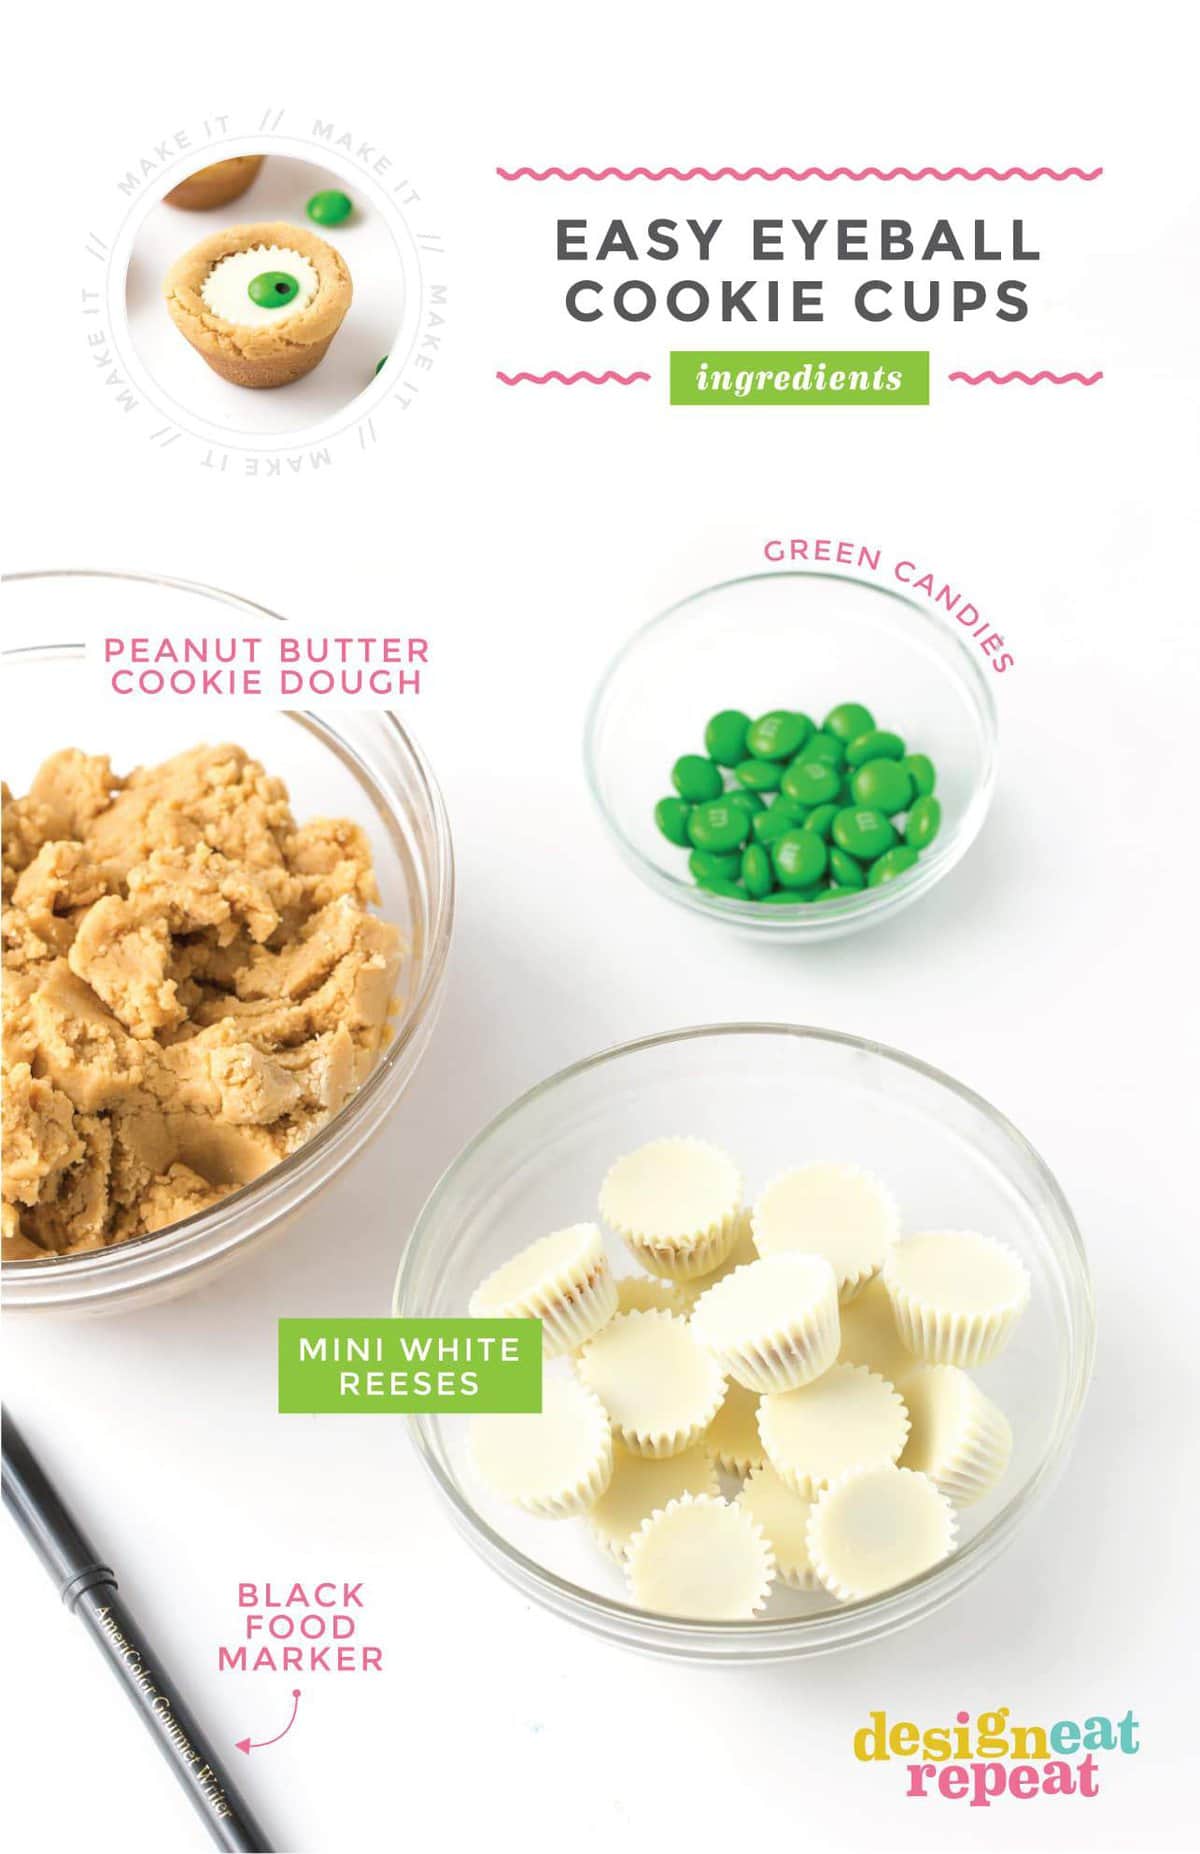
What You Need to Make Halloween Eyeball Cookies:
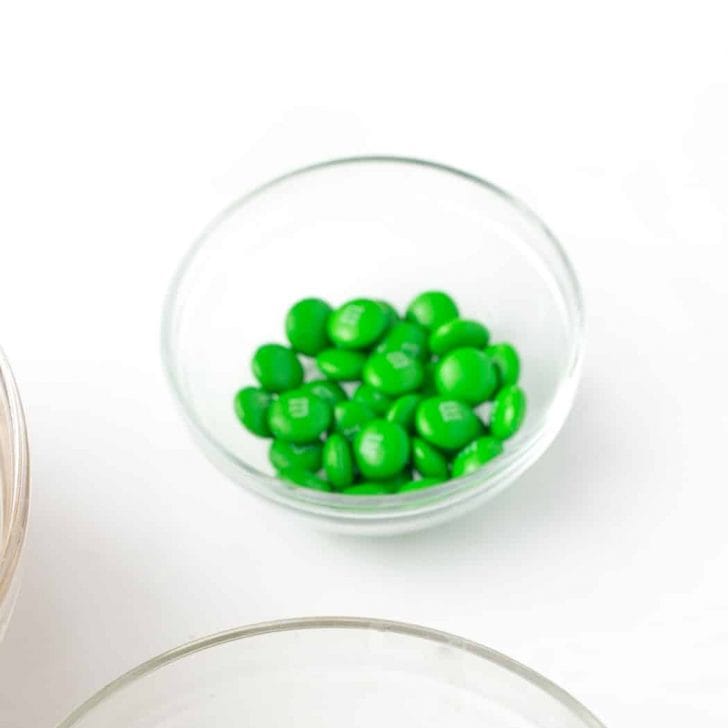
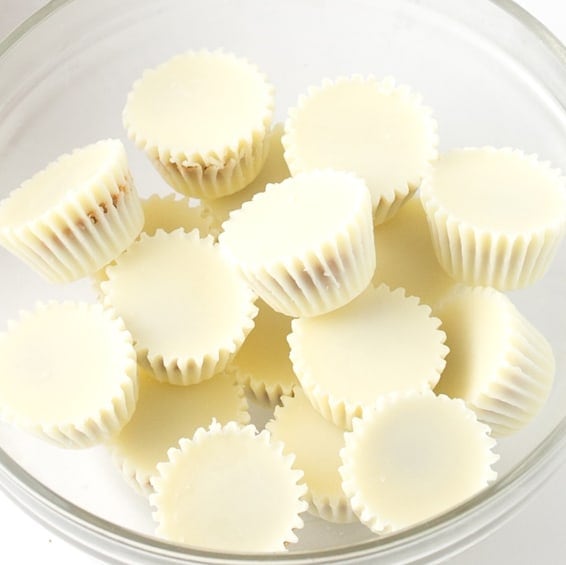
Recipe White Chocolate Peanut Butter Cup Cookies (below), Miniature White Chocolate Peanut Butter Cups, Green M&M's, Edible Black Food Marker
Materials

How to Make these Easy Eyeball Cookies:
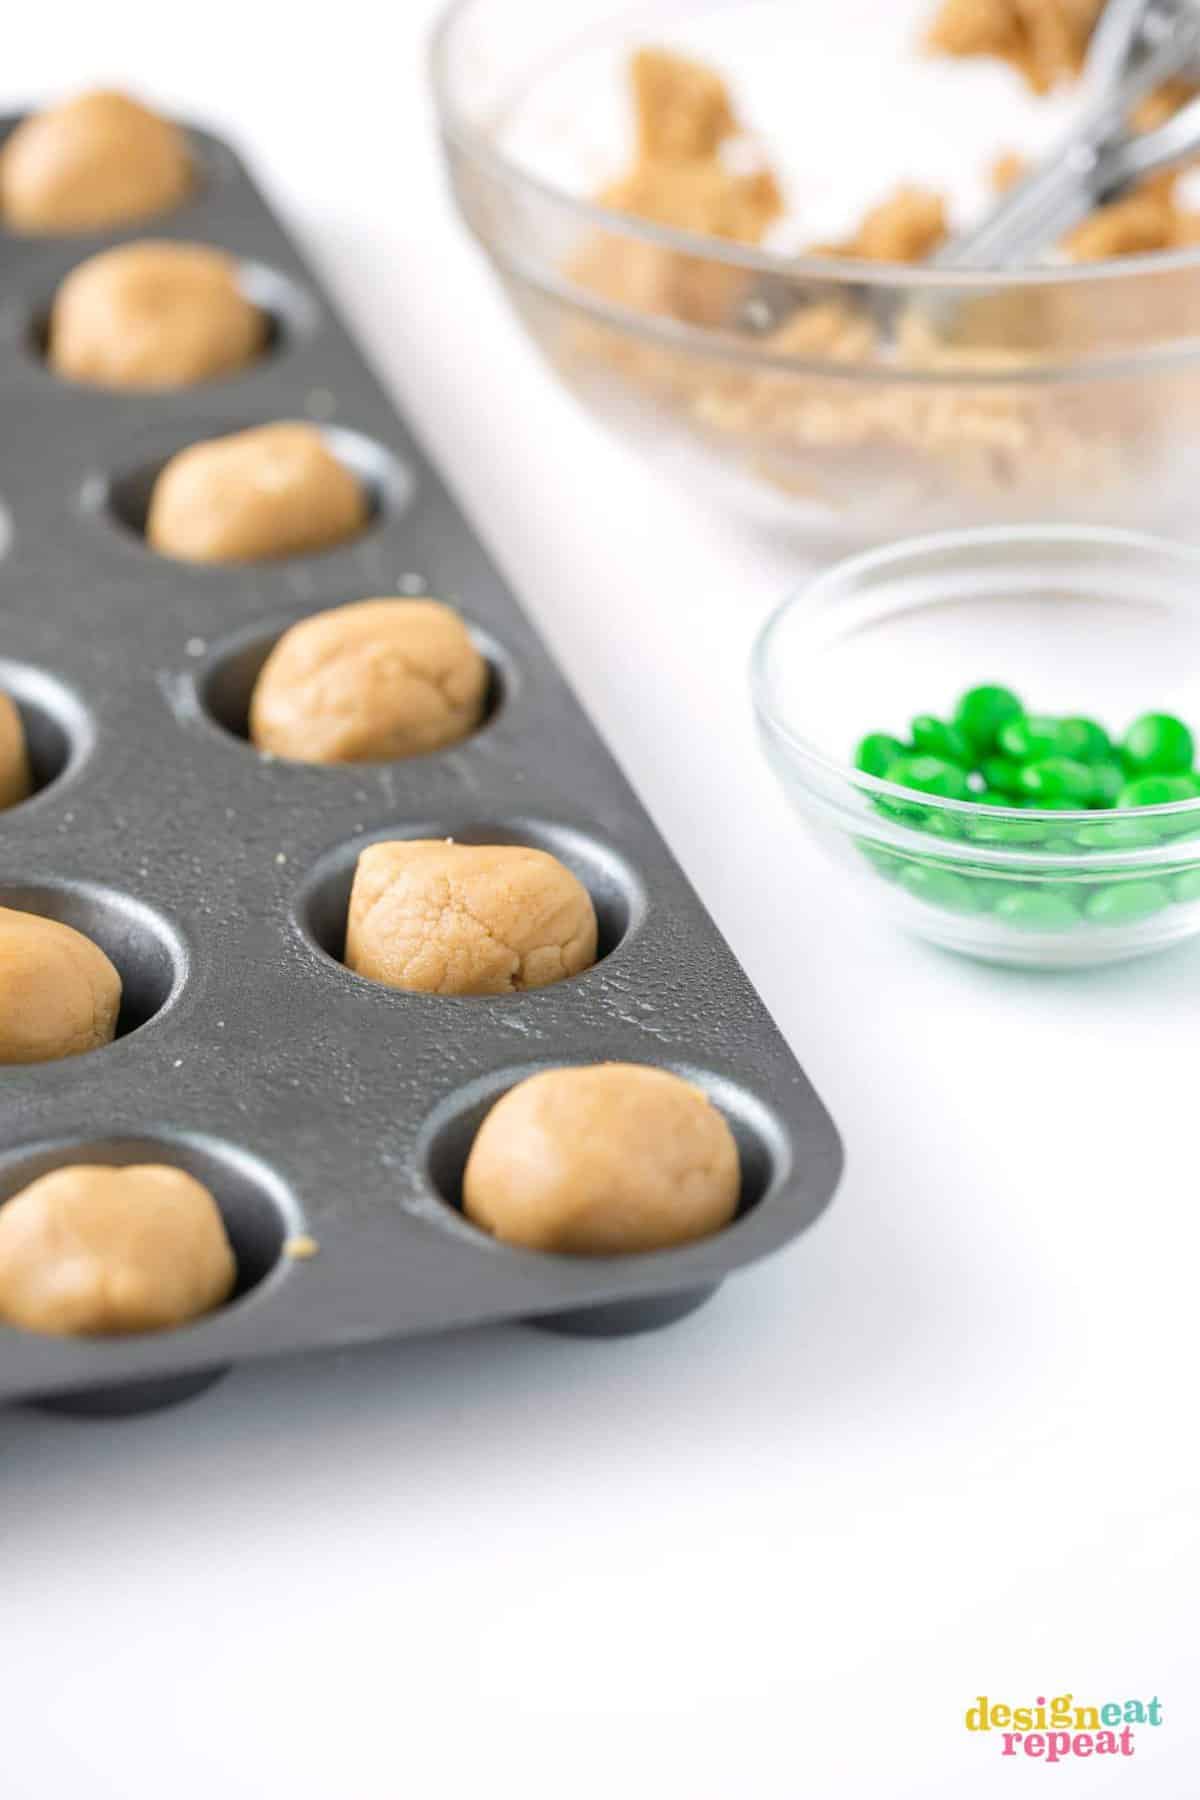
Step 1: Mix, Scoop Dough, and Bake
After mixing up the peanut butter cookie dough, scoop 1 tablespoon-sized balls into a mini muffin tin and bake according to instructions in the recipe below.
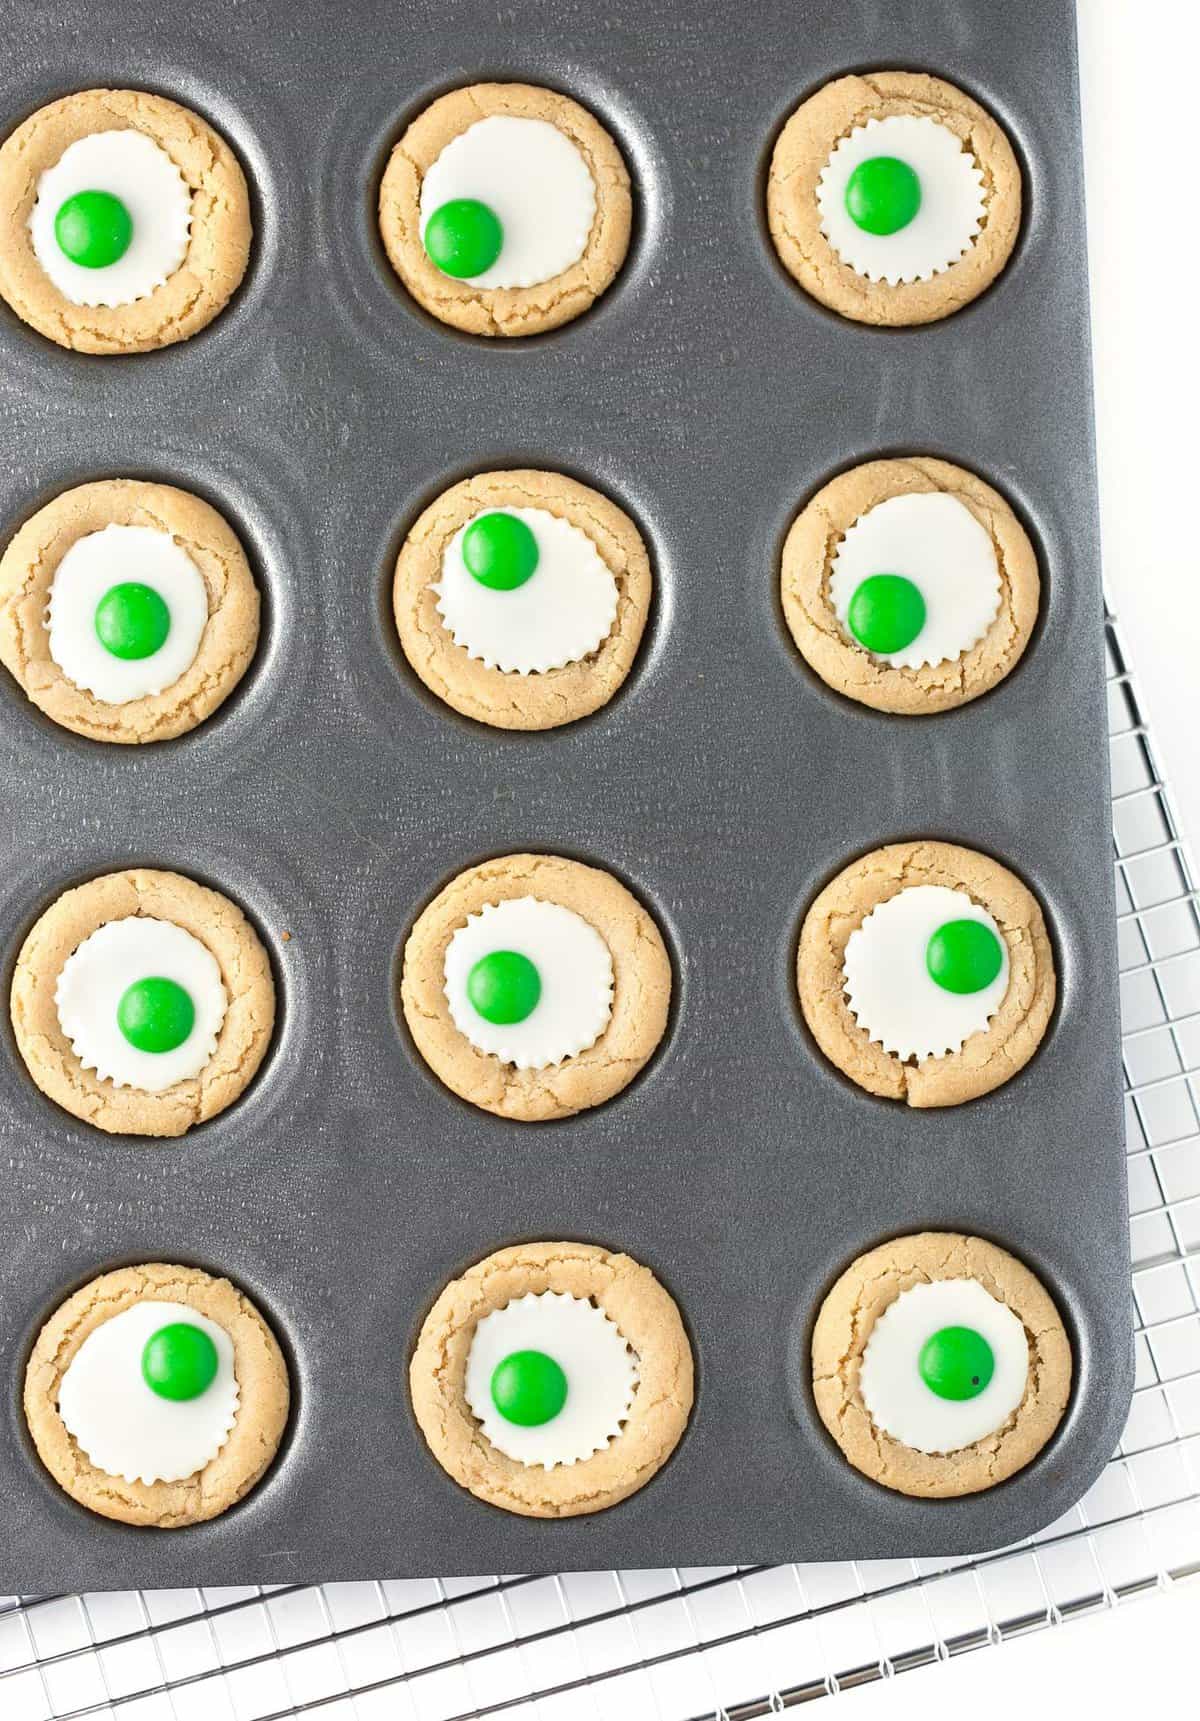
Step 2: Press in Reeses Cup
Immediately after removing from the oven, press a miniature white peanut butter cup into the center of each cookie.
Step 3: Press in Green M&M to Center
After a few minutes, the chocolate of the peanut butter cup will start to melt. Once this happens, gently press a green M&M into the top of each one with the "M" logo side facing down.
Step 4: Refrigerate
Place pan in refrigerator for 10-15 minutes to help the chocolate re-harden.
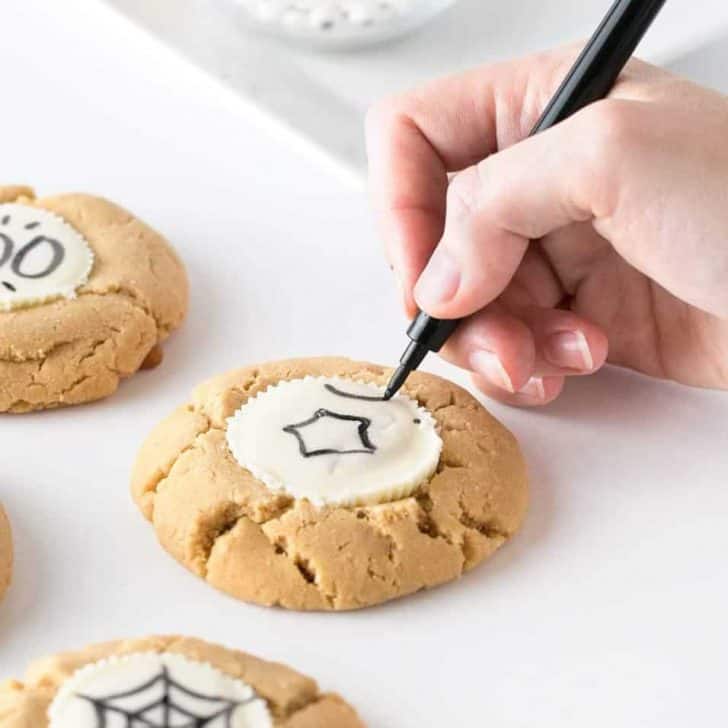
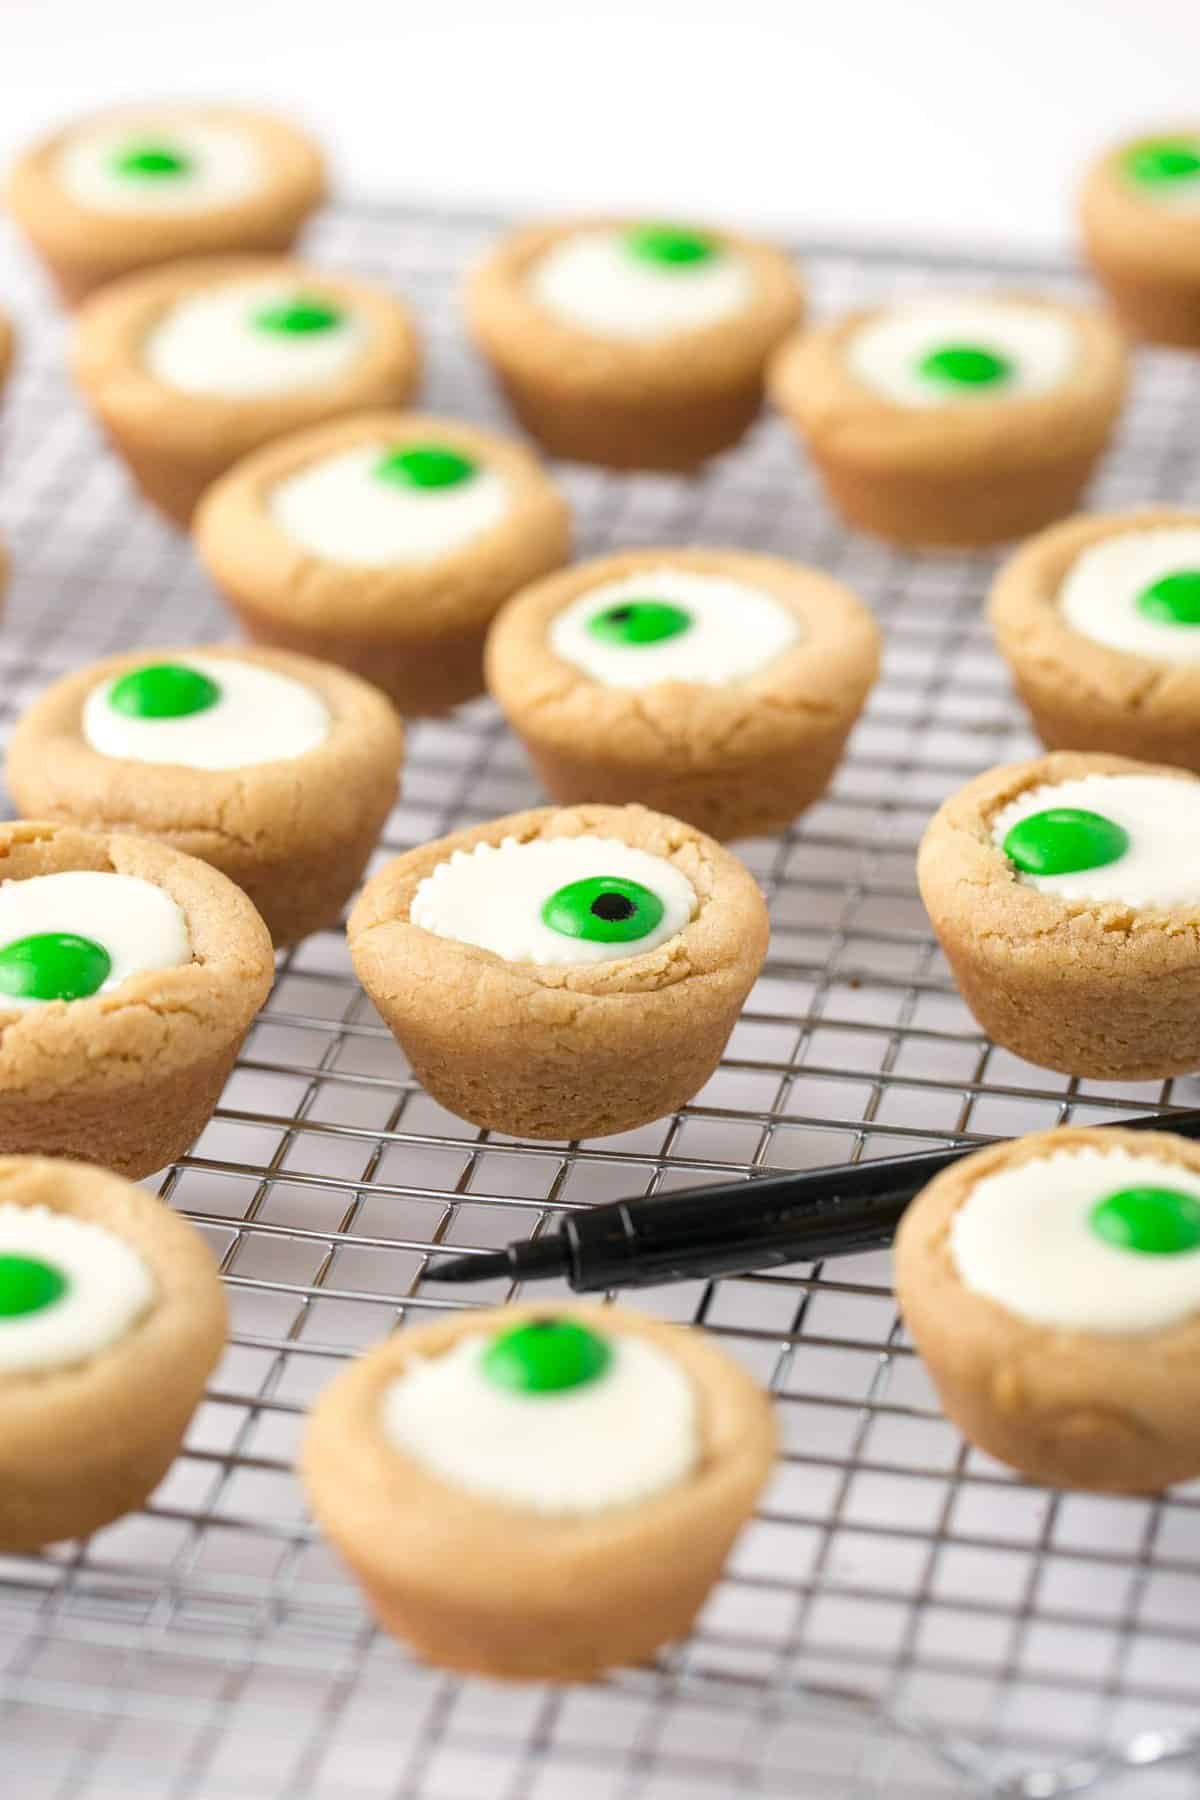
Step 5: Draw Dot with Food Marker
Once fully cooled, use a black edible food pen to draw a dot onto the top of each M&M for the pupil.
Lastly, remove the cookies from the pan and serve! These cookies also freeze super well and (in my opinion) are even better half frozen. So they would be great to make ahead! My only suggestion is that if you are freezing, you may want to wait to draw on the black dot until they are completely thawed. Otherwise, the food coloring might smear from the condensation that occurs during thawing.
Step 6: Gift
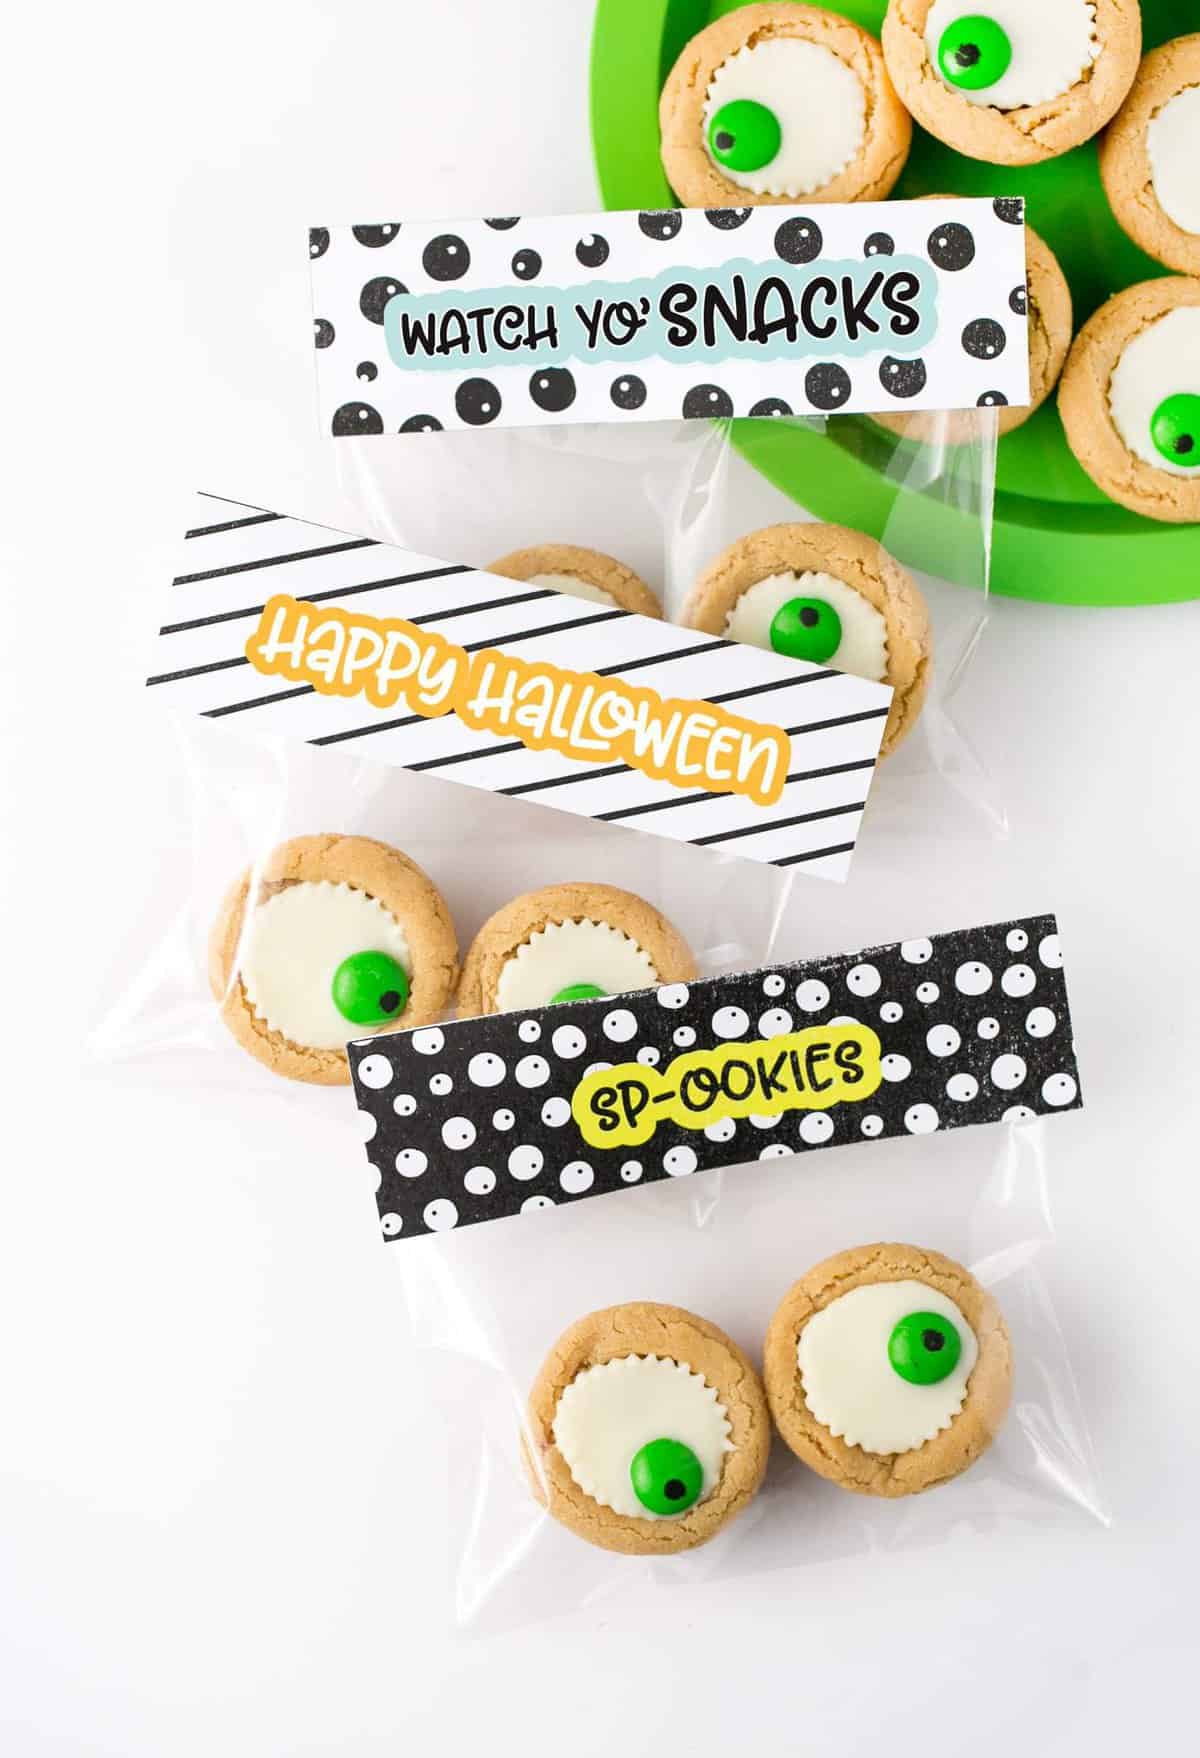
Want to gift these eyeball cookies for class treats, Halloween parties, or coworker goodie bags? Print off these free printable Halloween treat bag toppers to help you package the cookies in style!
Easy Peanut Butter Cup Eyeball Cookies
Ingredients
⭐️ Before you begin! If you make this, will you do me a huge favor afterwards and leave a review and rating letting me know how you liked this recipe? This helps my small business thrive so I can continue providing free recipes and high-quality content for you.
Instructions
- In a large bowl, cream together ¾ cup butter, softened, 1 cup peanut butter, 1 cup brown sugar, and 1 cup granulated sugar with an electric mixer on medium speed for 30 seconds. Add in 1 teaspoon vanilla extract and 2 large eggs and continue to mix for 10 seconds.
- Add 1 ½ teaspoons baking soda and mix on low speed for 10 seconds. Add 2 ½ cups all-purpose flour and continue to mix until all flour is incorporated.
- Scoop & roll dough into 1 tablespoon sized balls and place each in a greased, mini muffin tin.
- Bake at 350℉ for 8 minutes. Remove from oven, and immediately press one mini Reeses peanut butter cup into the center of each cookie.
- After a few minutes, the chocolate of the peanut butter cup will start to melt. Once this happens, gently press a green M&M into the top of each one with the "M" logo side facing down.
- Place pan in refrigerator for 10-15 minutes to help the chocolate re-harden.
- Once fully cooled, use a black edible food pen to draw a dot onto the top of each M&M for the pupil.
- Allow to cool before removing from the cookies from the pan.
- If not serving immediately, store in an airtight container for up to 5 days or freeze for long-term storing.
Did you make this?
I'd LOVE to hear your thoughts! Leave a review & photo of your creation and be sure to mention @DesignEatRepeat or tag #DesignEatRepeat on Instagram!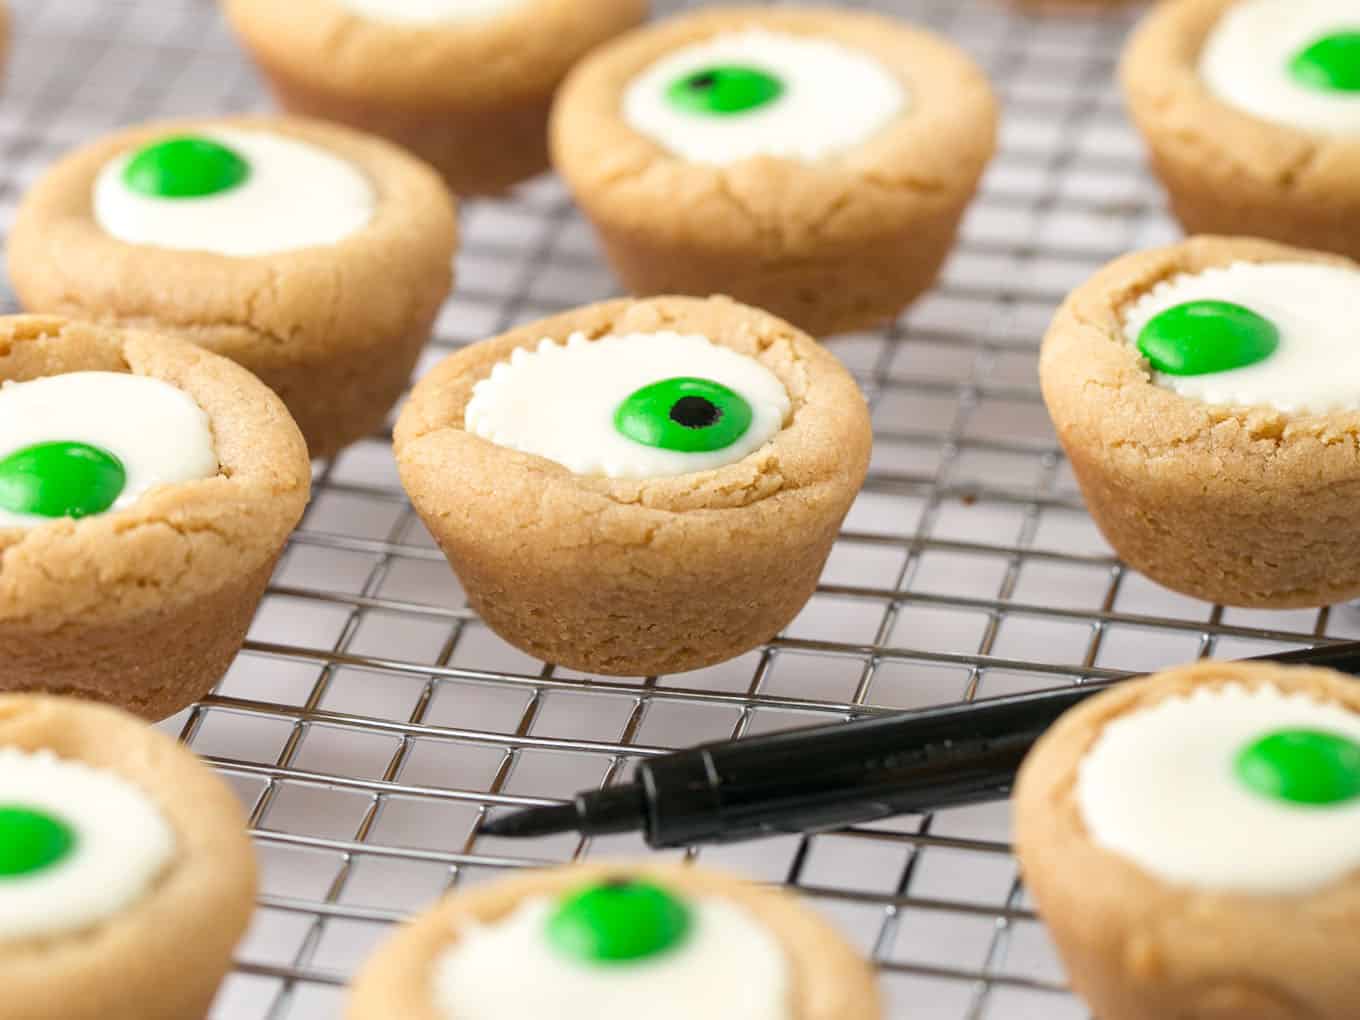
So what do you think? Easy enough to make with the kids, right!? I'm really working to shift the projects, ideas, and recipes on this blog to be even easier and approachable than ever before. So I would love to hear if these will be making your Halloween baking list!
More Easy Treats & Halloween Cookie Ideas
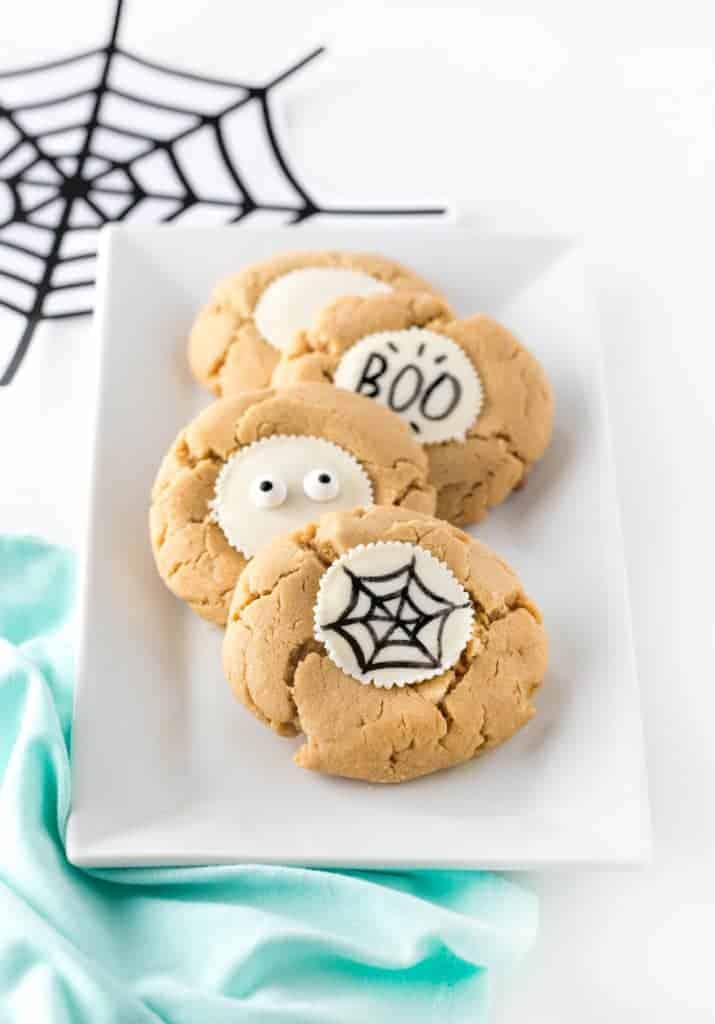
Draw Your Own Easy Halloween Cookies
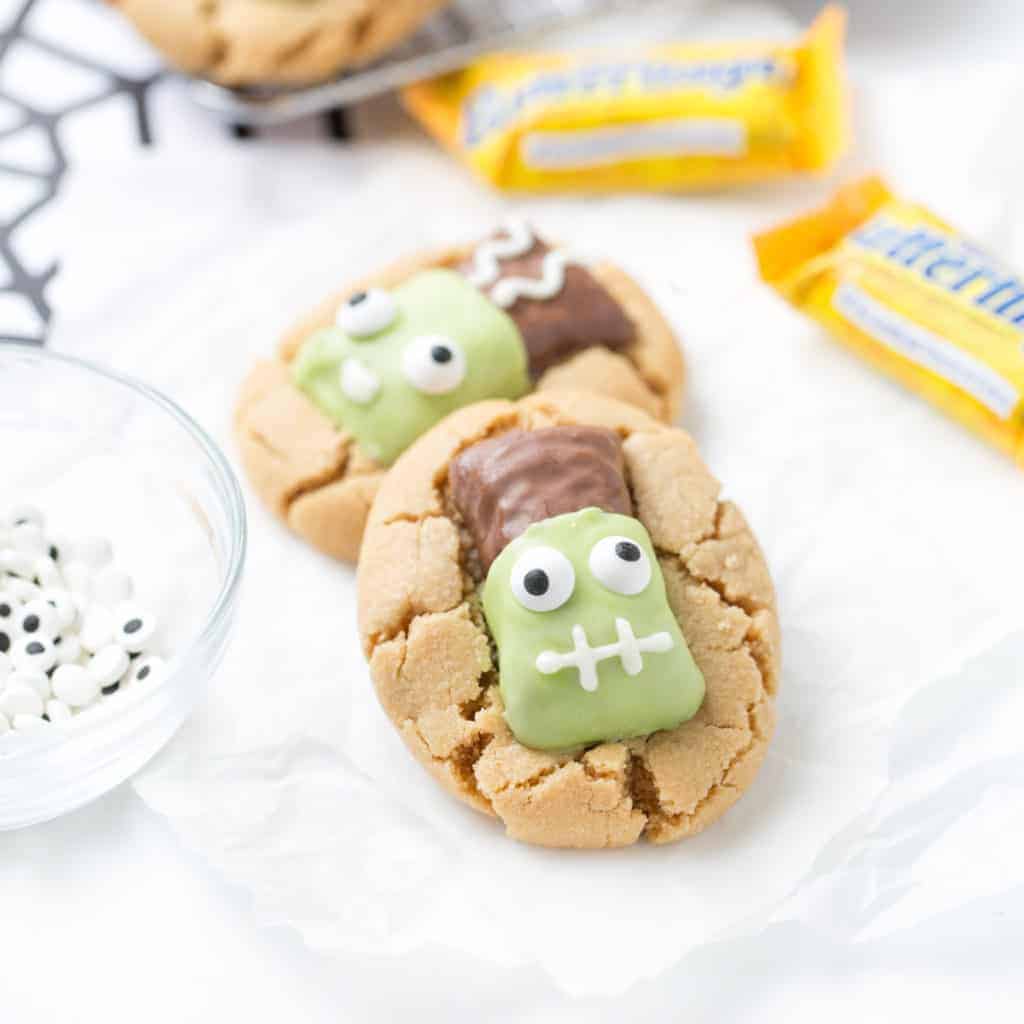
Easy Butterfinger Frankenstein Cookies
Halloween Frankenstein Pudding Pops
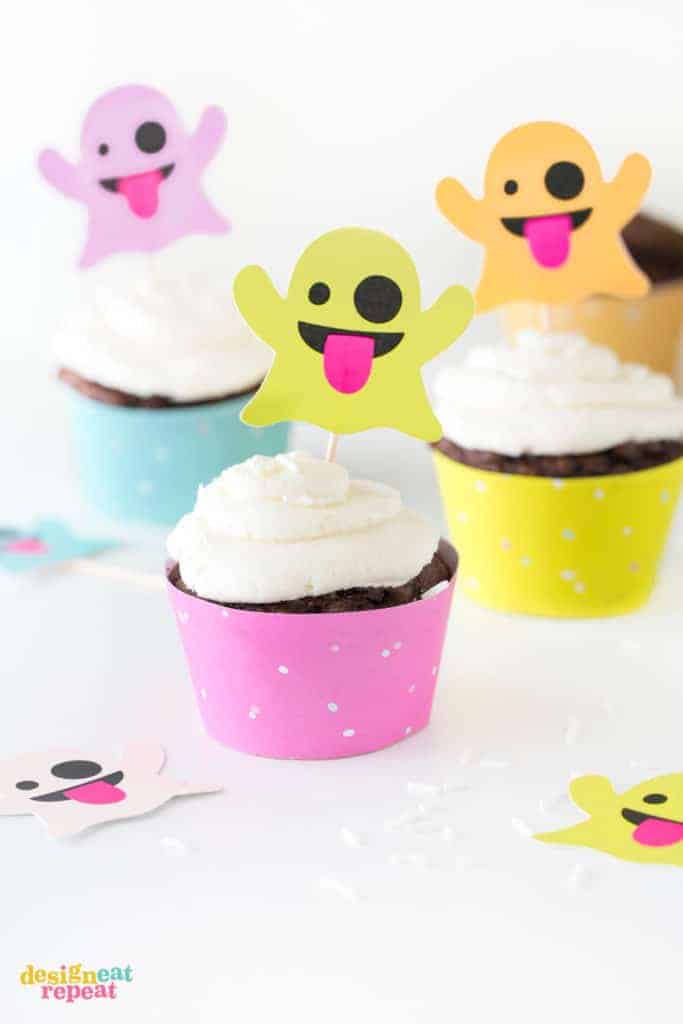
Emoji Ghost Halloween Cupcake Toppers
Hello there,
Can I store these at room temperature? And for how long? Thank you so much, they are delicious, I made them this afternoon.
Yes, you can store at room temperature in an airtight container/bag! They'll stay good for a few days before starting to dry out a little. If you plan to store them longer than 2-3 days, I would suggest freezing them - they're super good frozen! :)
Thanks, Megan! That's what I strive for - cute AND easy!!
Where did you get the cute packaging idea? Do you have a template to share?looking for a cute but easy idea to handout at work for our Halloween costume contest.
Hi Joy! You're in luck because I designed the packaging and have them available to download for free here! :) https://www.designeatrepeat.com/2017/09/halloween-treat-bag-toppers
So cute! Any suggestion for adapting it for my peanut-allergic daughter? Sugar cookie dough would likely work, but what for the inside?? They look really fun and easy which is awesome!
Hi Jessica! Brownie batter bakes great in mini muffin tins and then perhaps you could top it off with a slice of a marshmallow for the center. Almost like a s'more cup!
Oh thank you! I never would have thought of that- it's genius and I will definitely make them for my daughter! Thank you very much!!!
Everything with a face makes it that much cuter, right?! ;)