
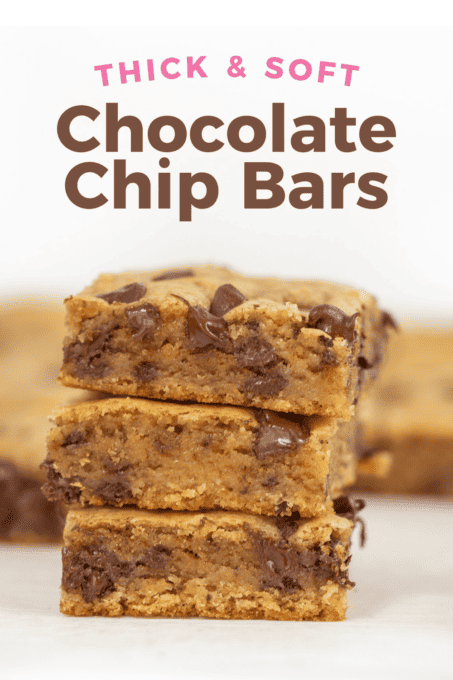
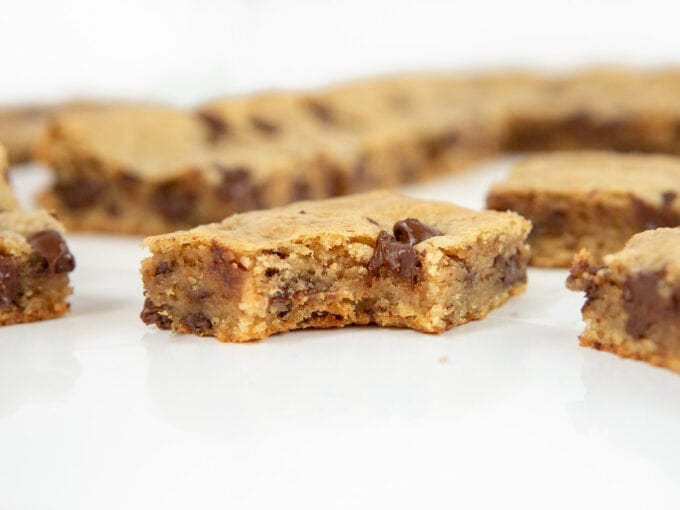
Ooey, gooey, chewy, thick chocolate chip cookie bars made from scratch in a 9x13 pan - a true crowd favorite! They are made in one bowl, all mixed up by hand, with no machines required!
This recipe went Tiktok Viral with over 13 million views - watch the video here!

Quick & Easy Cookie Bars!
This recipe for chocolate chip cookie bars is a mom's best friend and will become one of your go-to favorite recipes. It takes minimal effort (no scooping cookies needed!) and it is perfect for a crowd! They're great for a quick after-school treat or any occasion where you need to feed many people in an easy way. It's like a thick, gooey chocolate chip cookie cake without the fancy decorating!
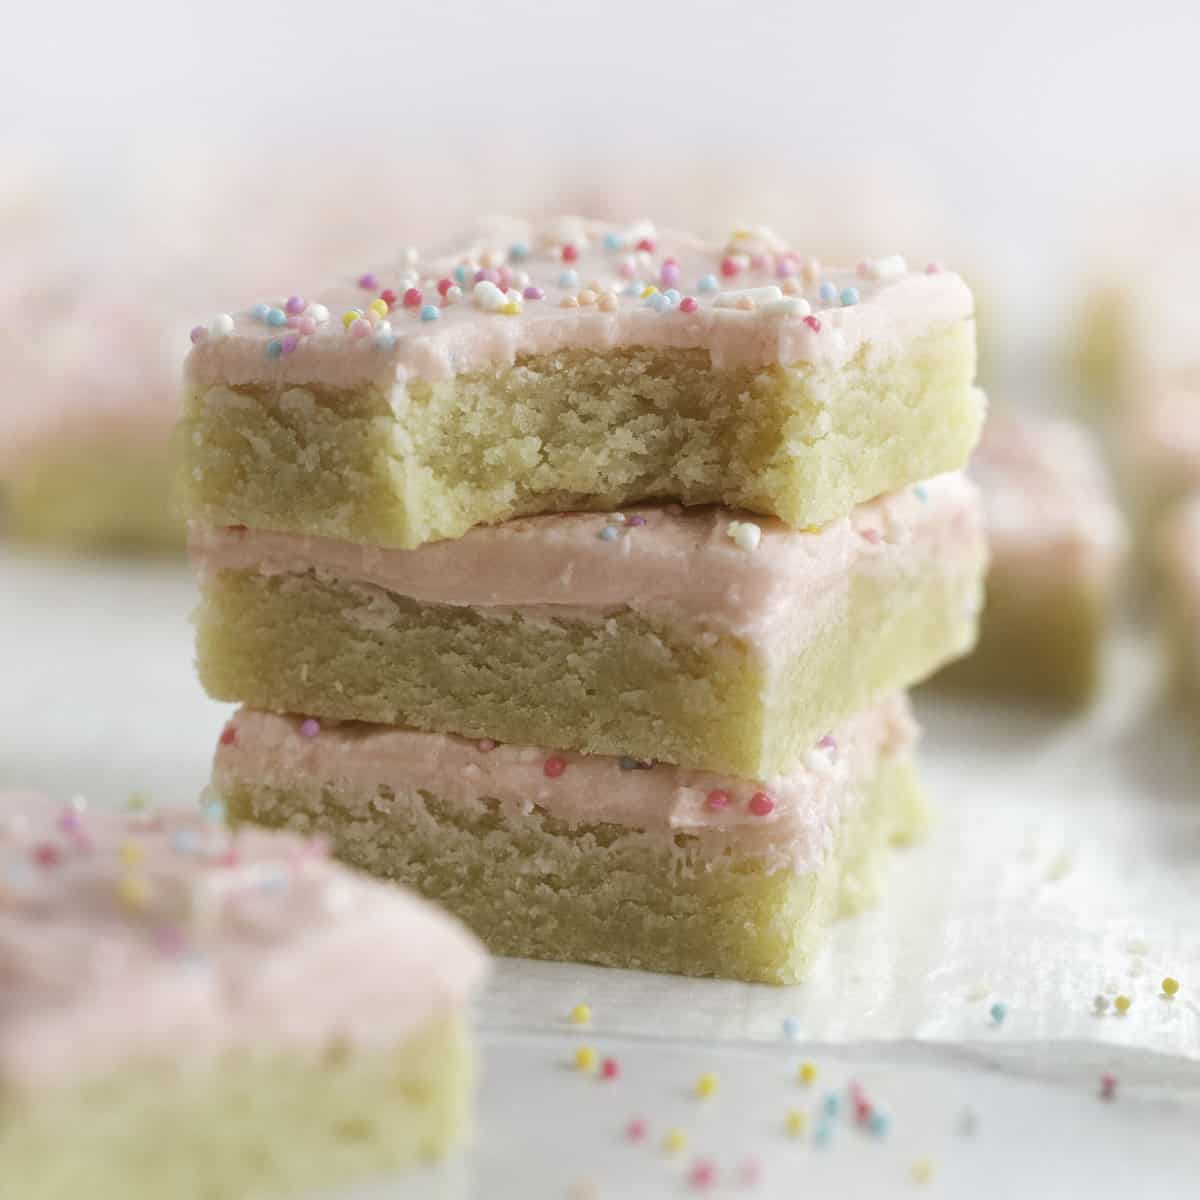
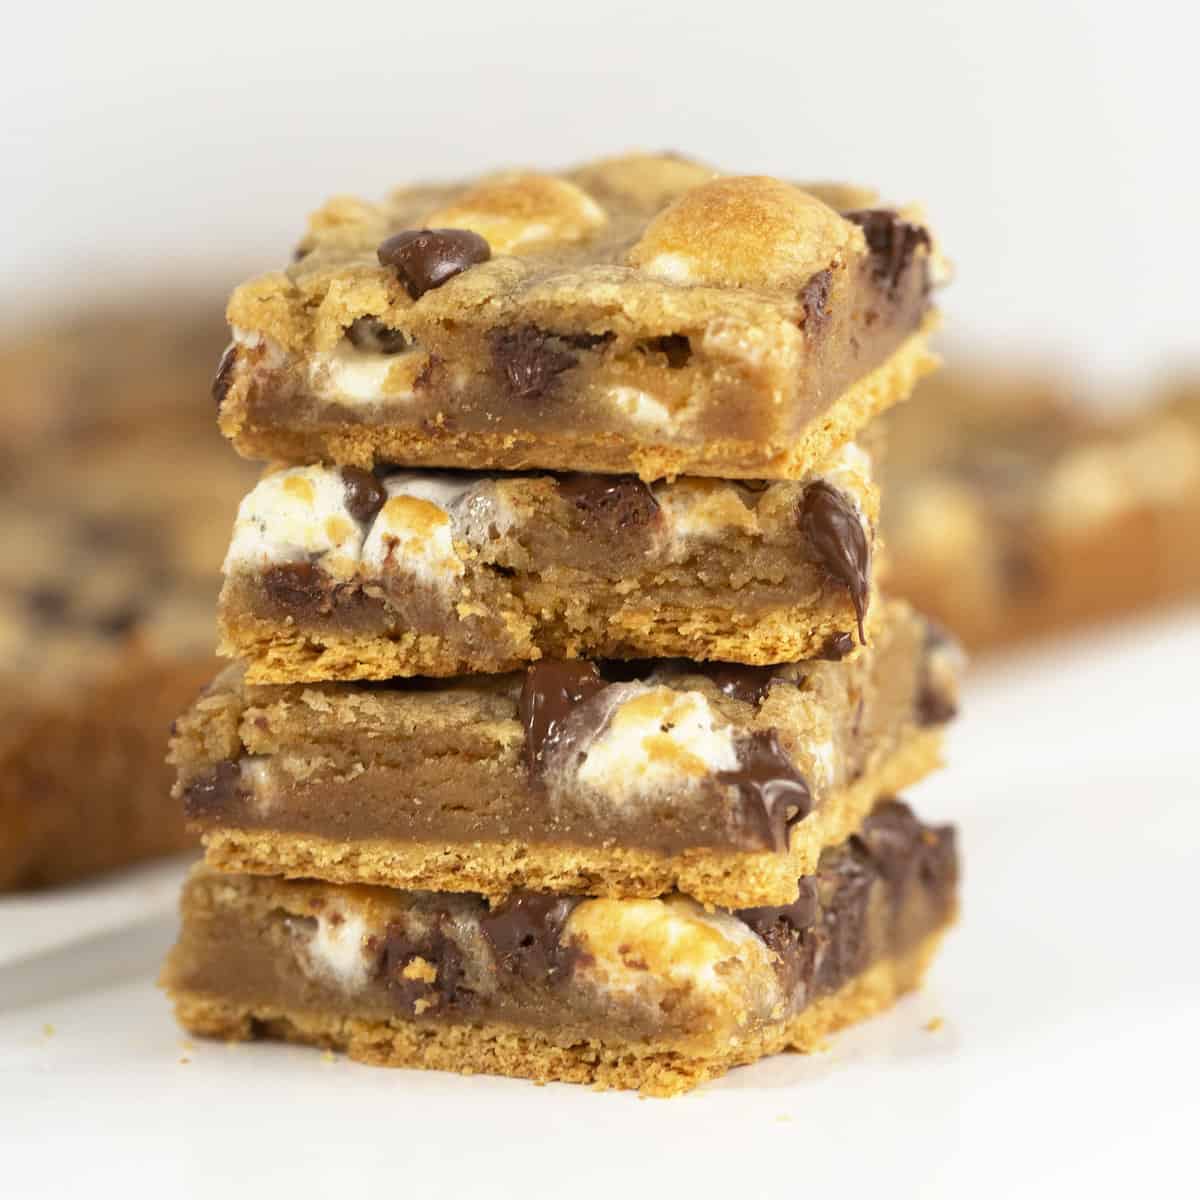
More cookie bars I love: monster cookie bars, Thick & chewy funfetti blondies & s'more cookie bars!
Tips & tricks for the best chocolate chip cookie bars:
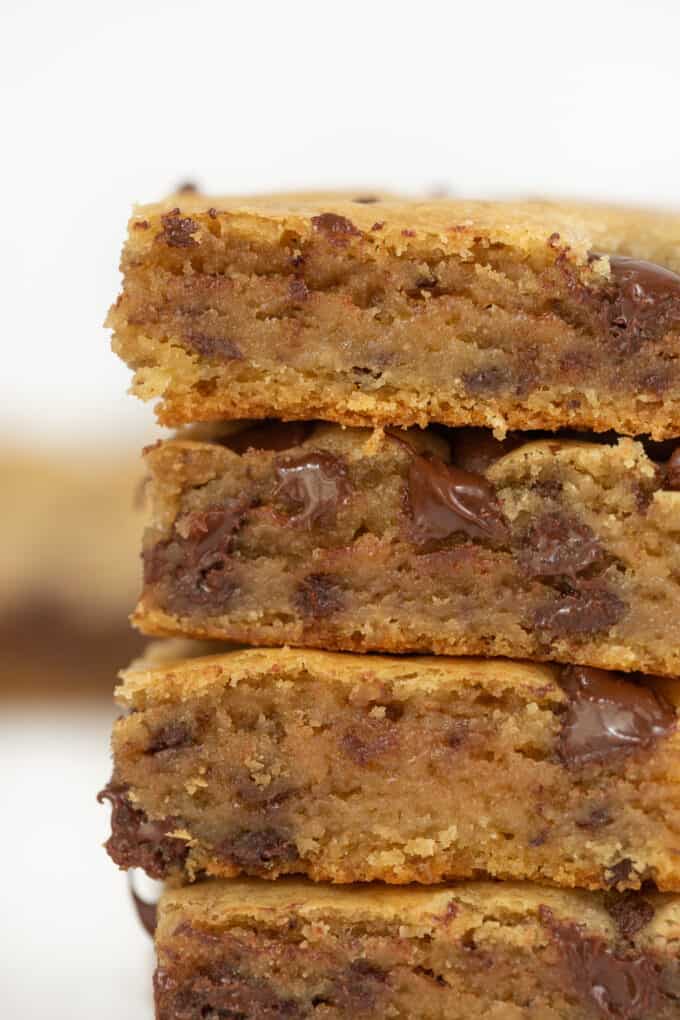
- This cookie bar recipe uses melted butter making them super soft and smooth - this is a crucial part to these cookie bars!
- Do not bake for too long or else you will have a dry cookie bar with a crunchy chocolate exterior.
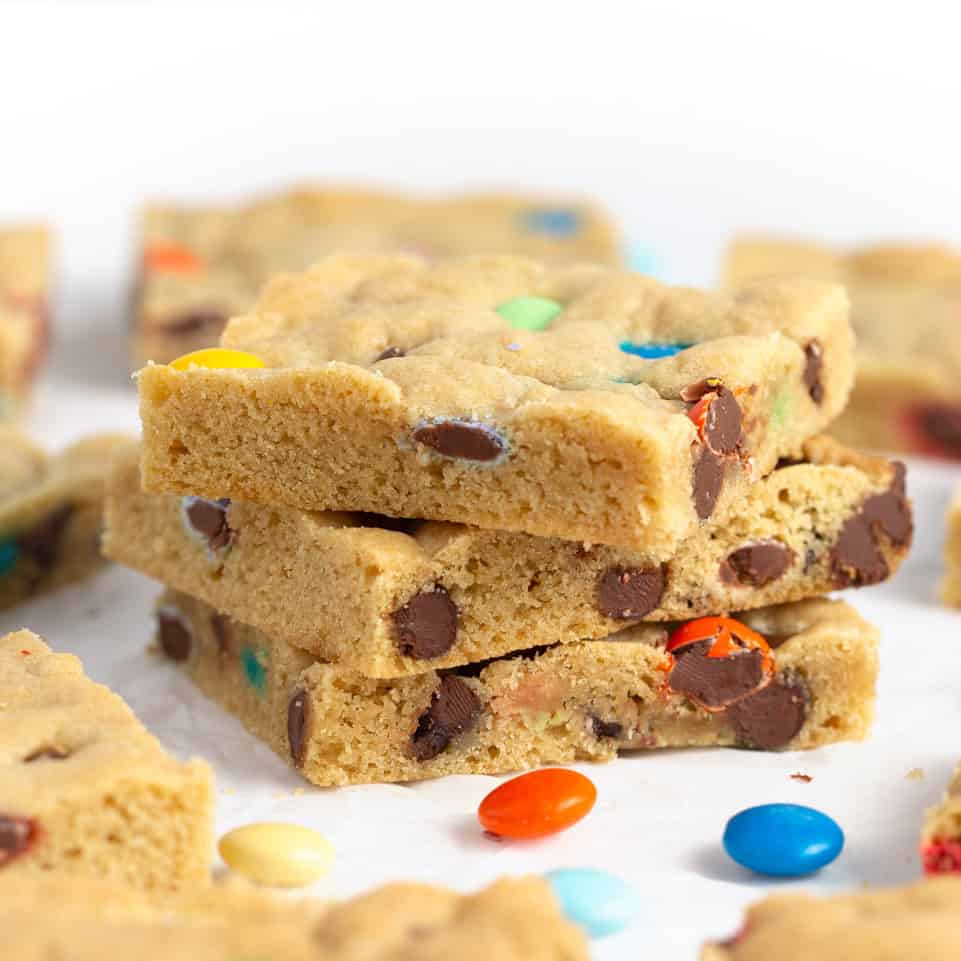
- Experiment with adding different kinds of chocolate chips. Milk or dark chocolate chips, white chocolate chips, or peanut butter chips are all great options! You could even add some M&M's or turn them into kitchen sink cookies with caramel and pretzels.
- Serve with a scoop of vanilla ice cream for the ultimate treat!
- Store these bars in an airtight container or freeze for later. They last up to 3-4 days, but they taste best within the first 2 days.
Ingredients for Chocolate Chip Bars::
This is just an overview of ingredients & substitutions; click here to jump down to the full recipe card for ingredient amounts and instructions.
- Unsalted butter (melted): Salted is also fine here, just omit the added salt. Do not use margarine, as this will be too greasy.
- Light brown sugar
- Granulated sugar
- 1 egg + 1 yolk
- Vanilla extract
- Baking powder, baking soda, salt
- All-purpose flour: For a gluten-free version, use a gluten-free 1-to-1 flour but I personally like them best with half GF flour, half almond flour (like my chewy gluten-free cookie cake).
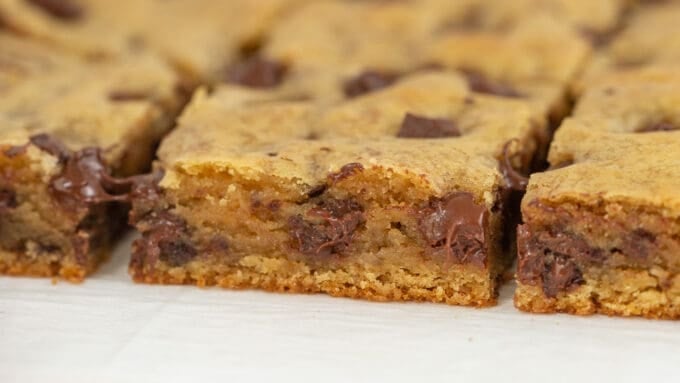
- Semi-Sweet Chocolate Chips (I use Nestle or Costco brand): Feel free to make these with your favorite chocolate chips, chunks, M&M's, or dairy-free chocolate chips!
- 9x13 pan (ideally light-colored metal)
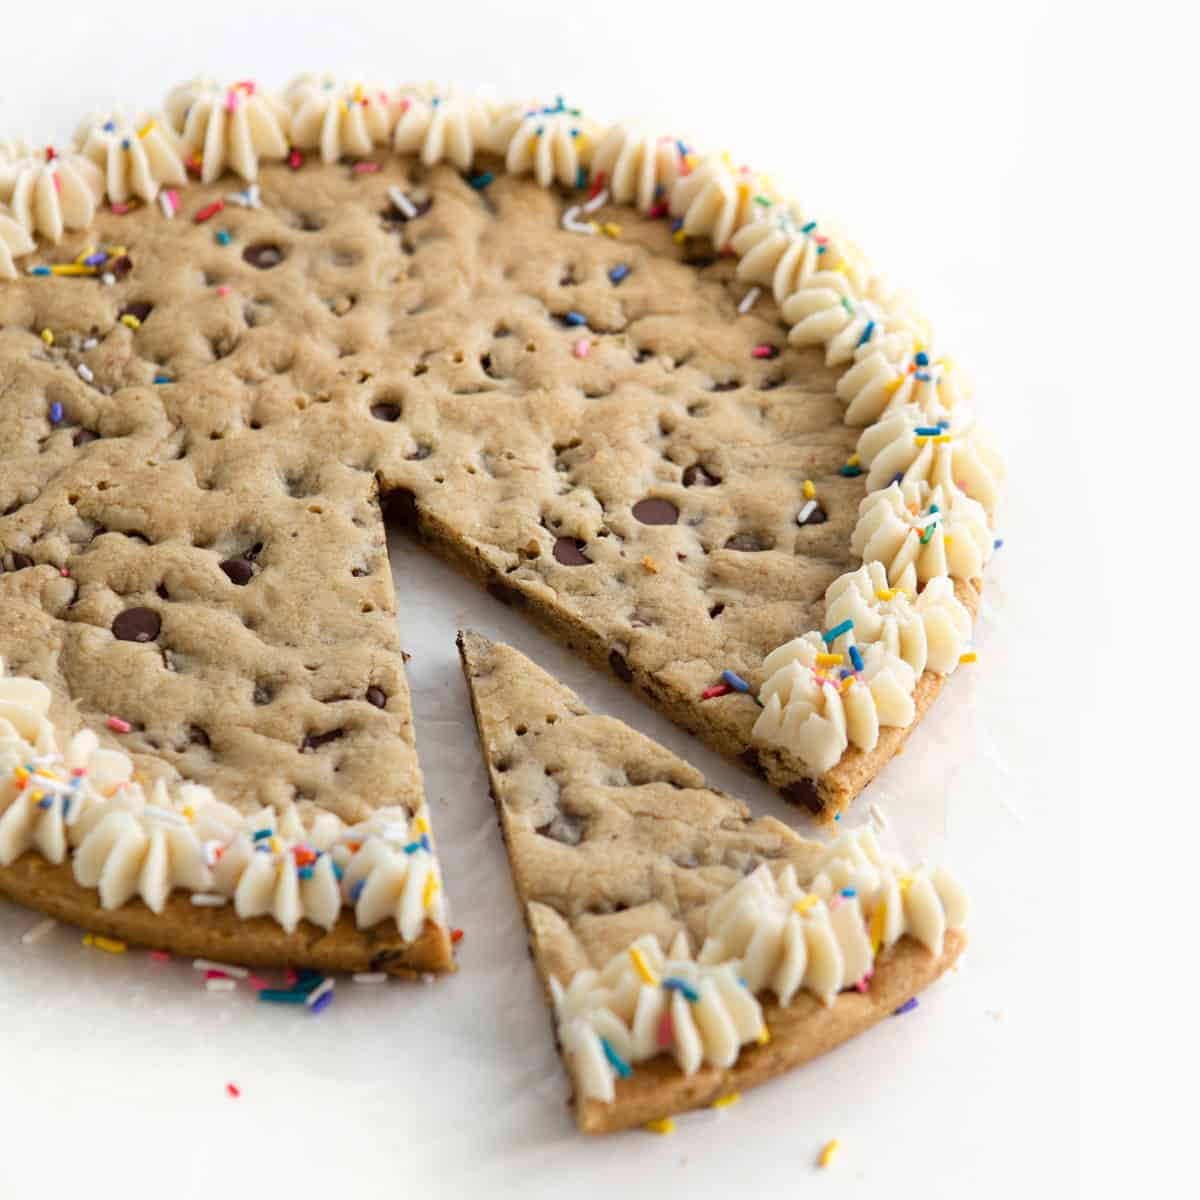
Decorating Ideas for Chocolate Chip Cookie Bars
- Make a double batch of my cookie cake buttercream frosting to pipe on a decorative border!
- Top with flaky sea salt for an elevated taste - so, so good!
- Drizzle melted chocolate on top of cookie bars
- Add M&M's, sprinkles, crushed nuts, or almonds inside the dough or on top
Make them and love them? Try my One Bowl Chocolate Chip Cookies or my single-serve One Giant Chocolate Chip Cookie next!
How to Make Chocolate Chip Cookie Bars:
This is just an overview of ingredients & substitutions; click here to jump down to the full recipe card for ingredient amounts and instructions. Or watch my viral Tiktok video here!
Step 1: Mix Cookie Dough
Preheat oven to 350°F. Spray a 9x13 pan with nonstick cooking spray and cover with parchment paper (optional but recommended for easy removal).
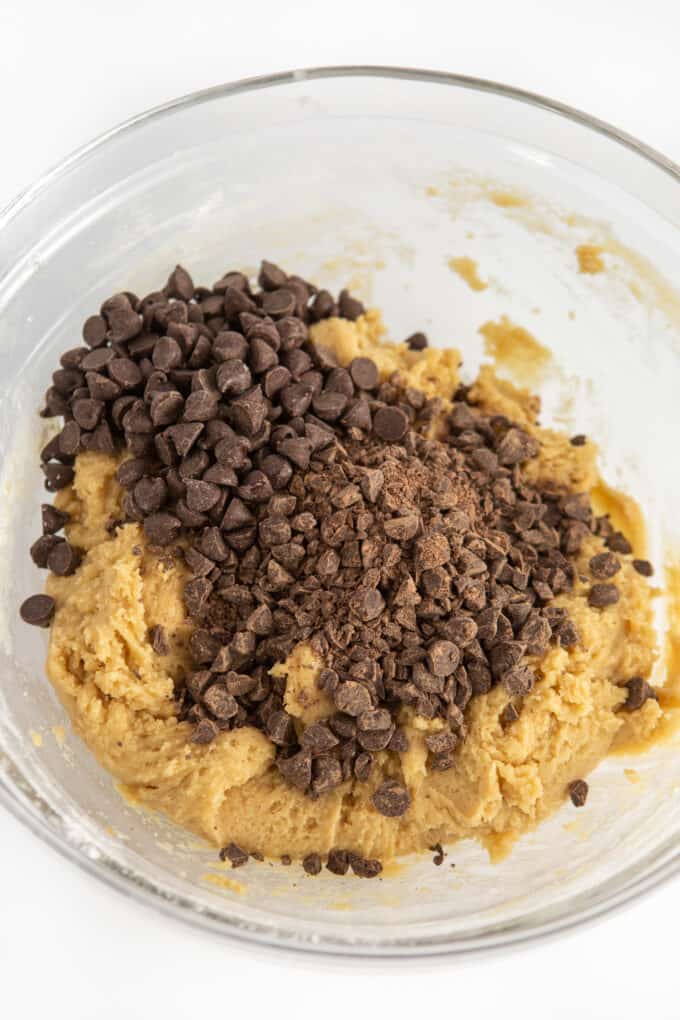
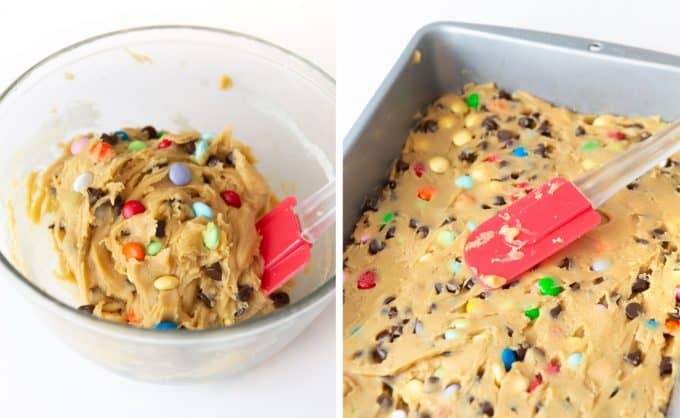
In a medium bowl, mix together melted butter (¾ cup), light brown sugar (¾ cup), and granulated sugar (½ cup) and mix until combined. Add in egg, egg yolk, vanilla (2 teaspoons), baking soda (1 teaspoon), baking powder (¼ teaspoon), and salt (½ teaspoon). Mix. Add flour (2 - 2 ¼ cups, see "notes section" in recipe card below regarding flour amounts), ½ cup whole chocolate chips, and ½ cup chopped chocolate chips. Stir until combined.
Tip: Adding the chocolate chips at the same as the flour will help the chips be evenly distributed and prevent them from falling to the bottom of the bowl.
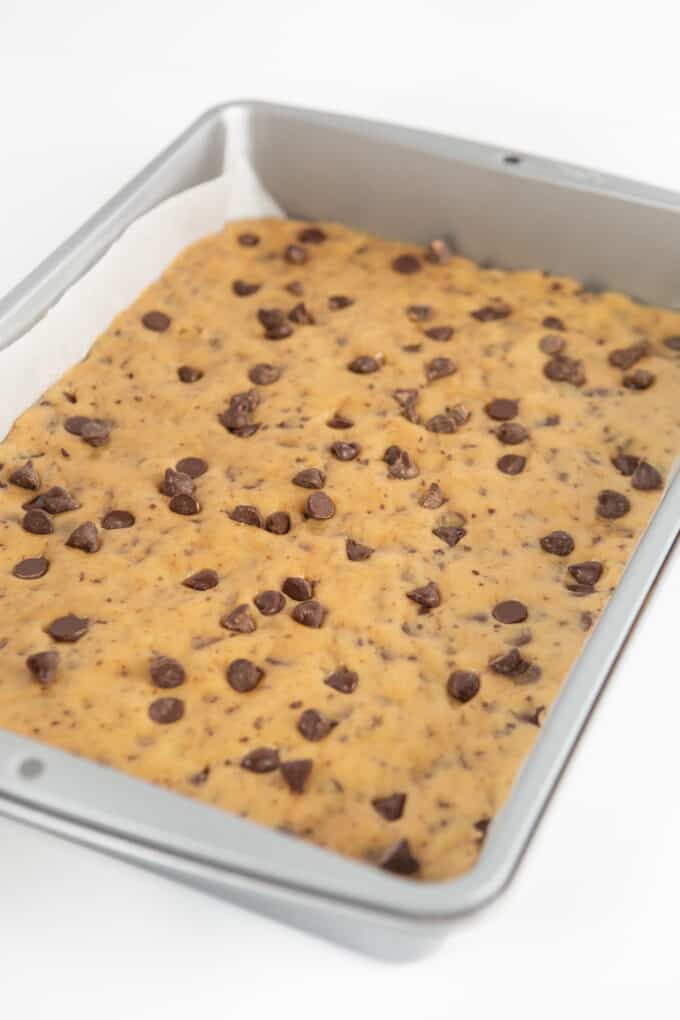
Step 2: Press Cookie Dough Into Pan
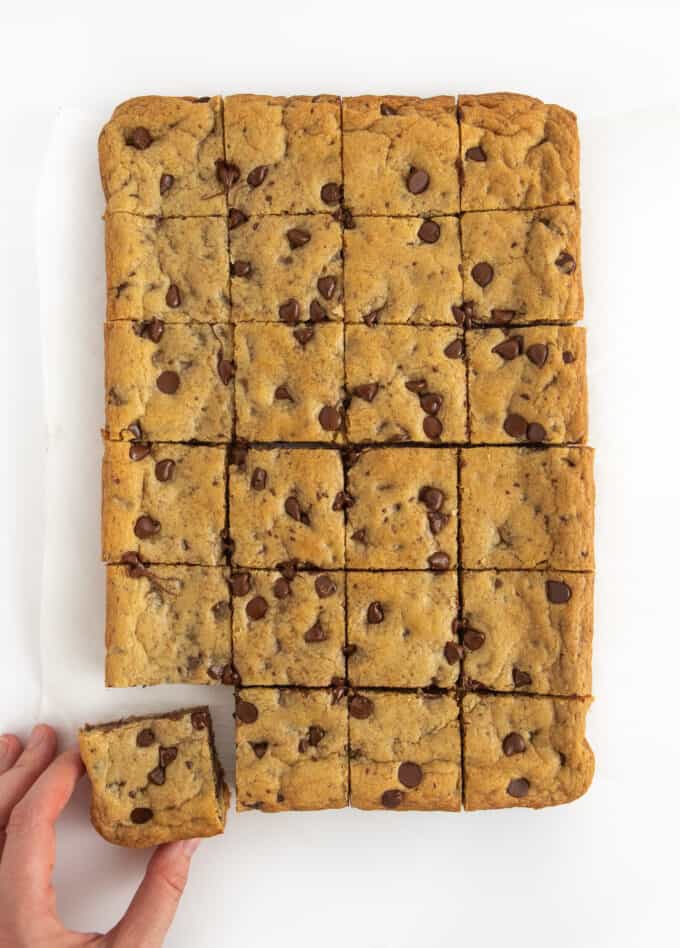
Press cookie dough into a greased, parchment-lined 9x13" pan. Once smooth, sprinkle the remaining ½ cup chocolate chips on top and lightly press each into the dough. If you see any chocolate chips stuck together or on the edge of the pan, relocate them. This will help create clean edges when cut!
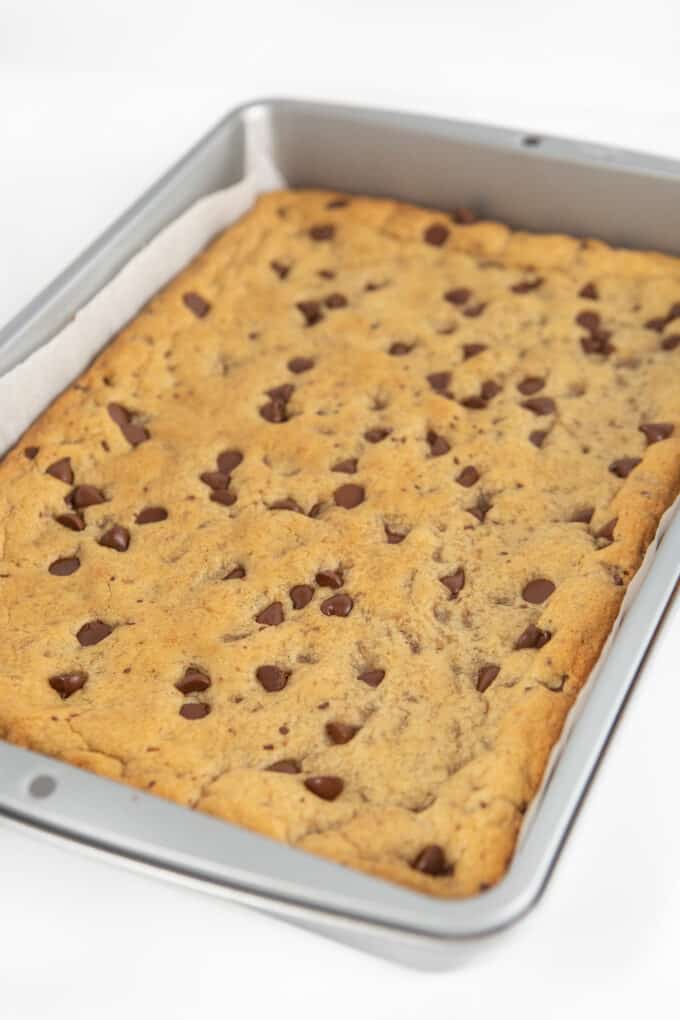
Step 3: Bake
Bake at 350 degrees for 16-18 minutes or until cookie bars are lightly golden brown (do not overbake, you want to underbake slightly for a gooey cookie). Allow the cookie bars to cool completely before cutting into squares/bars! Or don't and eat a warm bar with ice cream (just note that they will look too dough & crumble a bit more when hot but will continue to bake in the hot pan!).
Step 4 (optional): Decorate Chocolate Chip Cookie Bars
To decorate chocolate chip cookie bars, you can use some of the following:
- Make a double batch of my cookie cake buttercream frosting to pipe on a decorative border
- Drizzle chocolate on top of cookie bars
- Add M'm's or sprinkle crushed nuts or almonds on top
Frequently Asked Questions
I like these chocolate chip cookie bars best with semi-sweet chocolate chips but you can also use milk chocolate chips! Dark, milk, white chocolate chips would all taste delicious in these bars, as well. Or you can always chop up your favorite chocolate bar or leftover Halloween candy for super delicious cookie bars.
The cookie bars freeze well after being baked and cooled completely. To freeze, cool the bars completely before placing them into an airtight container or freezer bag for storage. They will keep in the freezer for 1-2 months.
I used a 9x13 metal baking pan and it turned out to be the perfect size for these thick bar cookies. If you bake these in a smaller pan, you will want to use less dough (freeze the extra and bake into cookies later!) and will just need to increase the baking time.
You can also use glass, just take note that the cookie bars may need longer to bake. In general, I always recommend using metal baking pans for cookie bars.
This cookie bar recipe yields approximately 24 servings, depending on how large you cut them. For cookie platters, I like cutting these in smaller 1-2" bite-sized pieces.
Check out some of my other tried-and true cookie bar recipes:
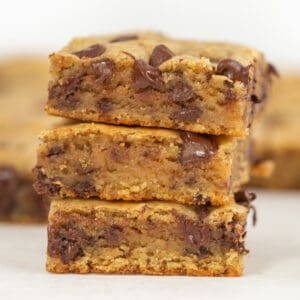
Chocolate Chip Cookie Bars
Ingredients
⭐️ Before you begin! If you make this, will you do me a huge favor afterwards and leave a review and rating letting me know how you liked this recipe? This helps my small business thrive so I can continue providing free recipes and high-quality content for you.
Instructions
- Preheat oven to 350°F.
- Place ½ cup of chocolate chips on a cutting board and use a knife to chop into small pieces. Set aside.
- In a medium-sized microwave-safe bowl, melt the ¾ cup unsalted butter (not margarine) for 20-30 seconds until JUST melted. (If your butter is steaming, let it cool down for a few minutes. Butter that is too hot can result in greasy bars and/or will cause the eggs to cook.)
- Add in ½ cup granulated sugar and ¾ cup light brown sugar and use a spatula to stir until combined (* do not use a mixer!). Add in 1 large egg + 1 yolk and 2 teaspoons vanilla extract. Mix until combined.
- Stir in 1 teaspoon baking soda, ¼ teaspoon baking powder, and ½ teaspoon salt. Add in 2 cups all-purpose flour, 0.5 cups semi-sweet chocolate chips, whole and the 0.5 cups semi-sweet chocolate chips, chopped. Mix until all the flour disappears into the dough. Immediately proceed to the next step.
- Press dough into a greased or parchment-lined metal 9x13" pan until smooth. Sprinkle the remaining 0.5 cups semi-sweet chocolate chips, whole on top and gently press each one into the dough.
- Bake at 350°F for 16-18 minutes until edges and top are lightly golden brown. Do not overbake or your chocolate chip cookie bars will not be soft. You want the cookie bars to be lightly brown on the top and look slightly underbaked (my oven was perfect at 16 minutes). Remove from oven and place entire pan on a cooling rack.
- Allow the cookie bars to cool completely before removing from pan. Slice into 24 squares, then enjoy! To keep fresh, cover pan with saran wrap or place bars in airtight continer for up to 3 days (after that they start to dry out). See notes below for freezing tips.
Notes from Melissa

Video
Did you make this?
I'd LOVE to hear your thoughts! Leave a review & photo of your creation and be sure to mention @DesignEatRepeat or tag #DesignEatRepeat on Instagram!It's that easy! Now go and make these ultimate chocolate chip cookie bars! They're super-duper delicious and everyone will love them... guaranteed! If you make them, be sure to leave a comment below and tag me on Instagram @designeatrepeat. Enjoy xo!
I can't wait to make these bars. I have one question I want to make double the recipe. You give the ingredients for x2 & x3 but you don't,t give the difference in pan sizes. I think x2 or x3 would be too much for a 9x13 pan. Also the baking times will be different. could you add these Changs to the recipe?
Hi Marcia! The 2-3x scaling is more meant for baking multiple pans but if you double the recipe, a larger pan like a half sheet pan can work well would be recommend. Because exact pan size pairings and adjusted bake times really depend on the specific pan, I'd recommend 16-20 minutes for a half sheet pan.
These were absolutely delicious. I did use country Crock plant-based sticks because I needed them non-dairy and they still turned out amazing. They did need a little bit extra timing and I did throw a cup of marshmallows inside as well
Love that the country Crock plant-based sticks worked so well, and adding marshmallows inside sounds absolutely dreamy!
I need this to be non-dairy. Can I use country Crock Non-dairy butter sticks
Yes! Country Crock plant-based sticks work as a 1:1 swap here. Another reader used them with great results, so you should be good to go!
These were really tasty. I added a bit coarse sea salt on top. I like not needing to use a mixer.
I just saw the recipe and made them. Sorry but I wasn't impressed. I'm a big time baker and these didn't have much flavor and I won't be making them again. Oh yes, I followed the recipe perfectly.
A friend made these bars using Andes Peppermint Crunch baking chips....delicious! So, I made them too, following the directions except for swapping the peppermint chips for chocolate chips. Looking forward to making them as written with semi-sweet chocolate chips soon. Bar cookies are great timesavers!
I am so happy to hear you enjoyed this recipe! Thank you so much for leaving a review, Maret! I really appreciate it!