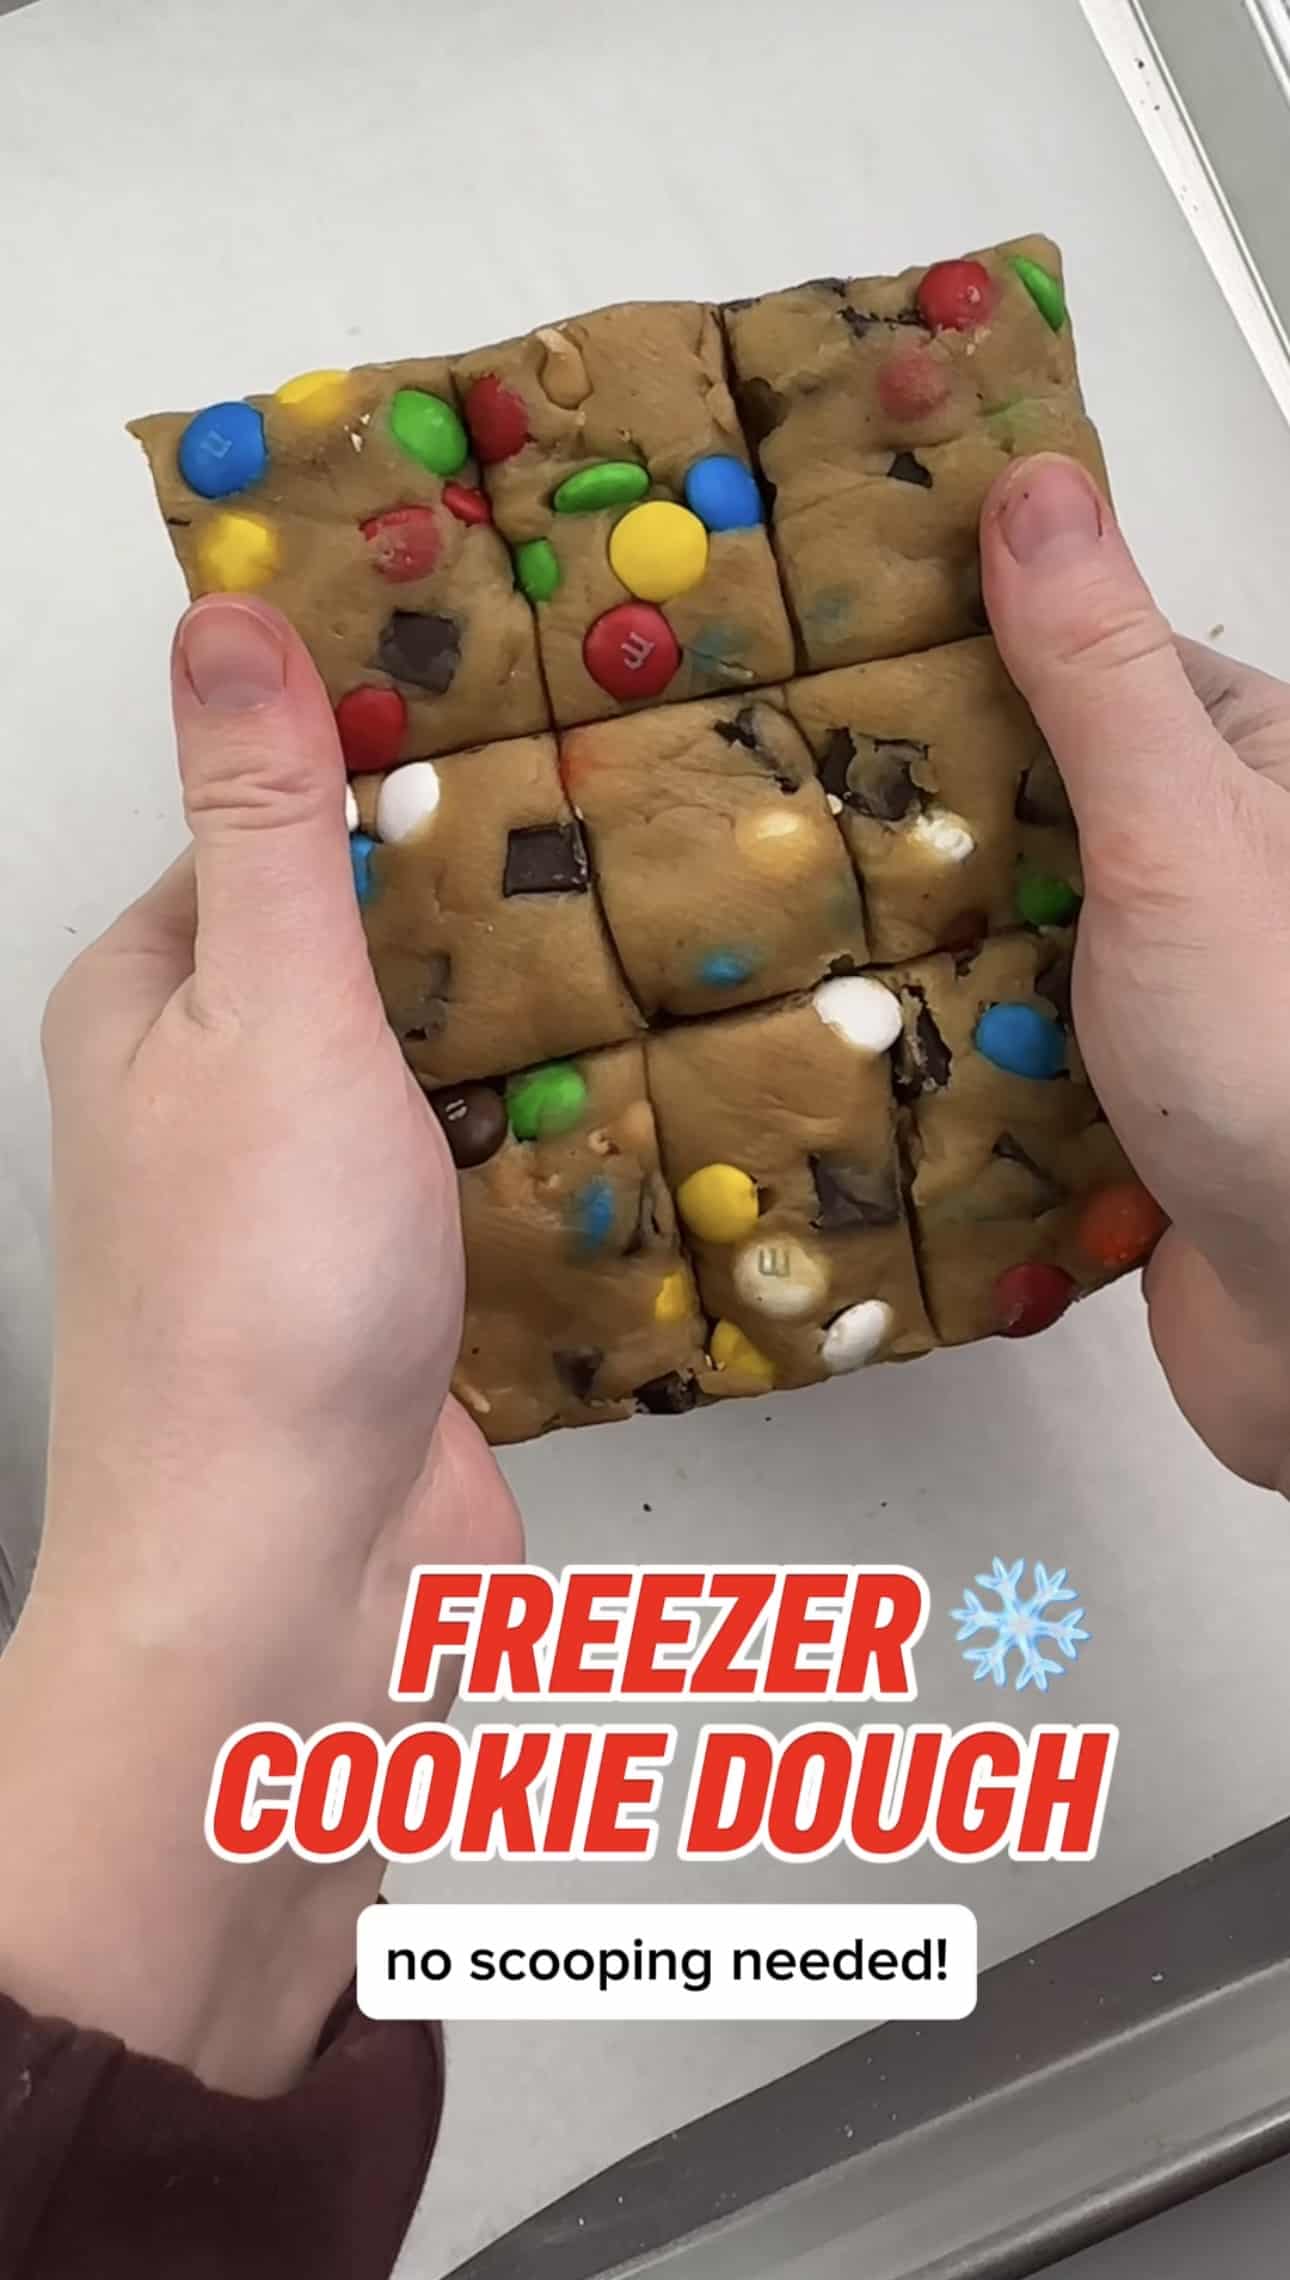
This easy, freezer-friendly cookie dough is great to have on hand when the cravings hit for a freshly baked cookie or last-minute treat! And the best part? There's no scooping & it uses melted butter so no mixer needed!
Save this Recipe!
Enter your email below and I'll send this recipe to you.
Why I Love This Freezer Chocolate Chip Cookie Dough
- No mixer needed! All you need is a big bowl and a spatula to make this freezer dough! Because it uses melted butter, there is NO mixer required!
- No Scooping: I've never liked making freeze dough because of all the scooping. With this method, skip the cookie scoop and just press into the pan and cut!
- Super Versatile: Use any mix-ins you like to make any kind of cookie dough you're craving! This is a great way to use up half-opened bags of chocolate chips in your pantry.
- Cheaper than store-bought: To make this dough, I simply make a 4x batch of my favorite cookie recipe, which gives us 60 cookies for about $13! And you could easily go cheaper than that depending on the type of chocolate chips/candy you use. To get this many of the bigger pre-packaged ones would be about double that. Plus this cookie dough freezes beautifully so it's the best way to ensure you have a delicious batch of cookies whenever the cookie cravings hit!
Ingredient Notes & Substitutions
- Unsalted butter: I prefer to use unsalted butter in most of my baking so I can control the amount of salt. If you only have salted butter, you can just omit the additional salt. Also, since you'll be melting the butter no need to let it soften or come to room temperature.
- Sugar: You'll need both light brown sugar and granulated sugar for these cookies. You can also use dark brown sugar, if you have it on hand.
- Eggs: Using a whole egg helps to bind these cookies together and keep them moist.
- Baking essentials: vanilla extract, baking soda, baking powder and salt (omit if using salted butter)
- All-purpose flour: For a gluten-free version, use a gluten-free 1-to-1 flour but I personally like them best with half GF flour, half almond flour (like my chewy gluten-free cookie cake).
- Chocolate chips or mix-ins: I love using semi-sweet chocolate chips (I use Nestle or Costco brand). Feel free to make these with your favorite chocolate chips, chunks, M&M's, or dairy-free chocolate chips!
Make it gluten-free! Use your favorite gluten-free flour to make this gluten-free! My favorite brand is Bob's Red Mill Gluten Free 1-to-1 Baking Flour.
How to Make Cookie Dough
Step 1: Melt Butter
- In a large microwave-safe bowl, add the unsalted butter (2 cups, i.e. 4 sticks) and cover with a paper towel (will help for splattering).
- Melt the butter in the microwave for 30-60 seconds until all is melted (no chunks left).
Step 2: Make Dough
- Step 1: Mix in light brown sugar (2 cups) and granulated sugar (1 cup) and use a spatula to stir until combined.
- Step 2: Stir in eggs (4 large) and vanilla extract (1 tablespoon). Next, mix in baking soda (1 teaspoon), baking powder (1 teaspoon), and salt (1 teaspoon).
- Step 3: Add in all-purpose flour (5 cups) and mix until all the flour disappears into the dough. The dough WILL be wet and sticky, this is normal.
- Step 4: Mix in all chocolate chips or mix-ins (4 cups total).
Step 3: Press Into Pan
Spray a rimmed half-sheet pan with nonstick spray and line with with parchment paper. Press dough into an even single layer in the pan.
Step 4: Cut & Freeze
Cut into 60 squares (a bench scraper works well for this), cover with plastic wrap, and freeze pan for 1 hour, or until dough is frozen.
Step 5: Store or Bake Cookie Dough
- Remove from freezer, break into individual squares or slabs, and freeze in a freezer-safe bag or airtight container.
- On each bag or container, write the date you made them and the baking instructions "Bake from frozen at 350℉ for 11-13 minutes."
- Ready to bake? Place cookie dough squares on parchment-lined cookie sheet (I recommend a light-colored metal pan) and bake. You want them to be slightly brown on top and look slightly underbaked (my oven was perfect at 11 minutes).
- Remove from oven and place entire pan on a cooling rack. Allow the cookies to cool on the hot pan for 10-15 minutes before removing them. This will allow them to finish baking on the hot pan. Once cooled, use a spatula to transfer them to a wire cooling rack. Enjoy!
Tip: Baking times will vary based on oven and size of squares you cut. Remove from oven when the edges look lightly golden brown and the center looks a tiny bit wet. They will finish baking on the hot baking pan as they cool.
Tips & Variations
- Consistency: Since we're using melted butter, this is more of a wet dough that should be the consistency of a very loose playdoh. If your dough is too liquidy, you can add a few tablespoons of flour until it firms up a little bit (dough can vary based on the butter you use). The dough will also firm up as it sits, so you can let it sit on counter for a few minutes (or pop in fridge if it is really too runny).
- Chop half the chocolate: By doing so, you'll get more chocolate dust in every bite and it will also help the cookies spread a bit more!
- Reshape after baking, if wonky: Since we're cutting this cookie dough into squares, you may want to use a bowl or round cookie cutter (slightly larger than your cookie) to wiggle warm cookie into a circle after baking. You need to do this immediately after emoving from the oven.
- Mix-ins: There are so many different types of cookie dough you can with this recipe! Try s'mores, peanut butter, or m&m variations!
- Fresh cookies: Ready to enjoy your cookies now? Try my one bowl chocolate chip cookies now!
Freeze or Gift
Store cookie dough in a freezer-safe bag or freezer container for up to 3 months. If storing in a plastic freezer bag, try to get as much air out as possible to prevent freezer burn.
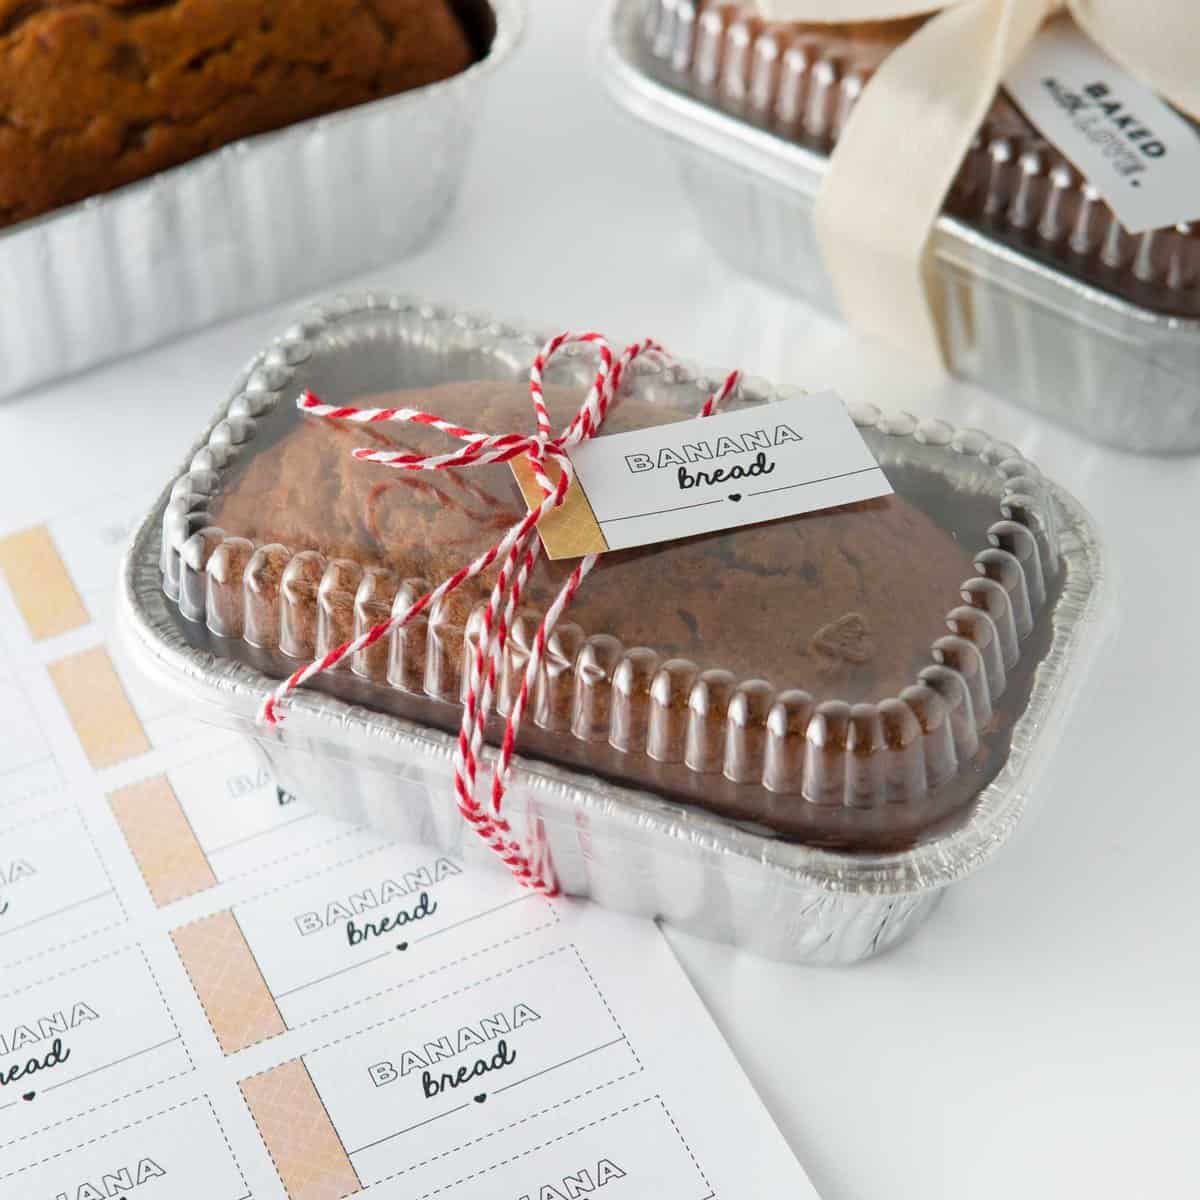
Not only is frozen cookie dough the perfect thing to keep in the freezer but it's also a delicious gift for a friend! I love gifting fresh-baked cookies, but when you gift frozen cookie dough it's like a gift that keeps on giving. You can always bake a few fresh cookies then take the cold cookie dough that they can enjoy at a later date!
Check out these 7 easy cookie packaging ideas if you need some inspo for how to package homemade cookies!
freebie!
Get my free printable holiday cookie dough tags!
Frequently Asked Questions:
No, you do not need to let this cookie dough thaw before baking. You can add it to the pan straight from the freezer and bake as directed.
Baking times will depend on the size you cut your homemade cookie dough. If you cut into 60 squares, the cookies should be done in about 11-13 minutes. However, if you cut bigger squares, you may need to adjust the bake time to 12-16 minutes, depending on how you like your cookies.
Yes, you can scoop individual dough balls if you prefer. Personally, I prefer pressing the dough into the pan as it's much easier and faster. Plus, since this dough it more of a wet dough (since we're using melted butter) the consistency can be hard to keep shaped in balls of dough. If you want to scoop this cookie dough, place balls of cookie dough on parchment-lined baking sheet and place in the freezer for an hour, or until frozen. Another reason I prefer pressing the dough into the pan is it ensures you don't have leftover dough but either way works!
Looking for more easy cookie recipes?
Did you make this recipe? If so, will you do me a huge favor and leave a review and rating letting me know how you liked this recipe? This helps my small business thrive so I can continue providing free recipes and high-quality content for you.
Freezer Cookie Dough
Ingredients
- 2 cups unsalted butter (i.e. 4 sticks) you will be melting this
- 2 cups light brown sugar
- 1 cup granulated sugar
- 4 large eggs
- 1 tablespoon vanilla extract
- 1 teaspoon baking soda
- 1 teaspoon baking powder
- 1 teaspoon salt
- 5 cups all-purpose flour (not packed, just scooped and leveled with a knife)
- 4 cup chocolate chips or mix-ins
Before you begin! If you make this, will you do me a huge favor and leave a review and rating letting me know how you liked this recipe? This helps my small business thrive so I can continue providing free recipes and high-quality content for you.
Instructions
- In a large microwave-safe bowl, add the unsalted butter (2 cups, i.e. 4 sticks) and cover with a paper towel (will help for splattering). Melt the butter in the microwave for 30-60 seconds until all is melted (no chunks left).
- Mix in light brown sugar (2 cups) and granulated sugar (1 cup) and use a spatula to stir until combined.
- Stir in eggs (4 large) and vanilla extract (1 tablespoon). Next, mix in baking soda (1 teaspoon), baking powder (1 teaspoon), and salt (1 teaspoon).
- Add in all-purpose flour (5 cups) and mix until all the flour disappears into the dough. The dough WILL be wet and sticky, this is normal.
- Mix in all chocolate chips or mix-ins (4 cups total).
- Spray a rimmed half-sheet pan with nonstick spray and line with with parchment paper. Press dough into an even layer in the pan.
- Cut into 60 squares (a bench scraper works well for this), cover with plastic wrap, and freeze pan for 1 hour, or until dough is frozen. Remove from freezer, break into individual squares or slabs, and freeze in a freezer-safe bag or container. On each bag or container, write the date you made them and the instructions "Bake from frozen at 350℉ for 11-13 minutes."Baking times will vary based on oven and size of squares you cut. Remove from oven when the edges look lightly golden brown and the center looks a tiny bit wet. They will finish baking on the hot pan as they cool.
Last Step! Please leave a review and rating letting me know how you liked this recipe! This helps my small business thrive so I can continue providing free recipes and high-quality content for you.
Terry P says
Thanks for the recipe. Looking forward to baking my own cookies with out the chemical additives like the commercial raw cookie dough.
Melissa says
Hi, Terry! I hope you enjoy the cookies. They are great to keep on hand. Thanks so much for taking time to leave a review. I appreciate it!
Allison says
This dough turned out soo good. I made a batch of these for my mom for her Birthday and she had loved being able to make one or two cookies at a time. I used heath bites and chocolate chips for my mixins.
Melissa says
So glad your mom is enjoying these cookies, Allison! Thanks so much for leaving a review!
Lindsey says
Easy to make and my family loved the first samples. Love that we have them ready to bake when we are looking for a sweet!
Melissa says
Thank you so much for taking the time to leave a review, Lindsey! I really appreciate it!
Carissa says
I have made this recipe several times with chocolate chips, Reese cups, peanut butter. It’s great! We always like having a little something sweet after dinner, so it’s nice to have these on hand.
Melissa says
I am so glad you enjoy this recipe so much, Carissa! Thank you so much for taking the time to leave a review! I really appreciate it!
Sharon says
Great Recipe. And has been wounder fully helpful for being able to whip them out of the freezer for a recent baby shower.
Or having for friends and Family. Thank you
Love them and so does everyone who has eaten them. Especially my 3 year old Niece ♥️
Melissa says
I am so glad to hear everyone has been enjoying this recipe! Thank you so much for leaving a review, Sharon! I really appreciate it!
Holly says
These turned out so well! I made them with flax eggs and it worked perfectly. I love that the butter is melted (I always forget to "soften butter"). I could figure how to cut evenly to get 5 dozen, so I made 4 down. They were nice, big cookies, perfect for just 1 is satisfying. Thank you!
Melissa says
Thank you so much for leaving a review, Holly! So glad you enjoyed this recipe!
Mandy young says
I made 2 batches in one day, one with mini reeces pieces and the other eith mini eggs.
This recipe did not disappoint!
So versatile and easy to make in 1 bowl.
Melissa says
So happy you enjoyed it, Mandy! Thank you so much for leaving a review!
Nicole says
Fantastic!
Melissa says
Thank you so much for leaving a review, Nicole!
Tomma Marcincuk says
I made this as part of the freezer challenge and what a time saver! I had ready to bake cookies for weeks!
Melissa says
So glad you love this recipe, Tomma! Thank you for participating in the freezer challenge and for leaving all the reviews! :)
Ashley says
Easy to make and not overly sweet!
Melissa says
Thank you so much for leaving a review, Ashley!
Vinique Herholdt says
So easy to make and so so delicious 😋
Melissa says
Thank you so much for leaving a review, Vinique! I really appreciate it!
Lily Cavender says
Hi! These look so yummy! Do you know if it would work with gluten free flour? And egg substitute? We have severe food allergies unfortunately.
Melissa says
I prefer doing a mix of GF flour and almond flour, if you're able to! Otherwise, just GF flour works (it's just a little drier). I haven't tested these with an egg substitute, so I don't have a great recommendation for that!
Dawn says
I used 1:1 GF flour and it worked perfectly!!
Melissa says
So happy to hear that, Dawn! Thank you so much for leaving a review!
Lesley says
These were amazing! So easy to make and my family loves them!!
Melissa says
I'm so happy you loved this recipe, Lesley! Thank you so much for leaving a review!
Katrina says
I made these but when I pulled them from the freezer to separate and seal them hours later, they were still pretty sticky and not frozen. I followed the recipe exactly and not sure why they are freezing…
Melissa says
Hmm that's strange! What brand of butter did you use? And was it real butter or margarine?
Jenna says
Such a great bulk recipe for the freezer and to have cookie dough on hand all the time!
Melissa says
I'm glad you think so too, thanks Jenna!!
Mo says
I made these with chocolate chips and mini marshmallows as my add ins, they were delicious! I love being able to bake a few at a time whenever I want a sweet.
Jennifer says
I have names some many of these recipes and they are exceptional!! Very easy to make an absolute perfect to eat!!
MaryBeth Sisco says
Great recipe ideas!!!