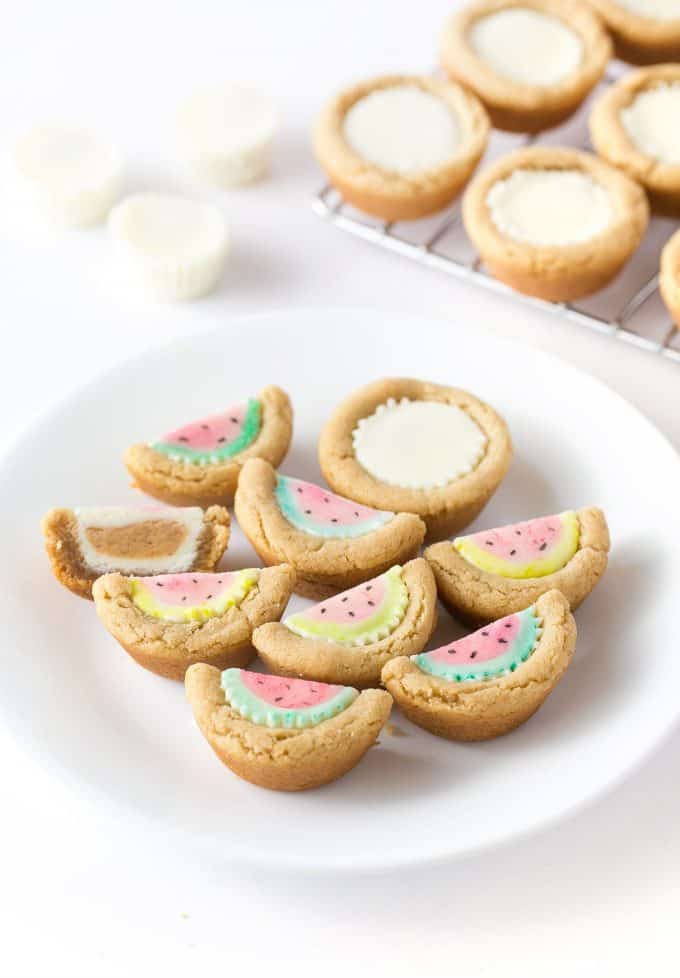
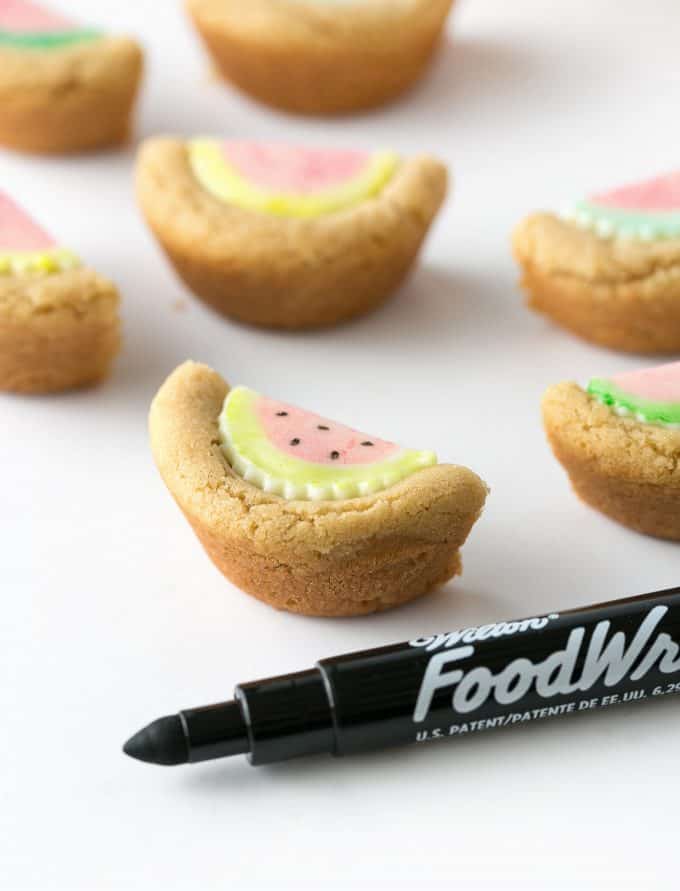
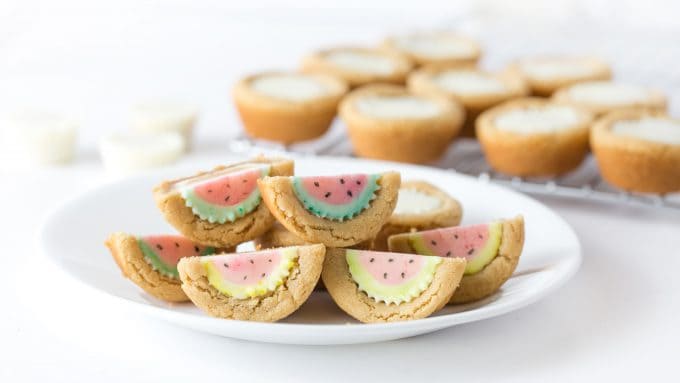
Turn traditional peanut butter cup cookies into adorable WATERMELON cookie cups using this simple hack! Perfect for summer party treats or party favors for a themed watermelon party. In today's step-by-step tutorial, I'll show you how to turn white Reeses peanut butter cups into colorful watermelon cookies using food coloring and a black food marker.
If I had to name my family's favorite cookie, these peanut butter cookie cups would be at the top of the list. We make hoards of them every year for Christmas and let's just say that when left unattended, these cookies vanish into thin air.
It wasn't until last Halloween that I had the idea to turn them into decorated cookies, which eventually led to creating easy eyeball cookies, draw-your-own cookies, as well as Christmas holly cookie cups. By using the candy peanut butter cup as the "canvas" instead of royal icing, you can make easy cookies without hours of decorating.
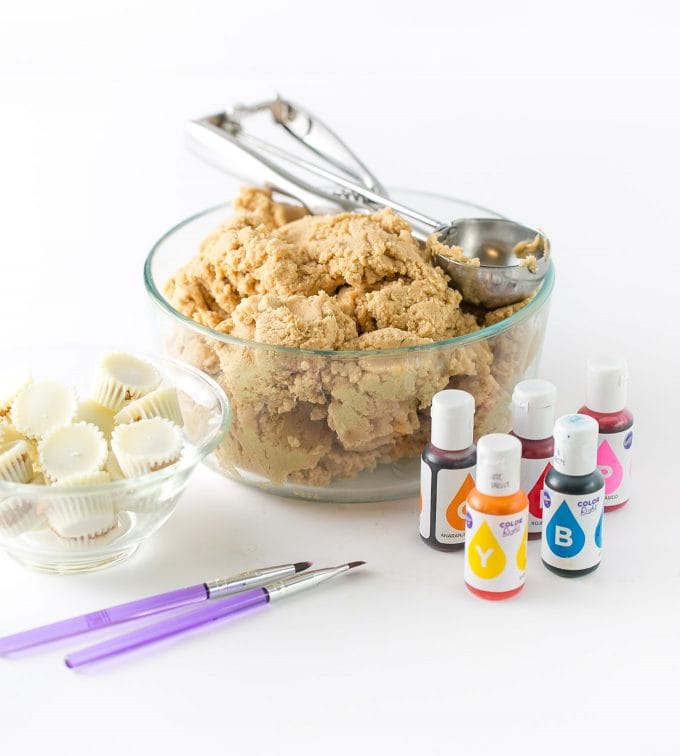
What You Need to Make Watermelon Cookie Cups
- Peanut Butter Cookie Dough (recipe below)
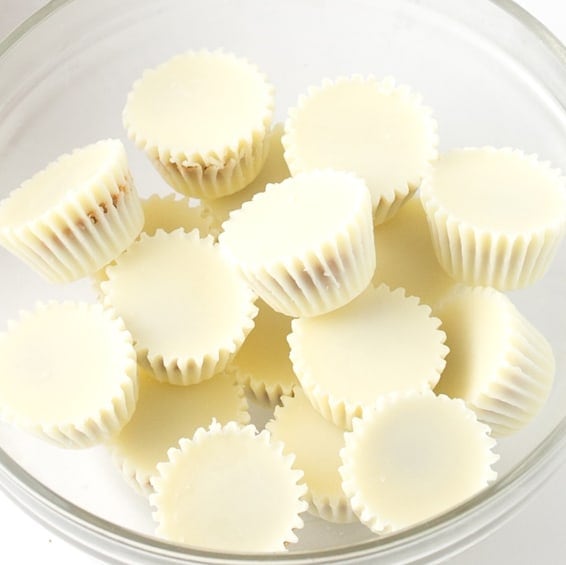
- Miniature White Peanut Butter Cups
- Pink & Green Food Coloring
- Black Food Marker
- Food-Safe Paint Brushes (you can find these at craft stores for around $3 for a pack of 3 OR check out my hack below if you don't have one!)
Materials



How to Make Watermelon Cookie Cups
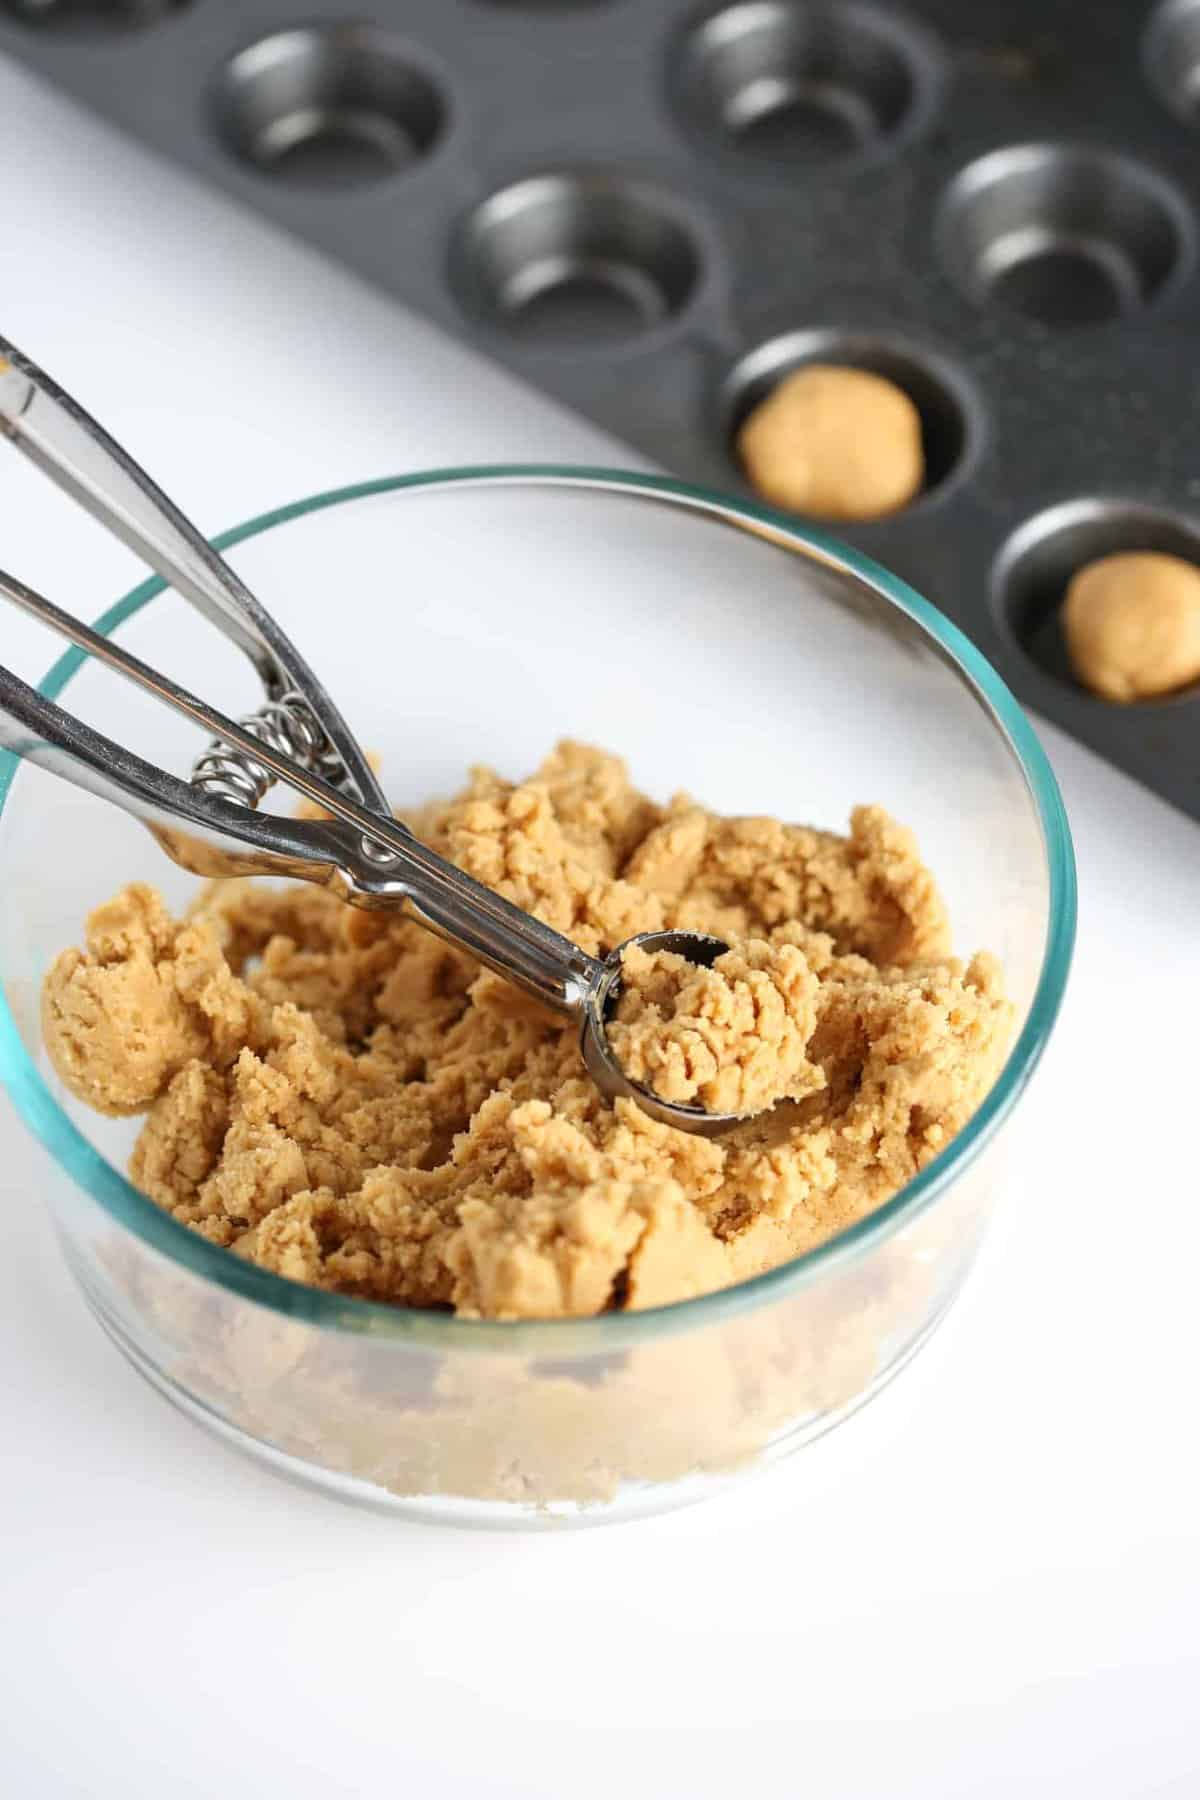
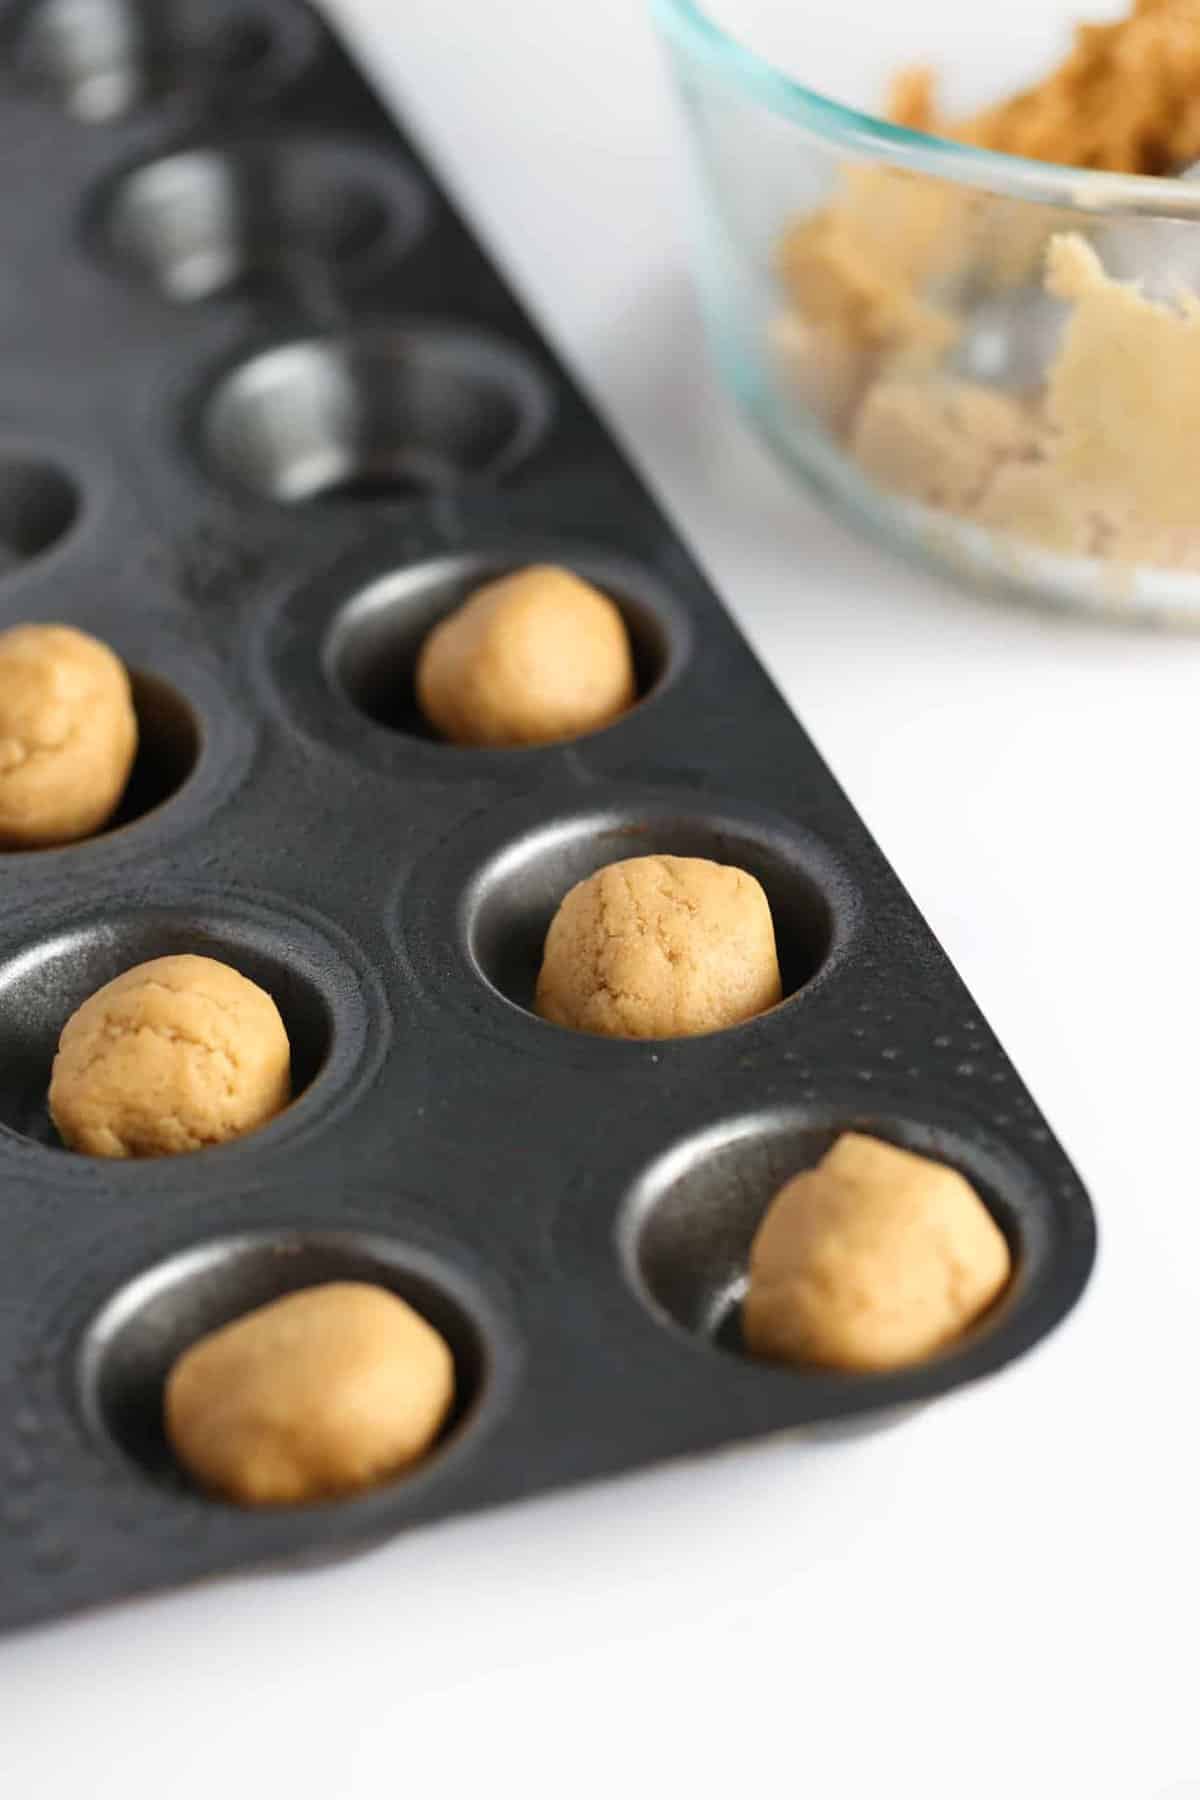
Step 1: Mix, Scoop Dough, and Bake
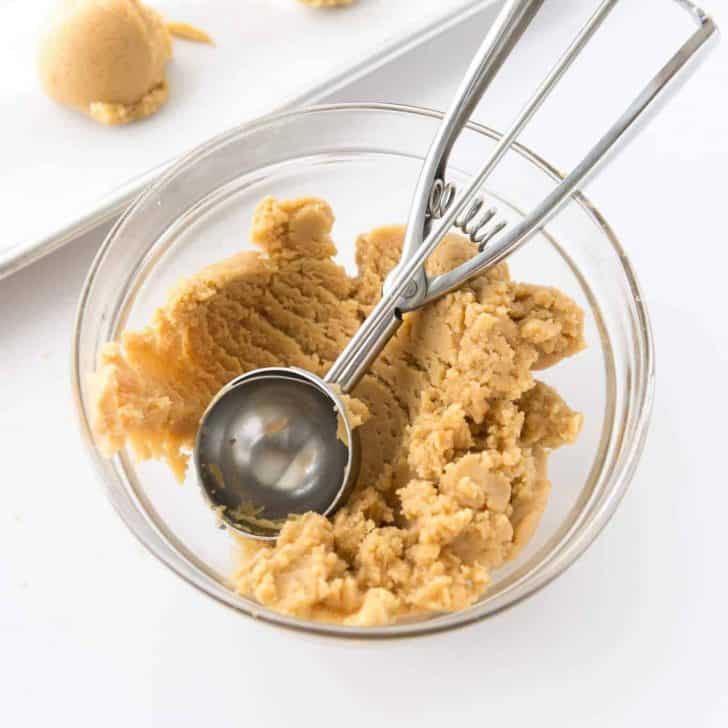
After mixing up the peanut butter cookie dough, scoop 1 tablespoon-sized scoops into a mini muffin tin, roll into balls and bake according to instructions in the recipe below.
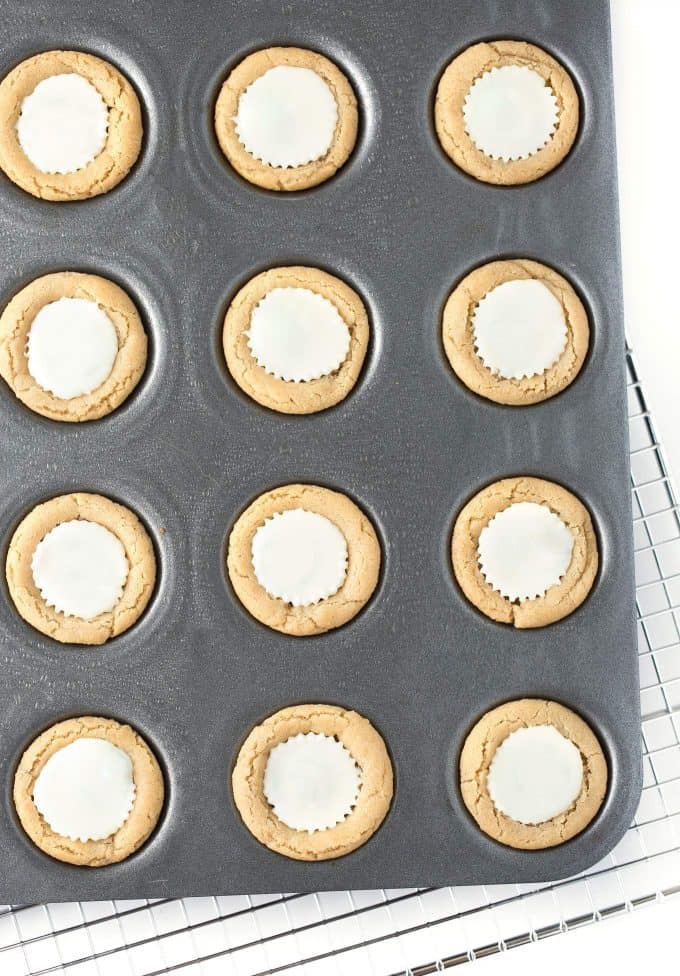
Step 2: Press in Reeses Cup
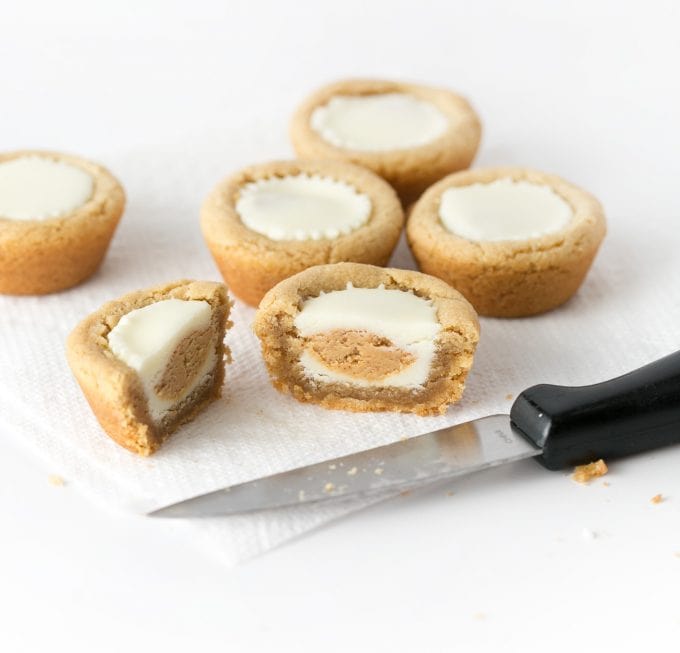
Immediately after removing from the oven, press a miniature white peanut butter cup into the center of each cookie. Let pan cool until it's cool to the touch.
Step 3: Refrigerate
Place pan in refrigerator for 10-15 minutes to help the chocolate re-harden.
Step 4: Cut in half
Once completely cooled and the chocolate is re-hardened, use a sharp knife to GENTLY cut each cookie cup in half. This is where the "don't overbake" part comes in - if you baked them too long, they'll be too crunchy and will crumble upon cutting.
Step 5: Paint
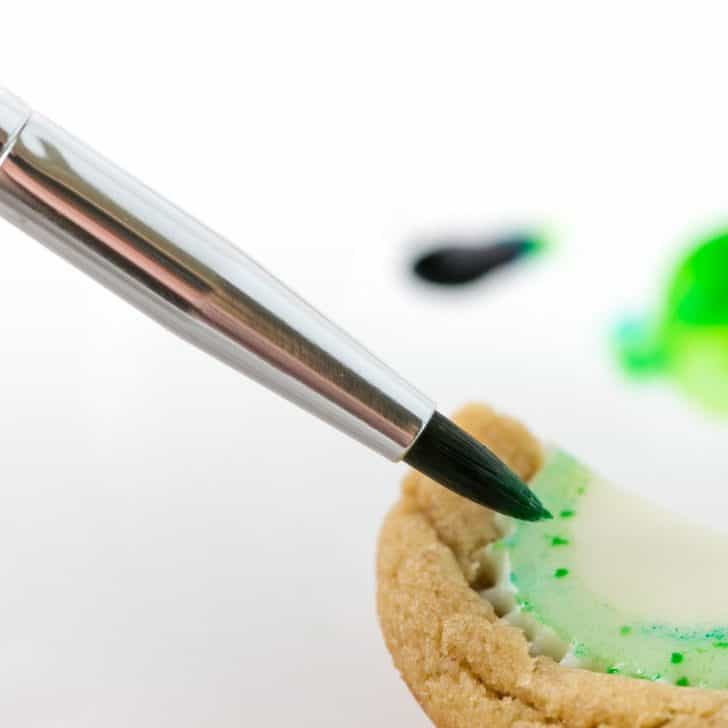
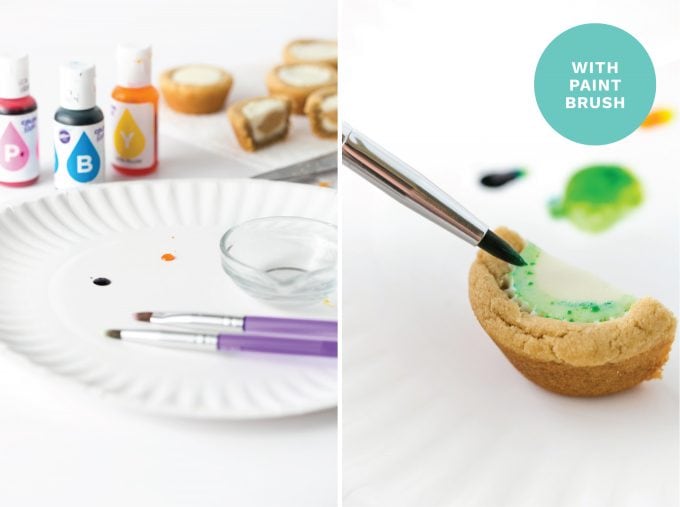
Squeeze a few drops of pink & green gel food coloring on a plate then use food-safe paintbrushes to paint a green border around the edge and a pink in the middle. You can find food-safe paint brushes on Amazon or at craft stores like Michaels or Hobby for around $3/pack of 3 (Wilton sells them, but I've also seen Hobby Lobby have their own off-brand for cheap).
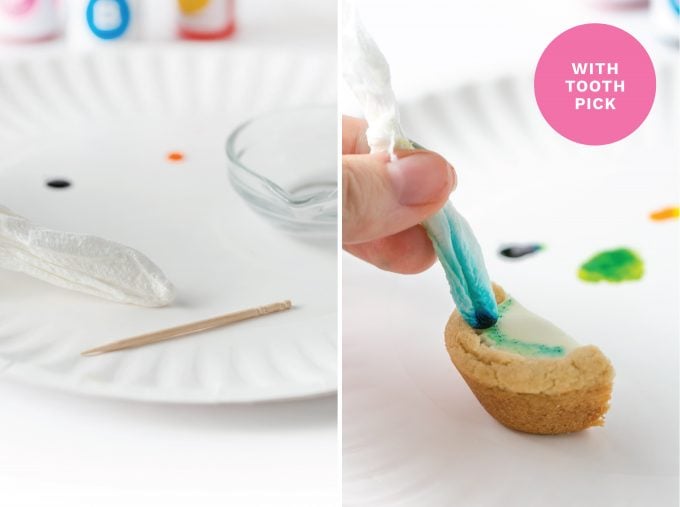
Don't have food-safe paint brushes? Roll a paper towel (several layers) into a fine point around a toothpick then dip in the food coloring. Since the paper towel will soak up more food coloring, you will likely need to dip it more often. You could probably also use a q-tip, but I'm not sure if those are technically food-safe.
Step 6: Let Dry & Draw On Seeds
Once dry, use a black food marker to draw on the seeds.
Step 7: Eat or Gift!
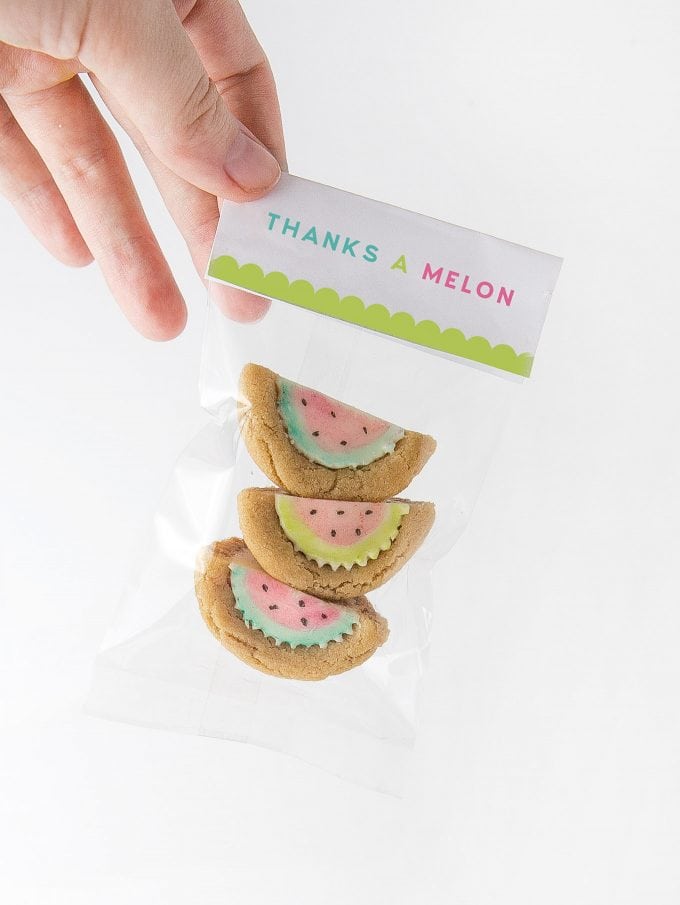
Serve on a plate at a summer party or package in clear plastic bags for adorable watermelon party favors!
I mean, can you even handle the cuteness of miniature treats? I've got a few more Reeses ideas coming soon (as well as the printable treat topper!), so stay tuned!

Easy Watermelon Cookie Cups
Ingredients
- 6 tablespoons butter, softened ¾ stick
- ½ cup peanut butter
- ½ cup brown sugar
- ½ cup white sugar
- ½ teaspoon vanilla extract
- 1 large egg
- ¾ teaspoon baking soda
- 1 ¼ cups all-purpose flour
- 30 mini White chocolate Reeses Peanut Butter cups
- Black Food Marker
- Pink & Green Food Coloring
- Food-Safe Paint Brushes (or see alternative above)
Before you begin! If you make this, will you do me a huge favor and leave a review and rating letting me know how you liked this recipe? This helps my small business thrive so I can continue providing free recipes and high-quality content for you.
Instructions
- In a large bowl, cream together softened unsalted butter (6 tablespoons), peanut butter (½ cup), brown sugar (½ cup), and granulated sugar (½ cup) with an electric mixer on medium speed for 30 seconds. Add in vanilla extract (½ teaspoon) and egg (1 large) and continue to mix for 10 seconds.
- Add baking soda (¾ teaspoon) and mix on low speed for 10 seconds. Add all-purpose flour (1 ¼ cups) and continue to mix until all flour is incorporated.
- Scoop & roll dough into 1 tablespoon sized balls and place each in a greased, mini muffin tin.
- Bake at 350℉ for 8 minutes. This is the key to making sure the cookies are soft. After 8 minutes, you may look at the cookies and think they look too doughy and be tempted to put them back in the oven. But trust me, take them out at 8 minutes and they will finish baking on the cooling rack.
- Remove from oven, and immediately press one mini (unwrapped) Reeses peanut butter cup into the center of each cookie. Do not remove from pan.
- Once pan is cool to the touch, place in refrigerator until chocolate rehardens.
- Use a spoon to gently “scoop” the cookies from the pan. This is where spraying the muffin tin before baking is crucial, otherwise, your cookies will stick to the pan. Once removed, use a sharp knife to GENTLY cut through the middle of each cookie.
- Squeeze a few drops of pink & green gel food coloring on a plate then use food-safe paint brushes to paint a green border around the edge and a pink in the middle. You can find food-safe paint brushes on Amazon or at craft stores like Michaels or Hobby for around $3/pack of 3 (Wilton sells them, but I've also seen Hobby Lobby have their own, for cheap).
- Once dry, use a black food marker to draw on the seeds.
Last Step! Please leave a review and rating letting me know how you liked this recipe! This helps my small business thrive so I can continue providing free recipes and high-quality content for you.


Leave a Comment