
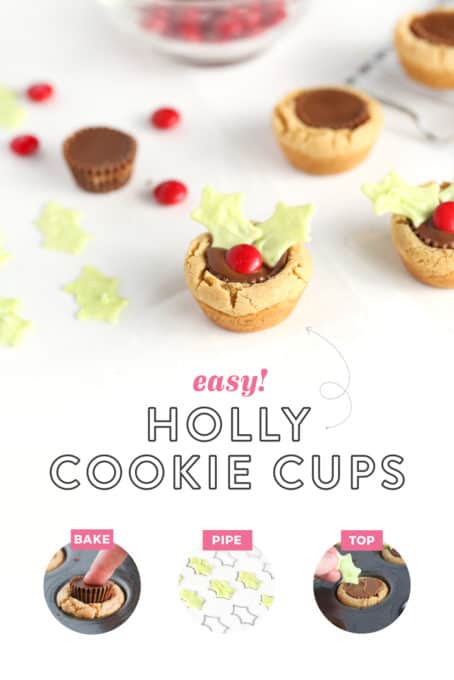
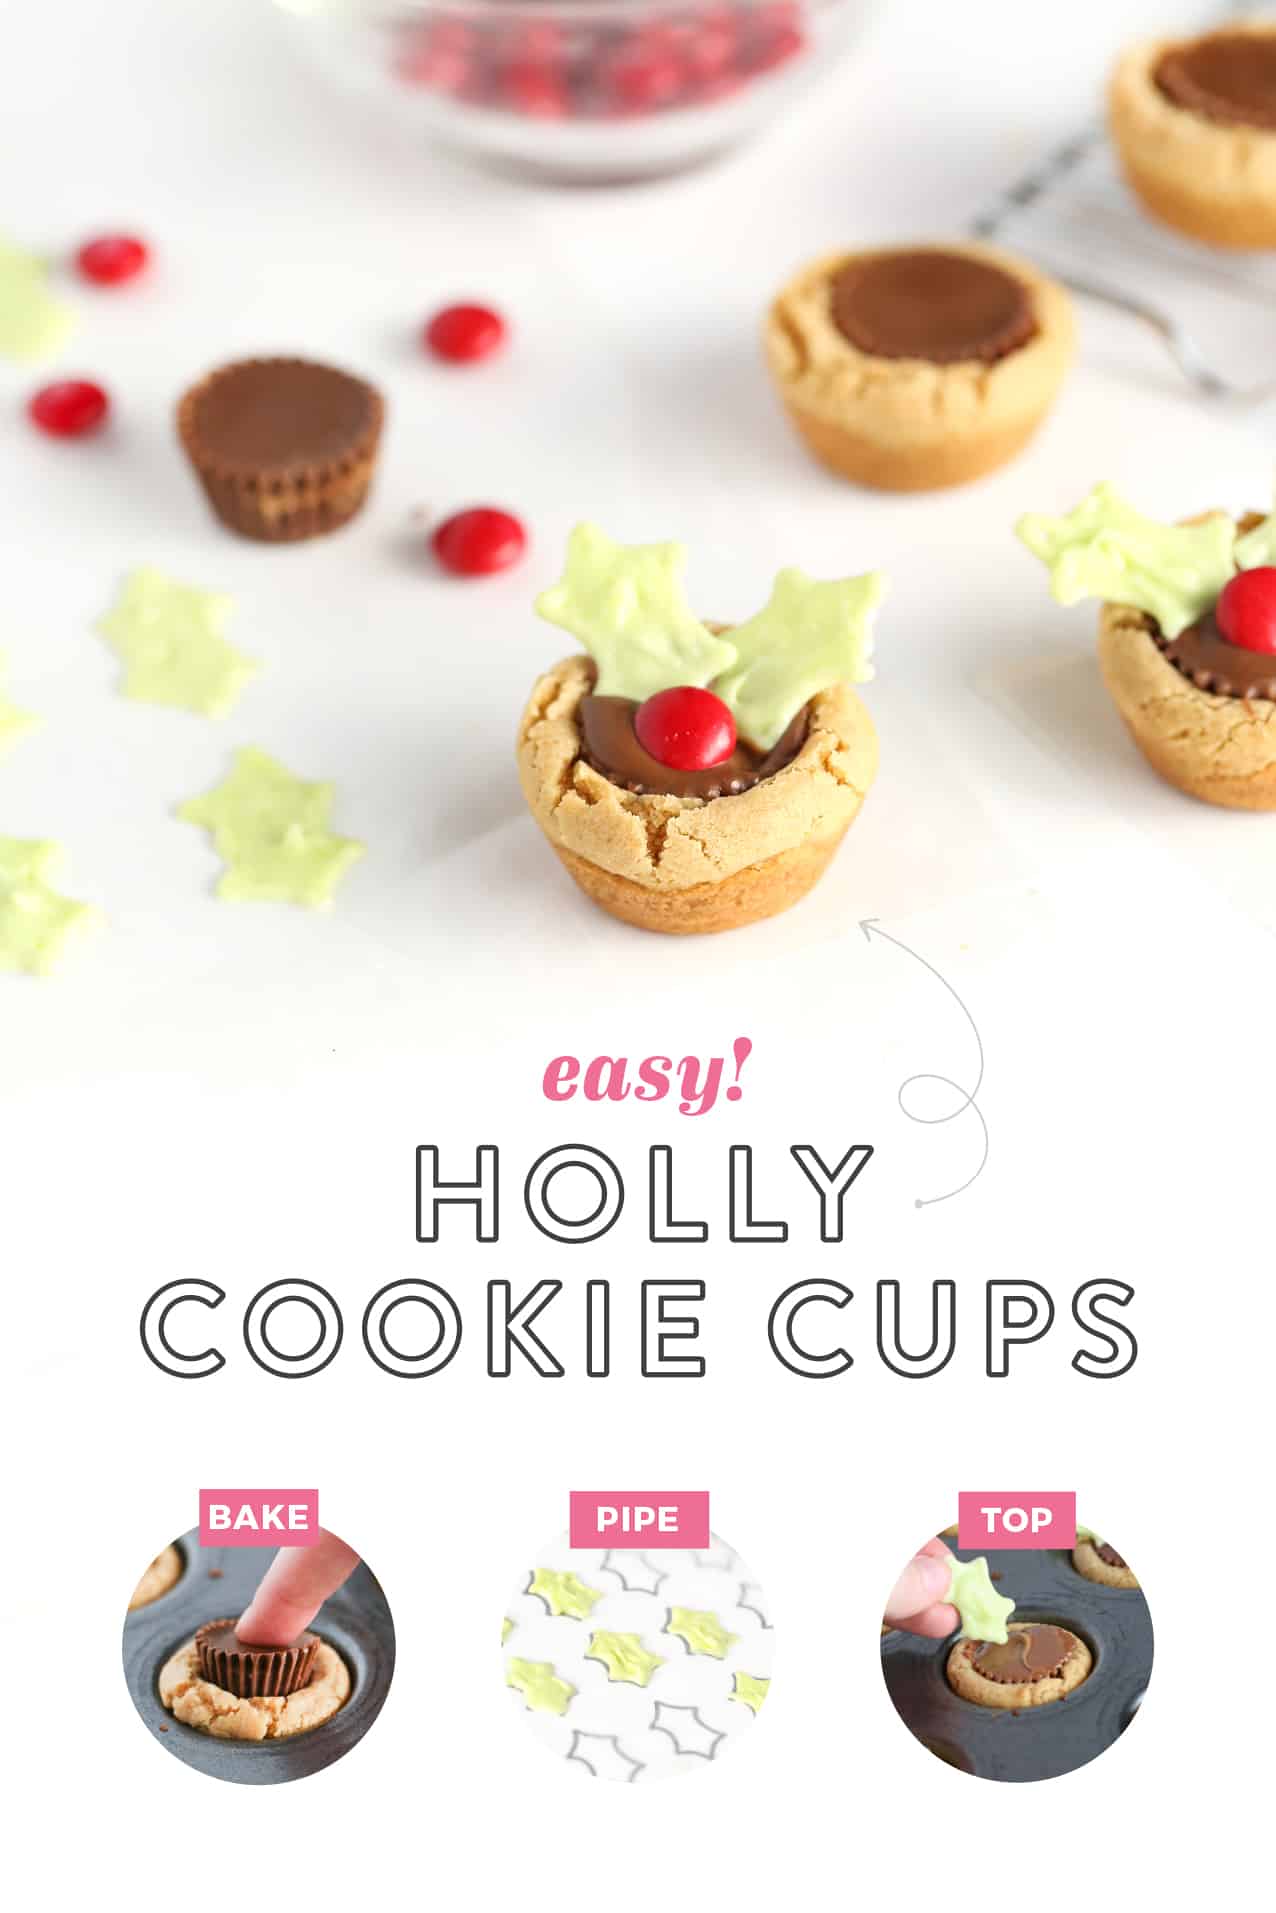
Make these easy Christmas Holly Cookie Cups using my go-to peanut butter cup cookie recipe, red M&M's, and piped white chocolate! A fun way to add some color to traditional Christmas cookies!
In this post, you will learn:
- How to make Christmas holly cookies using mini muffin tins
- How to pipe white chocolate holly leaves using the printable template
It's no secret by now that these Reeses Peanut Butter Cup Cookies are my family's favorite Christmas cookie. If I dared to show up to holiday gatherings without them, it would be a first class ticket to the naughty list. So this year I decided to switch it up a bit and add some fun edible additions to the traditional cookie to create colorful Christmas holly cookie cups!
What You Need to Make Christmas Holly Cookie Cups:
- 1 recipe Peanut Butter Cup Cookie Dough (recipe below)
- Mini Reeses Peanut Butter Cups
- 4 Squares White Almond Bark
- Green Food Coloring
- Red M&M's (you can buy the holiday pack and pick out the reds)
- Printable Holly Leaf Template (download here) If this is your first time making cup cookies, hop on over to the main post where I talk all about how to scoop the perfect cookie, what mini muffin tin you need, how to make the cookies so soft, and how to remove the cookies without breaking them.
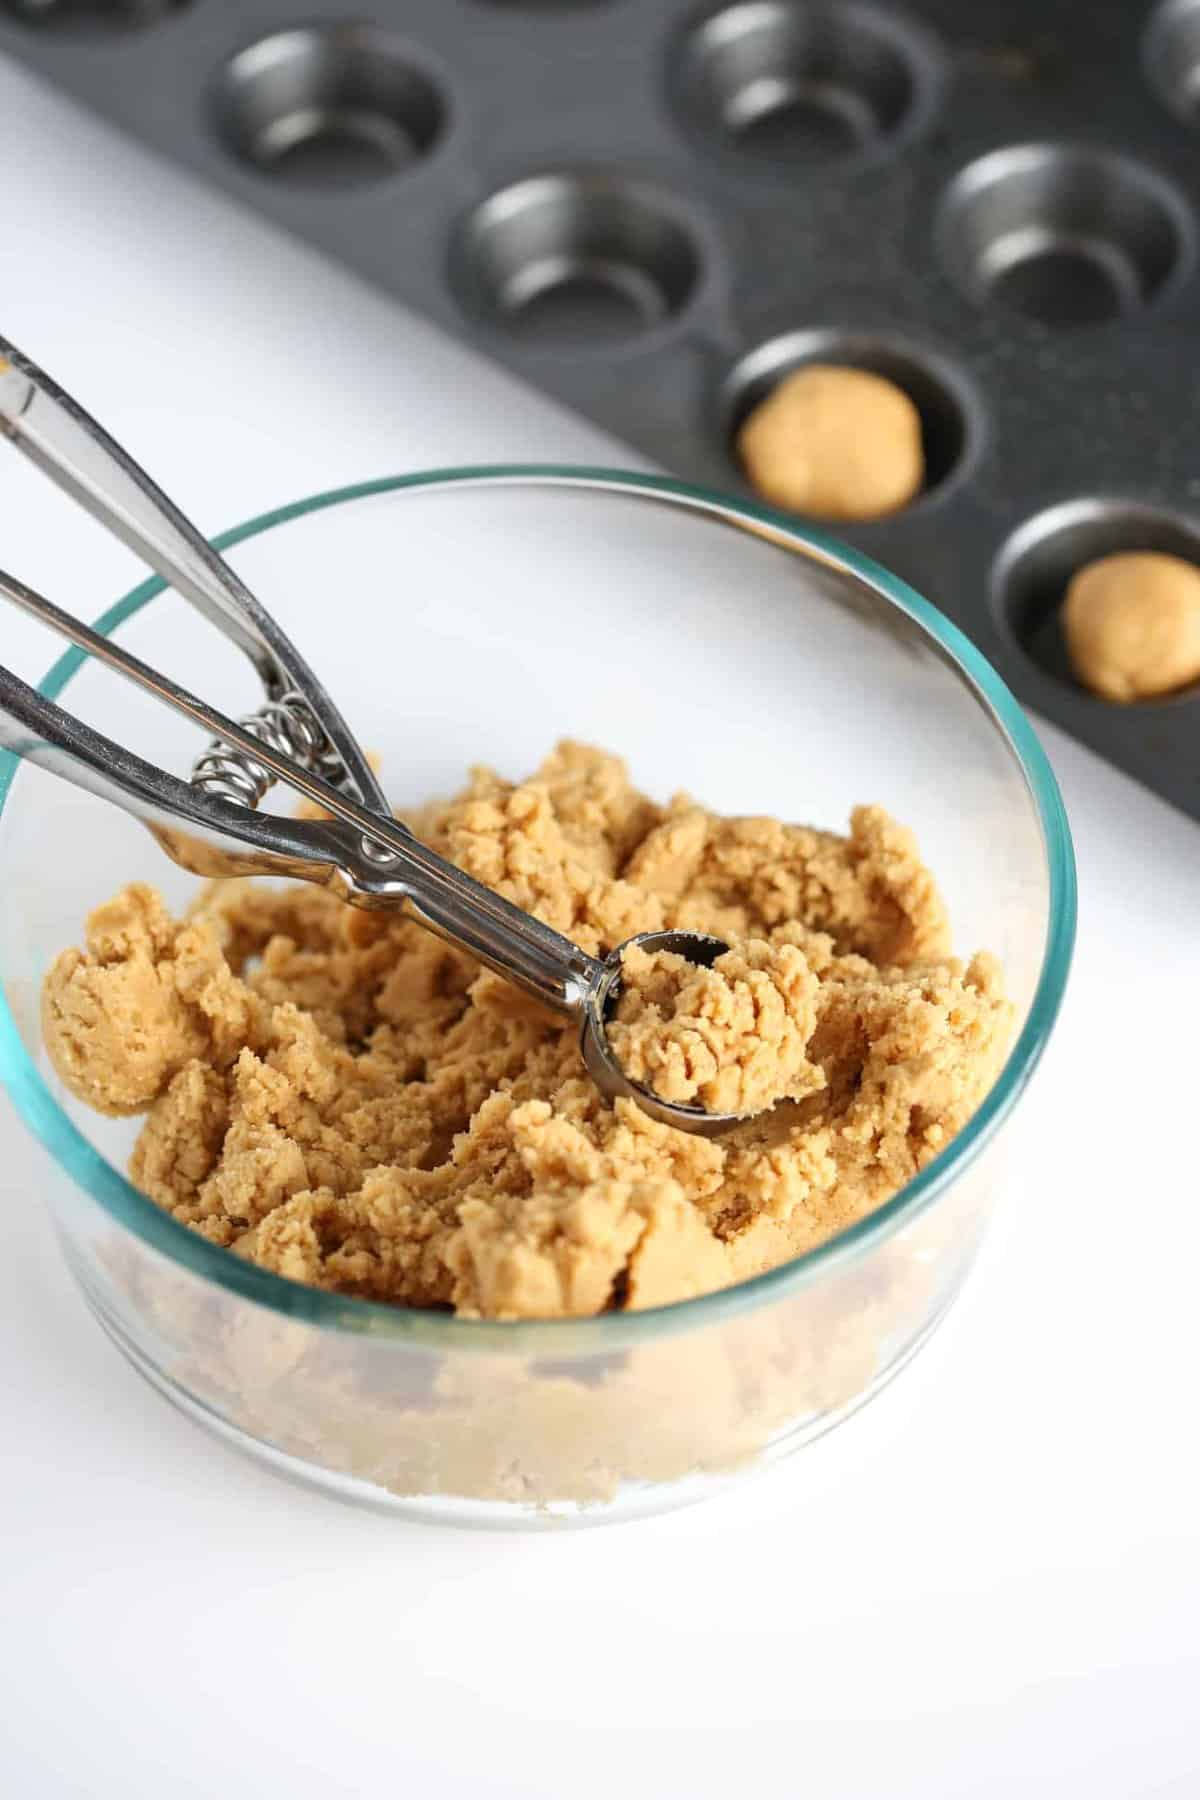
Step 1: Scoop & Roll Cookies into Balls
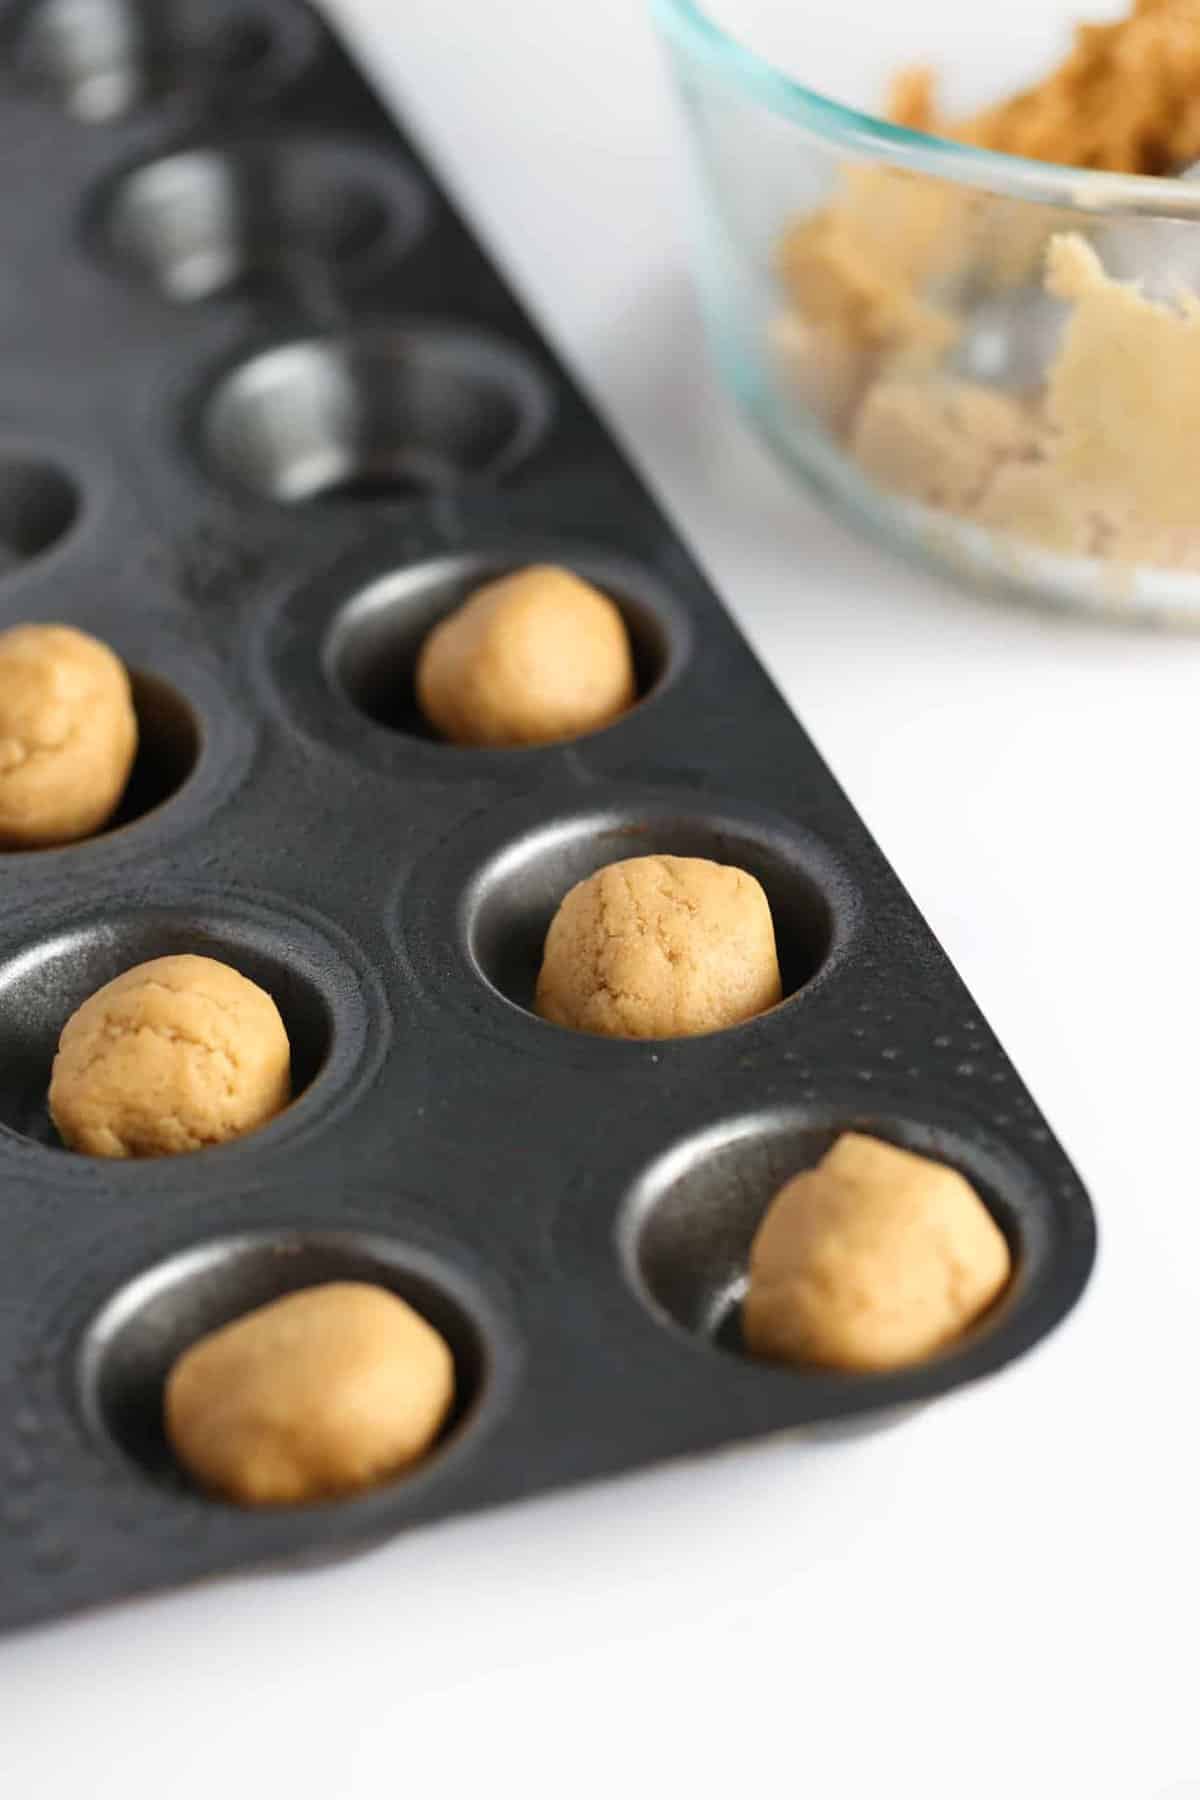
To get started, scoop the dough into 1 tablespoon-sized balls. To do this, I use a one-tablespoon sized cookie scoop and level off the top of each one. After scooping, use your hands to roll each scoop into a ball and then place in a greased mini muffin tin. Don't forget to spray it, or you will have a hard time removing the cookies without breaking them!
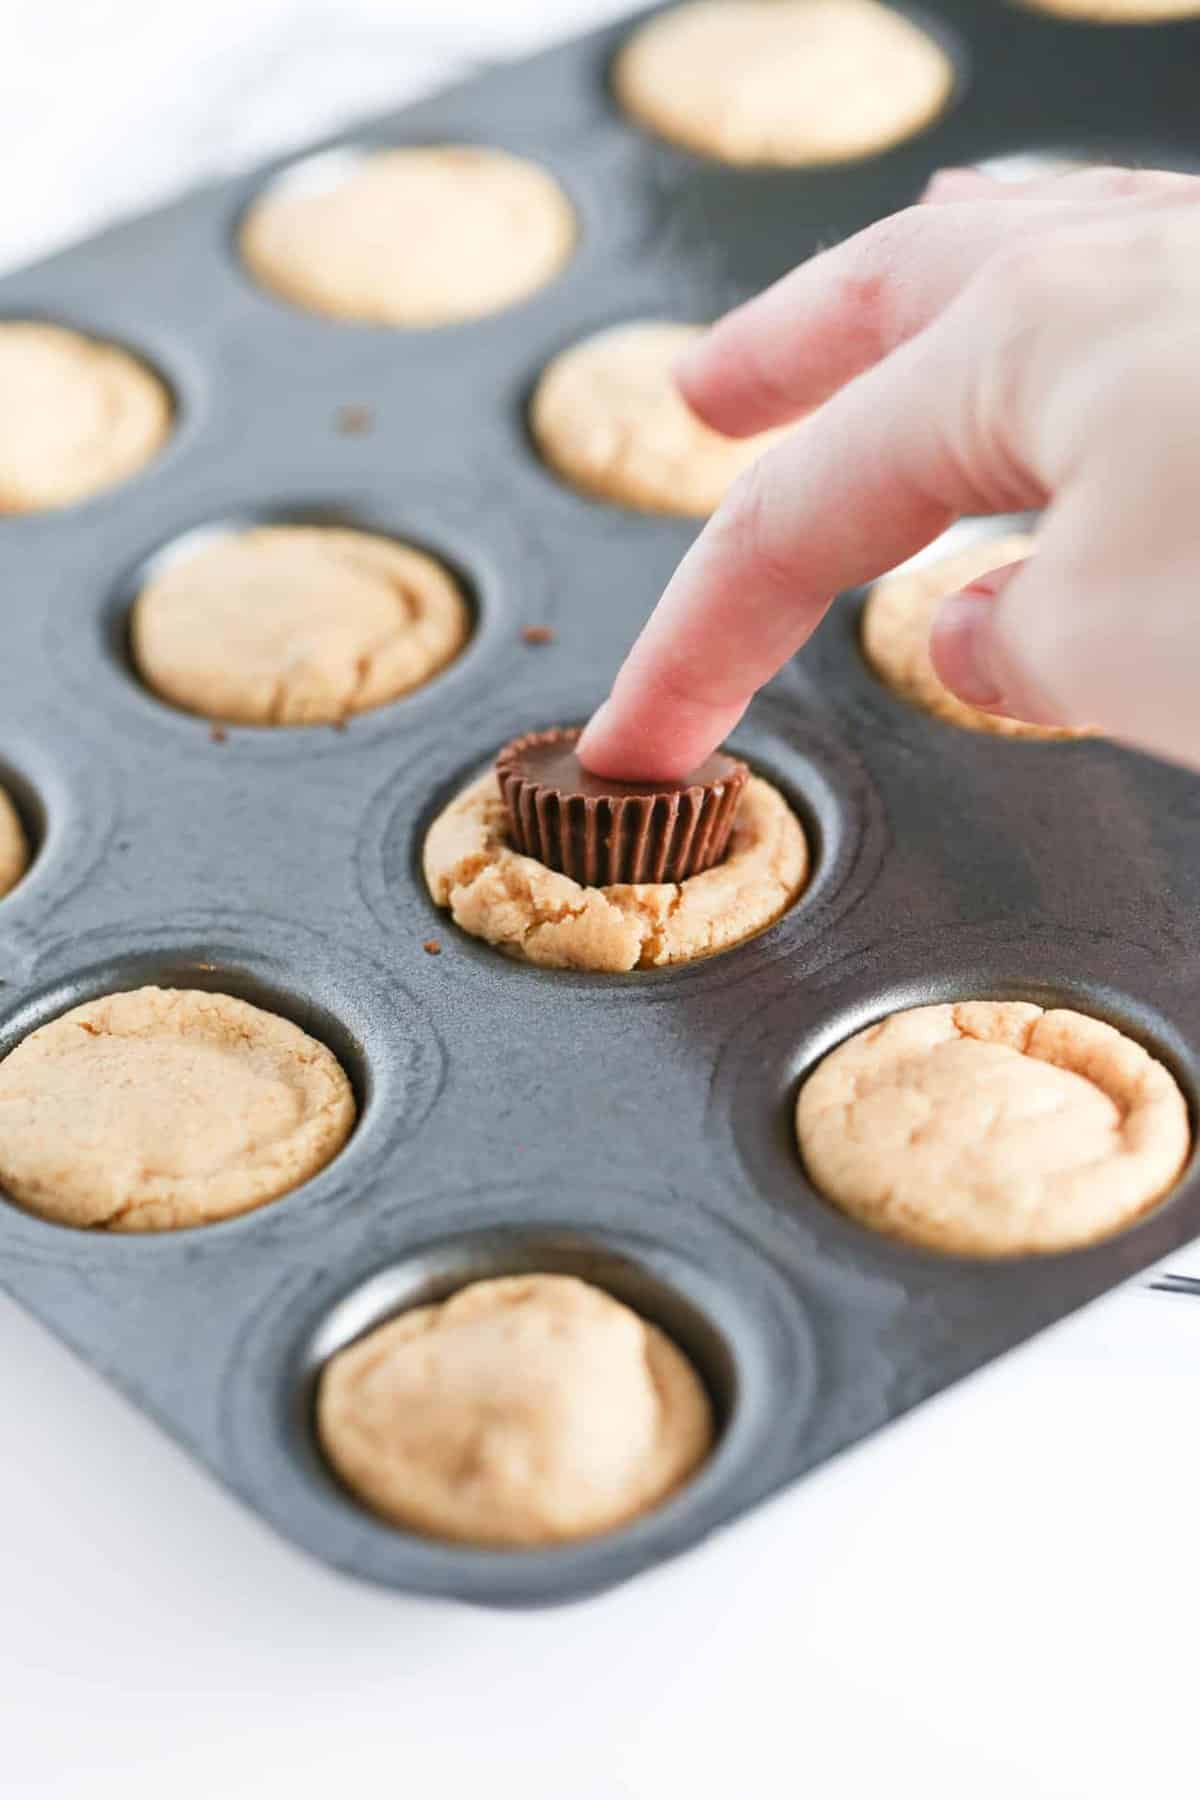
Step 2: Bake & Unwrap Reeses Cups
Bake the cookies at 350 degrees for exactly 8 minutes. This is the key to making sure the cookies are soft. After 8 minutes, you may look at the cookies and think they look too doughy and be tempted to put them back in the oven. But trust me, take them out at 8 minutes and they will finish baking on the cooling rack.
While the cookies are baking: unwrap the Reeses peanut butter cups and set them aside. Immediately after removing the cookies from the oven, press the Reeses Cups into the center of each one.
Step 3: Melt Almond Bark & Pipe Holly Leaves
While the cookies are cooling in the pan, melt 4 squares of almond bark in the microwave at 50% power (avoid full power or chocolate will seize). Once melted, remove from the microwave and stir until smooth. Stir in a few drops of green food coloring until you reach your desired shade.
Spoon melted almond bark into a plastic bag or piping bag and use scissors to snip off a tiny piece of one corner. Place printable holly leaf paper under a sheet of wax paper and use it as an outline to pipe about 75 leaves. You will only need about 60 to cover the 30 cookies, but I suggest making extra to account for any breaking.
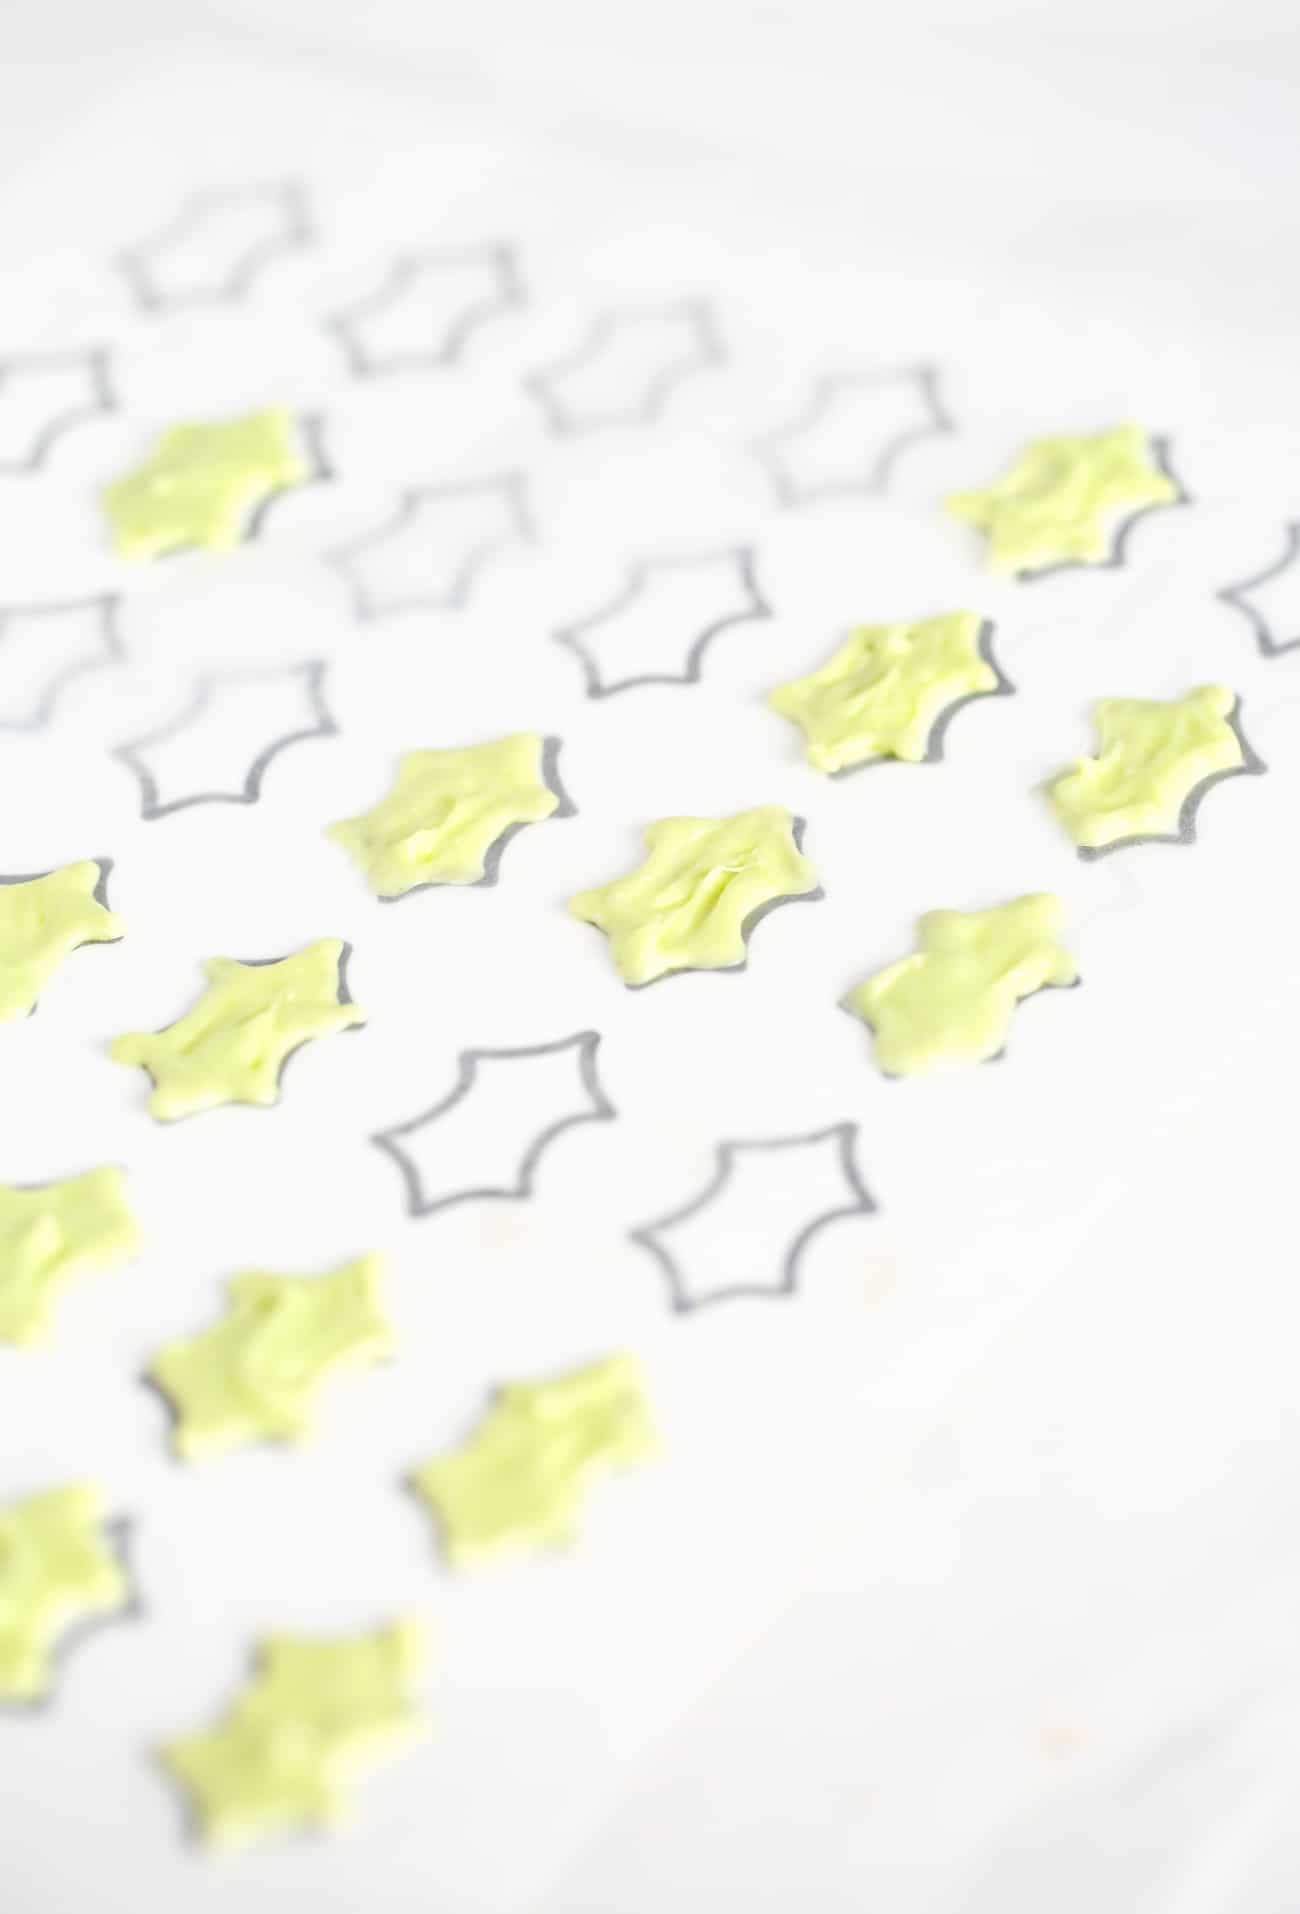
Once all leaves are piped, allow them to harden at room temperate (10-15 minutes) until they can easily peel off the wax paper.
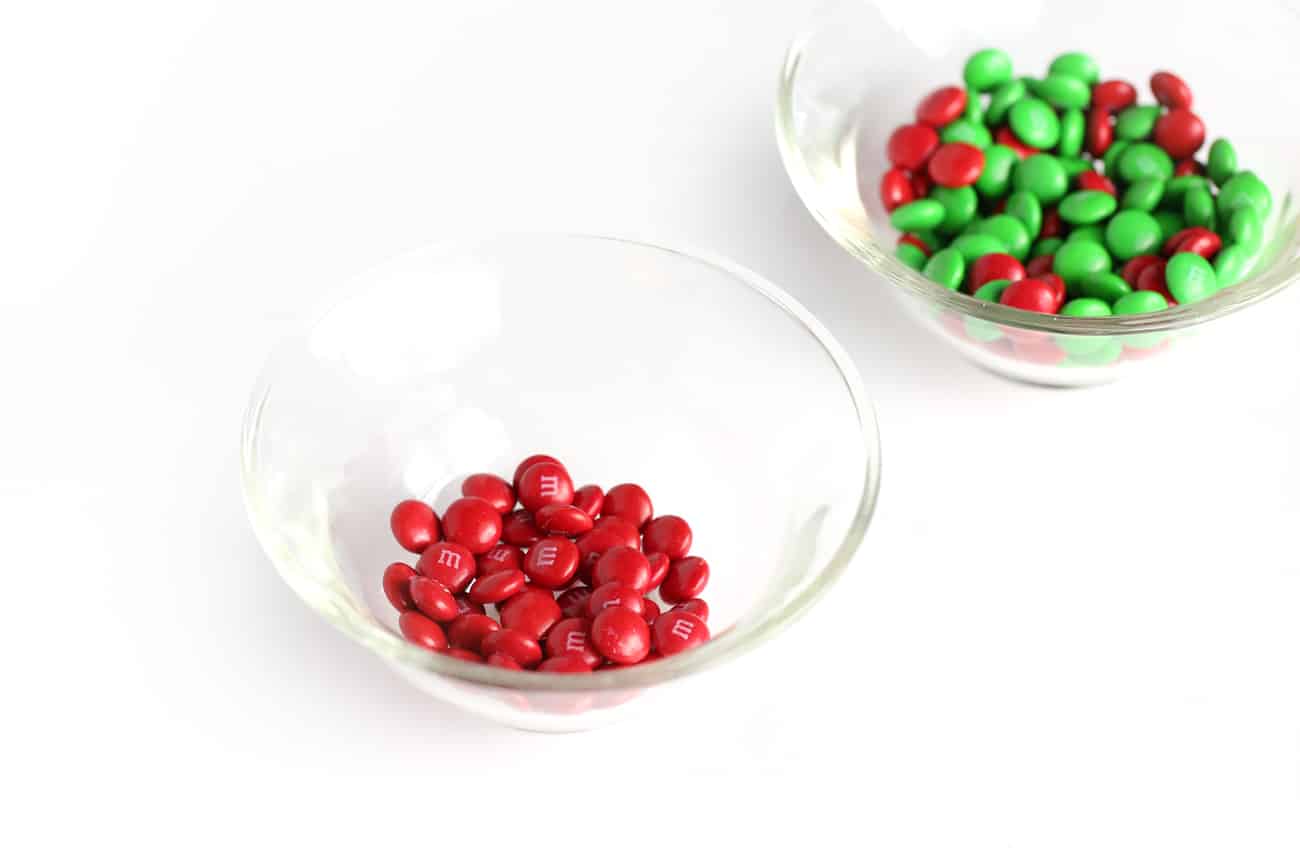
While those are hardening, separate red M&M's into their own bowl so that they are handy for when you're ready to decorate! The holiday packs are great for this, as you will have more red candies per pack.
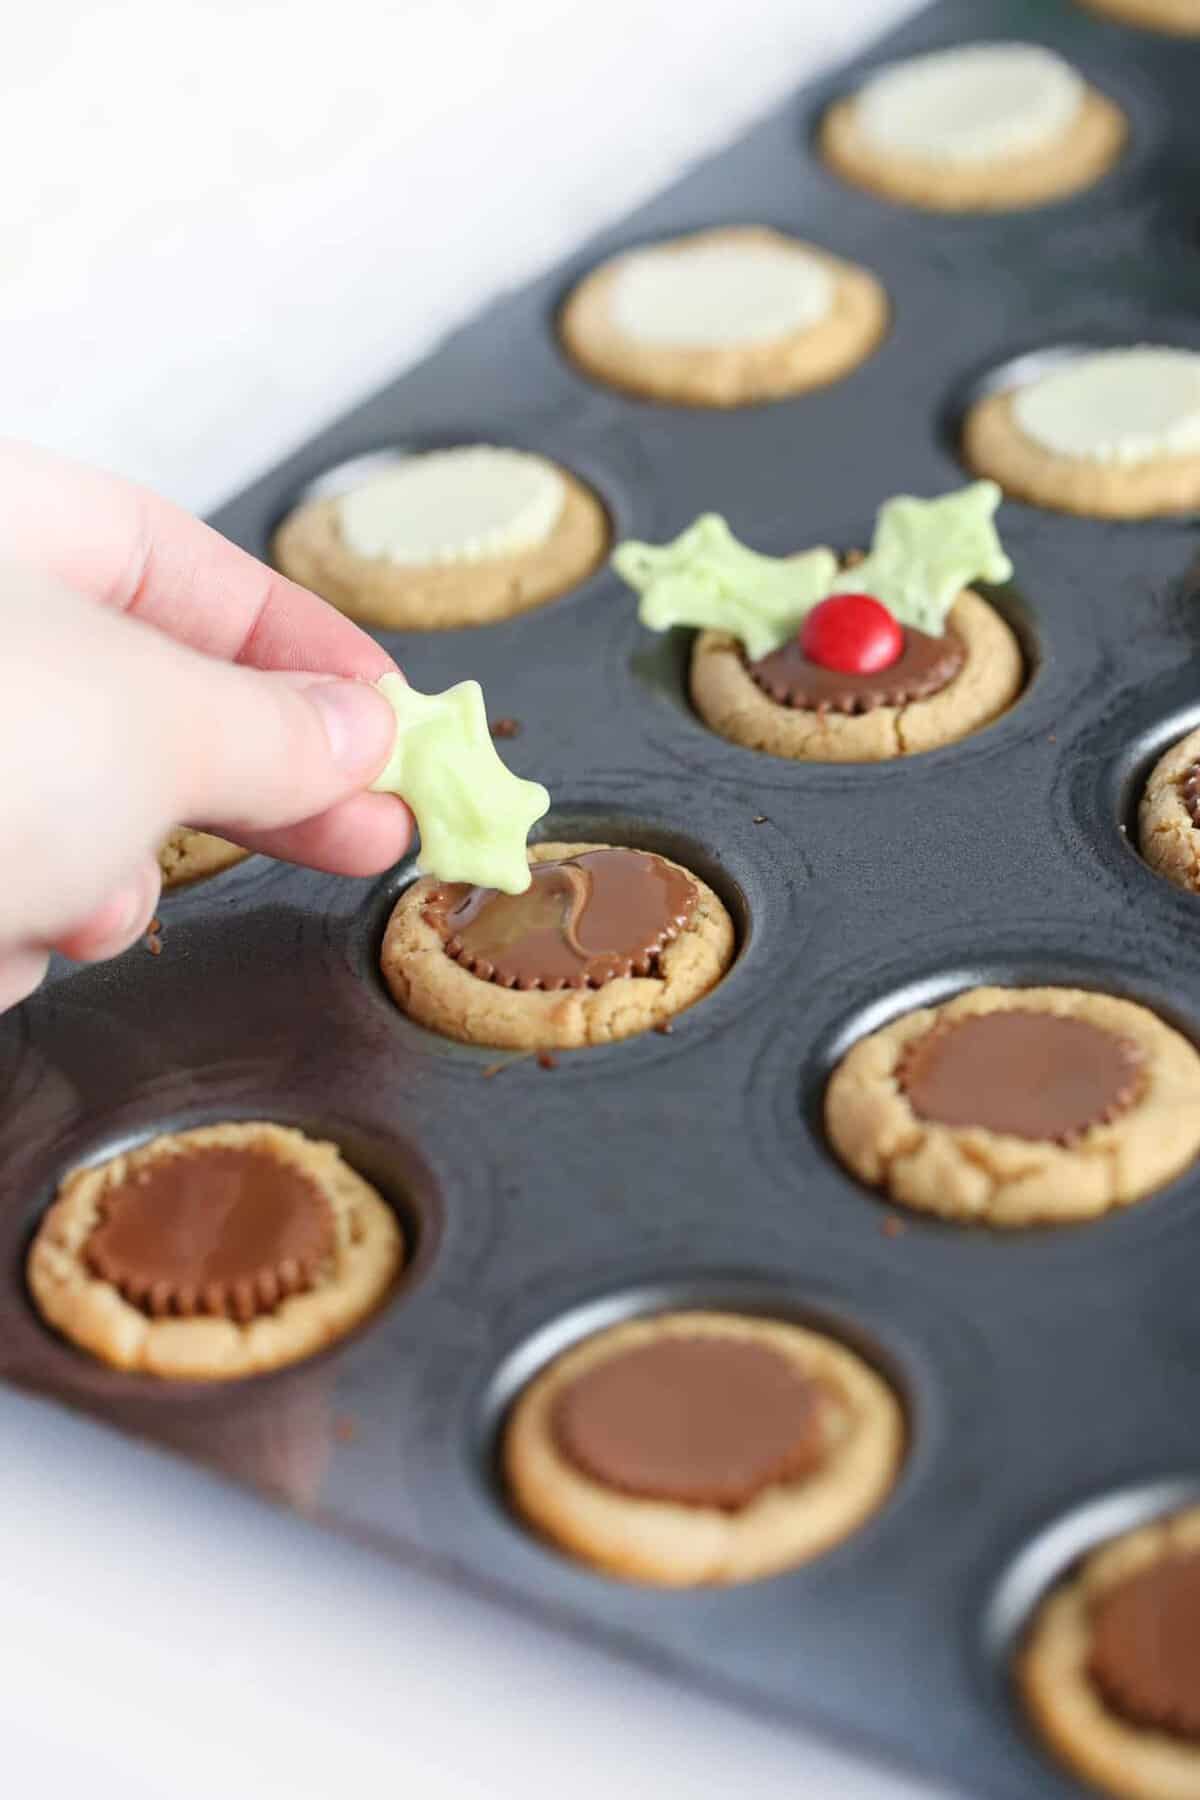
Step 4: Decorate!
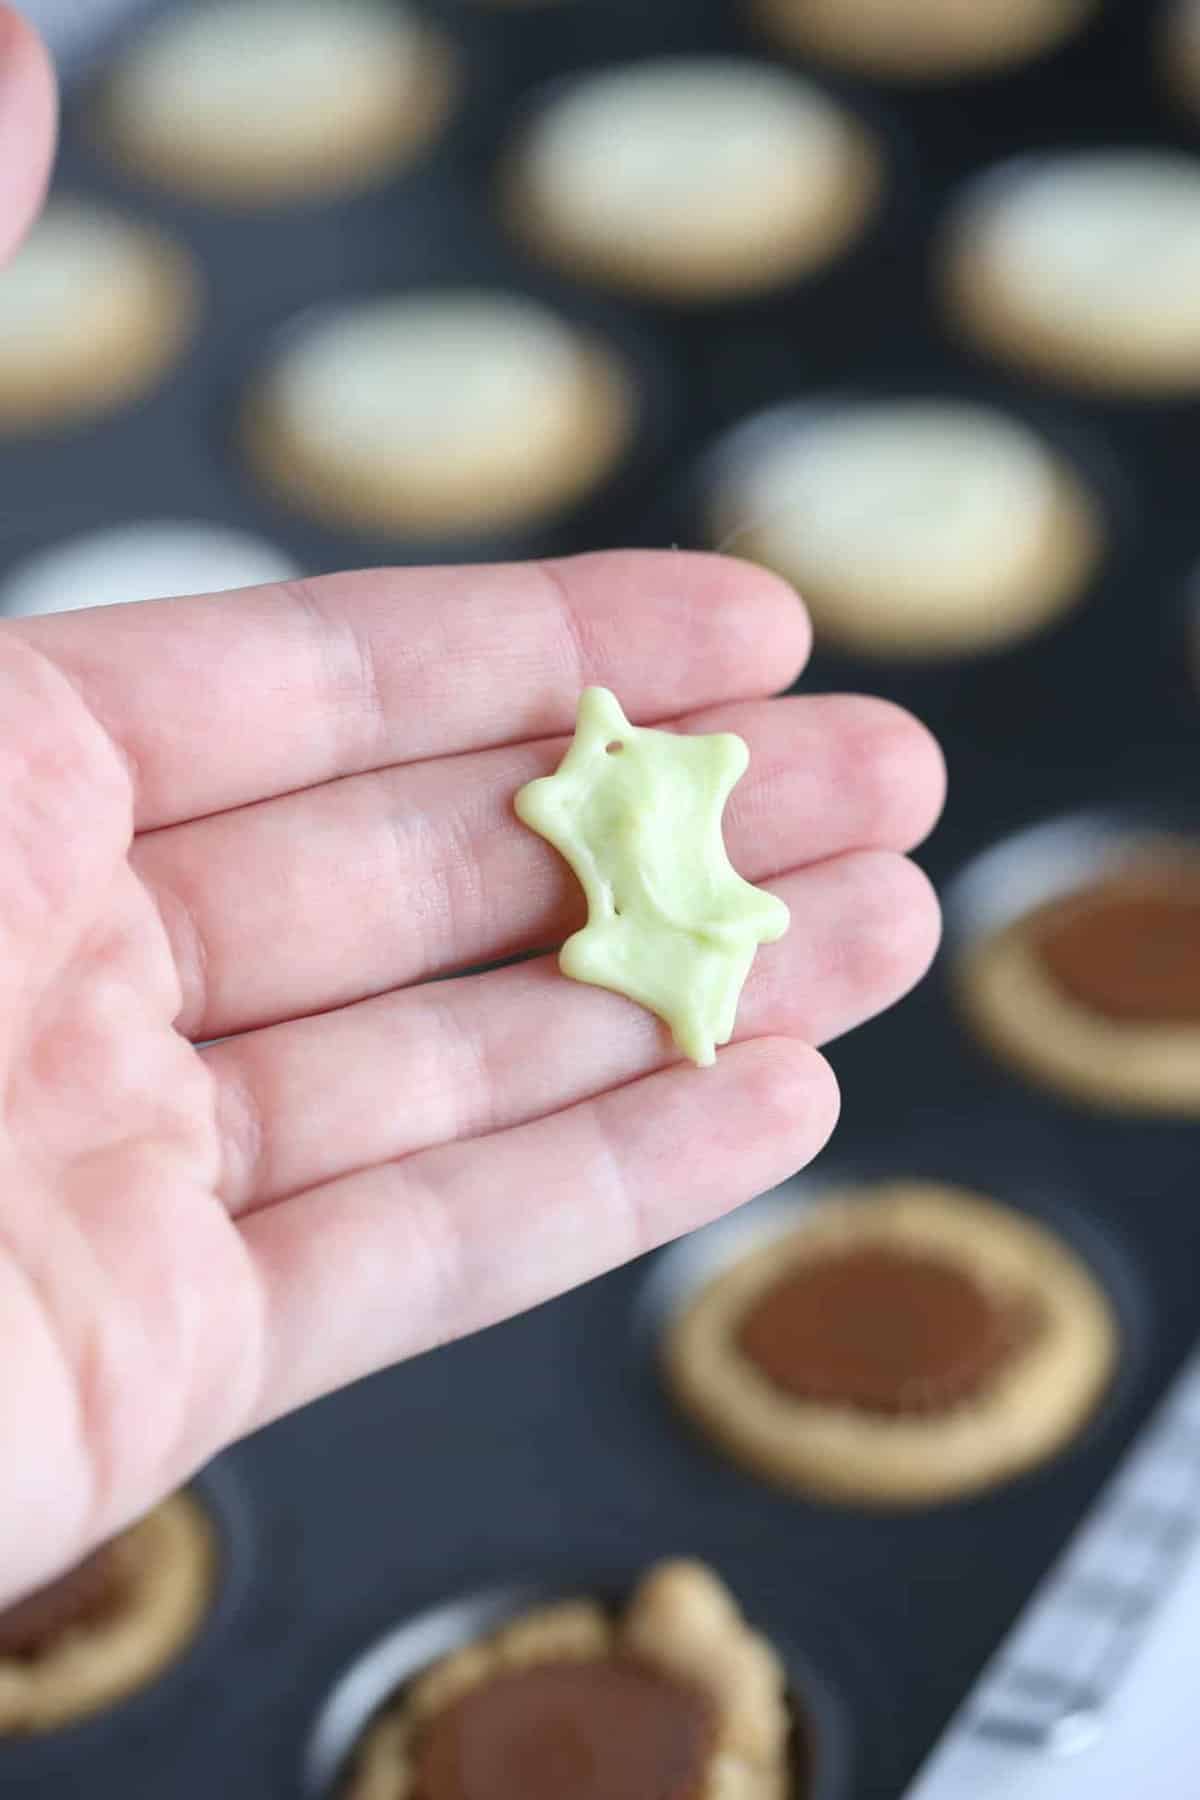
Once cookies have cooled for at least 20-30 minutes, test out the temperature by placing one holly leaf into the top of one of the cookies (use your least favorite looking leaf for this test! ;). Leave the leaf in there for about 5 minutes. If the green leaf starts to melt, this means that your chocolate is still too warm. The goal is to insert the leaves when the chocolate is cooled, but not yet hardened.
If the leaf does not melt, you're good to insert the rest! Start by inserting two leafs into the top of each cookie, followed by a red candy. In the photo below, it may look like the melty chocolate would melt the leaf but you would be surprised with how long the Reeses cup will stay liquid, even when it's cooled (assuming your house isn't freezing cold).
Step 5: Refrigerate & Remove from Pan
Once all the leaves & M&M's have been added, pop the muffin tin into the refrigerator (or outside if it's winter) for 10-15 minutes or until the chocolate is hardened.
Use a spoon to gently "scoop" out the cookies on the opposite end of where you've placed the holly leaves. This is where spraying the muffin tin before baking is crucial, otherwise your cookies will stick to the pan.

As I was making these holly cookie cups, I couldn't help but think how cute these would be with little piped reindeer antlers instead of leaves! I'll put that on the list for next year, but if you try them out that way, please send me a pic!

As you can see below, I also tested out making these with white Reeses peanut butter cups which are equally as delicious and made for a fun mix of colors on my DIY cookie trays.


Christmas Holly Cookie Cups
Ingredients
⭐️ Before you begin! If you make this, will you do me a huge favor afterwards and leave a review and rating letting me know how you liked this recipe? This helps my small business thrive so I can continue providing free recipes and high-quality content for you.
Instructions
- In a large bowl, cream together 6 tablespoons butter, softened, ½ cup peanut butter, ½ cup brown sugar, and ½ cup granulated sugar with an electric mixer on medium speed for 30 seconds. Add in ½ teaspoon vanilla and 1 egg and continue to mix for 10 seconds.
- Add ¾ teaspoon baking soda and mix on low speed for 10 seconds. Add 1 ¼ cups all-purpose flour and continue to mix until all flour is incorporated.
- Scoop & roll dough into 1 tablespoon sized balls and place each in a greased, mini muffin tin.
- Bake at 350℉ for 8 minutes. This is the key to making sure the cookies are soft. After 8 minutes, you may look at the cookies and think they look too doughy and be tempted to put them back in the oven. But trust me, take them out a 8 minutes and they will finish baking on the cooling rack.
- Remove from oven, and immediately press one mini Reeses peanut butter cup into the center of each cookie. Do not remove from pan.
- While the cookies are cooling in the pan, melt 4 squares of almond bark in the microwave at 50% power (avoid full power or chocolate will seize). Once melted, remove from the microwave and stir until smooth. Add a few drops of green food coloring until you reach your desired shade.
- Spoon melted almond bark into a plastic bag and use a scissors to snip off a tiny piece of one corner. Place printable holly leaf paper under a sheet of wax paper and use it as a outline to pipe about 75 leafs. You will only need about 60 to cover the 30 cookies, but I suggest making extra to account for any breaking.
- Once cookies have cooled for at LEAST 20-30 minutes, test out the temperature by placing one holly leaf into the top of one of the cookies (use your least favorite looking leaf for this test!). Leave the leaf in there for about 5 minutes. If the green leaf starts to melt, this means that your chocolate is still too warm. The goal is to insert the leafs when the chocolate is cooled, but not yet hardened.If the leaf does not melt, you're good to insert the rest! Start by inserting two leafs into the top of each cookie, followed by an red candy. In the photo below, it may look like the melty chocolate would melt the leaf but you would be surprised with how long the Reeses cup will stay liquid, even when it's cooled (assuming your house isn't freezing cold).
- Once all the leafs & M&M's have been added, pop the muffin tin into the refrigerater (or outside if it's winter) for 10-15 minutes or until the chocolate is hardened.
- Use a spoon to gently "scoop" out the cookies on the opposite end of where you've placed the holly leafs . This is where spraying the muffin tin before baking is crucial, otherwise your cookies will stick to the pan.
Notes from Melissa
Did you make this?
I'd LOVE to hear your thoughts! Leave a review & photo of your creation and be sure to mention @DesignEatRepeat or tag #DesignEatRepeat on Instagram!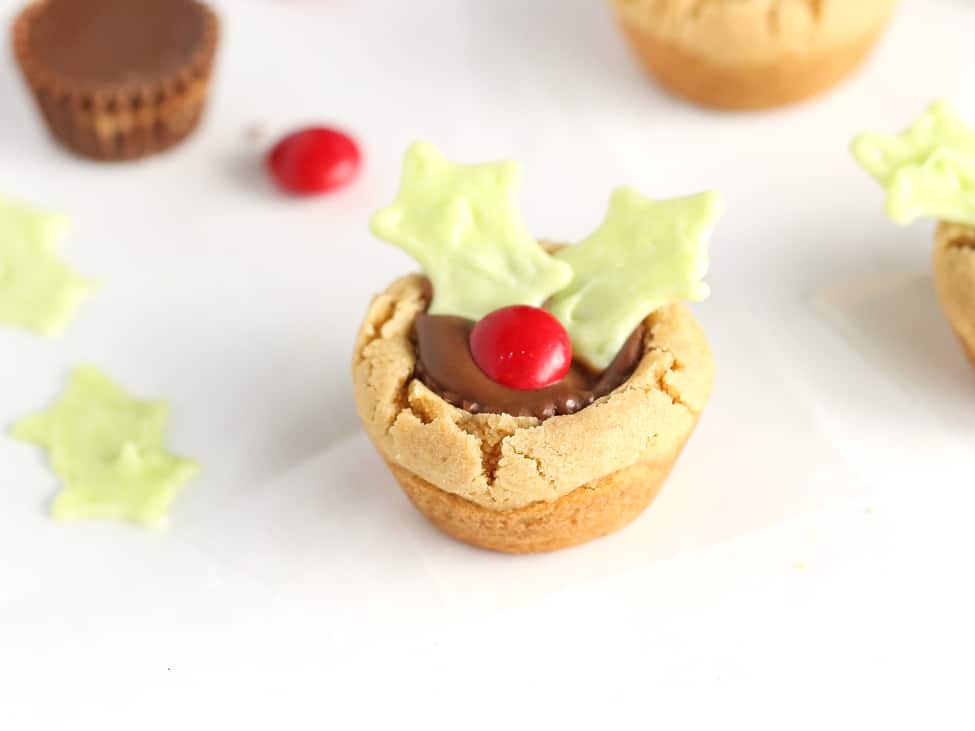
So what do you say? Easy enough to tackle for the holiday cookie trays? If you end up making these holly cookie cups, please send me a pic by tagging @designeatrepeat on Instagram, Facebook, or Twitter!
This looks amazing. Going to try next weekend with the grandkids
This is so delicious!
Glad that you enjoyed this recipe Hania. Thank you for leaving a review!