

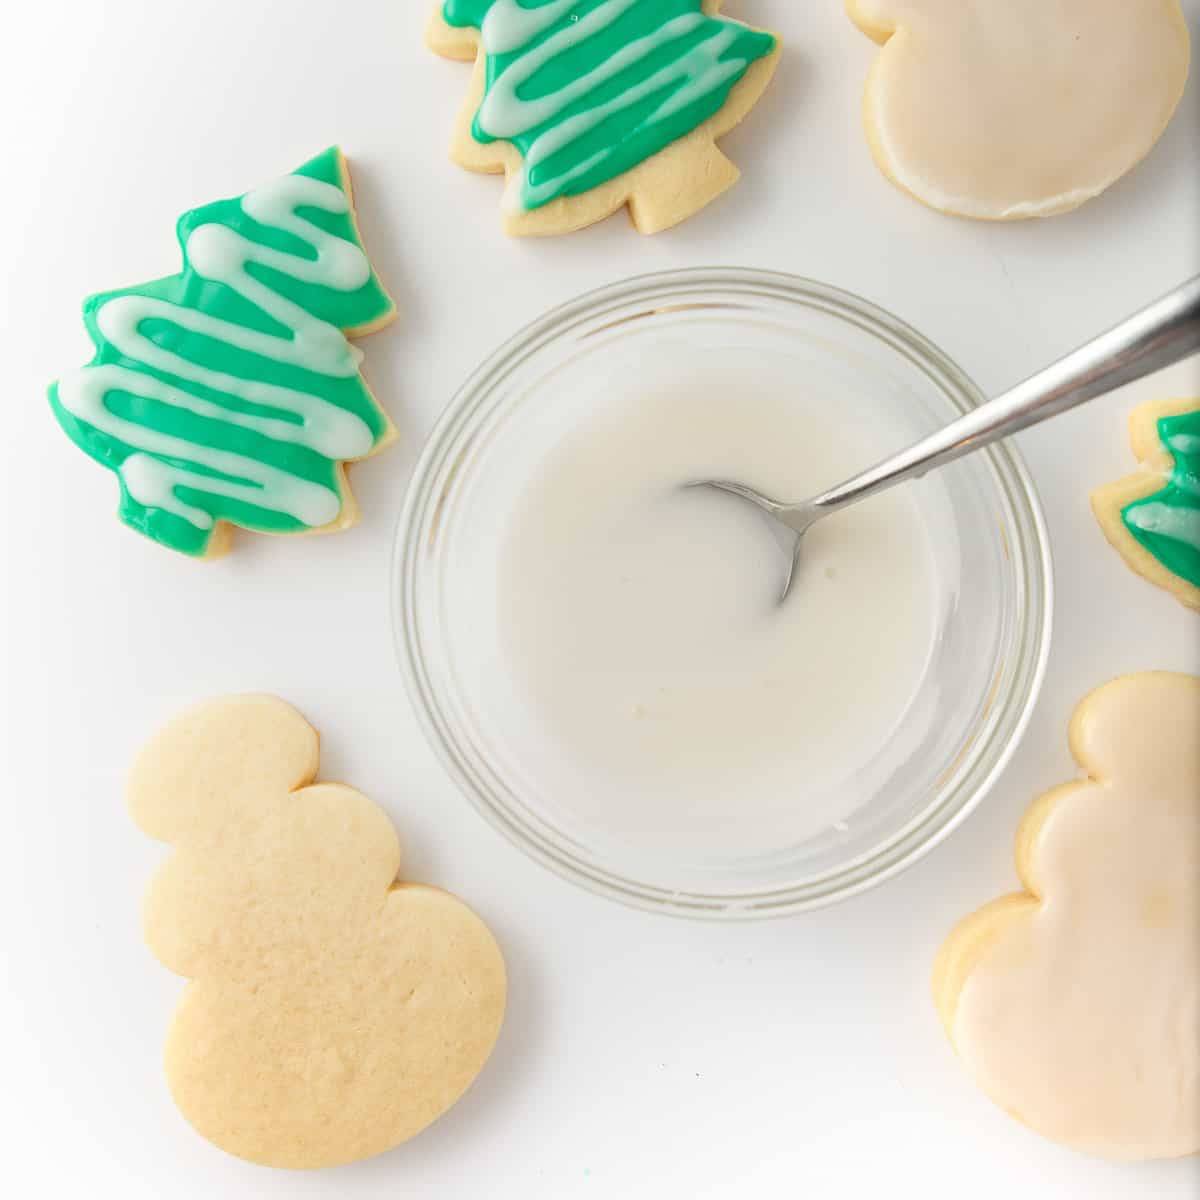
This easy sugar cookie icing takes the intimidation out of traditional royal icing recipes. It can be made in one bowl (without a mixer!) and is the perfect recipe to quickly frost your holiday cookies. And much like traditional royal icing, this easy sugar cookie icing dries quickly and develops a hard crust without being crunchy.
Looking for a fluffier, spreadable icing? Try my Buttercream Christmas Cookie Frosting!
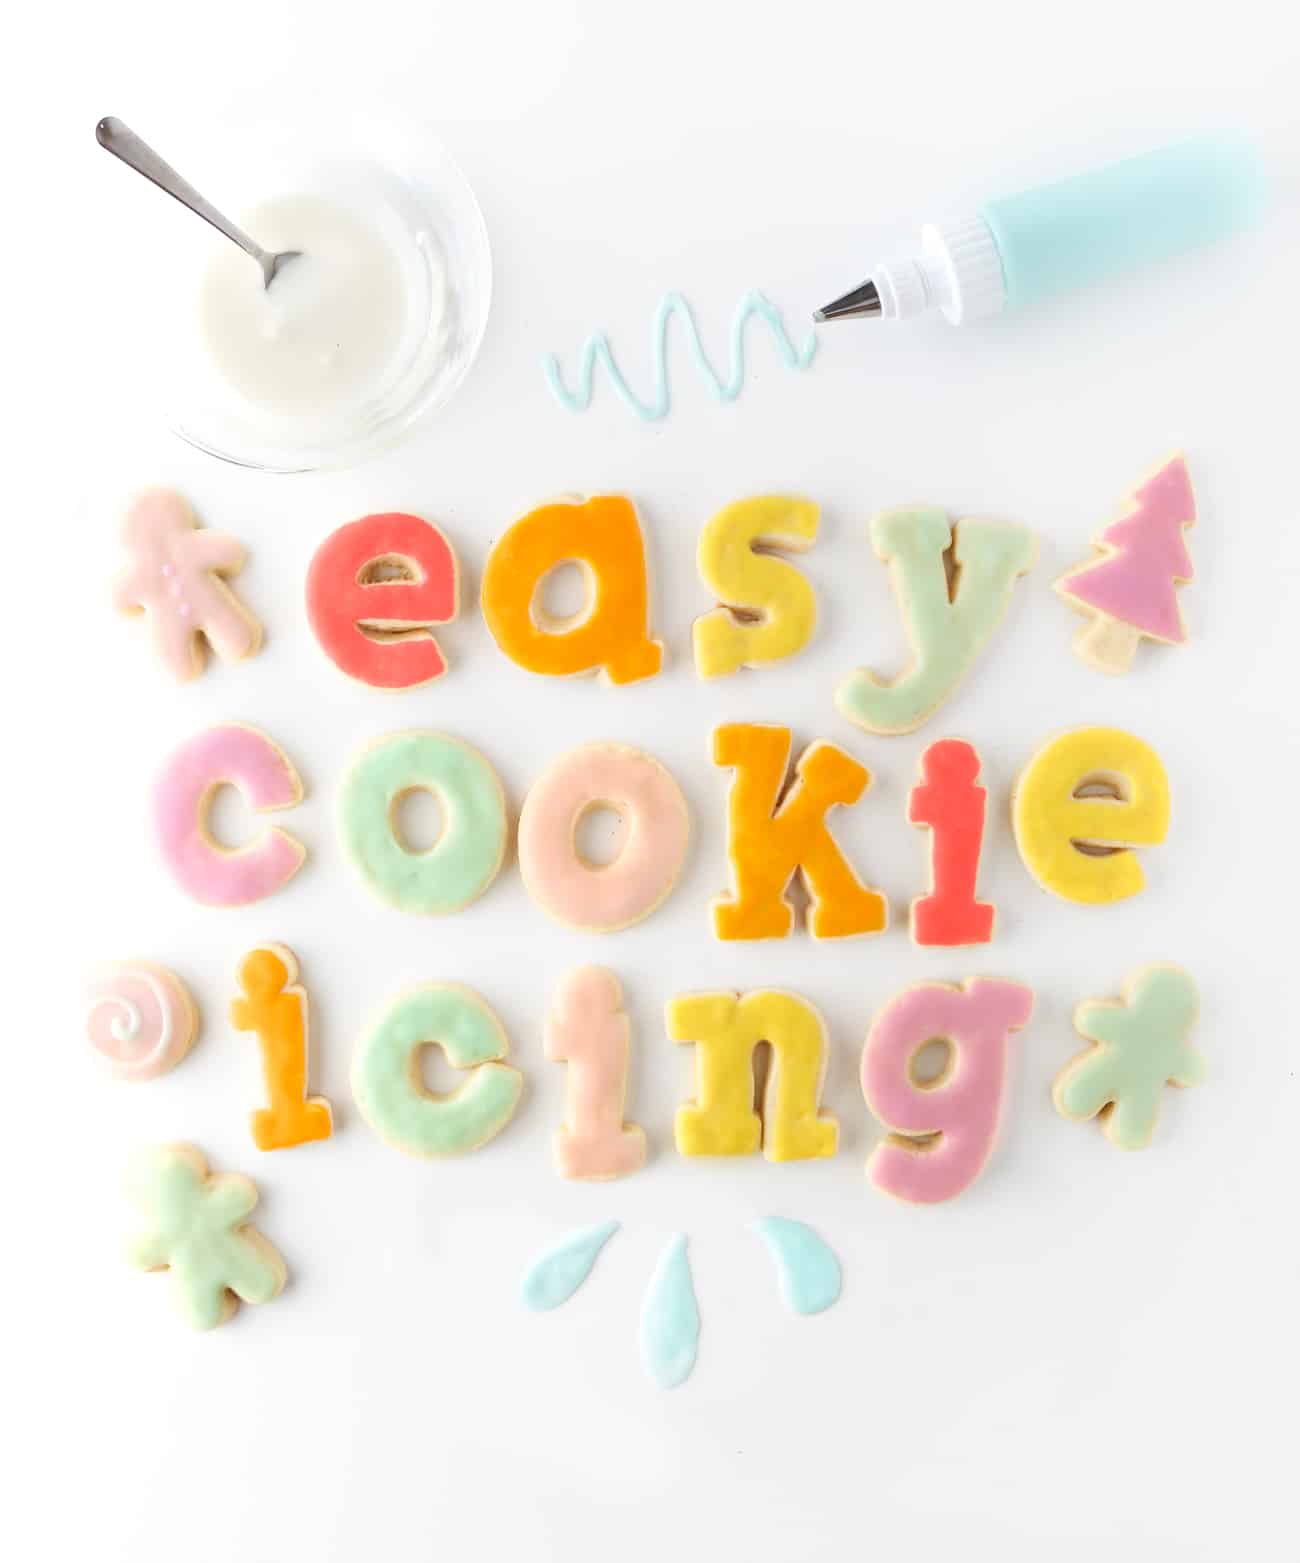
Before you run the other way screaming, "I'M SCARED OF ROYAL ICING", stick with me because friends, this recipe mimics the look of royal icing without all the finicky consistency problems that a lot of people have with it.
In the past, I've never liked the overly sweet taste or hassle of royal icing but I've recently discovered that it just takes the right soft & thick sugar cookie recipe to balance out the taste. Because let's face it, in order to achieve the best tasting sugar cookie icing, you need the best tasting cookie to go with it (and of course some delicious vanilla & almond extract!).
 Traditional Royal Icing vs. This Sugar Cookie Icing
 Traditional Royal Icing vs. This Sugar Cookie Icing
- Traditional royal icing requires a level of skill and practice to get the consistency perfect and for it to harden properly. This recipe does not require any of that skill; all you need to know how to do is stir.
- Traditional royal icing recipes require egg whites or meringue powder that most non-bakers don't have on hand. This recipe does not use either of those things, making it easier to make with the ingredients in your pantry.
- Traditional royal icing hardens and gives the cookie a crunchy texture, which a lot of people (myself included) don't love. This sugar cookie icing recipe hardens, but does not get crunchy.
What makes this sugar cookie icing recipe so great?
- Can be made in one bowl, without an electric mixer.
- This sugar cookie icing recipe hardens without being crunchy.
- Does not include any egg whites or meringue powder.
- Is great when you want to make the cookies all one color, without much detailing.
- Although sugar cookie icing is sweet, this is great when paired with a soft, thick, flavorful sugar cookie recipe. If you're looking for something with that true buttercream taste, try my Christmas Cookie Frosting!
Tip: If you are looking to do highly detailed piping or use it as the "glue" for gingerbread houses, you will need a sugar cookie icing recipe that is a little stiffer than this one. For that, I recommend traditional royal icing. Or if you want to dip these instead of pipe, learn How to Make Icing with Icing Sugar and Water.

Ingredients for Sugar Cookie Icing
- Powdered Sugar (I recommend a brand like C&H, as some of the cheap brands can be more grainy)
- Water
- Light Corn Syrup, i.e. Karo Syrup (this gives it the shine; if you do not wish to use this, see substitute in recipe card below)
- Clear Vanilla Extract (oil-free)
- Almond Extract (oil-free)
- Salt
- Food Coloring
Psst! For help achieving the perfect dark green frosting color for Christmas, check out: How To Make Dark Green Icing (5 Shades!).
How to Make this Easy Sugar Cookie Icing Recipe
Step 1: Measure Ingredients & Mix
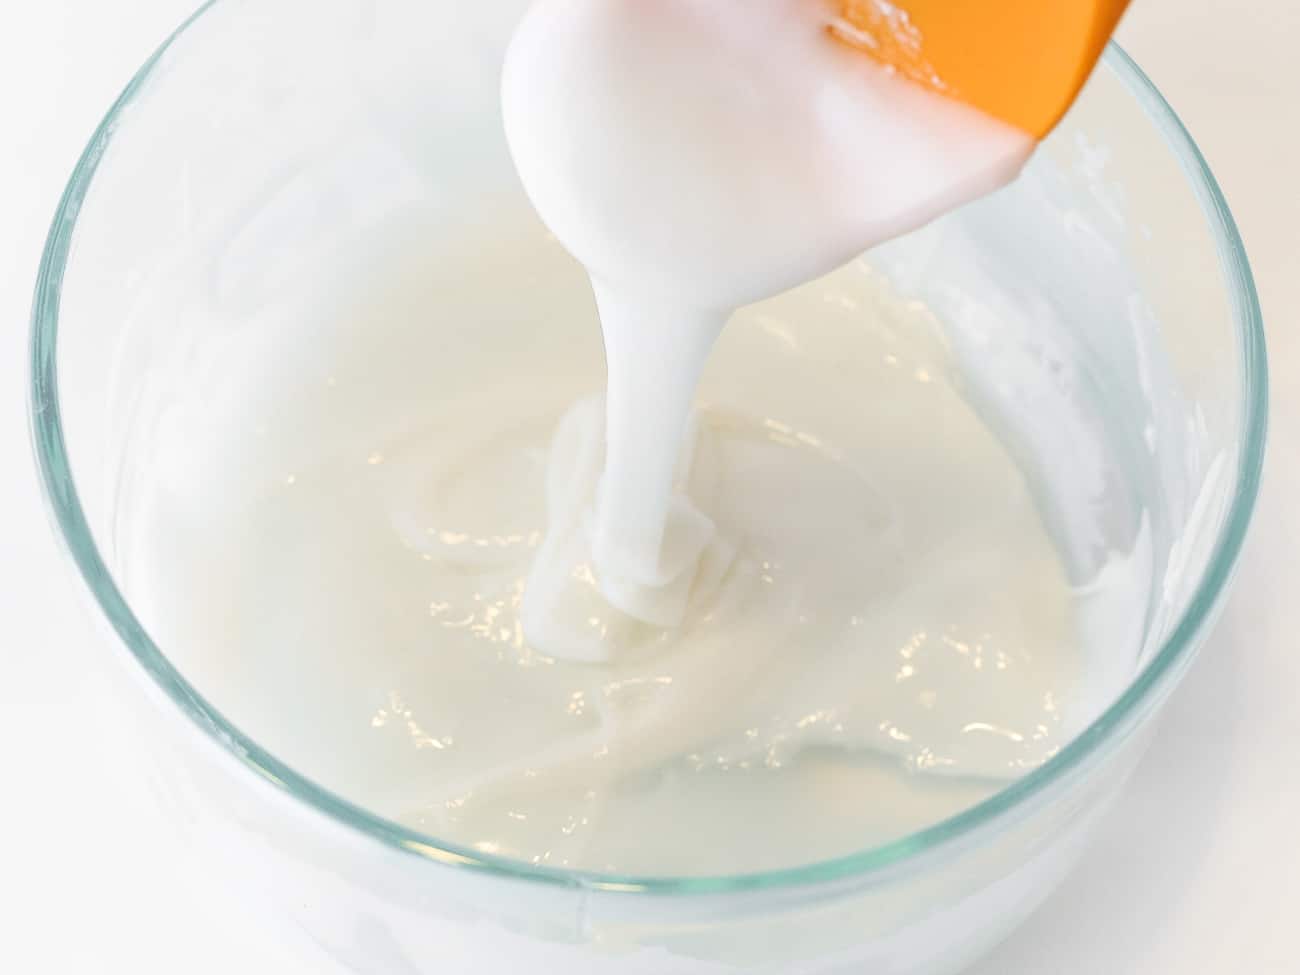
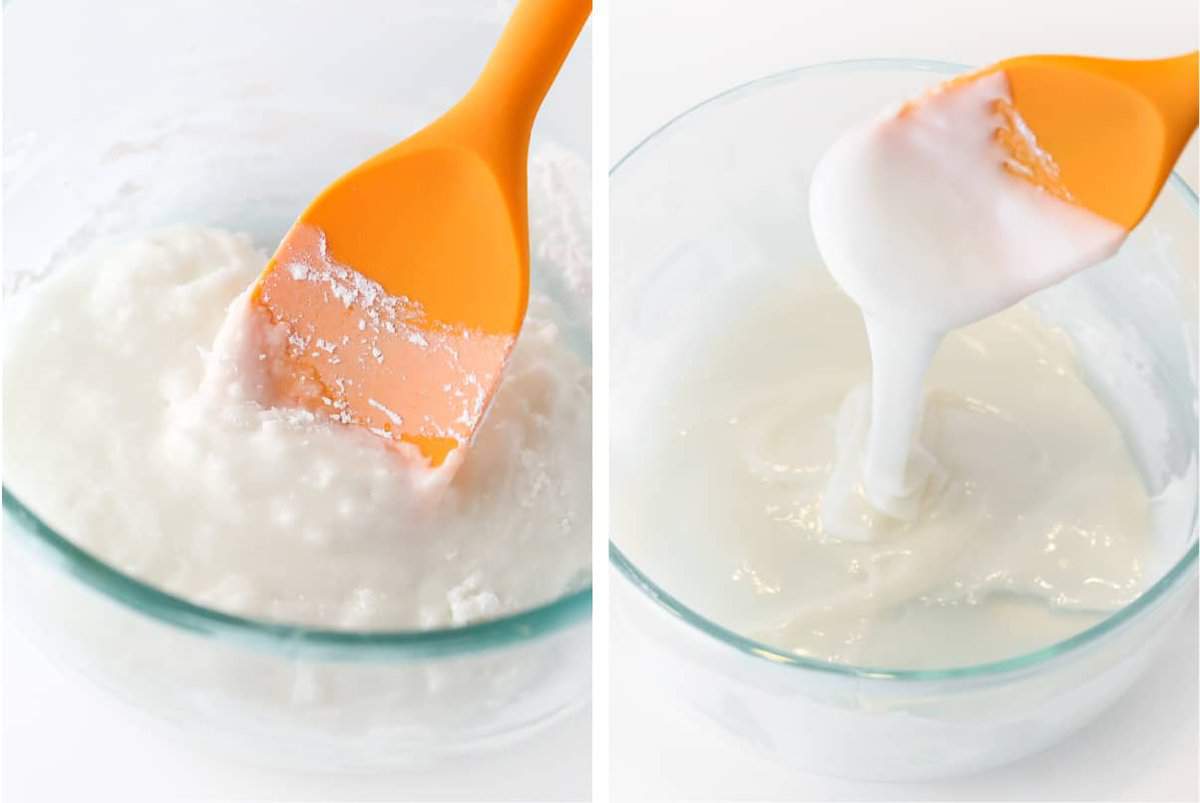
Measure out ingredients and pour into a medium-sized mixing bowl. Using a rubber spatula, stir the sugar cookie icing for 1-2 minutes until it is smooth and glossy. When you start stirring, you may think it's never going to work because it looks chunky but keep stirring and it will get smoother.
IMPORTANT: It will be at the correct consistency when you drive a knife through the center and the "crease" closes up in 15 seconds. If it takes longer than 15 seconds, you need to add more water. If it takes shorter than 15 seconds, you need to add a little more powdered sugar. *** Watch video below for a full tutorial or scroll to see a short consistency clip ***
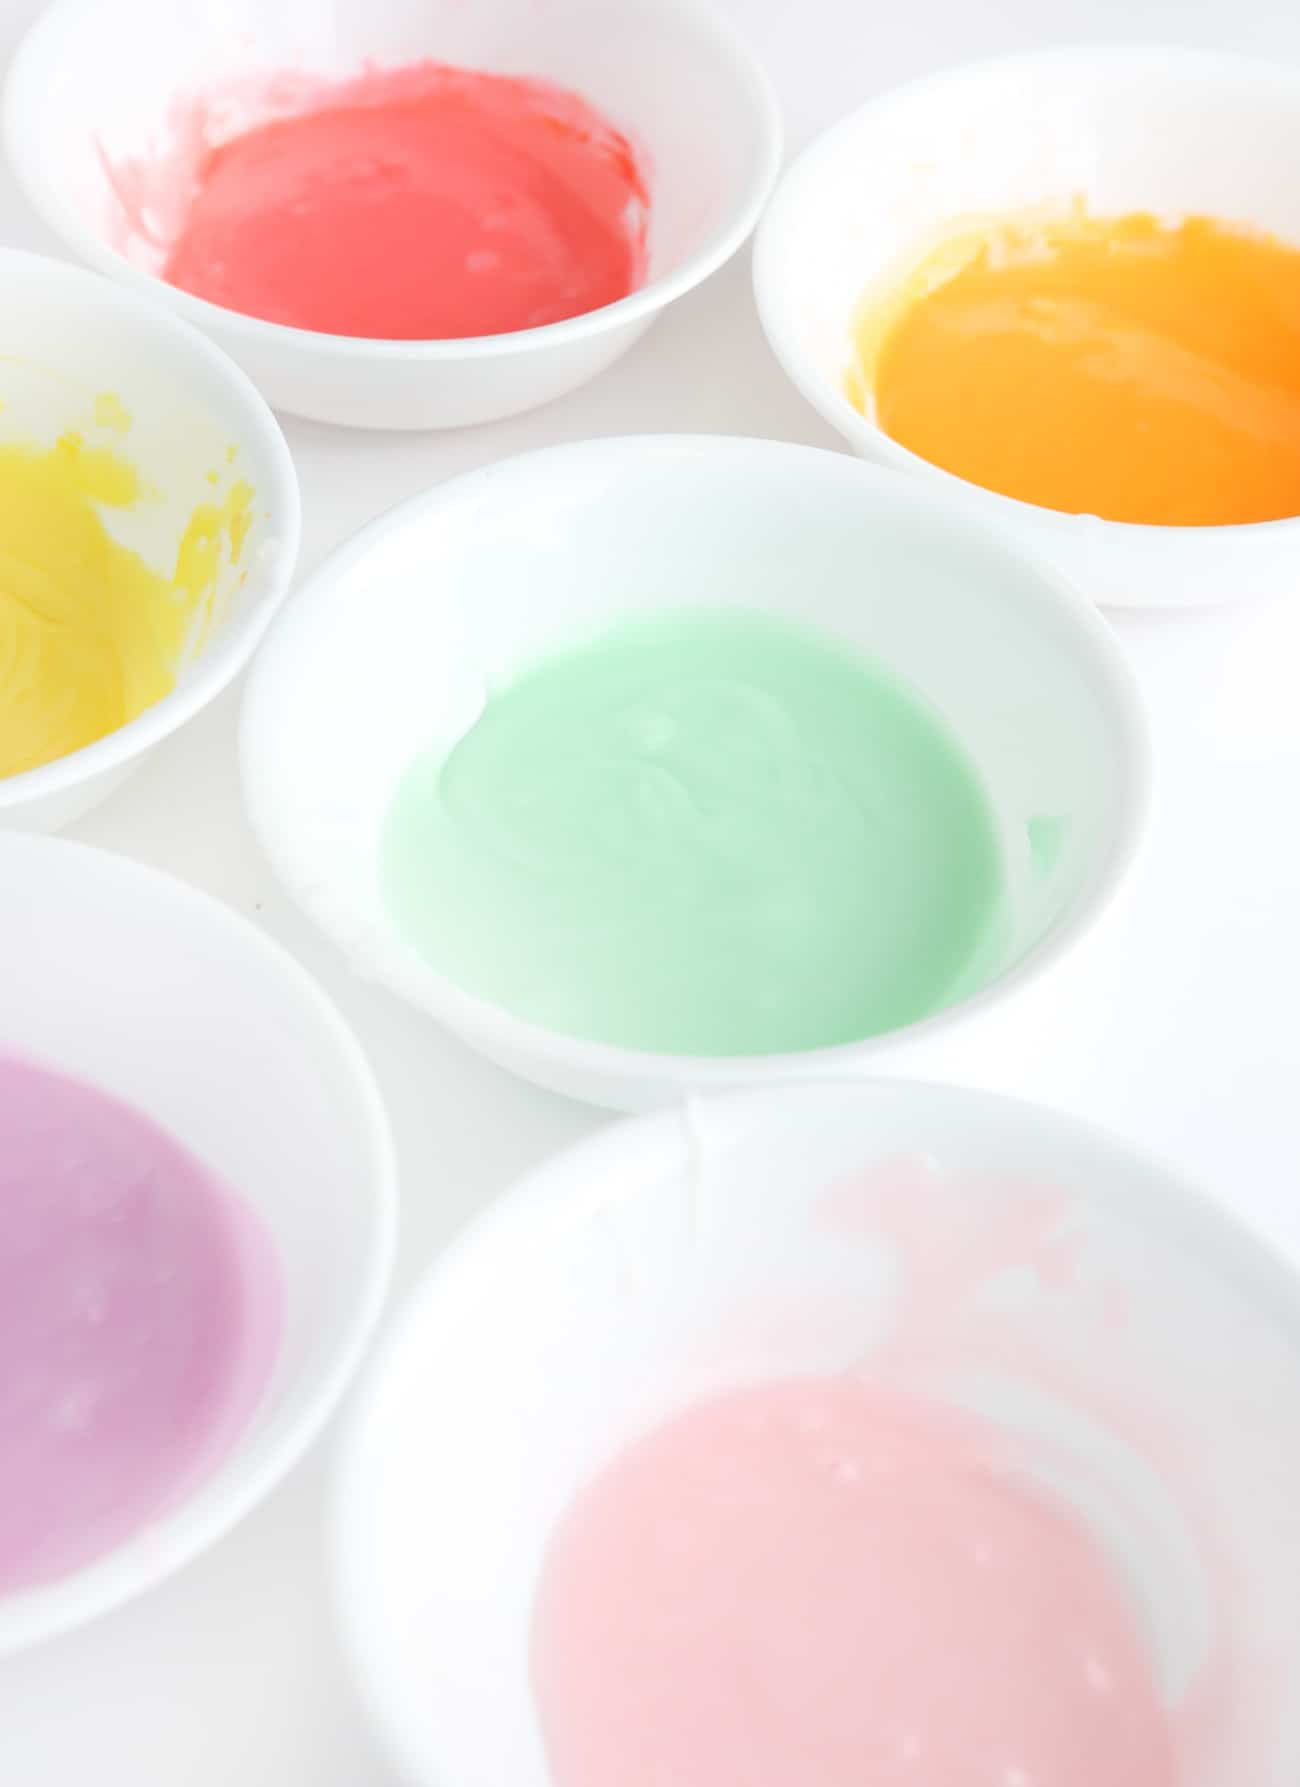
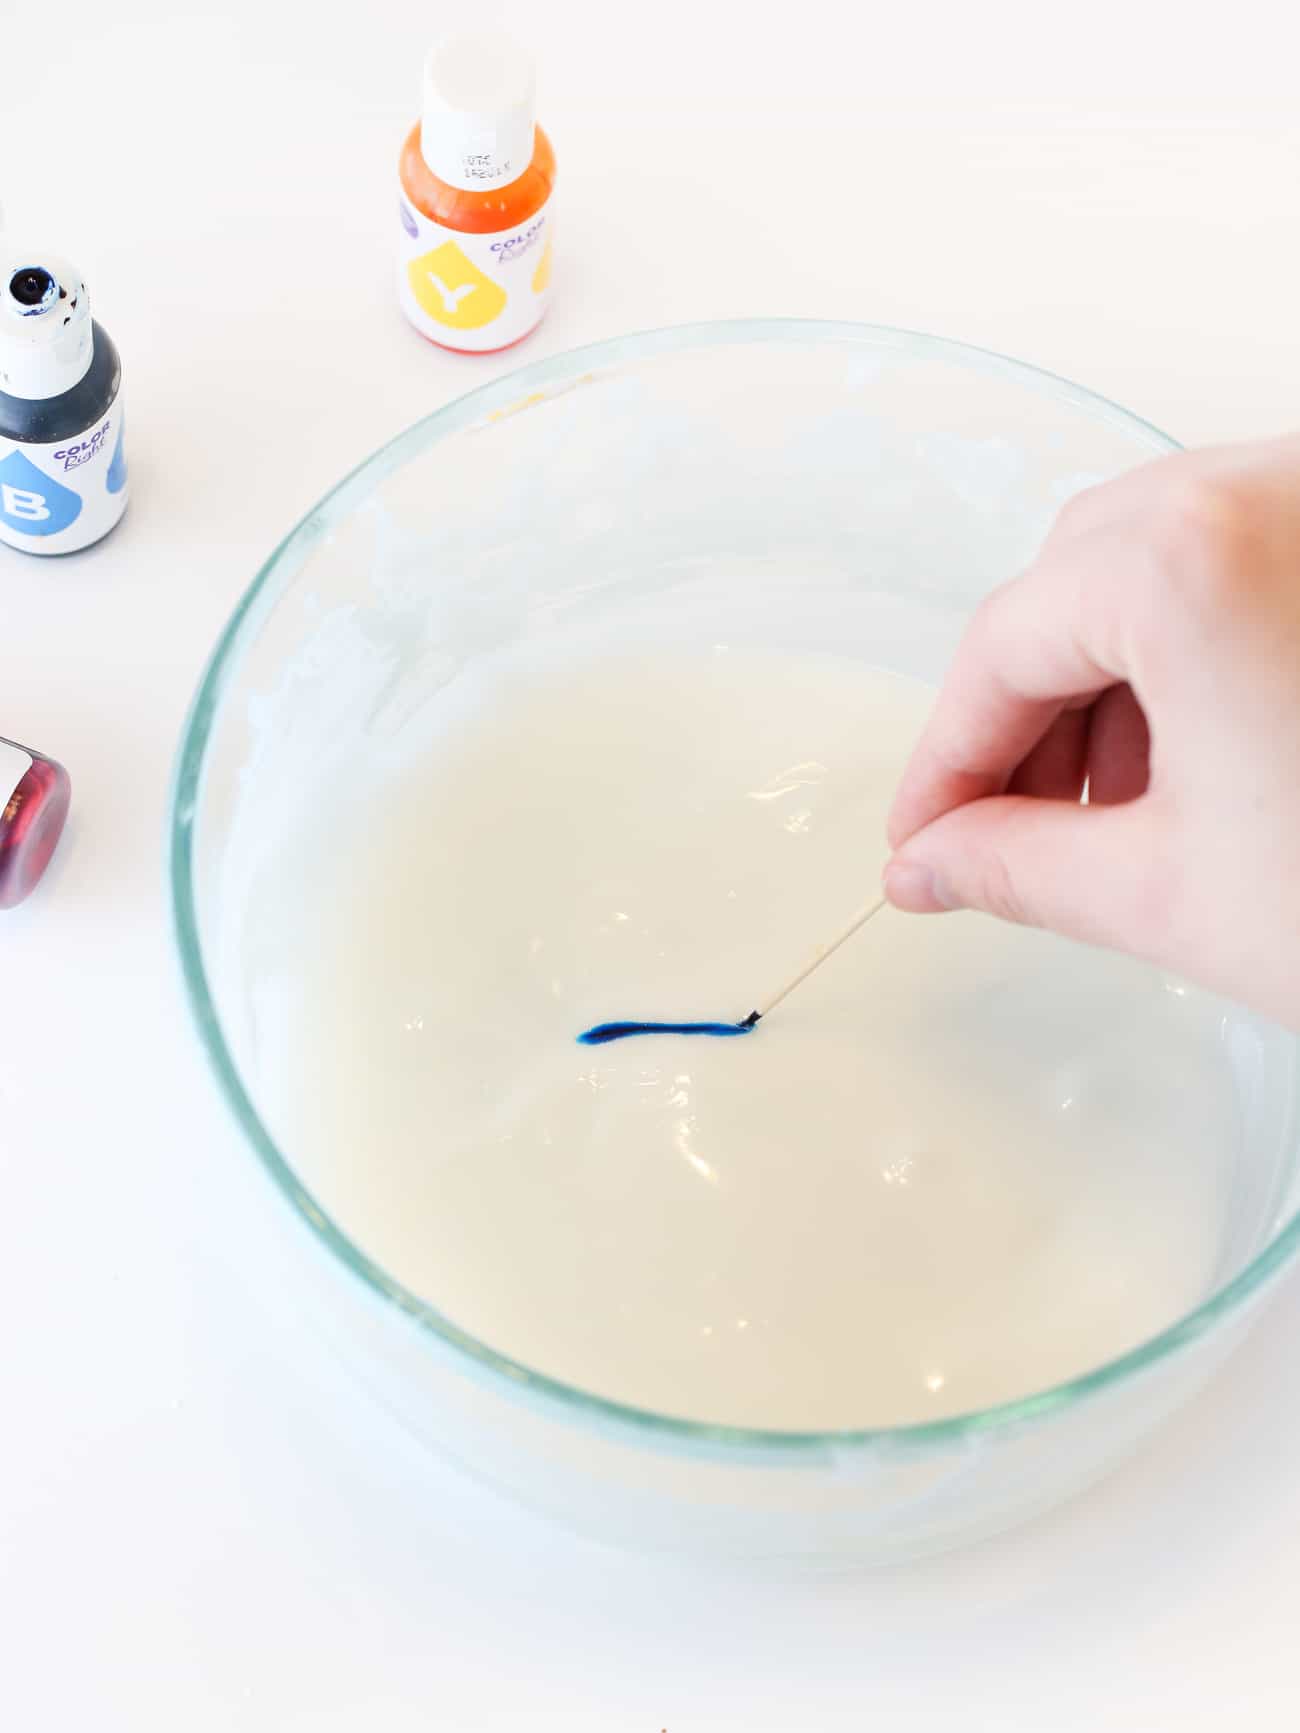
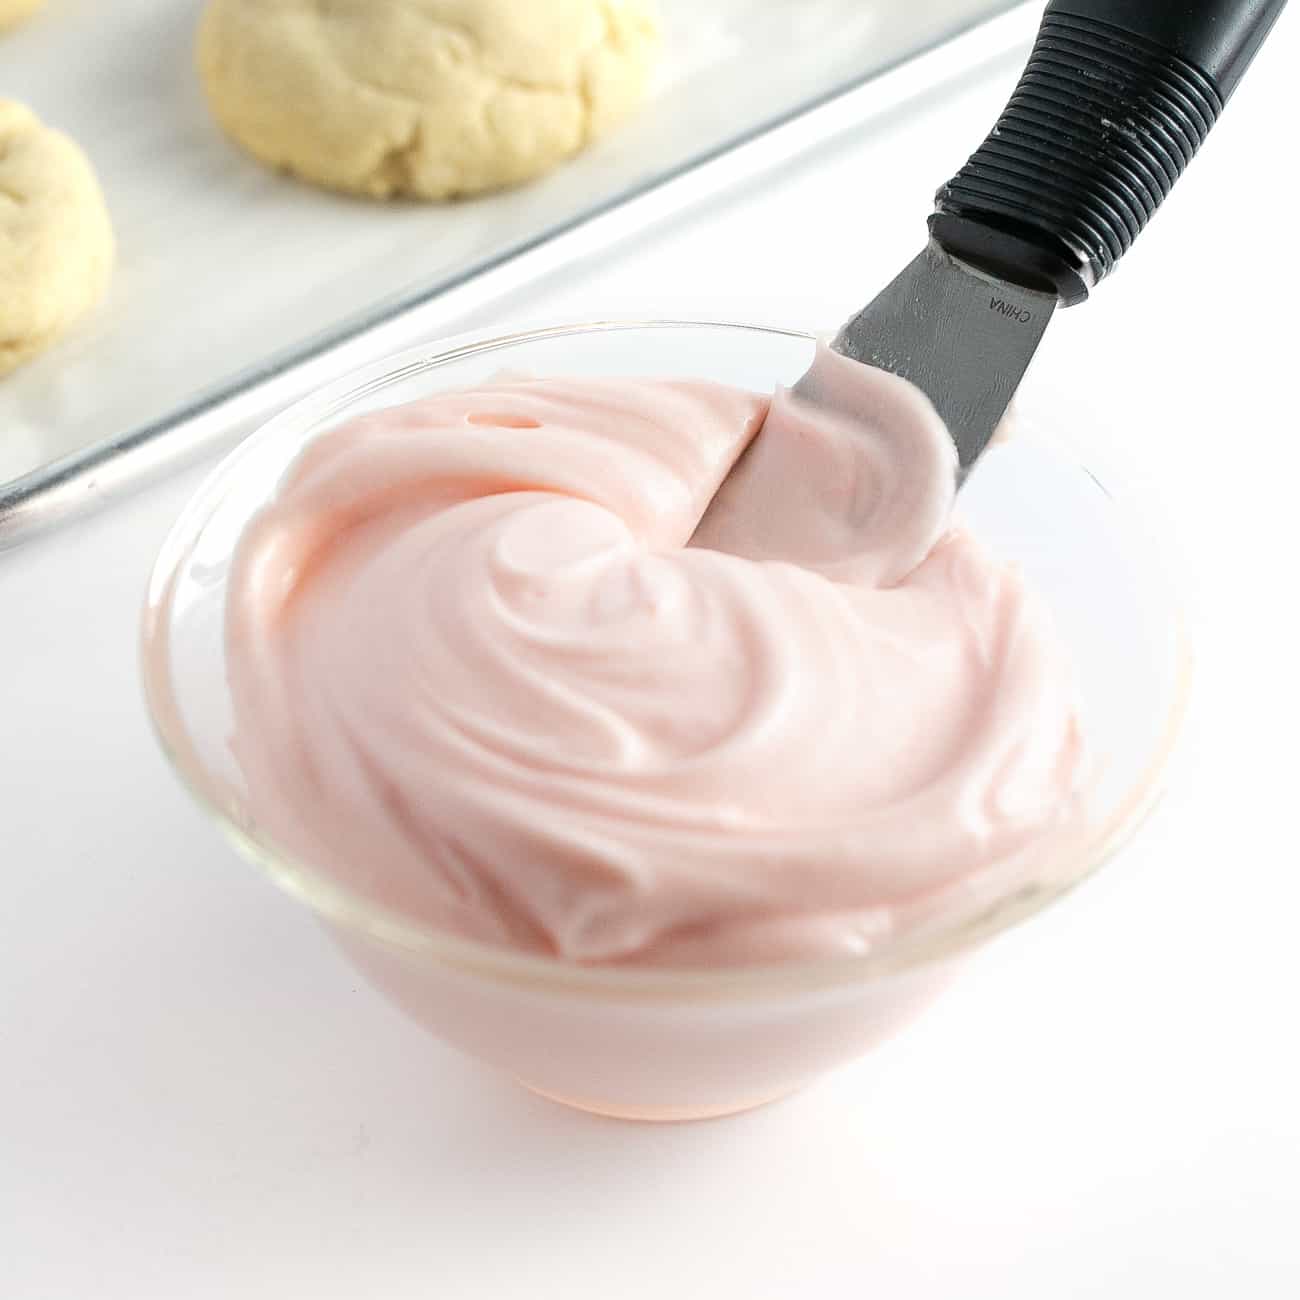
Step 2: Add Food Coloring
Once smooth and glossy, mix in a tiny bit of food coloring as desired. If wanting to use multiple colors, this is when you will divide the icing into their own bowls before adding the color.
Coloring Tip: If using gel food coloring, dip the tip of a toothpick into the gel. Then slide the toothpick through the icing. This will help you control the coloring and will prevent you from making the icing darker than you want. It's surprising how just a TINY amount of food coloring will color your icing.
Step 3: Test Consistency
After adding the food coloring, your icing should be slightly runny, while still keeping its body. To test the consistency, use the spatula to drizzle some icing back into the bowl. The goal is that your icing ribbons will hold for 2-3 seconds before disappearing back into the icing.
You can also test it out by scooping a circle onto a paper plate. If the circle quickly spreads beyond the circle, you'll want to add more powdered sugar. The goal is that the icing is thick enough that it does not run over the edge of the cookie, but still thin enough so it melds together and creates a smooth finish.
If icing is too thick, add ⅛ teaspoon of water until correct consistency.
If icing is too thin, add 1 teaspoon of powdered sugar until correct consistency.
Note: Different climates and humidity levels can affect how dry the icing is, but this recipe can be adaptable by following the instructions above.
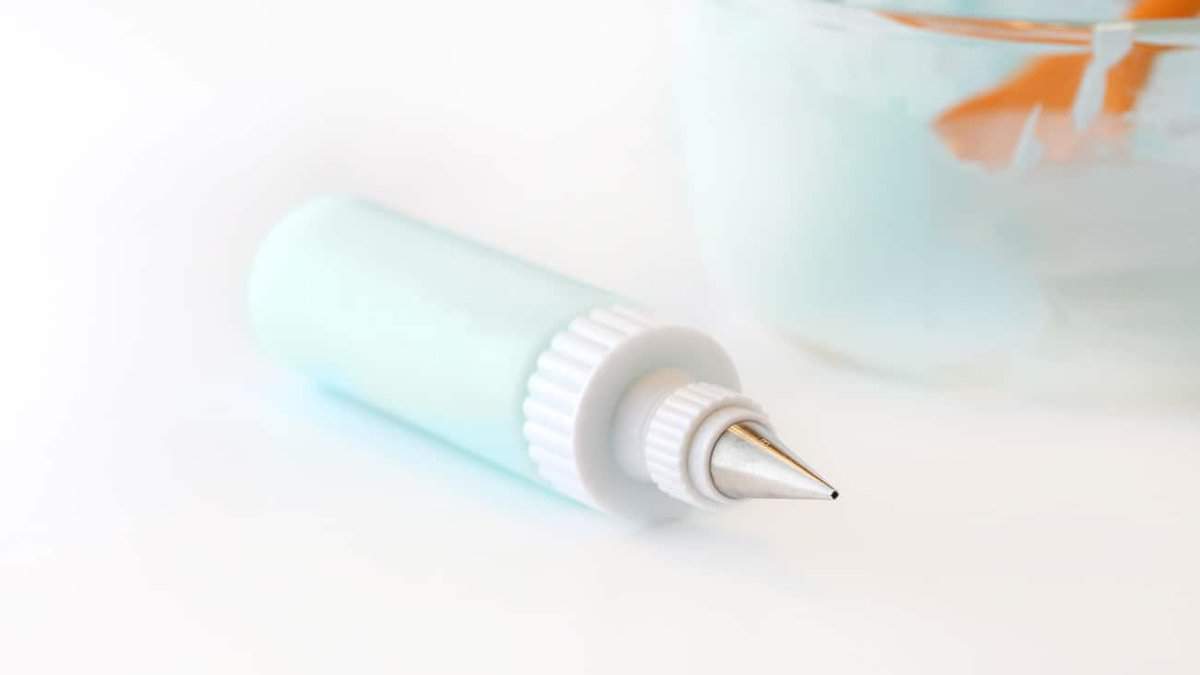
Step 4: Pour into Piping Bags or Bottles
Spoon the icing into piping bags or squeeze bottles with #2 piping tips. Although harder to control, you can also spoon the sugar cookie icing into plastic ziploc bags and snip off one corner.
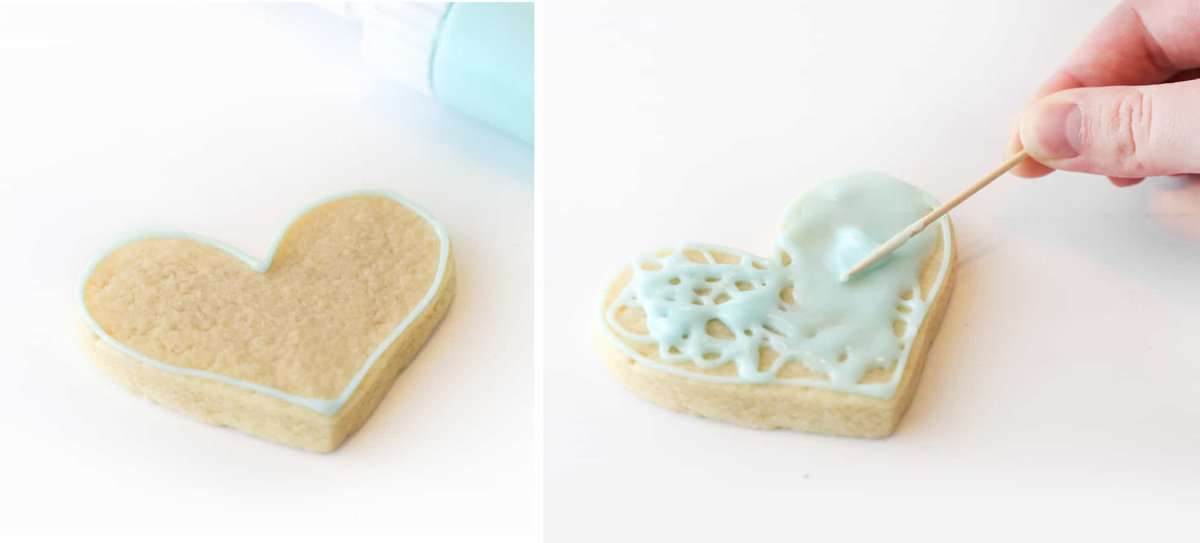
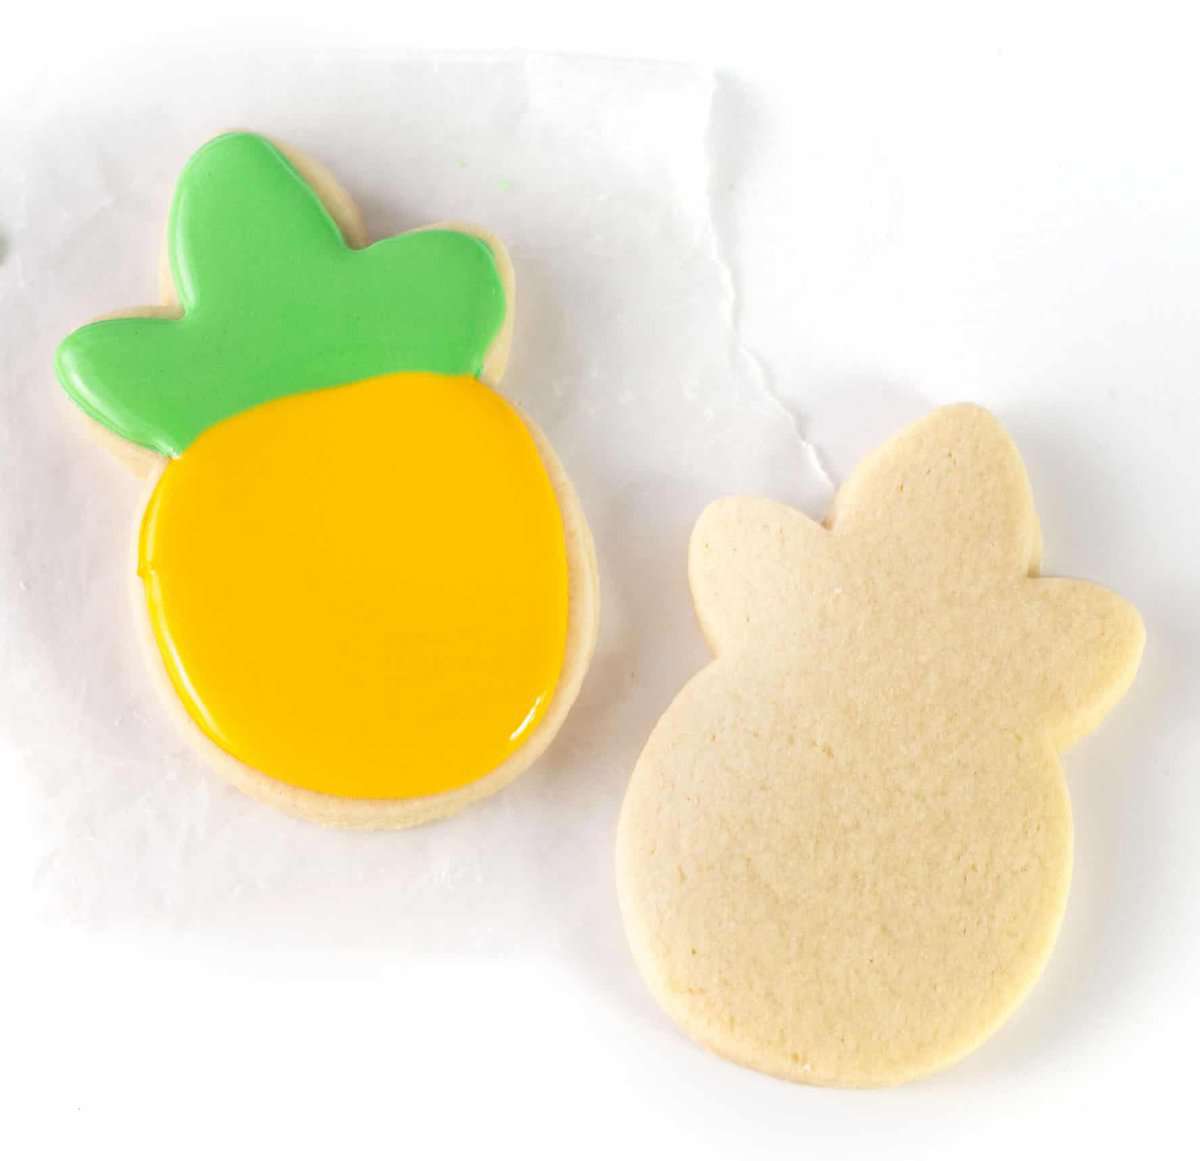
Step 5: How to ice cut out sugar cookies
To decorate, first outline each cookie with the icing. Once outlined, fill in the rest of the cookie with the icing and use a toothpick to help spread the icing and fill in any holes.
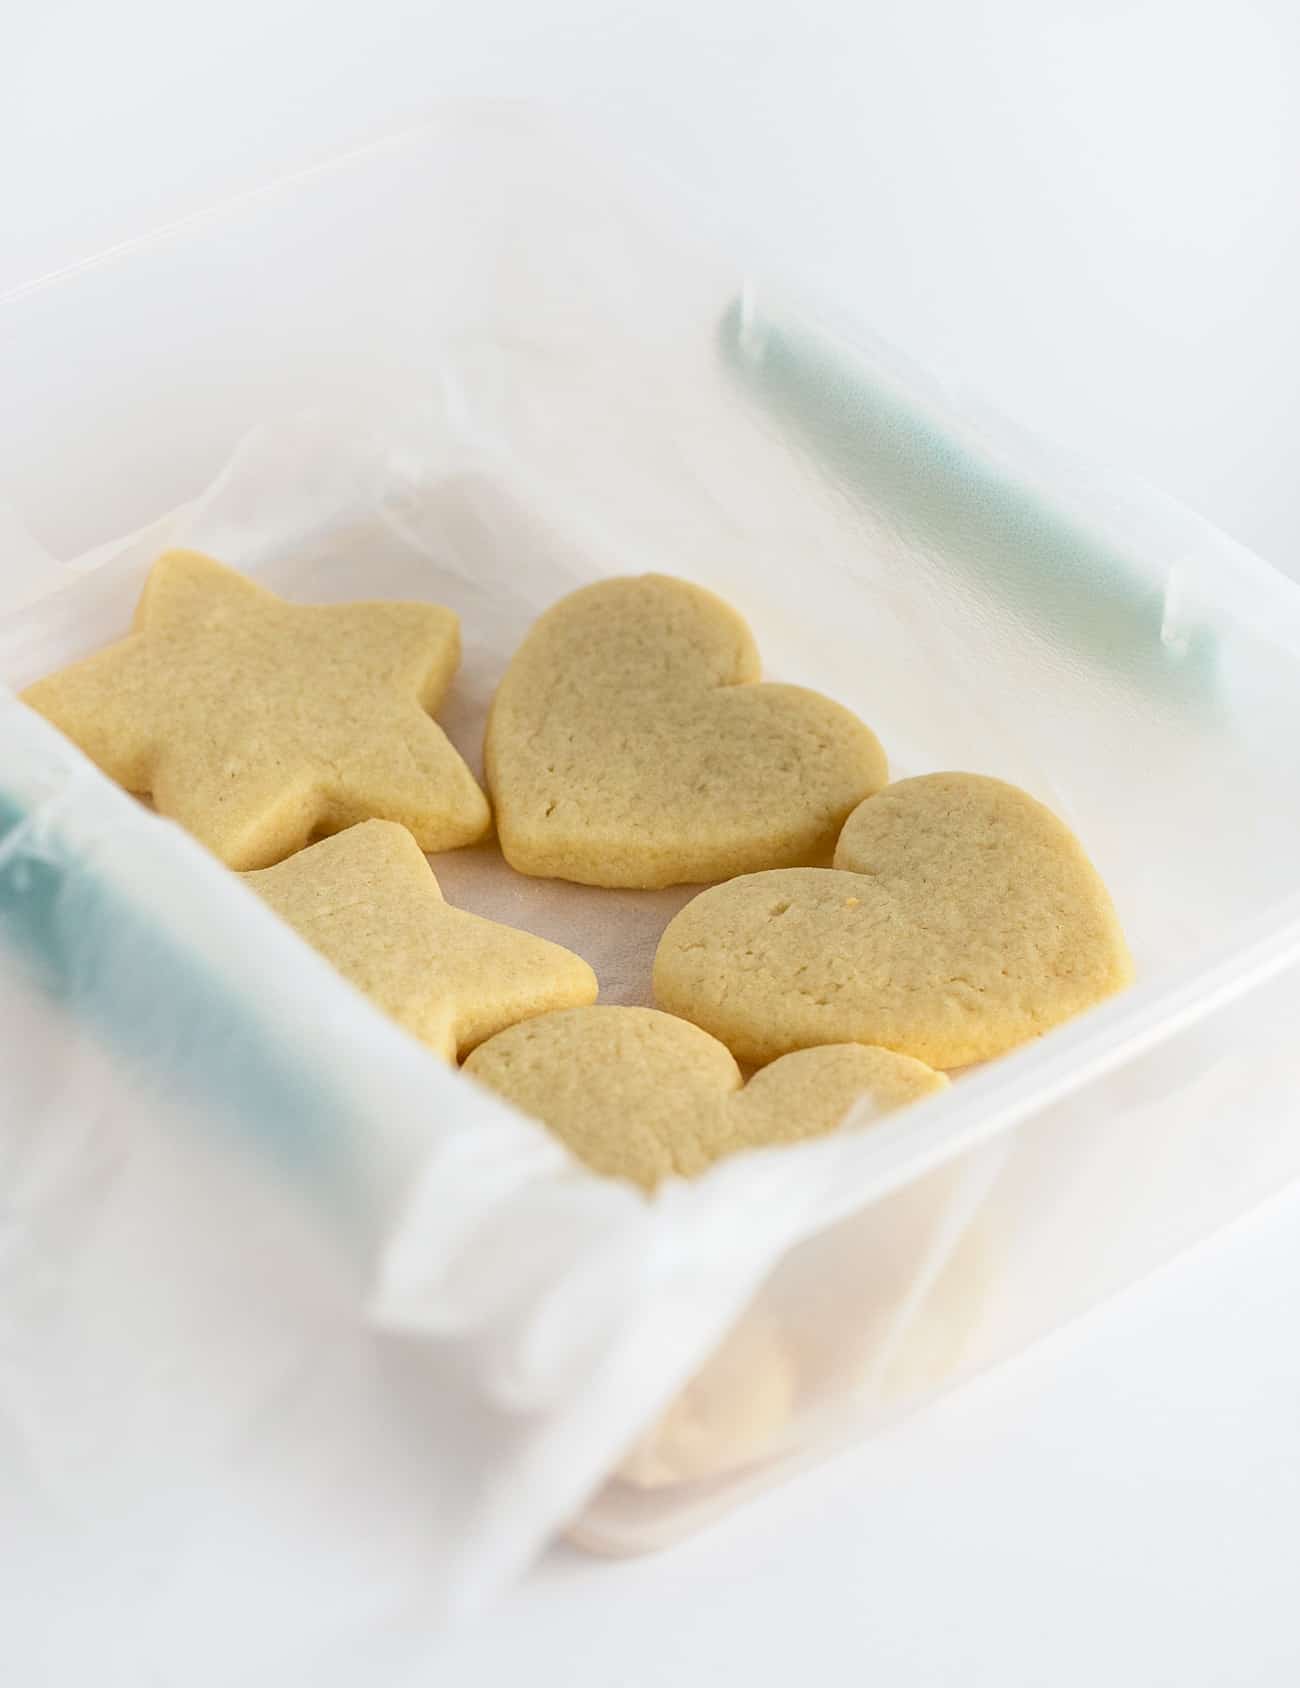
Step 6: Eat or Store in Air-Tight Container
Enjoy the cookies immediately OR allow the icing to harden for about 12 hours, uncovered. You do not need to cover the cookies while they're hardening. Once hardened, package individually in treat bags or add to your homemade cookie trays. The cookies will stay soft for 4-5 days in an airtight container.

Frequently Asked Questions:
Because the icing is shelf-stable, there is no need to refrigerate the iced cookies. The iced cookies will stay soft for 4-5 days in an airtight container. I don't typically recommend refrigerating these iced cookies because the icing tends to accumulate moisture and make your cookie look a bit wet.
I recommend waiting to ice the cookies until you're a day or two from serving. In this case, bake the cookies and freeze unfrosted. When ready to decorate, allow the cookies to thaw at room temperature before decorating.
(You can technically freeze the cookies frosted in an airtight container, but I've found that they are more prone to forming crystals on the top which gives the icing a blotchy look.)
Once the icing is hardened, package individually in treat bags or add to your homemade cookie trays. The cookies will stay soft for 4-5 days in an airtight container.
Because this uses shelf-stable ingredients (i.e. no dairy products), you can store the frosting at room temperature for a few days. Any longer than that, I like to store it in the fridge to keep fresh. When ready to use, let it come to room temperature, stir it back up, then frost your cookies.
If packaging in a plastic bag, I recommend letting the icing harden for up to 12 hours, uncovered. Once hardened, package in plastic bag.
If you want to make your sugar cookie icing without corn syrup, you can substitute honey instead. Just note that your cookies may not have the same smooth & shiny finish.
Your icing won't be bright white, which doesn't matter as much if you're planning to dye it with food coloring. For more ideas, check out my roundup of sugar cookie icing without corn syrup.
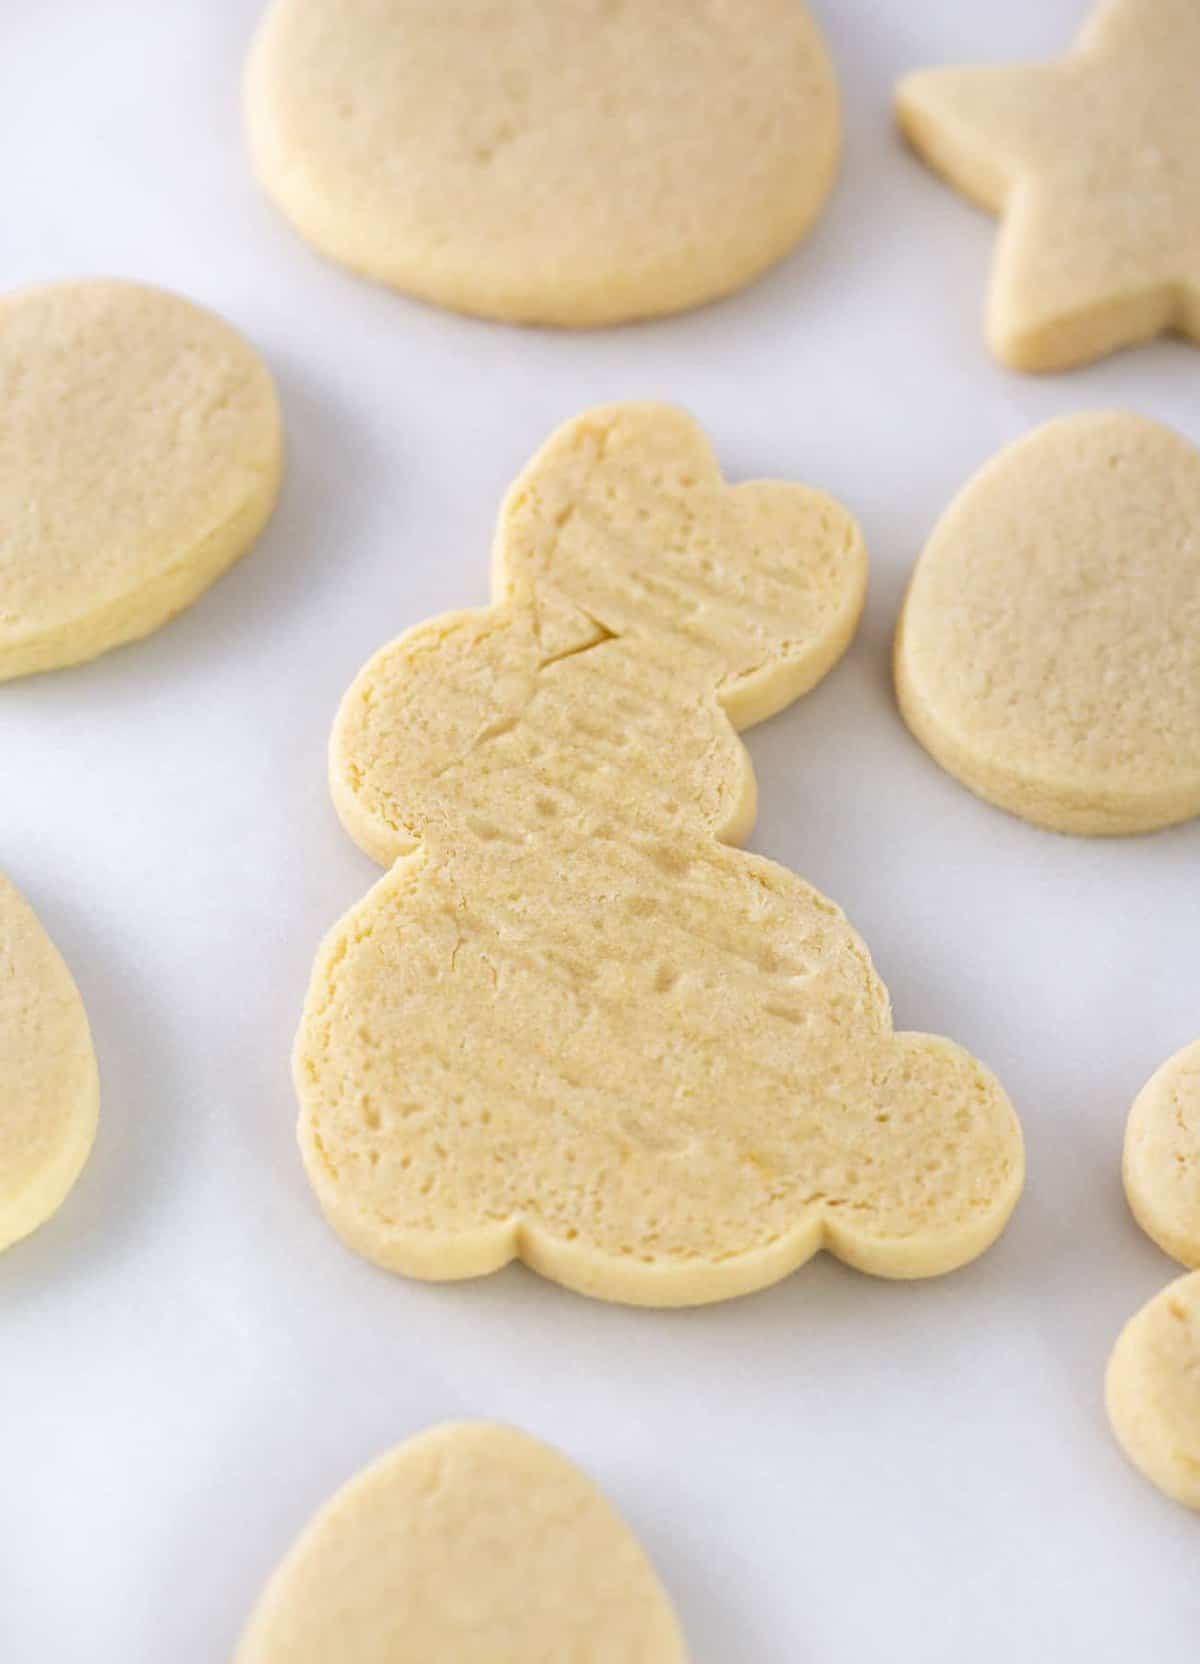
Need a delicious cut out sugar cookie recipe to pair these with?
As of recently, I've been loving using this recipe with my cut out sugar cookies. Depending on the size of your cookie cutter, simply adjust the baking time up or down a minute to accommodate size.
I love making them super thick (about ⅜" thick), making them super soft. This recipe has been working great for me in terms of minimal spreading when baking.
Looking for a more "spreadable" Sugar Cookie Frosting?
Try out my favorite cream cheese buttercream sugar cookie frosting. Or for a more pipeable frosting, try my sugar cookie buttercream frosting (I've also got a Christmas Cookie Frosting color guide using this recipe!).

More icing & frosting recipes:


Easy Sugar Cookie Icing Recipe
Ingredients
⭐️ Before you begin! If you make this, will you do me a huge favor afterwards and leave a review and rating letting me know how you liked this recipe? This helps my small business thrive so I can continue providing free recipes and high-quality content for you.
Instructions
- In a medium-sized bowl, add 2 cups powdered sugar, 6 teaspoons water, 4 teaspoons light corn syrup, ½-1 teaspoon vanilla extract, oil-free, ½-1 teaspoon almond extract, oil-free, and ⅛ teaspoon salt. Add an extra ½ teaspoon of vanilla and/or almond extract to your taste, if desired.
- Using a rubber spatula, stir the sugar cookie icing for 1-2 minutes until it is smooth and glossy. When you start stirring, you may think it's never going to work because it looks chunky but keep stirring and it will get smoother.
- Once smooth and glossy mix in a tiny bit of food coloring, as desired. If wanting to use multiple colors, this is when you will divide the icing into their own bowls before adding the color.
- After adding the food coloring, your icing should be slightly runny, while still keeping its body. It will be at the correct consistency when you drive a knife through the center and the "crease" closes up in 15 seconds. If it takes longer than 15 seconds, you need to add more water (⅛ teaspoon at a time). If it takes shorter than 15 seconds, you need to add a little more powdered sugar (1 teaspoon at a time). *** SEE TUTORIAL VIDEO IN THE POST ABOVE TO WATCH HOW I DO IT ****Different climates and humidity levels can affect how dry the icing is, but this recipe can be adaptable by following the instructions above.
- Spoon the icing into piping bags or squeeze bottles with #2 tips. Although harder to control, you can also spoon the sugar cookie icing into plastic ziploc bags and snip off one corner.
- To decorate, first outline each cookie with the icing. Once outlined, fill in the rest of the cookie with the icing and use a toothpick to help spread the icing and fill in any holes.
- Enjoy the cookies immediately OR allow the icing to harden for about 12 hours, uncovered. You do not need to cover the cookies while they're hardening. The cookies will stay soft for 4-5 days in an airtight container.
This recipe turned out to initially be a "mixed bag" for us as my husband had a crazy time trying to get the frosting piped out of the bag. His consistency must have been off. I then tried my hand and had no problem getting a good consistency. (Though technically, I drizzled off of a spoon instead of out of a bag as we ran out of supplies.) This tastes great and stacks well. It took food dye markers well, too.
Omg those are so cute! Thank you so much for leaving a review, Amy! I really appreciate it!