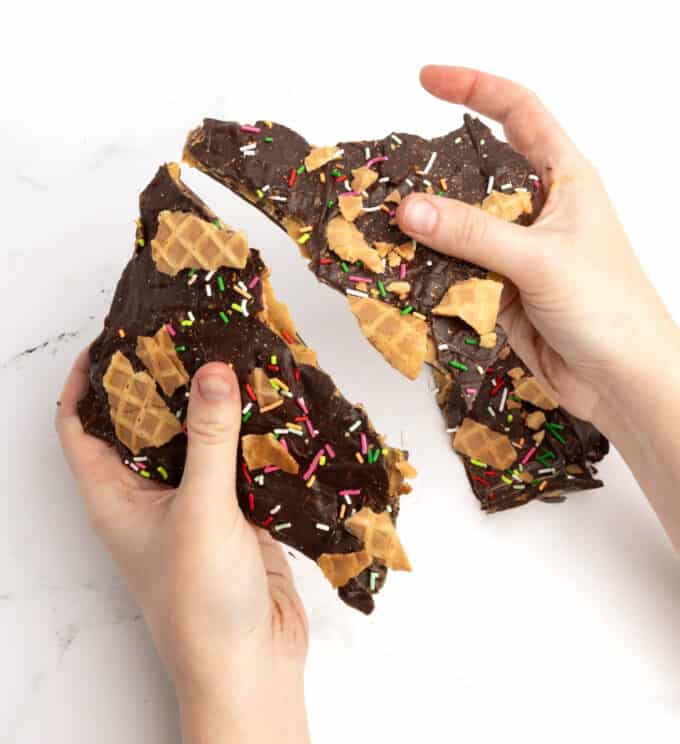
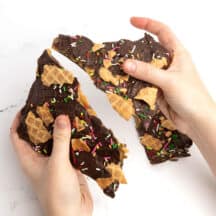
With just 4 ingredients, you can make this crunchy, sweet, and salty peanut butter chocolate bark inspired by the Little Debbie Nutty Buddy!
Save this Recipe!
Enter your email below and I'll send this recipe to you.
Why I Love This Nutty Buddy Bark
- Quick to make: You can make this in the microwave
- Insane texture & flavor: The waffle cones in this give it a crunchy, sweet, and salty texture and flavor that is truly incredible.
- Cute holiday tray addition! I love adding bark as "filler" to my holiday cookie trays, as it provides a nice texture change from all the cookies!
Ingredient Notes & Substitutions
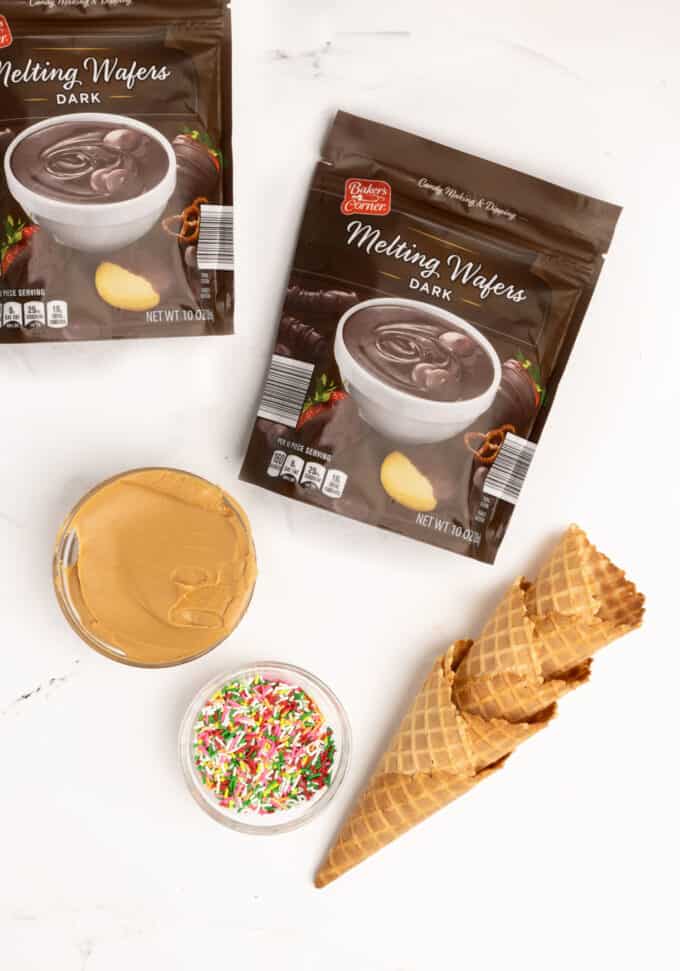
- Creamy peanut butter: We're using melted peanut butter to make this easy to pour. If you need to make it peanut-free, using almond butter, biscoff, cookie butter would also be yummy!
- Waffle cones: I used Kroger brand which have a nice crunch but also tested these with Keebler (these have a bit more of a delicate crunch which is also yummy!).
- Dark chocolate wafers: Because the bulk of this is chocolate, you want to make sure to use something that actually tastes good and has a nice snap to it. I used Aldi dark chocolate wafers which melt easily and are delicious on this. Ghiradelli also has melting wafers that work well. I suggest avoiding almond bark, as most brands are softer and don't have a crisp snap to it. Of course, you can also use your favorite chocolate and temper it over a double-boiler if you have experience with that!
- Sprinkles: I used a simple jimmies mix but any work!
How to Make Nutty Buddy Bark
Step 1: Spread Chocolate Layer
Line a 9×13 pan with parchment paper.
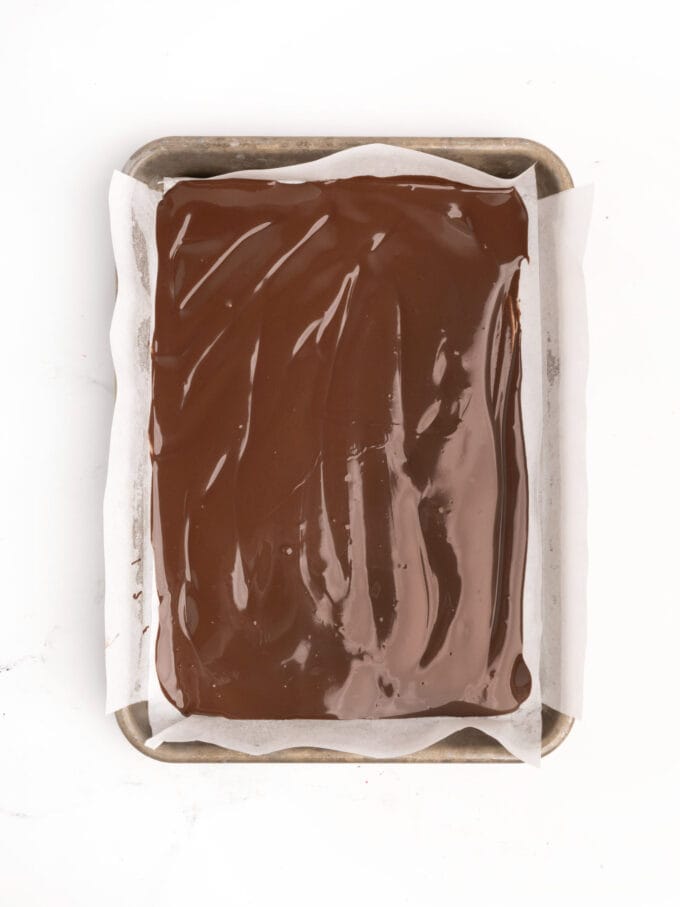
In a microwave-safe bowl, melt half of the dark chocolate melting wafers (10-ounces) according to package instructions. Spread into the prepared pan and then tap the pan on the counter a few times to help the chocolate smooth out. Place in fridge for 5-10 minutes, or until hardened.
Step 2: Pour Peanut Butter Layer
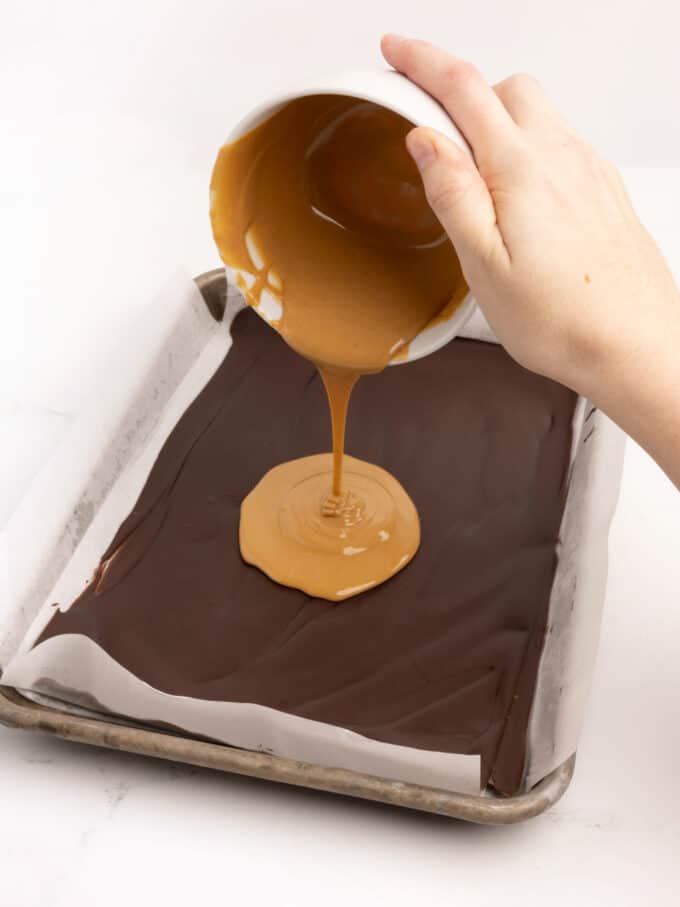
- In a small bowl, melt peanut butter in the microwave for 15-30 seconds. You want it thin and pourable but not too hot, or else it will melt your chocolate.
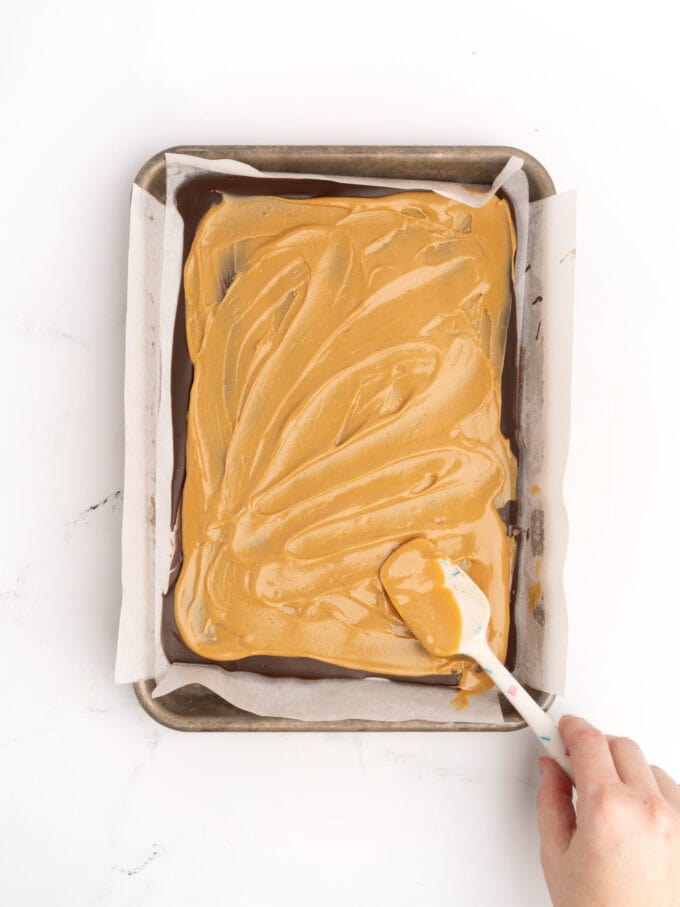
- Remove the chocolate pan from the fridge and pour the melted peanut butter on top. Use a spatula to spread it until the chocolate is covered.
Step 3: Add Waffle Cones
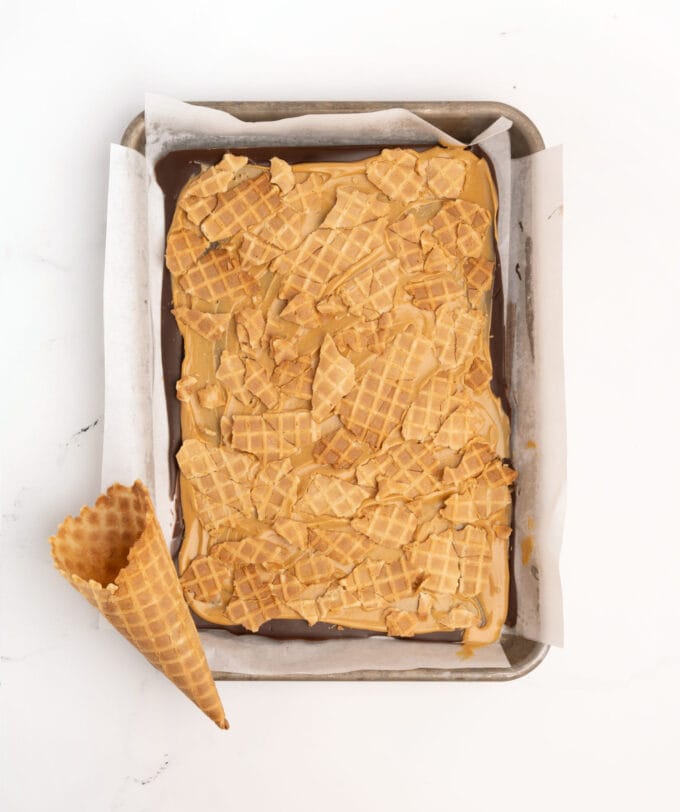
Break 3-4 waffle cones into pieces and press on top of the peanut butter layer. I like to face the "waffle" texture on top to resemble the Nutty Buddys.
Step 4: Top with Chocolate
- Melt the remaining dark chocolate melting wafers (10-ounces) according to package instructions.
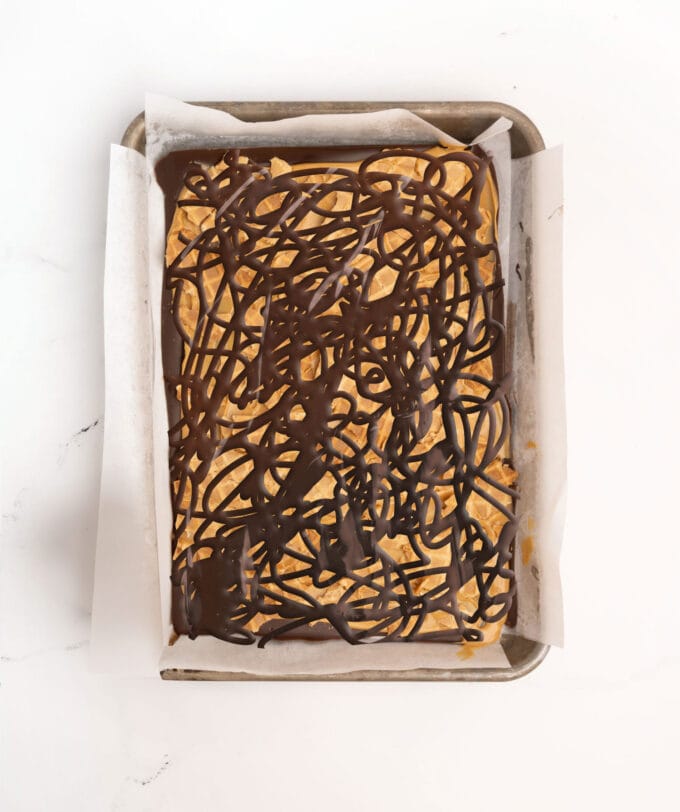
- Pour chocolate into a piping bag or gallon-sized ziploc bag and drizzle over top the waffle cone layer, then use a spatula to fill in any gaps. Tap the pan on the counter to smooth out the chocolate.
Tip: By using a piping bag, you avoid shifting the waffle cones around too much.

Step 5: Decorate
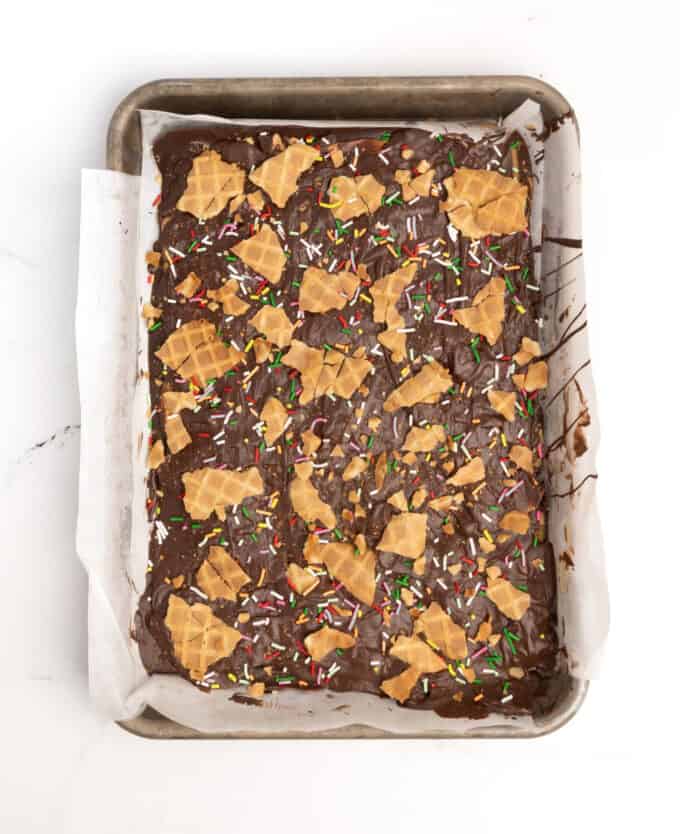
Immediately add sprinkles and another 3-4 broken waffle cone pieces. Place in fridge to harden, then break apart! Store in an airtight container for up to 1 week.
Tips & Variations
- Make white chocolate: This would also be super yummy with white chocolate instead!
- Replace the peanut butter: If you have a peanut allergy, you can replace the peanut butter for almond butter, biscoff, or cookie butter!
Storage & Freezing
- Storage: Store in an airtight container for up to 1 week for best freshness. No refrigeration needed.
- Freezing: This bark freezes well! You can freeze in an airtight container for up to 1 month for best freshness.

Christmas Nutty Buddy Bark
Ingredients
- 20 ounces dark chocolate melting wafers I used two bags of Aldi brand but Ghiradelli also makes some.
- ½ cup creamy peanut butter
- 4-6 waffle cones
- sprinkles, if desired!
Before you begin! If you make this, will you do me a huge favor and leave a review and rating letting me know how you liked this recipe? This helps my small business thrive so I can continue providing free recipes and high-quality content for you.
Instructions
- Line a 9x13 pan with parchment paper.
- In a microwave-safe bowl, melt half of the dark chocolate melting wafers (10-ounces) according to package instructions. Spread into the prepared pan and then tap the pan on the counter a few times to help the chocolate smooth out. Place in the fridge for 5-10 minutes, or until hardened.
- In a small bowl, melt peanut butter (½ cup) in the microwave for 15-30 seconds. You want it thin and pourable but not too hot, or else it will melt your chocolate.
- Remove the chocolate pan from the fridge and pour the melted peanut butter on top. Use a spatula to spread it until the chocolate is covered.
- Break 3-4 waffle cones into pieces and press on top of the peanut butter layer. I like to face the "waffle" texture on top to resemble the Nutty Buddys.
- Melt the remaining dark chocolate melting wafers (10-ounces) according to package instructions.
- Pour chocolate into a piping bag or gallon-sized ziploc bag and drizzle over top the waffle cone layer, then use a spatula to fill in any gaps. Tap the pan on the counter to smooth out the chocolate.Note: By using a piping bag, you avoid shifting the waffle cones around too much.
- Immediately add sprinkles if desired and another 3-4 broken waffle cone pieces. Place in fridge to harden, then break apart!
- Store in an airtight container for up to 1 week.
Last Step! Please leave a review and rating letting me know how you liked this recipe! This helps my small business thrive so I can continue providing free recipes and high-quality content for you.

Tomma Marcincuk says
This is probably the easiest and most delicious treat you can make! I will try a white chocolate variation for Valentine’s Day!
Danielle says
Incredible! Such a unique and fun idea. Easy to make and absolutely delicious.
Melissa says
Thank you so much for leaving a review, Danielle!
Adrienne says
I made this as part of the Baking Challenge and used it as the candy element of my holiday cookie tray. Love the addition of the waffle cones! It is unique and adds a fun crunch!