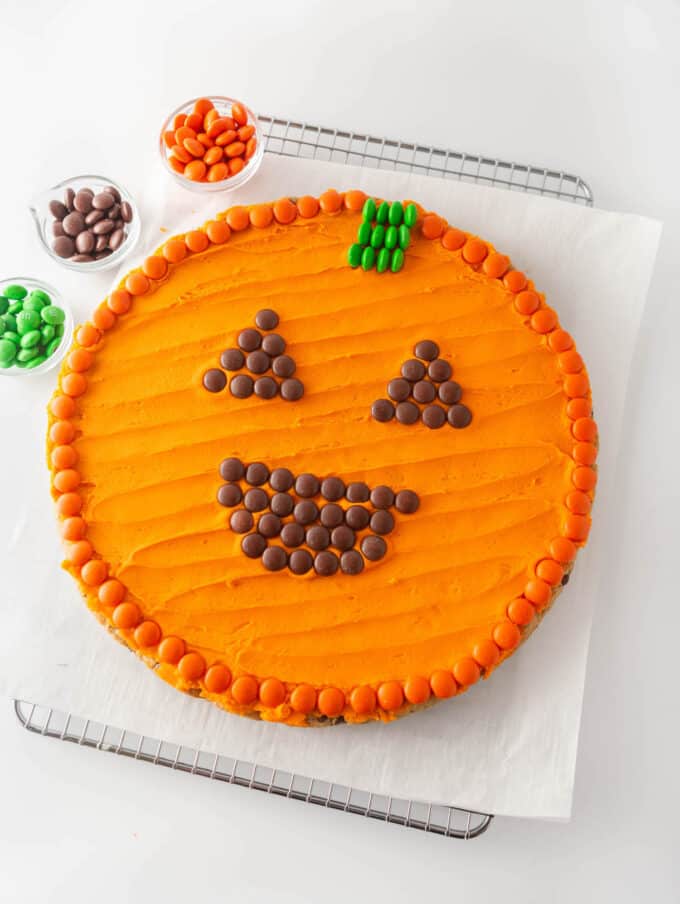
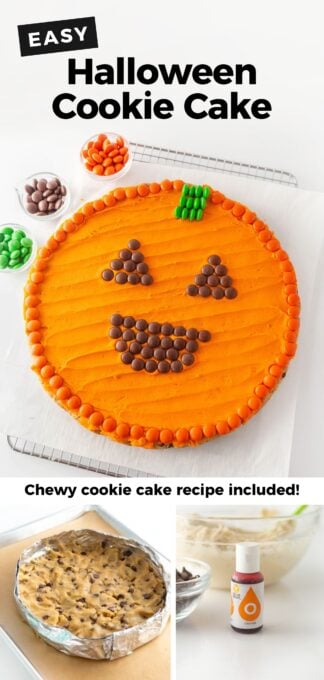
Follow this easy tutorial to make & decorate the cutest Halloween jack-o-lantern cookie cake using frosting & m&m's! The recipe for my popular chewy chocolate chip cookie cake (+ more flavor ideas!) is below.
Save this Recipe!
Enter your email below and I'll send this recipe to you.
3 Reasons You Should Make This Halloween Cookie Cake
- Easy: No fancy piping skills needed here; simply bake up your cookie cake, frost, then press on brown m&m's or upside-down chocolate chips to form the adorable jack-o-lantern face!
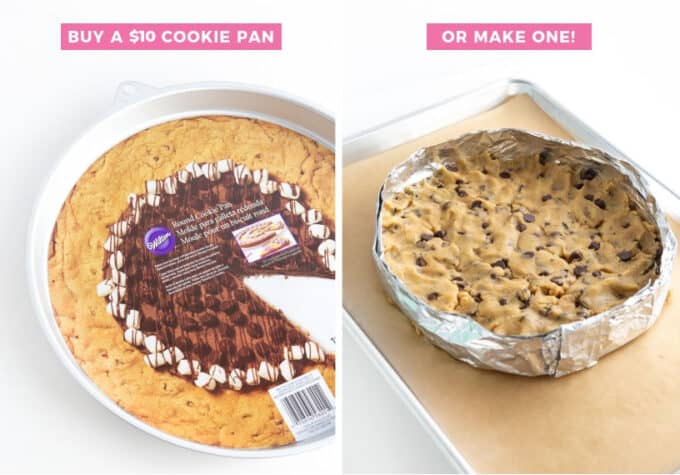
- No special pan needed! While a cookie cake pan will make it quicker & more uniform, you can make any of my cookie cake recipes using this DIY cookie cake pan hack!
- Cheaper than store-bought! Themed cake designs from Great American Cookie or Mrs. Fields can run $20-30+ dollars each. If you already have the baking staples on hand (i.e. flour, surgar), you can make this one for around $10!
Ingredient Notes
This is just an overview, click here to jump down to the full recipe card for the recipe amounts and condensed recipe instructions.
- Cookie dough: Use my chewy chocolate chip cookie cake recipe (listed below!) or any of my other cookie cake flavors!
- Frosting: You can use canned or homemade frosting, although the homemade recipe below will make it taste more like the delicious bakery cookie cakes!
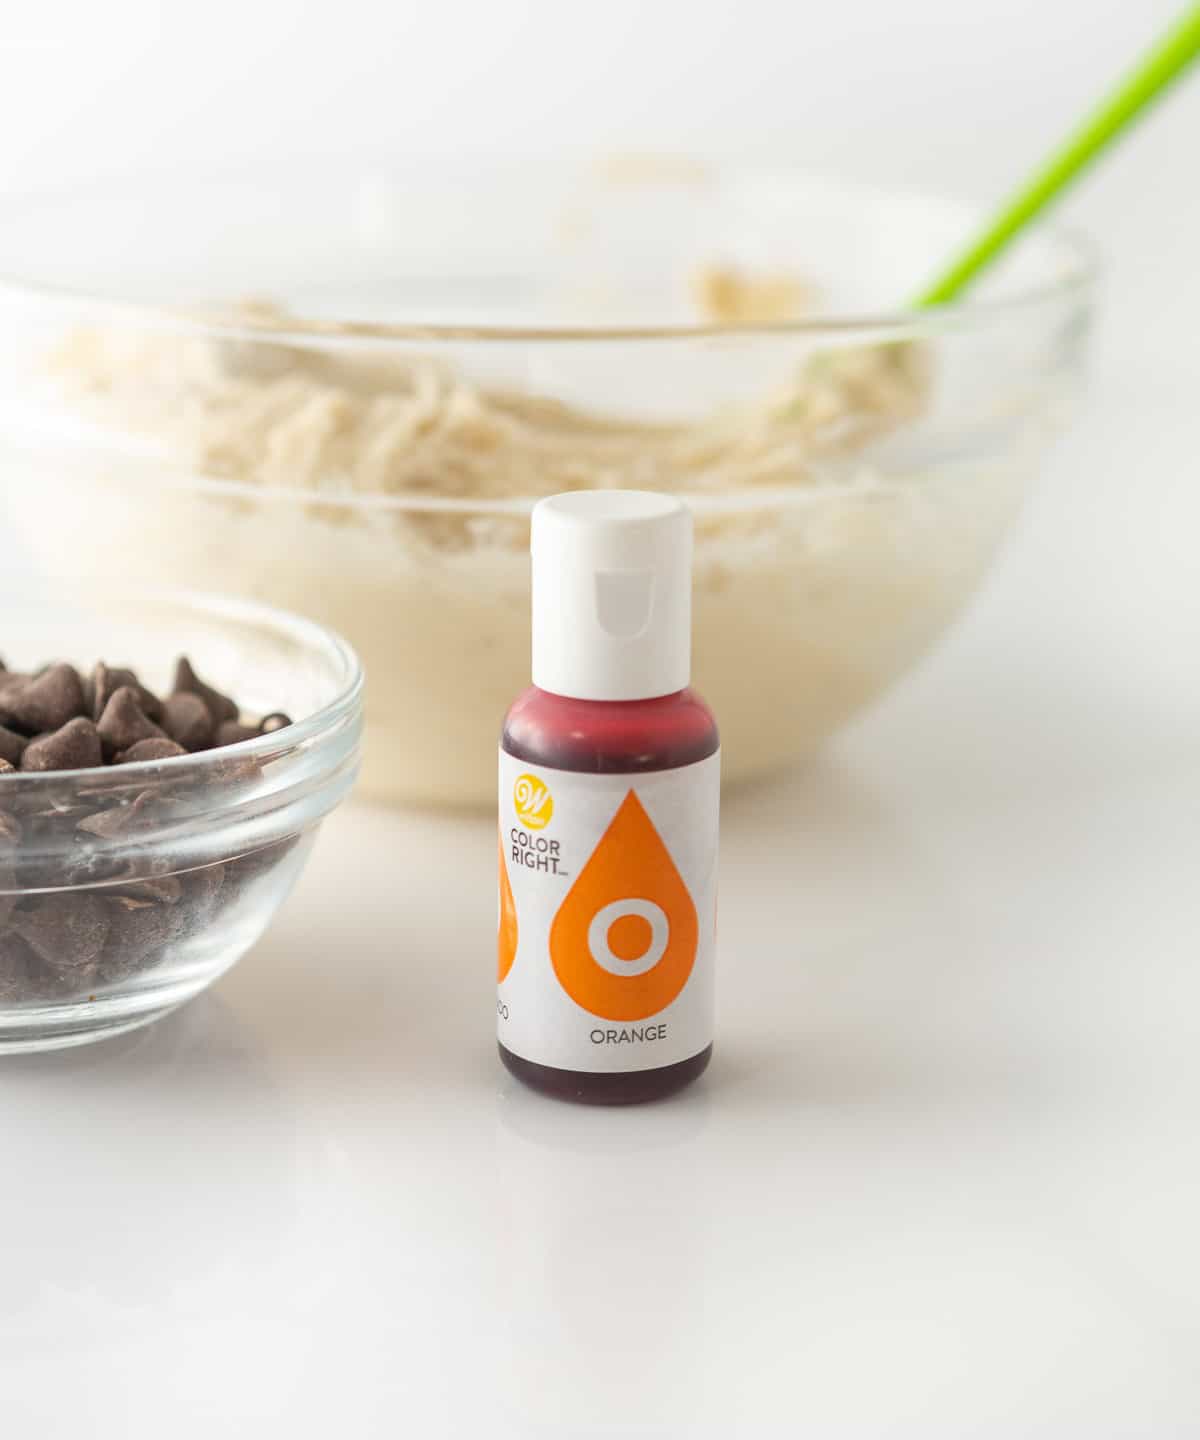
- Orange food coloring: I used Wilton gel (~10 drops for the 1 ¾ cups of frosting) but you can also make your own using red & yellow food coloring.
- M&M's, Reeses Pieces, or Chocolate Chips: Read my tips in step 3 below...I've got a few hacks for ya!
Make it gluten-free! You can totally decorate my Chewy Gluten-Free Cookie Cake the same way! My favorite brand of flour for it is Bob's Red Mill Gluten Free 1-to-1 Baking Flour.
How to Make This Halloween Cookie Cake:
This is just an overview showing step-by-step photos, jump down to full recipe card with exact instructions.
Step 1: Make Cookie Cake
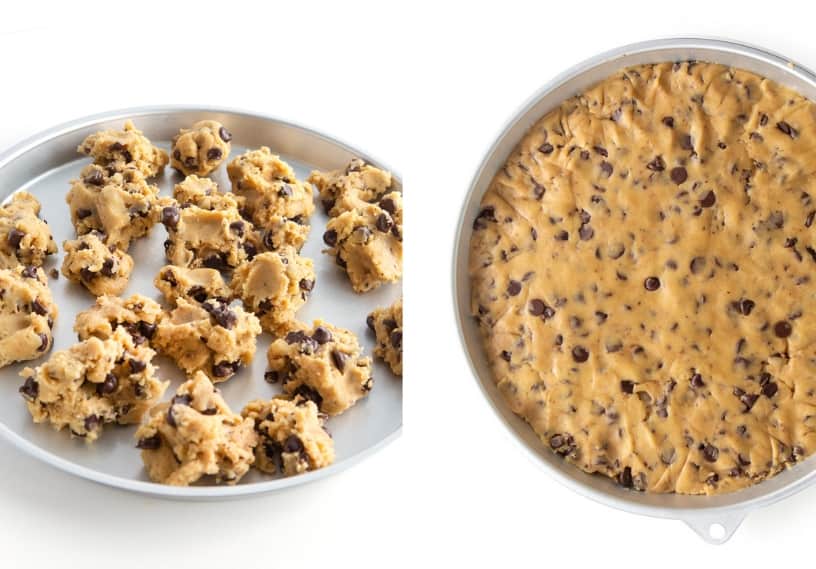
- Make dough: Mix up the cookie dough according to the recipe below. You can also use any of my other flavors that white frosting.
- Press into pan: I use a 11.5" metal cookie cake pan (they're cheap on Amazon!) but you can also use this DIY Cookie Cake Pan hack!
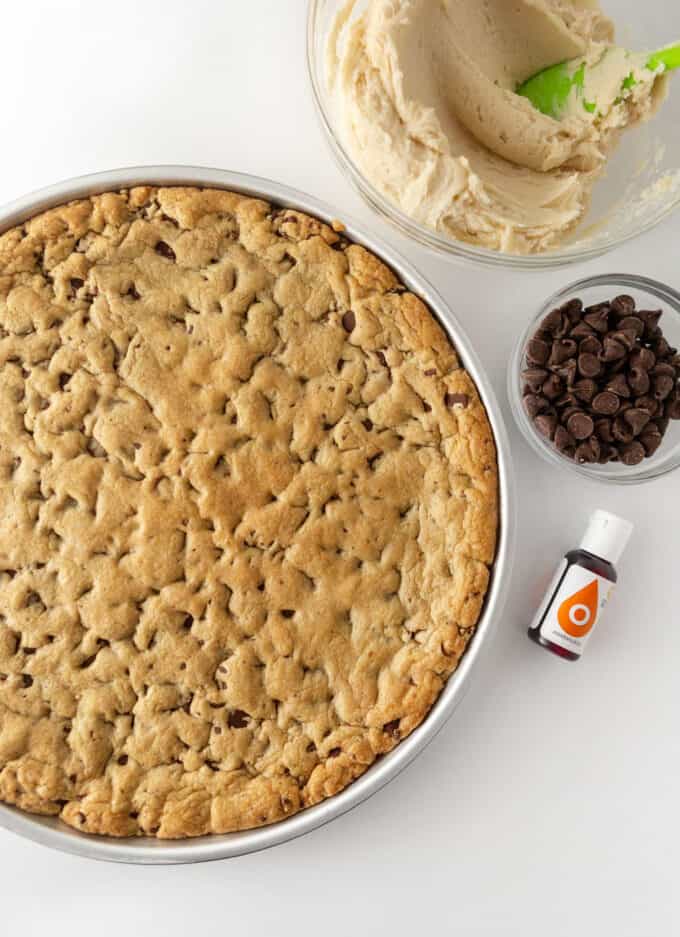
- Bake: The secret to a soft & chewy cookie cake is to not overbake it. The top should be slightly brown (see below) and the center baked through. Read all my cookie cake tips & tricks in my original homemade cookie cake recipe.
Step 2: Make & Color Frosting
- Make your homemade buttercream and add orange food coloring until it's your desired shade. I used 10 drops of Wilton orange gel food coloring for the full batch (1 ¾ cups) of frosting listed below.
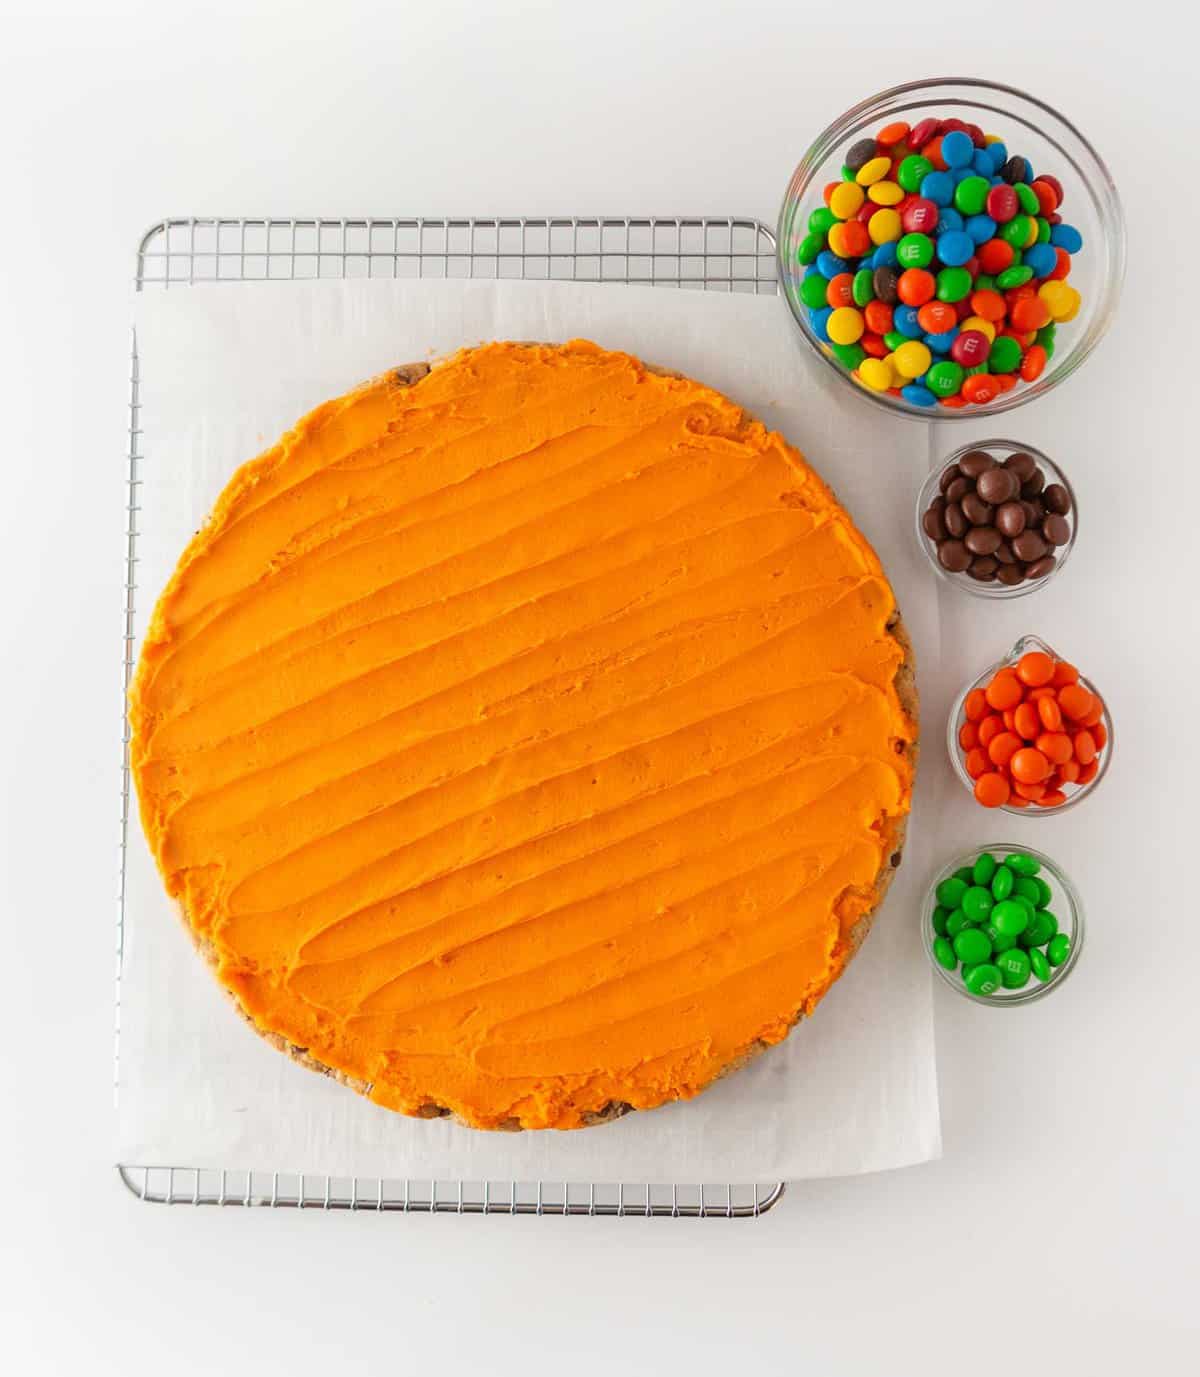
- Spread the frosting on the cooled cookie cake, then immediately proceed to adding the face.
Tip: If you're using canned frosting, one can will be enough.

Step 3: Decorate!
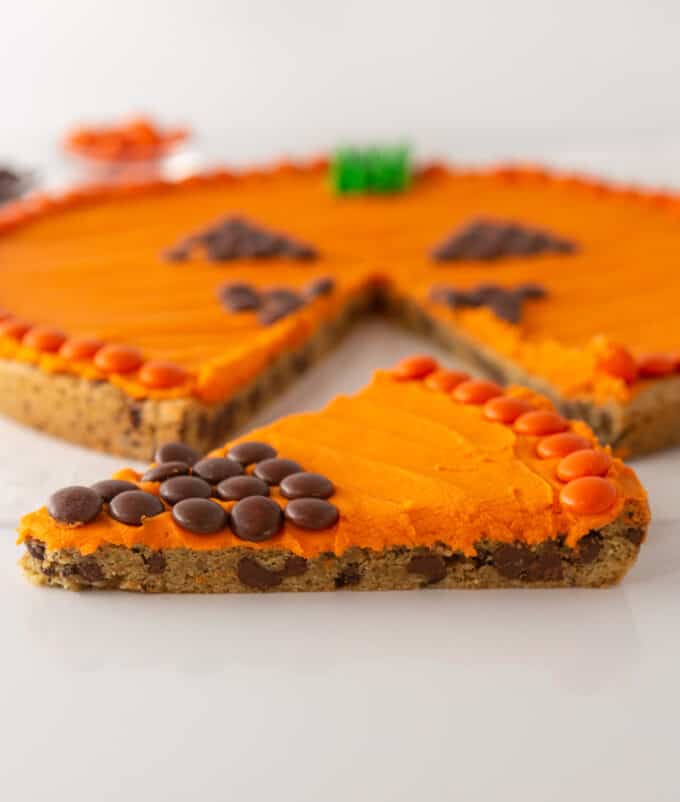
- There are a few ways you can decorate the face! Regardless of what route you go, you do want to press the candies on while the frosting is still wet so that they actually stick.
- Option 1 / M&M's and/or Reeses Pieces: To do the full face, border, and stem, I'd suggest getting two larger bags of M&M's and/or one bag of Reeses Pieces (since it's all orange & brown) & a smaller bag of M&M's for the green stem.
- Option 2 / Chocolate Chips: If you can also just make the face using upside-down chocolate chips & then pipe on the stem with green frosting or leave it off completely!
Tip! Turn the M&M's upside down so that the "m" is face down; this will give you a cleaner look! For the stem, turn the green M&M's sideways to make it skinny.

Tips & Variations
- Make it chocolate! Use my triple chocolate cookie cake dough as the base and then use the homemade vanilla buttercream below to create the same look...but with chocolate!
- Make it a sugar cookie! I've also made this jack-o-lantern cookie cake using my frosted sugar cookie cake recipe and it's so good!
- Make mini pumpkin face cookies! For a similar look, make these adorable easy halloween pumpkin cookies using mini M&M's to create a jack-o-lantern face!
- Add a message! Instead of the face, you could write on "happy halloween" or decorate this cookie as a spider web for other Halloween cookie cake designs!
Frequently Asked Questions:
How do I store cookie cake? Does it need to be refrigerated?
This cookie cake can be stored at room temperature for 2-3 days. It will technically last longer but starts to dry out around day 3! If you use any of my other cookie cake flavors that use cream cheese frosting, be sure to refrigerate.
Can I make this gluten-free?
You can totally decorate my Chewy Gluten-Free Cookie Cake the same way! My favorite brand of flour for it is Bob's Red Mill Gluten Free 1-to-1 Baking Flour.
Can I make this without a cookie cake pan?
You sure can! Use this DIY Cookie Cake Pan hack using foil; you'll want to shape your cookie to be around 11-12" in diameter in order to fit the jack-o-lantern face.
More Halloween Dessert Ideas & Food Crafts:
I love Halloween treats so much and have a full library of Halloween crafts & recipe ideas! Here's a few of my faves:
- Easy Halloween Pumpkin Cookies
- Easy Frankenstein Halloween Milkshakes
- Easy Peanut Butter Cup Eyeball Cookies
Did you make this Halloween cookie cake? If so, will you do me a huge favor and leave a review and rating letting me know how you liked this recipe? This helps my small business thrive so I can continue providing free recipes and high-quality content for you.

Halloween Pumpkin Cookie Cake
Ingredients
Cookie Cake
- ½ cup unsalted butter (1 stick) You will be melting this
- ¼ cup granulated sugar
- ½ cup light brown sugar
- 1 large egg
- 1 ½ teaspoon vanilla extract
- ½ teaspoon baking soda
- ¼ teaspoon baking powder
- ¼ teaspoon salt
- 1 ½ cups all-purpose flour
- 1 cup semi-sweet chocolate chips (You'll be chopping ½ cup and adding the remaining ½ cup whole).
Orange Frosting
- ½ cup unsalted butter softened to room temperature
- 1 ½ cups powdered sugar
- 1 ½ teaspoons vanilla extract
- Pinch of Salt
- 2-4 tablespoons milk
- 10 drops Wilton Orange Food Coloring
Decorating
- M&M's or chocolate chips
Before you begin! If you make this, will you do me a huge favor and leave a review and rating letting me know how you liked this recipe? This helps my small business thrive so I can continue providing free recipes and high-quality content for you.
Instructions
- Preheat oven to 350°F.
- Chop ½ cup of the chocolate chips. The goal here is to have a mixture of tiny chocolate flakes throughout the dough, while still have the whole chunks in there for texture. Set aside.
- In a small microwave-safe bowl, melt unsalted butter (½ cup, 1 stick) for 20-30 seconds until JUST melted.
- Add in granulated sugar (¼ cup) and light brown sugar (½ cup) and use a spatula to stir until combined (* do not use a mixer!). Add in egg (1 large) and vanilla extract (1 ½ teaspoon), then mix.
- Add in baking soda (½ teaspoon), baking powder (¼ teaspoon), and salt (¼ teaspoon) and mix until just combined. Add in flour (1 ½ cups) and mix until all the flour disappears into the dough.
- Add the chopped chocolate chips (½ cup) from earlier and whole chocolate chips (½ cup) into the dough and mix. Immediately proceed to pressing into pan (you don't want the dough sitting out or it will set too much with the melted butter).
- Grease a 11.5" metal cookie cake pan (don't have one? See notes below.) Although this cookie removes cleanly, if you are worried about it sticking, line the bottom and sides of the pan with parchment paper first. Using a spoon or your clean hands, drop the dough into small chunks in the pan. This will help disperse everything so that you can easily smooth it out. Once all dough as been added, use a spatula or your hands to press down the dough into a smooth layer (being sure to get all the corners).Tip: If you notice 2-3 chocolate chips are stuck together, separate them before baking. This will allow the chocolate to be evenly dispersed and prevent the cookie from having a giant clump of chocolate in one spot (which could cause it to more easily break while cutting).
- Bake at 350°F degrees for 12-14 minutes - do NOT overbake or your chocolate chip cookie cake will not be soft. You want the cookie cake to be slightly brown on the top and look slightly underbaked (my oven was perfect at 12 minutes). Remove from oven and place entire pan on a cooling rack. Allow the cookie cake to cool completely before removing.Tip: To remove from pan, use a knife to go around the edges, place a flat platter on top, then flip over the pan to remove. If you used parchment paper, this should come out rather smoothly. After flipping over the cookie cake, flip it over again on the final decorate plate or platter (I LOVE these cute paper trays and the largest one in the pack is perfect for a 10" cookie cake).
- Once the cookie cake has cooled, spread the orange frosting (instructions below) over the top.
- Follow the photos above to decorate the jack-o-lantern cookie cake design.
To Make Frosting:
- Beat softened unsalted butter (½ cup) on medium-high speed for 2-minutes until smooth. Turn the mixer to low speed then add the powdered sugar (1 ½ cups) slowly. You may need to stop and scrape down sides. Add vanilla extract (1 ½ teaspoons) and salt (pinch) and turn mixer to medium speed. One tablespoon at a time, add milk (2-4 tablespoons, as needed). Add food coloring (10 drops of Wilton Orange Gel), and combine. Beat on high for 2-3 minutes until creamy and the frosting is at a good consistency to pipe. If it looks too runny, add more powdered sugar. If it looks too stiff, add a tiny bit of milk until you get to the desired consistency. This will make just enough frosting to cover the top of the cookie cake or 1 ¾ cups frosting.
Last Step! Please leave a review and rating letting me know how you liked this recipe! This helps my small business thrive so I can continue providing free recipes and high-quality content for you.

Gene & Andrew
My grandson and I are doing this together. Neither one of us has much kitchen experience so this recipe is perfect for us. Thank you.
Melissa
Yay, you will have to let me know how it turns out! :)