
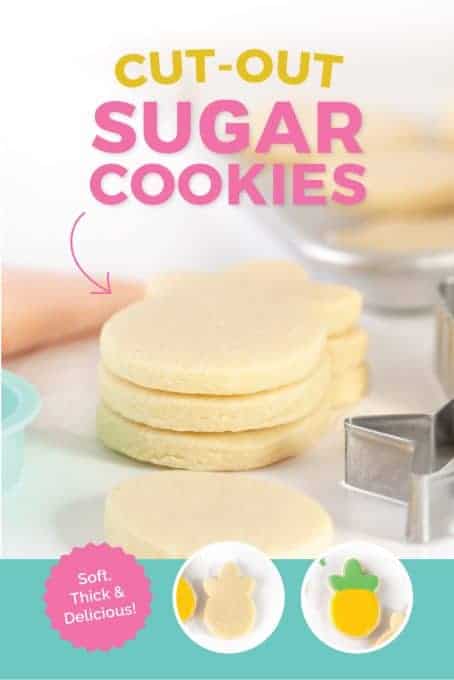
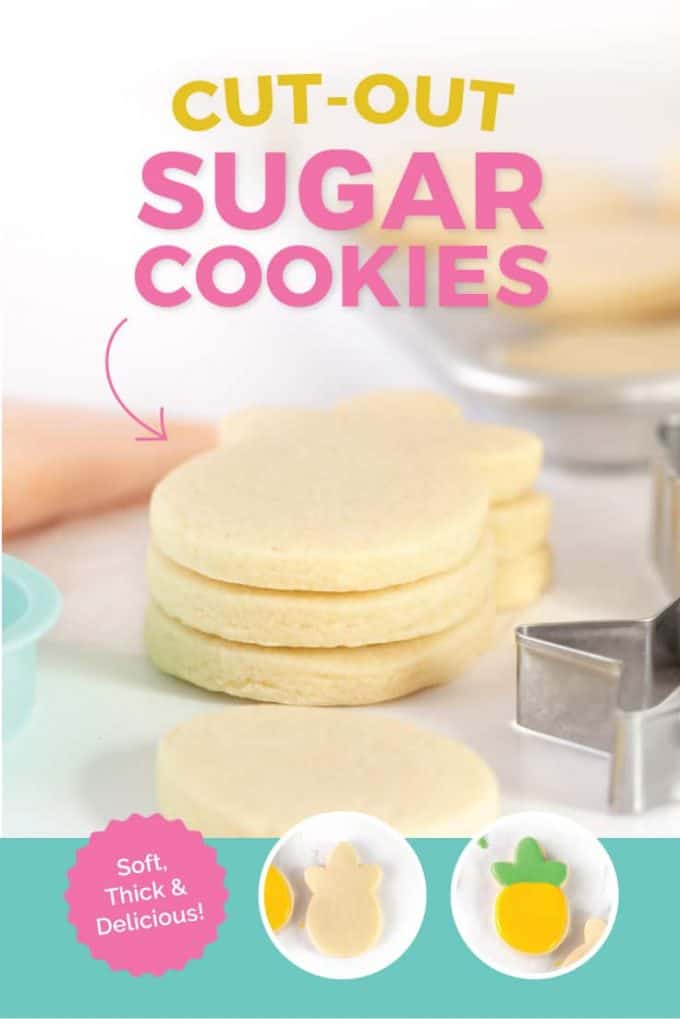
The best, SOFT cut out sugar cookie I've ever made! Customizable for any occasion, these soft & thick cut out sugar cookies are perfect for Christmas, Valentines, and birthday cookies! I'll walk you through tips on how to roll out the dough to avoid spreading & sticking, as well as give you my favorite, easy frosting recipes.
Update: Be sure to watch my in-depth VIDEO tutorial below where I walk through the crucial steps in preventing your cookies from spreading. It's a longer form video, but one where I share it ALL!
Over four years ago, I shared a post on my family's favorite cut out sugar cookies and by some miracle, that post went viral and continues to be the most popular recipe on the site. It uses powdered sugar, is soft, and has a delicious flavor to boot. But as time has gone on and I've tested TONS more sugar cookie recipes, I ended up concocting a new cut out sugar recipe that has become my new favorite.
The original recipe is still delicious and loved by many of you (so I didn't want to overwrite that one!), but I have found this one to spread even less, which allows us to get them really THICK.

- Original: All powdered sugar, more butter = a buttery, slightly flakey texture.
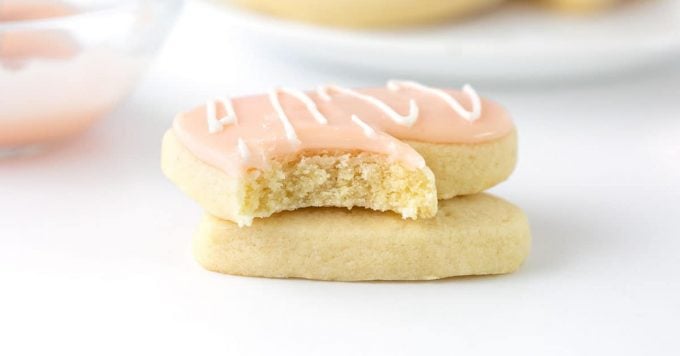
- This New Recipe: Granulated Sugar, Less Butter = a thicker, softer, more moist texture.
Before we dive into the recipe, I want to talk about what you can do to make a perfect cut out sugar cookie. Because believe it or not, there's more to it than just the recipe.
- Soft Butter: You need room temperature, softened butter. If you use butter that is too melted, your cookies will not roll out very well and will almost always spread in the oven.
- Properly Roll The Dough: Over kneading or rolling the dough will result in more spreading (because the heat of your hands will soften the butter as you roll.) Before starting, hop on over to my post on how to roll sugar cookies and read the tips (trust me, it will save you some frustration!).
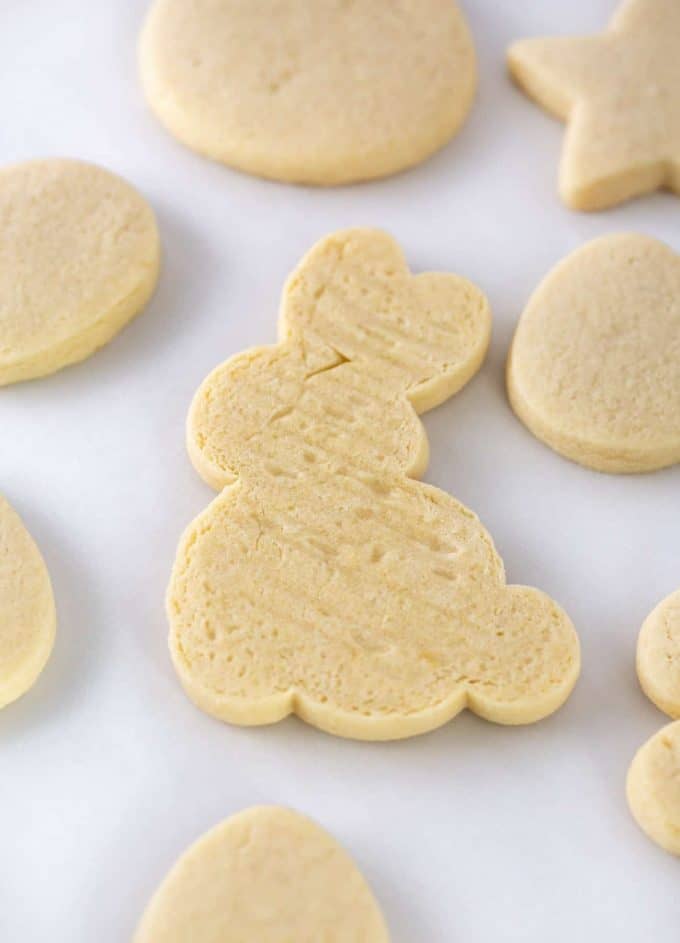
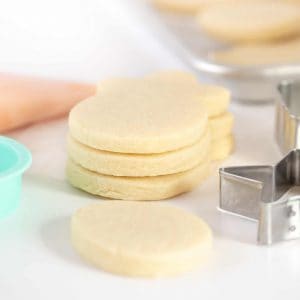
- Roll Them Thick: I'm talking ⅜" to ½" thick.

- Do Not Overbake: You need to pull them out of the oven before you see any brown around the edges. I'll go into more detail on this below, but essentially, the trick to soft and moist cut out sugar cookies is to ever so slightly underbake them and allow them to finish baking on the hot baking sheet outside of the oven.
What You Need to Make Cut Out Sugar Cookies:
- Softened Butter, Granulated Sugar, Egg, Vanilla Extract & Almond Extract, Baking Powder, Salt, Flour
- Cookie Cutters
- Rolling Pin with Thickness Guides (read more about my favorite rolling pin here)
- Parchment Paper
- Frosting / Pairs well with:
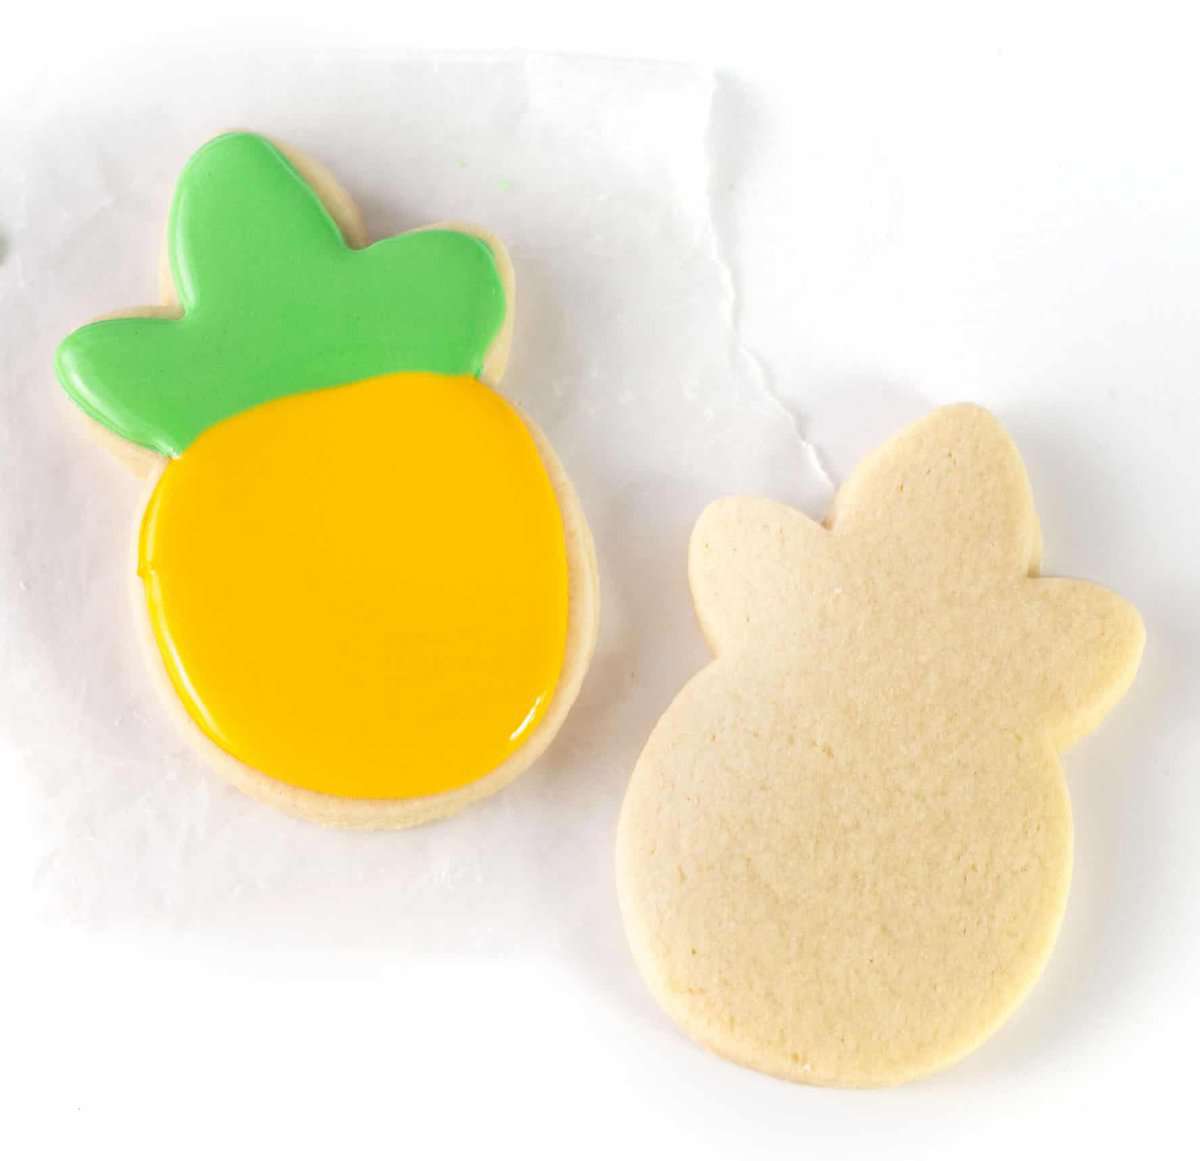
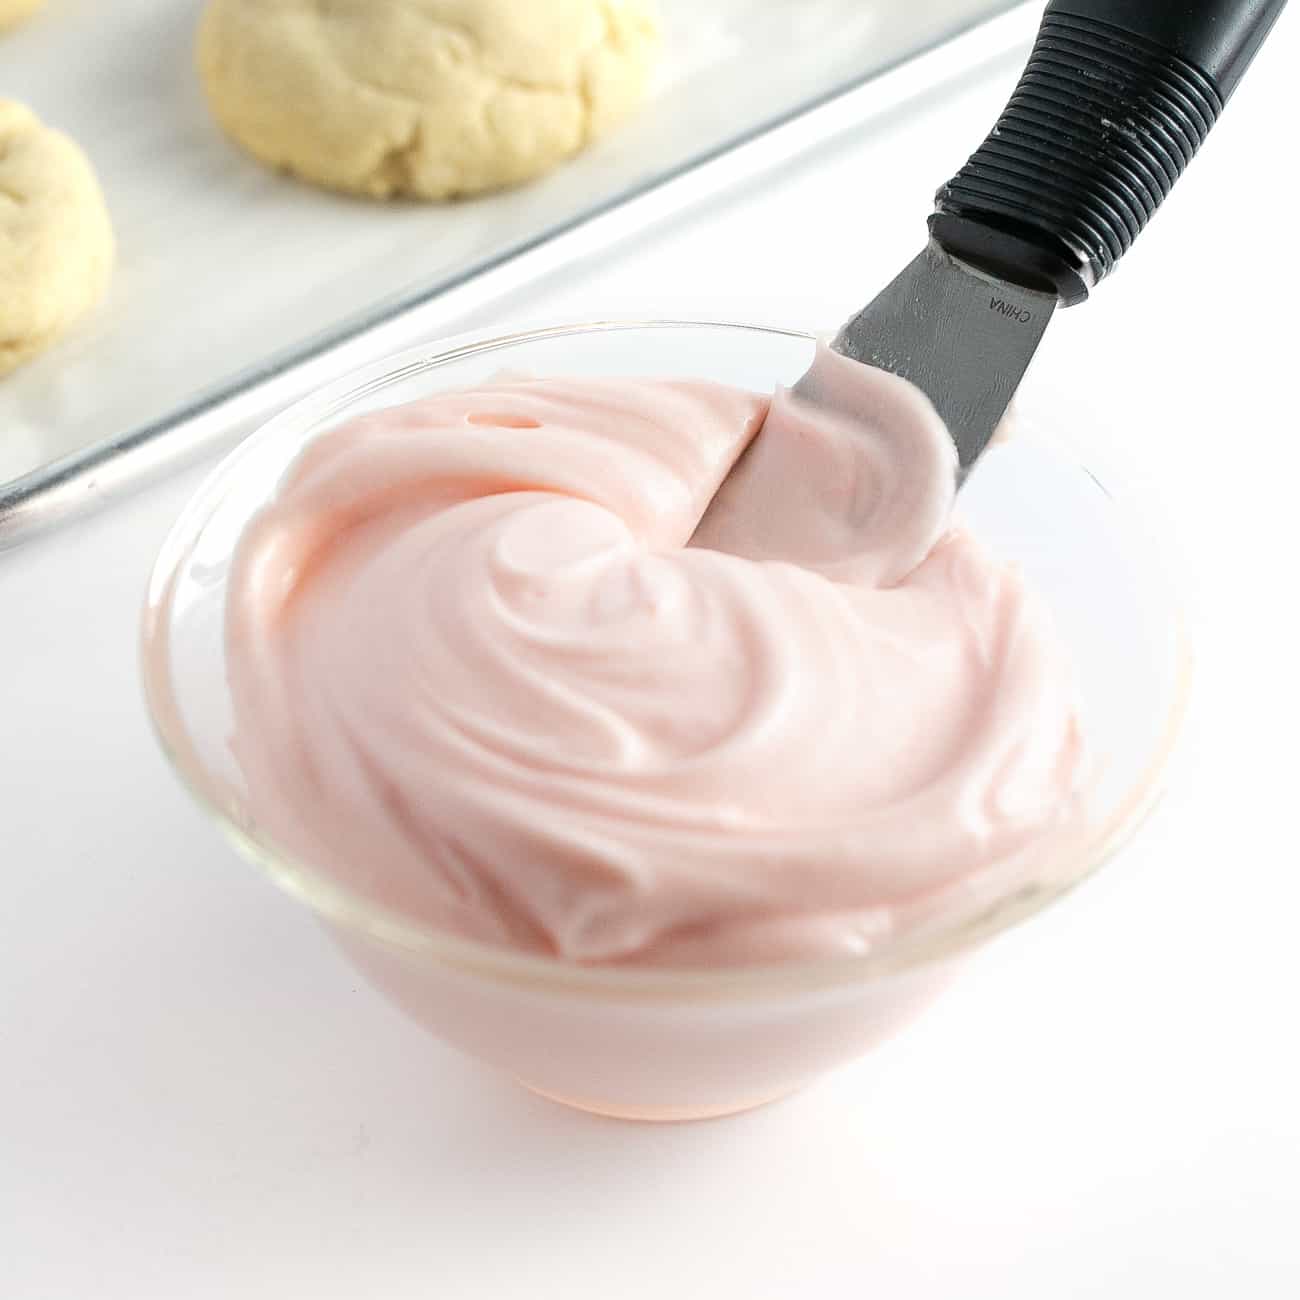
- Easy Sugar Cookie Icing = Great for one-color designs
- Royal Icing = Great for intricate designs, where you want the icing to fully harden
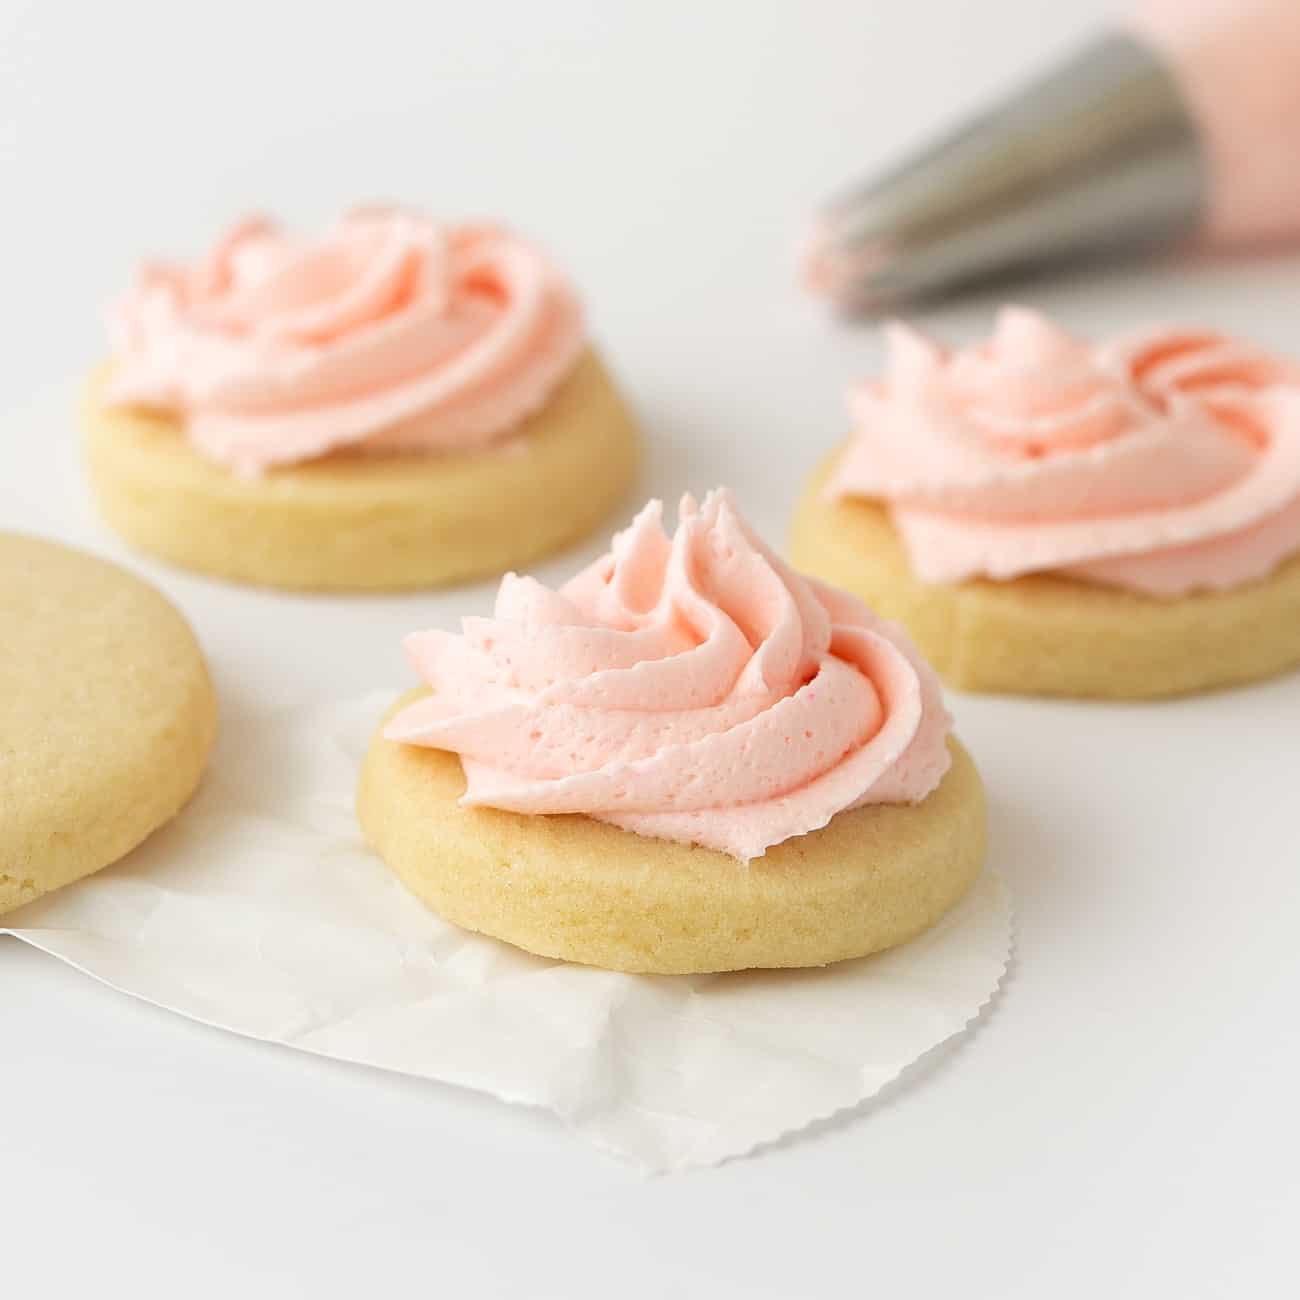
- Buttercream Frosting = Great for spreading or piping swirls (for less fluffy frosting, don't whip as long)
Be sure to check out my Christmas Cookie Frosting Guide for my favorite recipe, food coloring tips, and piping tips! And for EASY decorating ideas, check out my 5 EASY Christmas Cookies for Kids!

Watch my video for tips & tricks!
How to Make Cut Out Sugar Cookies:
Step 1: Mix Dough
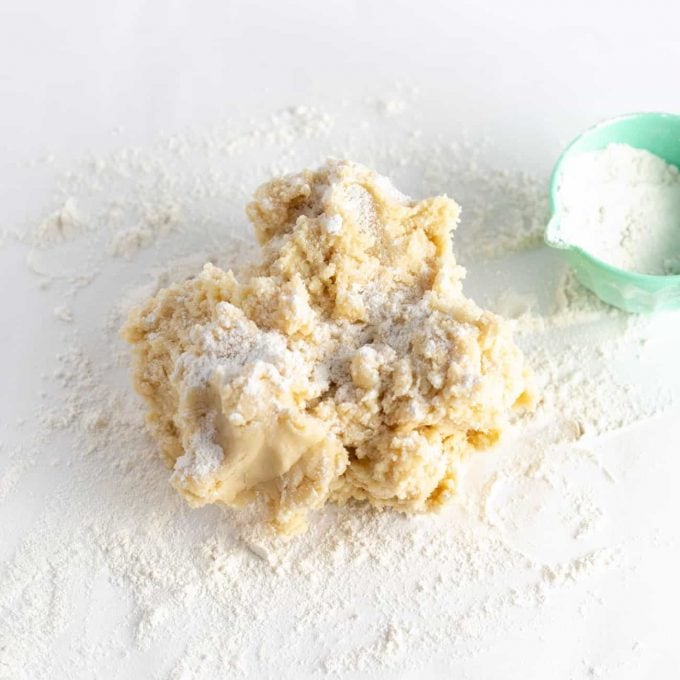
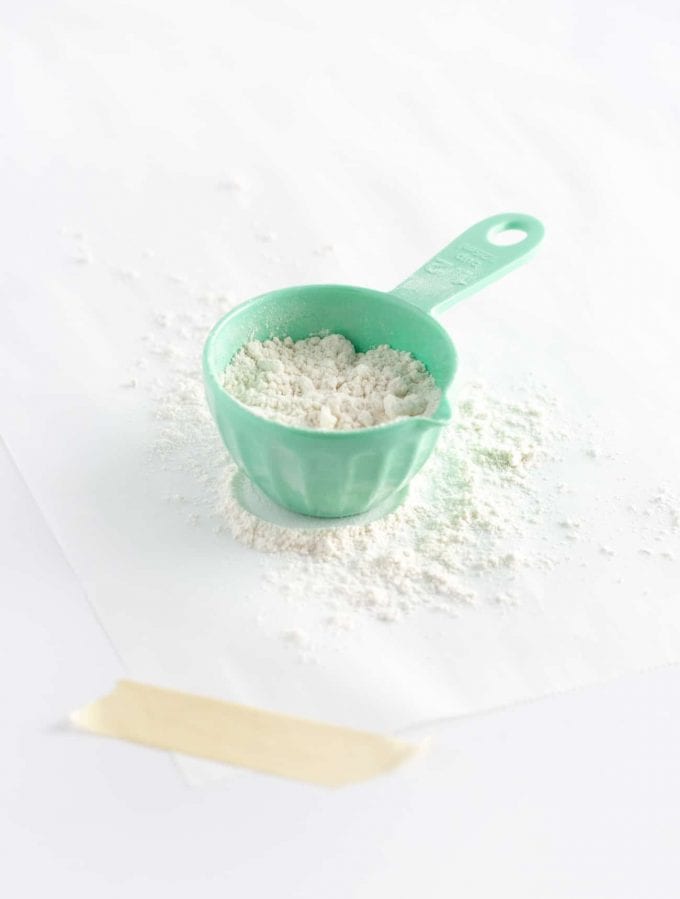
Follow instructions in recipe card below to mix dough. Be sure to measure your flour properly, as adding too much can result in dry cookies.
Once the dough is mixed, scrape down the sides of the bowl to form dough into a rough ball, then transfer to the piece of floured parchment paper. When poked with your finger, the dough should be a tiny bit sticky and still hold it shape (but it should not stick to your fingers).
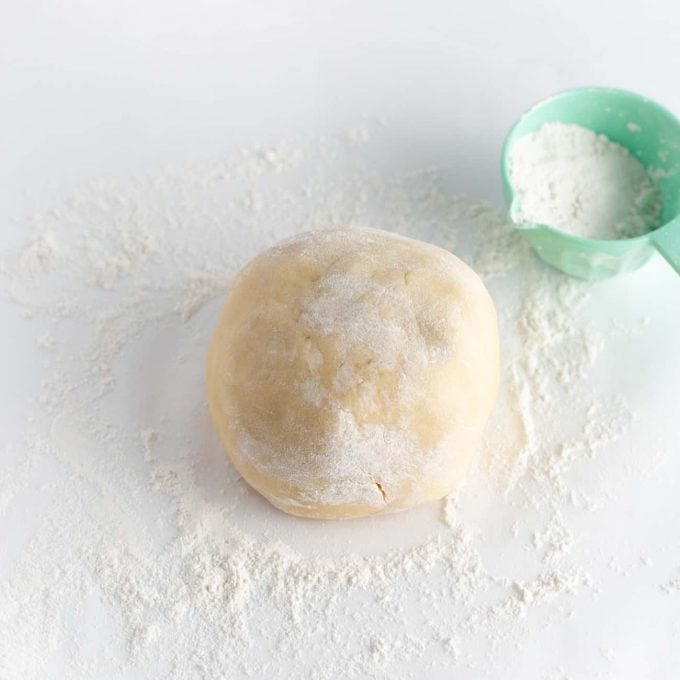
Step 2: Prepare Surface & Dough
Sprinkle the ball of dough with about 1 teaspoon of flour then use your hands to gently knead the dough into a smooth ball. You should only do this for about 10 seconds, as overkneading the dough will cause the butter to soften too much and will cause spreading.
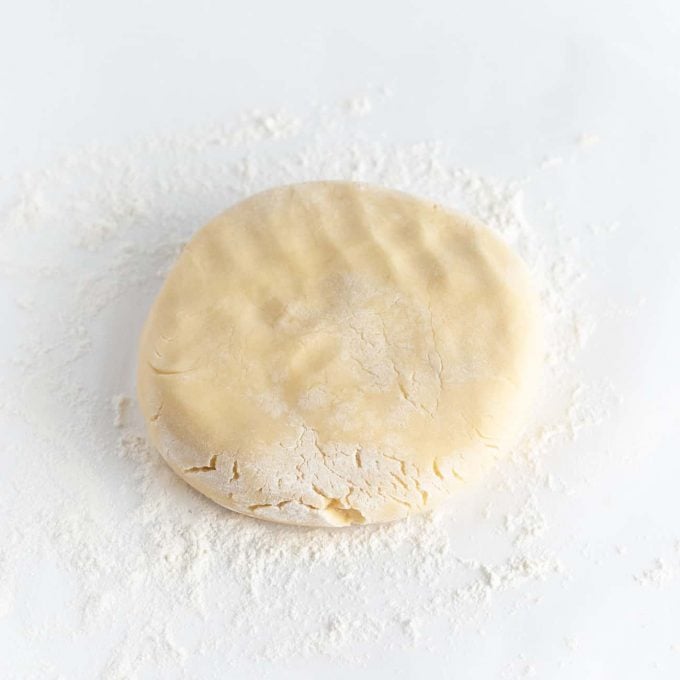
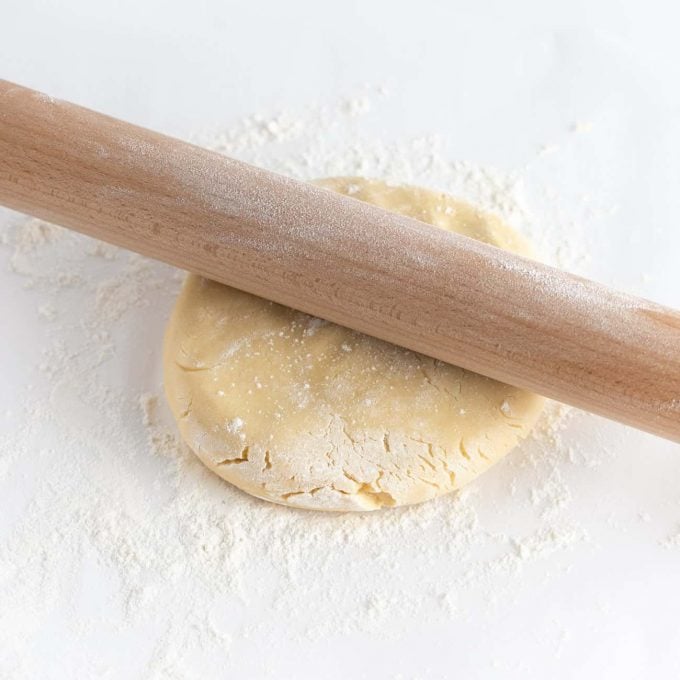
Once formed into a ball, use your hands to gently press the dough into a 2" thick disc. This will help flatten the dough so that when you use the rolling pin, the dough doesn't break apart.
Step 3: Set Rolling Pin to Correct Thickness
For fool-proof, thick cut out sugar cookies, I highly recommend using a rolling pin with thickness guides and setting it to a ⅜" or ½" thickness. This is the thickness I have found results in the softest sugar cookies.
The rolling pin I use only goes up to ⅜", so that's the thickness I use most frequently. If I'm really looking to impress for holiday cookie gifts, I will use the ½" guides from this set (these are also great to attach to your current rolling pin.)
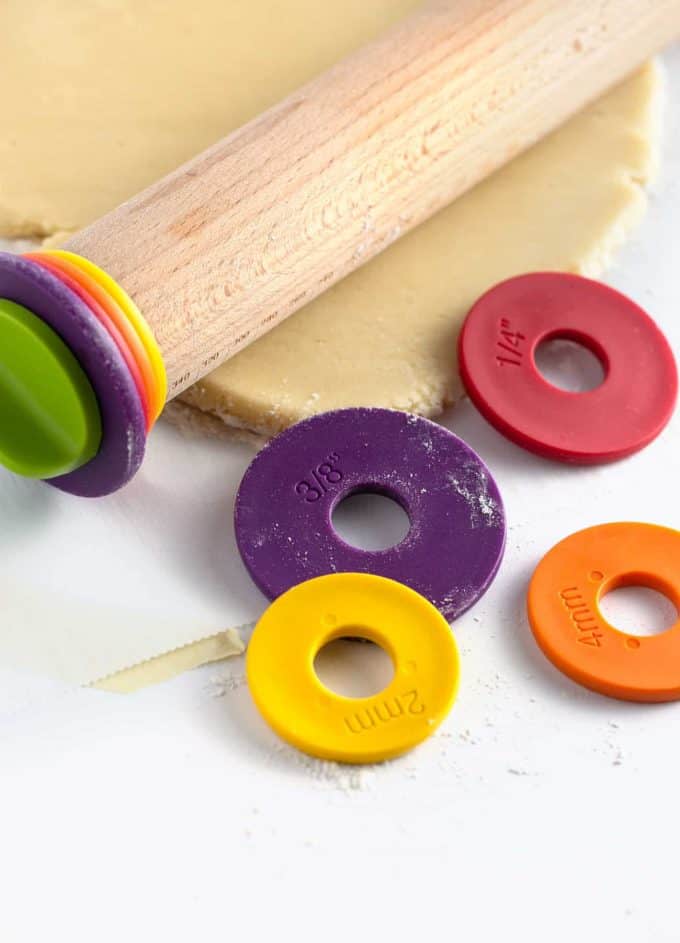
Step 4: Roll Dough
Sprinkle a tiny bit of flour on top of the dough disc and coat the rolling pin in flour. Now that your dough is prepped, gently start rolling the pin over the dough, making sure you're not pressing down very hard at first.
The goal is to slowly "inch your way" to the correct thickness. This is where a rolling pin with rings or thickness guides comes in very handy, as it will allow for an even thickness throughout.
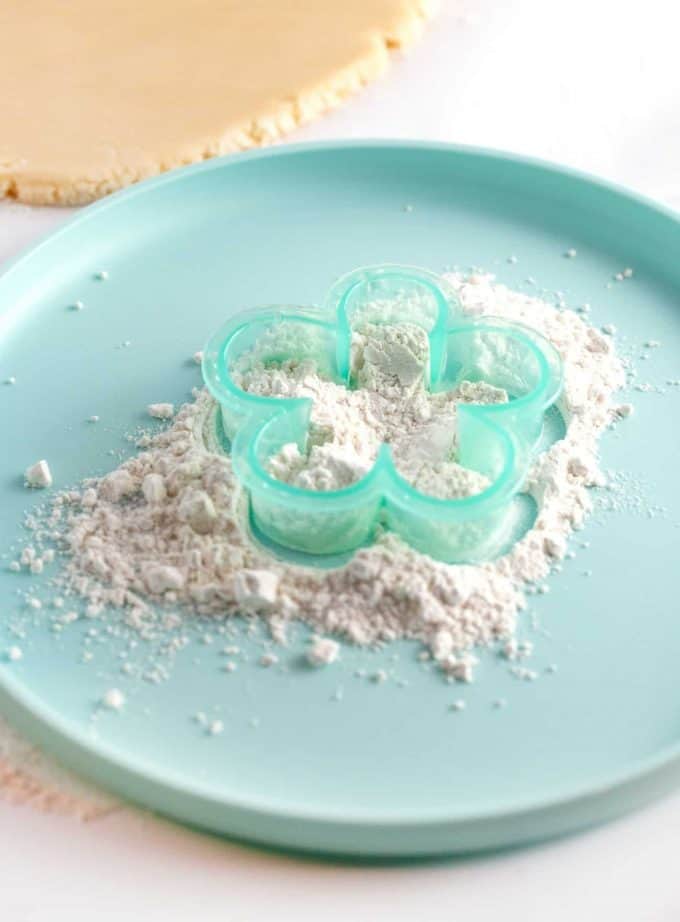
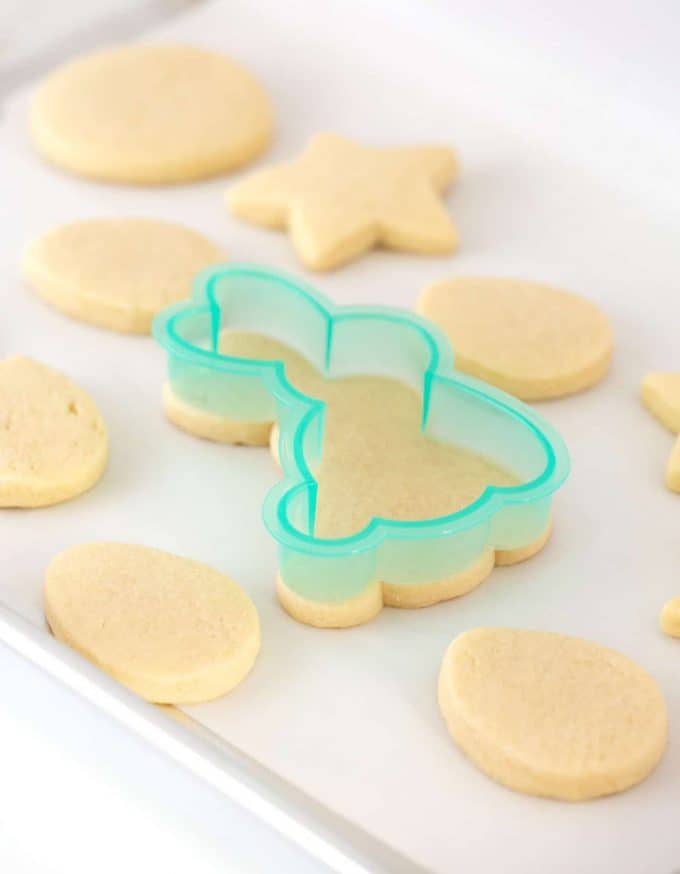
Step 5: Dip Cutter In Flour
Ever use cookie cutters and have the dough constantly get stuck inside of them? The fix to that is by dipping your cookie cutter in flour between each cut. To do this, scoop about ½ cup of flour on a plate or bowl and then dip the cookie cutter into it each time you cut.
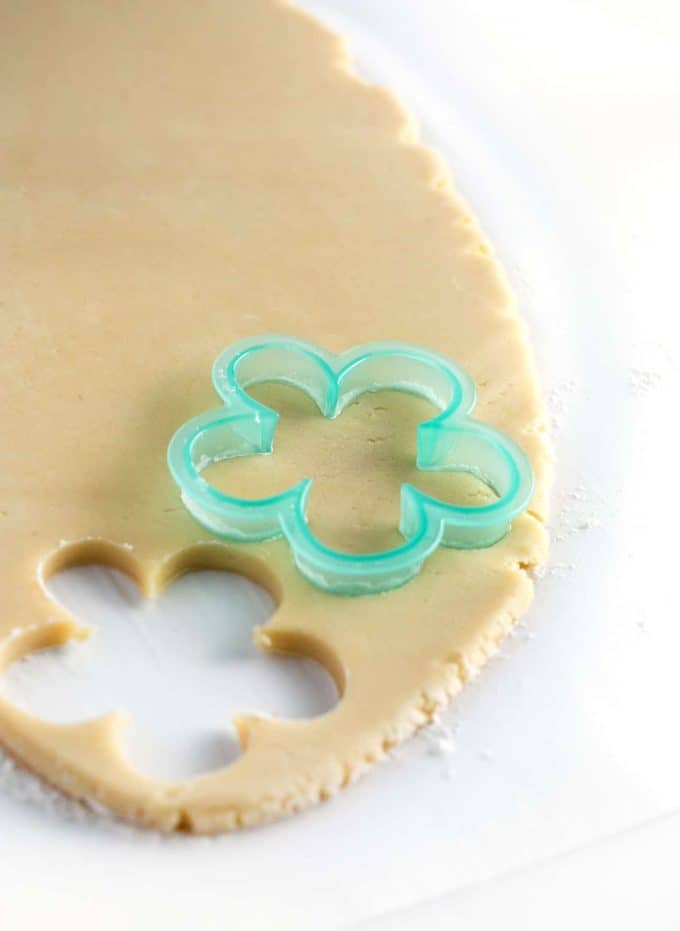
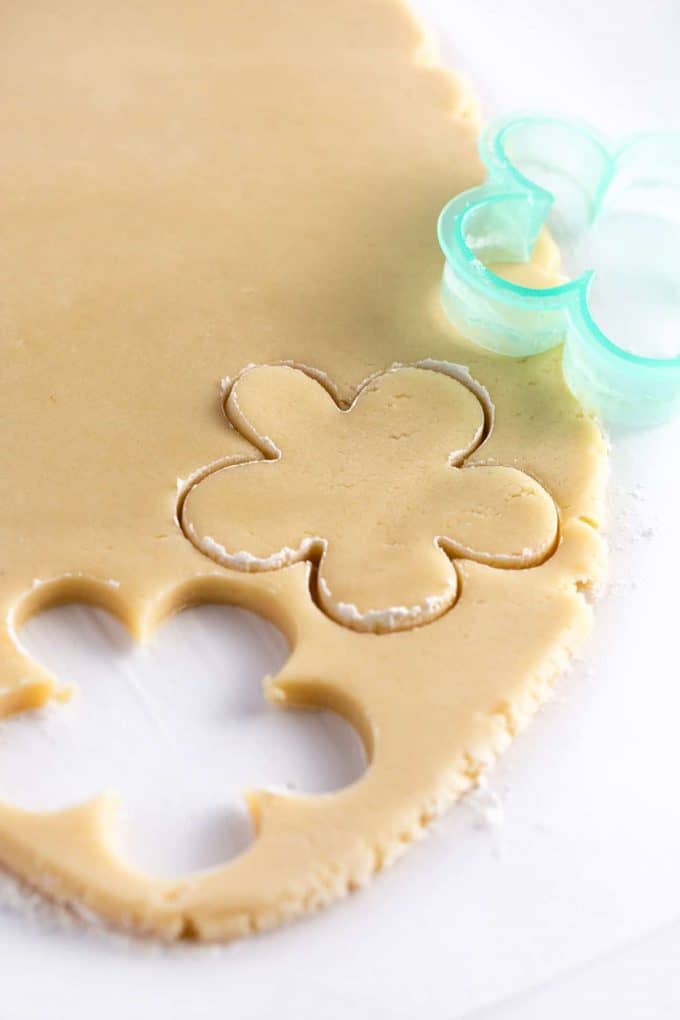
Step 6: Immediately Cut Dough
As you're cutting the dough, you want to cut from the outside in (aka. don't start cutting from the center). The reason for this is that you want to get the most cookies out of each sheet of dough, as the less you re-roll the dough, the less the cookies will spread in the oven.
A big reason cookies will spread is because you kneaded and rolled out the dough too many times. Every time you do this, the butter in the dough gets warmer and will cause spreading. If you can manage to cut all your cookies in 2 roll-outs, that is ideal.
Be sure to check out my Christmas Cookie Frosting Guide for my favorite recipe, food coloring tips, and piping tips! And for EASY decorating ideas, check out my 5 EASY Christmas Cookies for Kids!
Along those lines, you also want to start cutting out the shapes immediately after rolling out. This is good for two reasons:
- If your house is warm/humid and you wait too long to roll out, the dough will soften, be harder to handle, and will be more likely to spread.
- If you wait too long to roll out, the dough can become dry causing the cookies to crumble when cutting and baking.
Tip: Want to make the dough ahead of time and roll out later? Learn all about How to Freeze Sugar Cookie Dough.
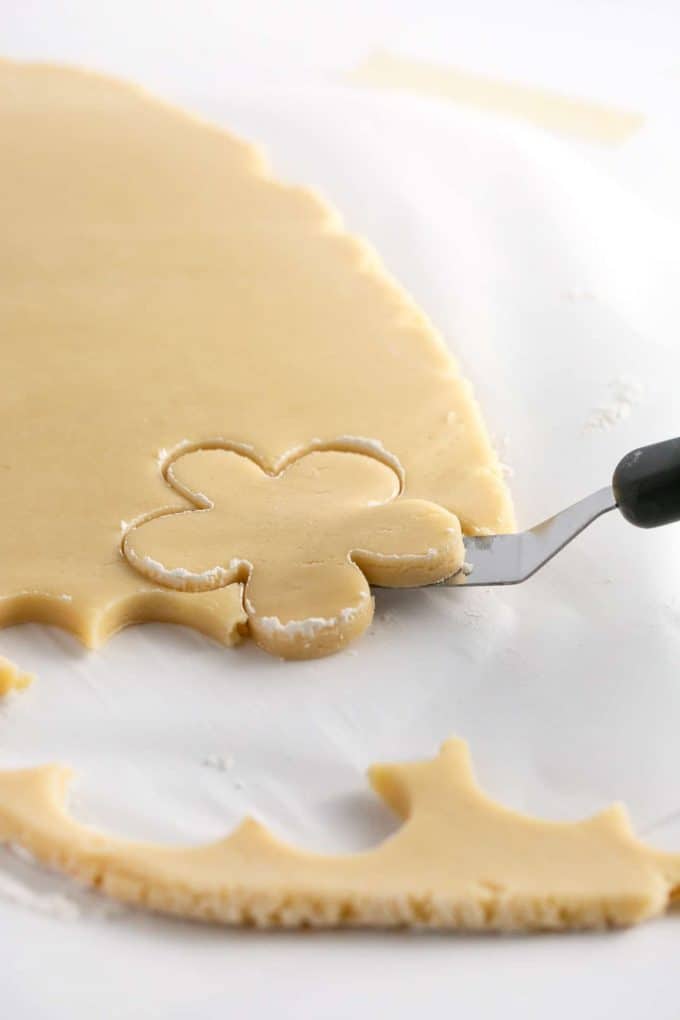
Step 7: Lift Dough With Offset Spatula
After cutting out the cookies, carefully pull away the excess dough and use an offset spatula to help lift the cut cookies up and onto the parchment-lined baking sheet. While you're lifting it up with the spatula, use your other hand to support the bottom of the cookie so that it doesn't break then gently slide it onto the baking sheet.
Tip: Unlike a regular spatula, offset spatulas are great because they are skinny and will allow your hand to get under the cookie to help guide it to the baking sheet.
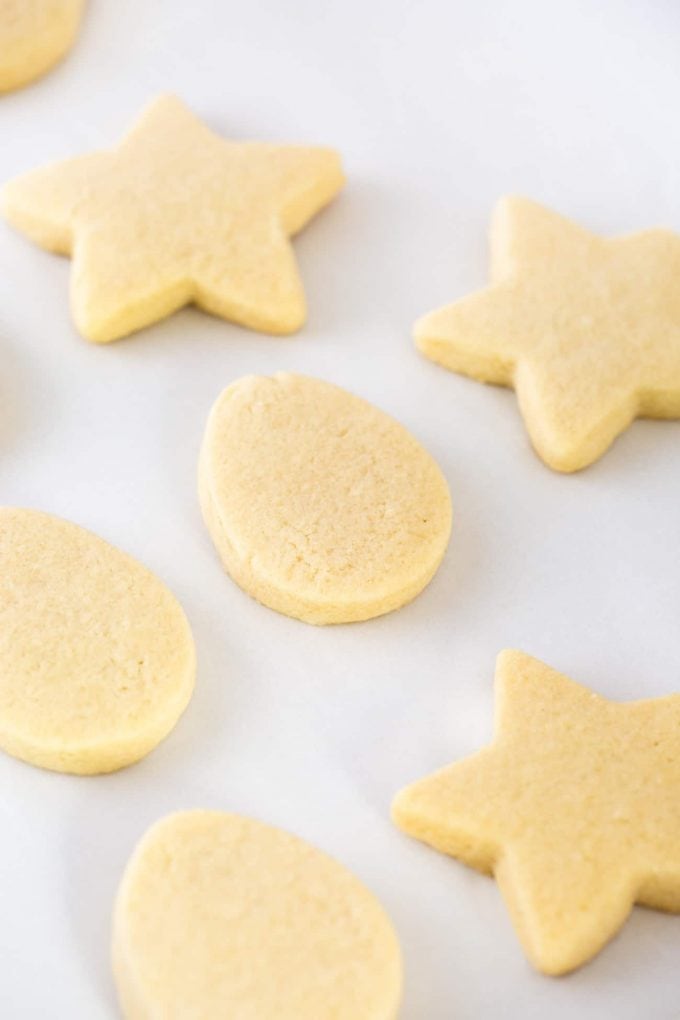
Step 8: Bake
Once all your cookies are cut and onto the baking sheet, it's time to bake! Just like I mentioned before, you want to bake the cookies immediately after cutting so that they don't become soft and warm.
Bake at 350 degrees for 8-10 minutes (8 for smaller cookies, 10 for larger cookies). Do not overbake. Cookies may look underdone at 11 minutes, but I recommend removing them from the oven before seeing any brown on the edges.
Once baked, remove from oven and place pan on a cooling rack. Do not remove cookies from hot pan. Let them rest on the hot pan for about 10 minutes to finish baking before removing from the pan.
Tip: If you're using the same baking sheet for all the cookies, you want to make sure it's not too hot as you place on the next batch. Because if you put dough on a hot baking sheet, it will start to melt down and cause the cookies so spread even before baking.)
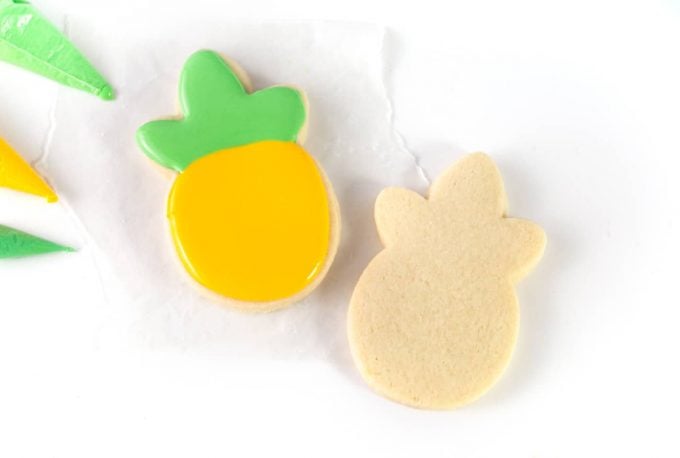
Step 9: Allow To Cool Then Frost
Once the cookies are fully cooled, it's time to frost! Below are some of my favorite icings and frostings for sugar cookies.

Sugar Cookie Frosting Recipes:

Halloween Decorating Idea! Making these for Halloween? Turn these into the easiest Halloween pumpkin cookies!
Frequently Asked Questions:
Do you have to chill dough for sugar cookies?
I don't personally chill the dough when I use this recipe. I have found that if you work fast and don't knead and roll out the dough more than 2 times, then the cookies will hold their shape.
If you have rolled out the dough too many times and it looks soft and buttery, then I would recommend chilling the cut shapes on the baking tray for 20-30 minutes before baking.
Be sure to check out my Christmas Cookie Frosting Guide for my favorite recipe, food coloring tips, and piping tips! And for EASY decorating ideas, check out my 5 EASY Christmas Cookies for Kids!
Why do my sugar cookies spread and lose their shape?
There are several main reasons I have found that cause cookies to spread.
- You have kneaded and rolled out your dough too many times, leaving the butter melted and soft.
- You're using a recipe with too much leavening.
- Altitude. If you live in a high elevation, you may want to experiment with decreasing the leavener (baking powder or baking soda). When I lived in Utah, I often had issues with cookies spreading and had to cut back on the baking powder/baking soda.
Can you freeze homemade sugar cookie dough?
Yes you can! I wrote an entire post on How to Freeze Sugar Cookie Dough. In this, I go over how you can freeze the dough before or after you roll it out and cut it, as well as how you can freeze baked sugar cookies.
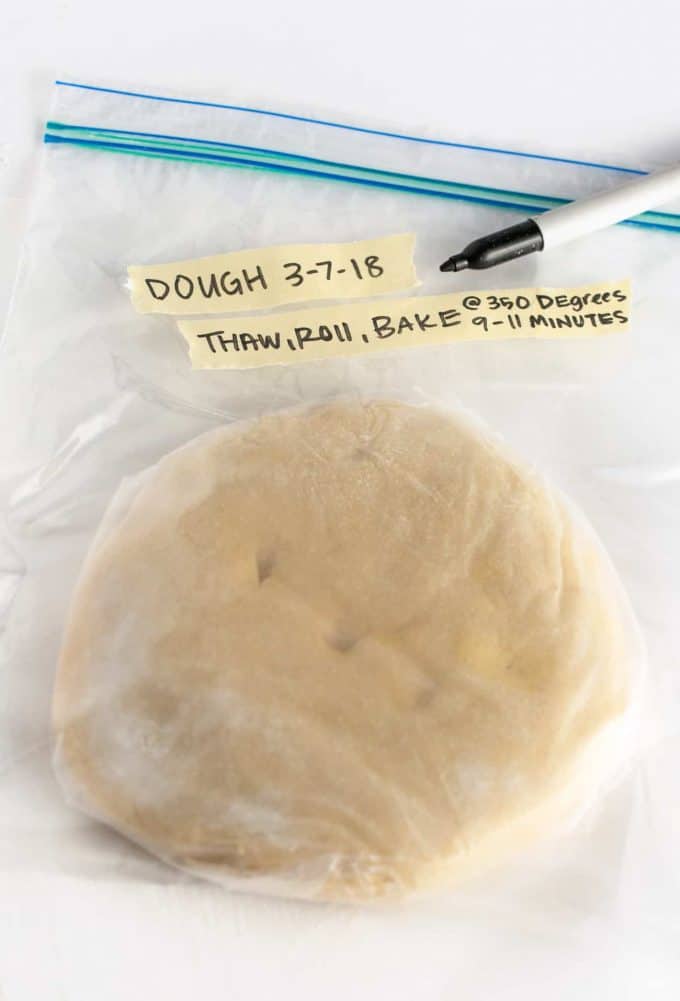
Can sugar cookie dough be refrigerated overnight?
Yes it can. If you're going to do this, I recommend pressing it into the disc (like Step 4 above), placing in a gallon-sized plastic bag, and laying it on a flat surface in the refrigerator. When you're ready to cut and bake, let the dough thaw to room temperature then roll out.
How thick should dough be for cookie cutters?
Like I mentioned above, I have found that a minimum of ⅜" thickness is the best when using cookie cutters.
This will not only give the cookies nice stability as you're cutting and lifting them off the countertop, but it will also result in softer baked cookies.
When I'm trying to impress, I will go as thick as ½" for super soft cookies but I don't recommend going any thicker than that or you will have a hard time getting the cookies to evenly bake through.
Can you roll out dough on parchment paper?
Absolutely! Like I showed above, I recommend cutting around 2 feet of parchment and then using masking or regular tape to adhere each corner to the counter. This will help the parchment from slipping around as you're rolling.
How do you keep cookie dough from sticking to the rolling pin?
Before rolling, you'll want to use your hands to evenly coat the rolling pin with flour. If your dough is sticky, you'll also want to sprinkle a bit of flour on top of the dough before rolling.
Use the photo guides in this post to see how much flour is necessary, as you don't want to use too much flour or your dough will become dry and crumbly.

Cut Out Sugar Cookies
Ingredients
⭐️ Before you begin! If you make this, will you do me a huge favor afterwards and leave a review and rating letting me know how you liked this recipe? This helps my small business thrive so I can continue providing free recipes and high-quality content for you.
Instructions
- Preheat oven to 350°F. To prep for rolling, lay a piece of parchment on the counter and sprinkle with about 1 teaspoon of flour.
- In a large bowl, cream together ¾ cup unsalted butter and ¾ cup granulated sugar on medium speed for 20-30 seconds.
- While mixer is still on medium speed, add in 1 large egg, 1 ½ teaspoon vanilla extract and ½ teaspoon almond extract.
- Once mixed, add in 1 teaspoon baking powder, ½ teaspoon salt, and 2 - 2¼ cups all-purpose flour, ½ cup at a time, on low speed.
- Once mixture is combined and all the flour disappears, transfer dough to the piece of floured parchment paper. Press mixture into large ball so that it is all incorporated and any loose floury pieces are pressed in. Knead dough for 5-10 seconds until it becomes a smooth ball, then press into 2" thick disc (see photo guides above in post).Use a rolling pin to roll dough ⅜" to ½" thick.
- Use cookie cutters to cut out and transfer to a parchment baking sheet.
- Bake at 350°F for 8-10 minutes. Do not overbake. Depending on size, cookies may look underdone at 10 minutes, but I recommend removing them from the oven before seeing any brown on the edges. If you've used a medium/large cutter and made them ½" thick, you may need to bake for a few extra minutes.
- Once baked, remove from oven and place pan on a cooling rack. Do not remove cookies from hot pan. Let them rest on the hot pan for 10-15 minutes to finish baking before removing from the pan.
- Once completely cooled, top with frosting. See notes section below for frosting ideas.
- Store in airtight container for 2-3 days or freeze for later.
Notes from Melissa

- Flour amounts: Since the pandemic, some butter companies have added more palm oil to their butter resulting in changes to how cookies spread. While I still prefer 2 cups of flour for a super soft, slightly underbaked texture, I recommend using 2 ¼ cups if you are using intricate shapes and want the sharpest edges. They are a little more firm with more flour but still soft & delicious.
- Yield: Depending on size/thickness of cookies, you can typically get 12-24 cookies.
- Easy Sugar Cookie Icing = Great for one-color designs
- Royal Icing = Great for intricate designs, where you want the icing to fully harden.
- Buttercream Frosting = Great for spreading or piping swirls
I did these with the grandkids, love that they are no chill! We had a blast and they are delicious. This is now my go to cut-out recipe.
So glad you and your grandkids had fun making this recipe, Lisa! Thank you so much for taking the time to leave a review!
Best sugar cookie cut outs! My kids loved to decorate them for Easter! They got very creative. My son even made a chick 🐥 cross!
So glad you and the family enjoyed making these, Hannah! Thank you so much for taking the time to leave a review!
The cookies turned out perfect! Thank you for all the tips! Worth watching the video and thank you for putting in the effort to make one. I appreciate that you put the measurements next to the instructions! Small detail but so helpful! Thank you!
Thank you for the awesome feedback, Ciara! And I'm so glad you loved this recipe! Thank you so much for taking the time to leave a review, I really appreciate it! :)
These were amazing!
I am 80 , so been baking cookies for years. My father /grandfather were bakers. Lost my sugar cookie recipe. Read yours & felt very similar with butter amount to the recipe I lost. Well, they turned out perfectly for me. Taste is what I like! I rolled mine 1/4. now to do the icing (royal).
Yay, so happy to hear this was comparable to your lost recipe! Thank you so much for taking the time to leave a review, Sandra! I really appreciate it!
Hi Melissa, thanks so much for this great guide. This is my first time rolling cookies and your guidance saved me a bunch of problems for sure. Your tips are awesome. I ordered the rolling pin, so they’ll be even better next time.
Yay, so glad my tips and tricks were helpful! And the rolling pin is a game changer, you'll have to let me know how your next batch turns out! :)
Finally! After years of trying over a dozen recipes I found one that holds its shape while staying soft and chewy. Absolutely love this one and will use it every time I make rolled sugar cookies
Yay, so glad to hear you enjoyed this recipe so much, Andrea! Thank you so much for leaving a review!
hi do these sugar cookies keep their shape? I wanted to make some heart shaped ones for Valentine’s Day and I need them to keep their shape lol.
They are meant to keep their shape if you follow all the tips in the post!
These are the softest sugar cookies. They are delicious, they ship well and they stay fresh. Thanks for a great recipe!
Thank you so much for taking the time to leave a review, Shannon! I really appreciate it!
Missed the rating. Excellent instruction. Perfect!!!! Cookies. Love this recipe
1st time making Christmas cut-out Cookies. This recipe was absolutely perfection. Followed the instructions to the T and they turned out perfectly shaped cookies. No spreading! Definitely saving this recipe.
Excellent cookies! Excellent recipes!
This is the BEST sugar cookie recipe ever! The consistency is perfect for rolling out and cutting AND the taste great. Thank you!
I'm so glad you enjoyed this recipe, Laura! Thank you so much for leaving a review!
I have not made the cookies yet, however, just reading over the blog and recipe has helped me so much! Thank u! Over the weekend I tried another recipe and it was an epic fail. After reading your blog I know exactly where the other recipe went wrong. I will be making these cookies for Christmas this weekend and I will let you know how it turns out. Thank you again.
Very good recipe! I made a double batch in two separate mixers and it turned out great. Could not stop eating them!
You have made me proud to make my Christmas cookies for the past two years! They turn out amazing every time and my hubby loves them! I cannot thank you enough for sharing your recipes and tips!
Aww yay, that's awesome to hear, Tammy! :) Thank you so much for leaving a review, I really appreciate it!