
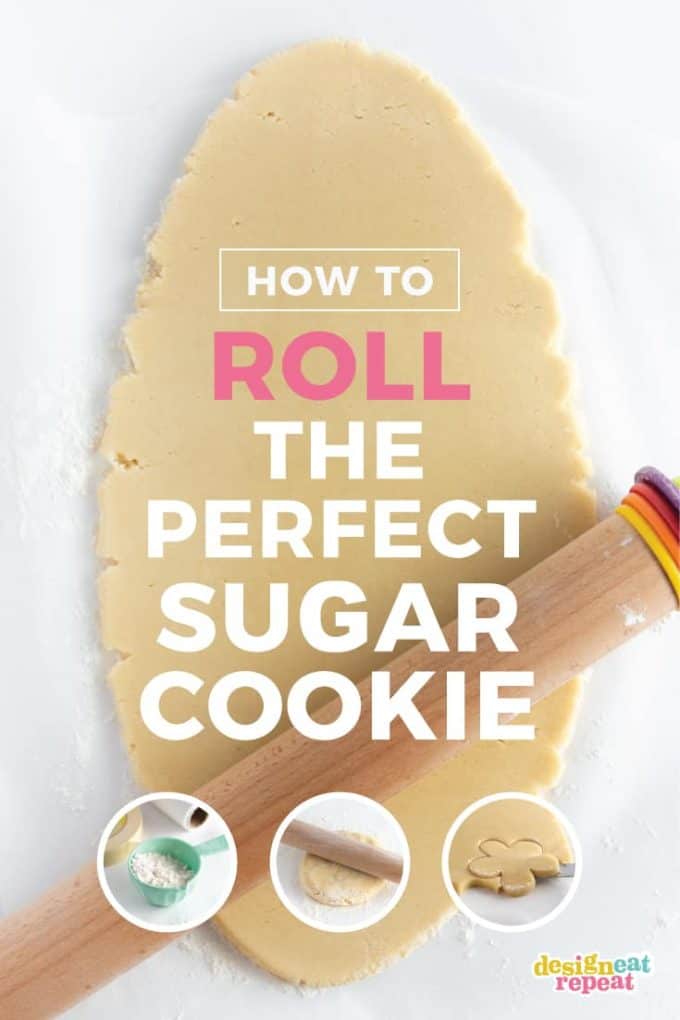
Learn my fool-proof tips and tricks for how to roll out sugar cookies! This tutorial goes beyond just using a rolling pin and goes through how to achieve the perfect thickness, how to prevent your dough from sticking, and what tools I use to roll out sugar cookies.
Have you ever gone to roll out sugar cookies and felt like throwing in the towel while rolling them out because the dough is sticking everywhere, the thickness is uneven, and every time you to use a cookie cutter the dough either just sticks or breaks while you're trying to lift it up?
Before I learned the tips I'm about to go over, roll out sugar cookies were never at the top of my list because they were never as good as the bakery. My main issues were:
- Too Thin: I would roll them too thin, causing them to turn brown and crunchy in the oven.
- Too Sticky: Until I started using the recipe for my favorite roll out sugar cookies, I could never use cookie cutters without the dough sticking. I realized that whatever you do to try and fix them, most pre-packaged sugar cookie doughs and certain homemade recipes just aren't meant for roll out sugar cookies.
- Too Dry: Just like the dough was too sticky, I also had the problem of it sometimes being too dry. In this tutorial, I'll go over a couple ways to prevent or salvage dry cookie dough.
So let's get started with the basics of how to roll out the perfect sugar cookie!
What You Need to Perfectly Roll Out Sugar Cookies
- Rolling Pin with Thickness Guides (read more about my favorite rolling pin here)
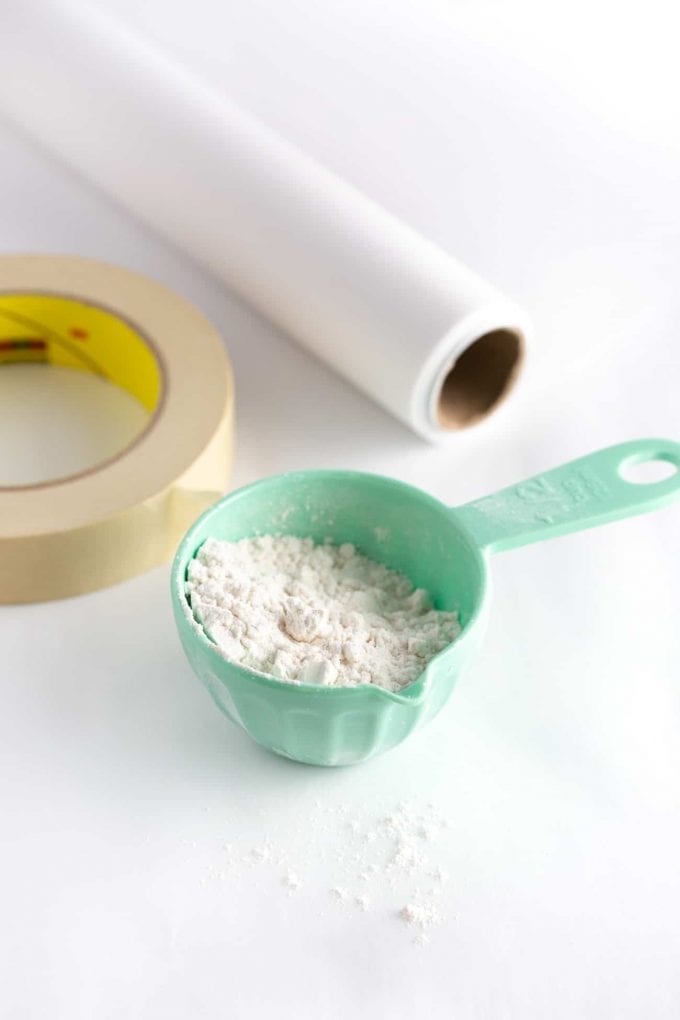
- Flour
- Parchment Paper
- Tape
- Cut Out Sugar Cookies Recipe
Tip: If you have a large countertop, you can skip the parchment paper and tape and just roll directly on the counter. But I personally don't like doing this, because it requires you to deep sanitize the surface beforehand (and I don't like the idea of using harsh chemical residue that could touch the dough).
Step 1: Tape Parchment Paper to Countertop
To start, cut a piece of parchment paper about 2 feet long and use tape to adhere each corner to the countertop. This will help the parchment paper from slipping while you're rolling out the dough.
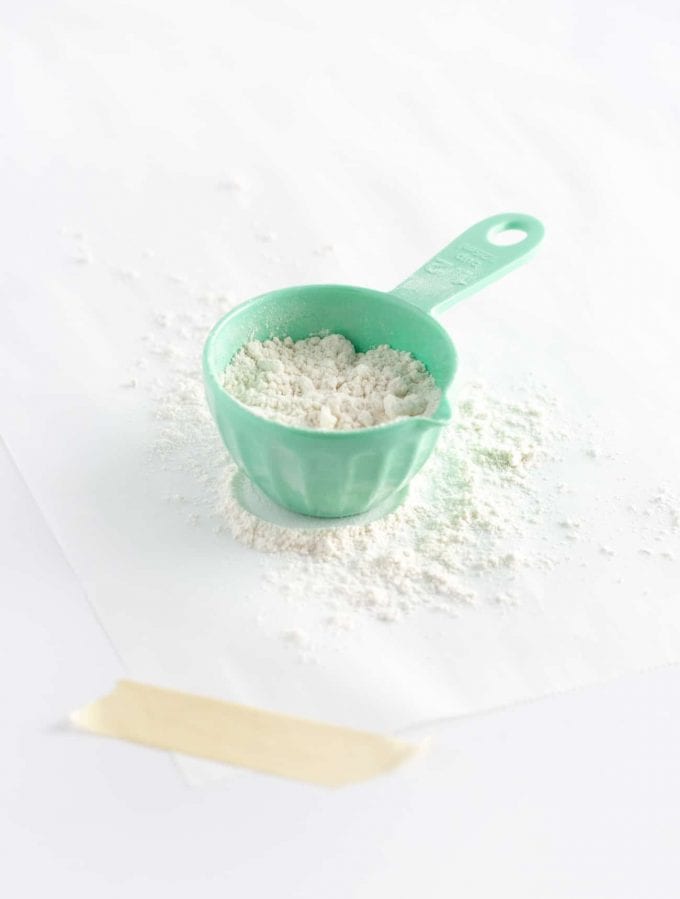
Step 2: Cover Surface With Flour
Once the parchment is taped down, sprinkle about 1 tablespoon of flour over the parchment paper.
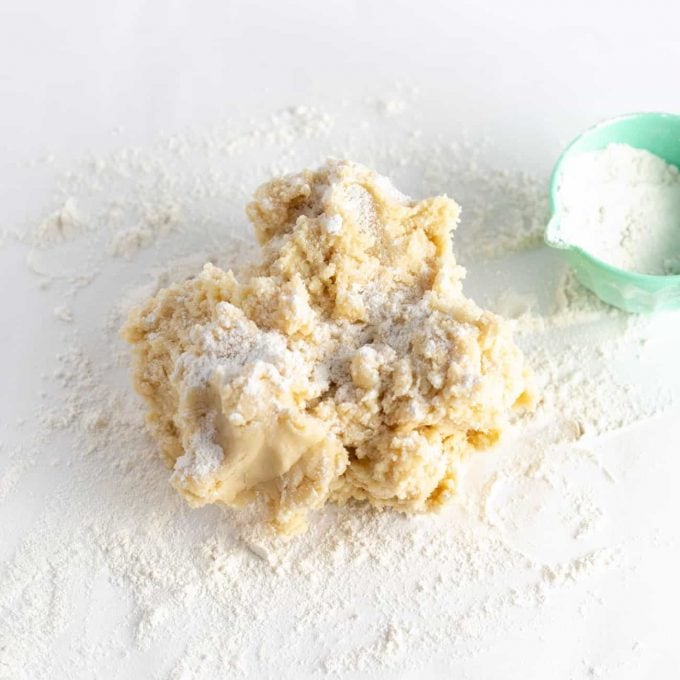
Step 3: Sprinkle Dough With More Flour
After mixing the dough, place the chunk on top of the floured surface, gently pressing it together into a ball form. Sprinkle about 1 teaspoon of flour overtop the dough.
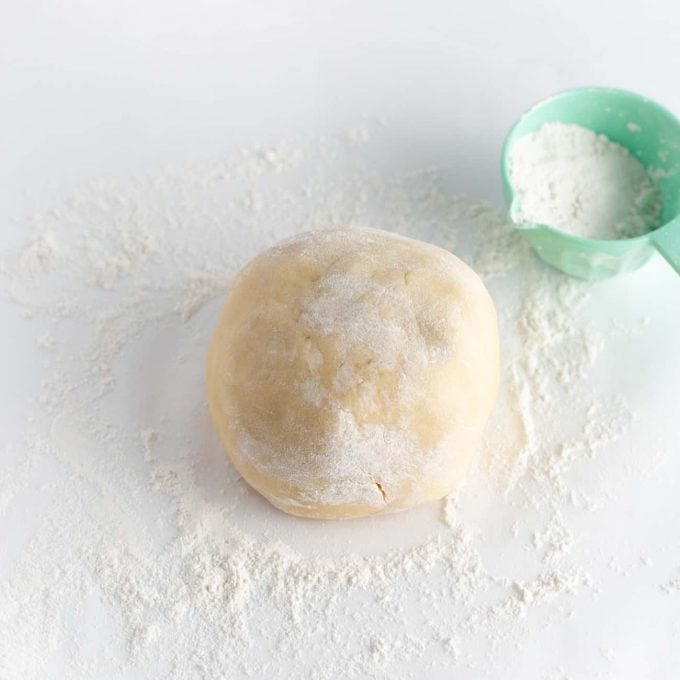
Step 4: Form Dough Into Ball
Using both hands, gently press the dough into a ball and knead for about 10 seconds until it's smooth like the photo below. You don't want to knead the dough very long, as it will cause the butter to soften and therefore make your cookies more likely to spread.
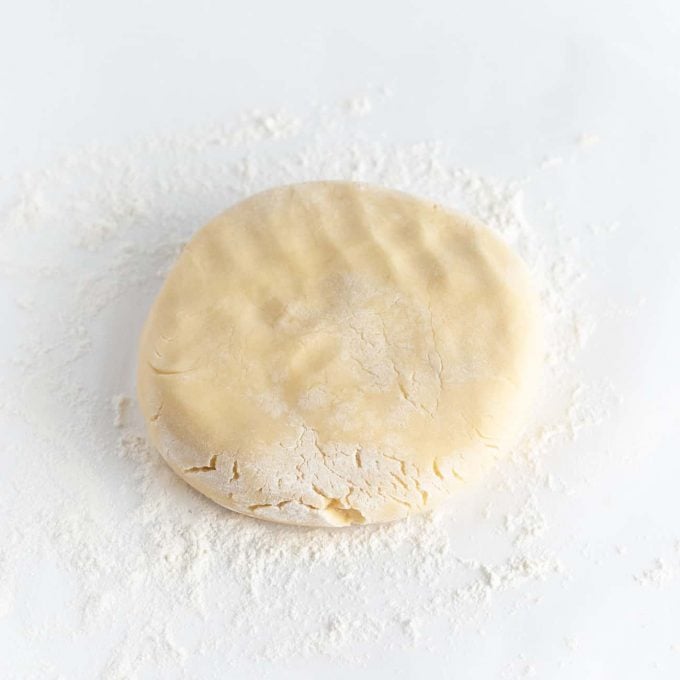
Step 4: Gently Press Ball into Disc
Use your hands to gently press the dough ball into a 1.5" - 2" thick disc. The goal here is to gently spread the dough out so that when you go to use the rolling pin, it doesn't cause the dough to break or "buckle".
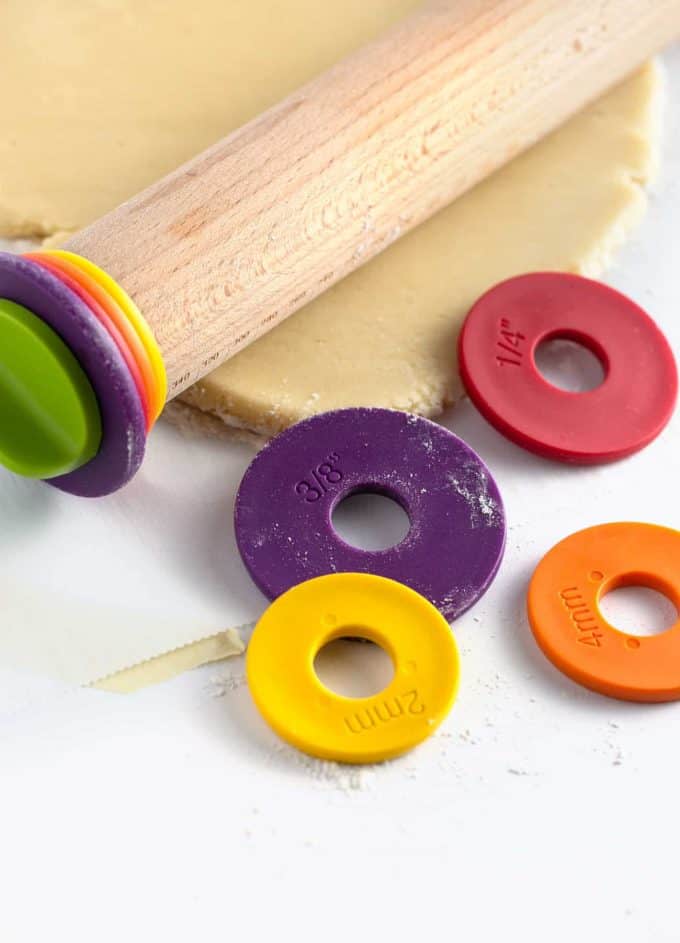
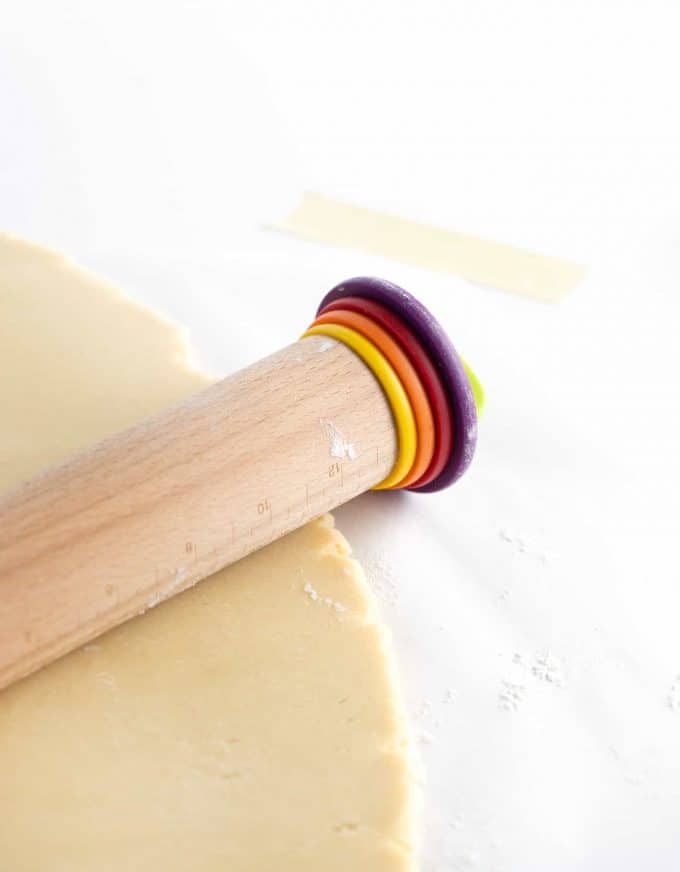
Step 5: Set Rolling Pin to Correct Thickness
If you're using a rolling pin with rings, I recommend setting it to a ⅜" or ½" thickness. This is the thickness I have found results in the softest and thickest sugar cookies. The rolling pin I use only goes up to ⅜", so that's the thickness I use most frequently. If I'm really looking to impress for holiday cookie gifts, I will use the ½" guides from this set (these are also great to attach to your current rolling pin.)
Step 5: Use Rolling Pin
Now that your dough is prepped, gently start rolling the pin over the dough, making sure you're not pressing down very hard at first. The goal is to slowly "inch your way" to the correct thickness. This is where a rolling pin with rings or thickness guides comes in very handy, as it will allow for an even thickness throughout.
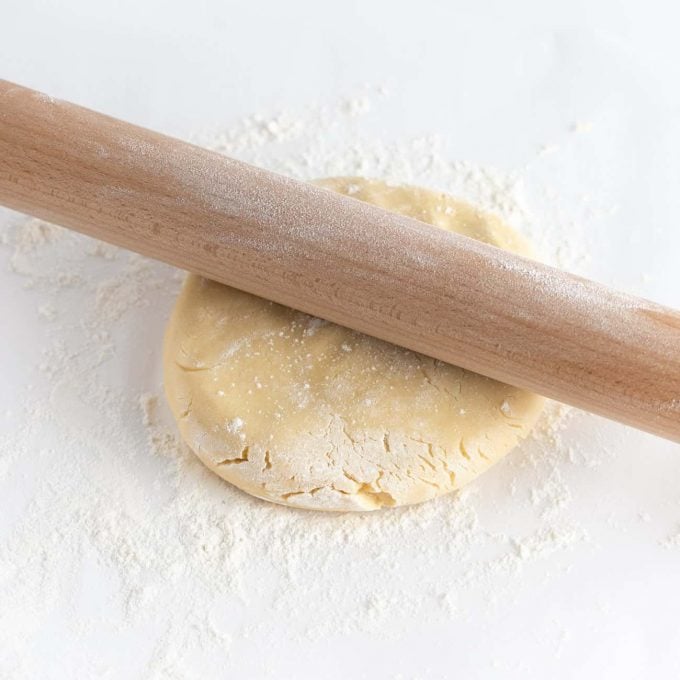
Tip: The tip with using a rolling pin with rings is that after you press the dough into the disc, you don't want to immediately press the dough down to the final thickness or it will cause cracks. You want to gradually roll the dough until it gets to the correct thickness.
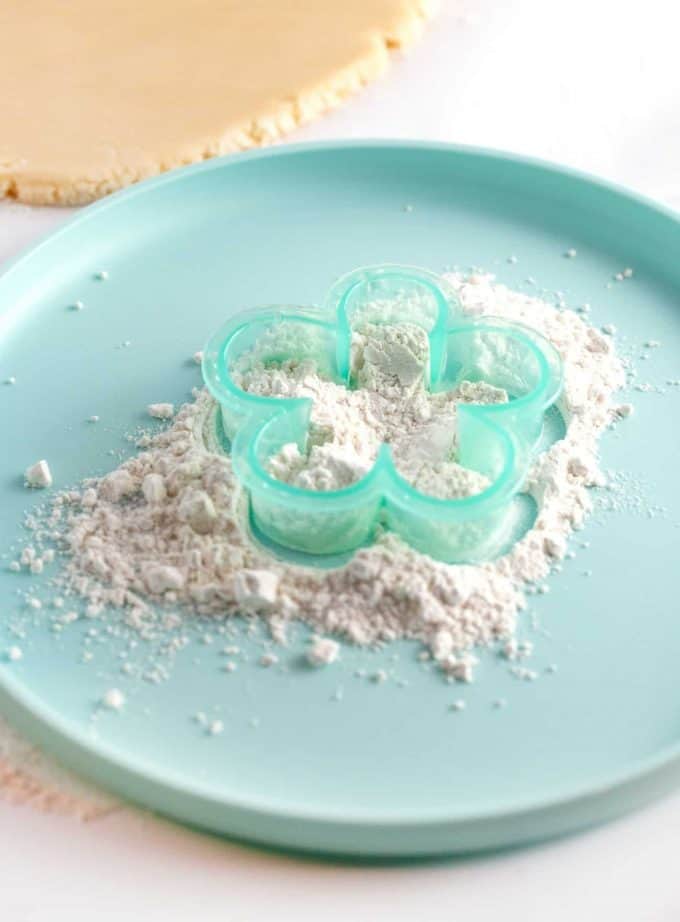
Step 6: Dip Cutter in Flour
One question I hear a lot is, "how do you keep cookie dough from sticking to cutter?". Well friends, the answer to that is by dipping your cookie cutter in flour between each cut. To do this, scoop about ½ cup of flour on a plate or bowl and then dip the cookie cutter into it each time you cut.
This will allow for an easy release of the cookie cutter as you lift it up and don't worry about dusting off the excess flour, as it will bake off in the oven.
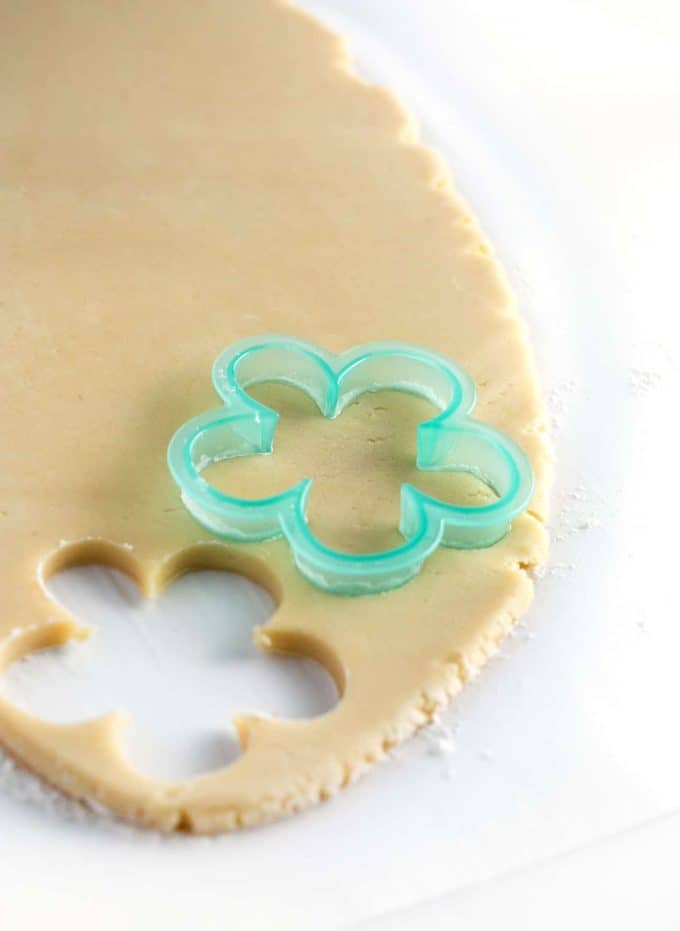
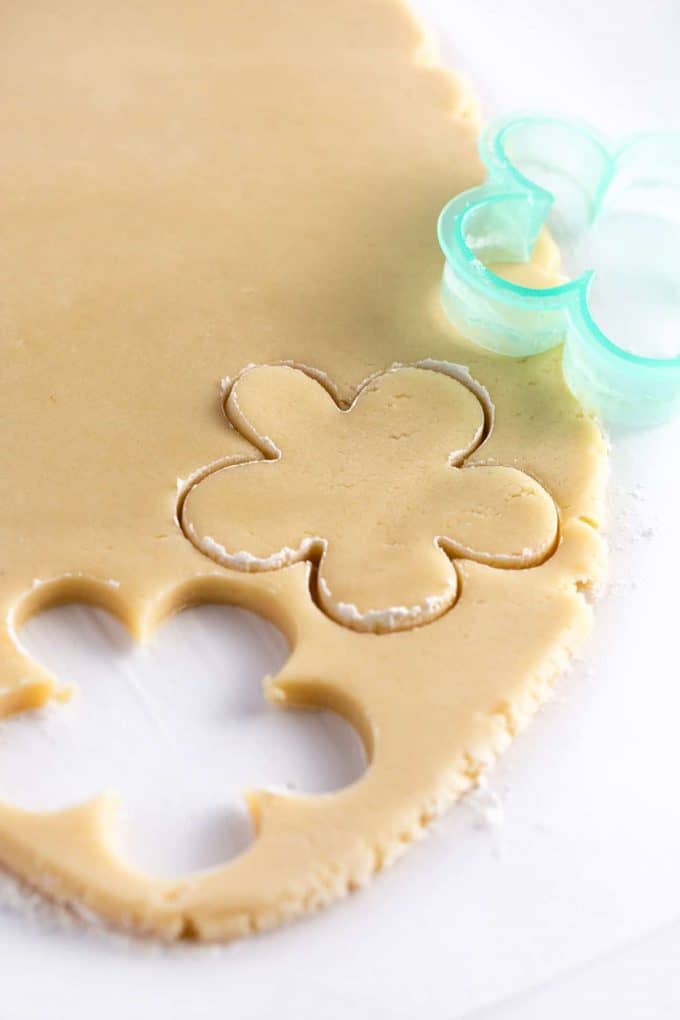
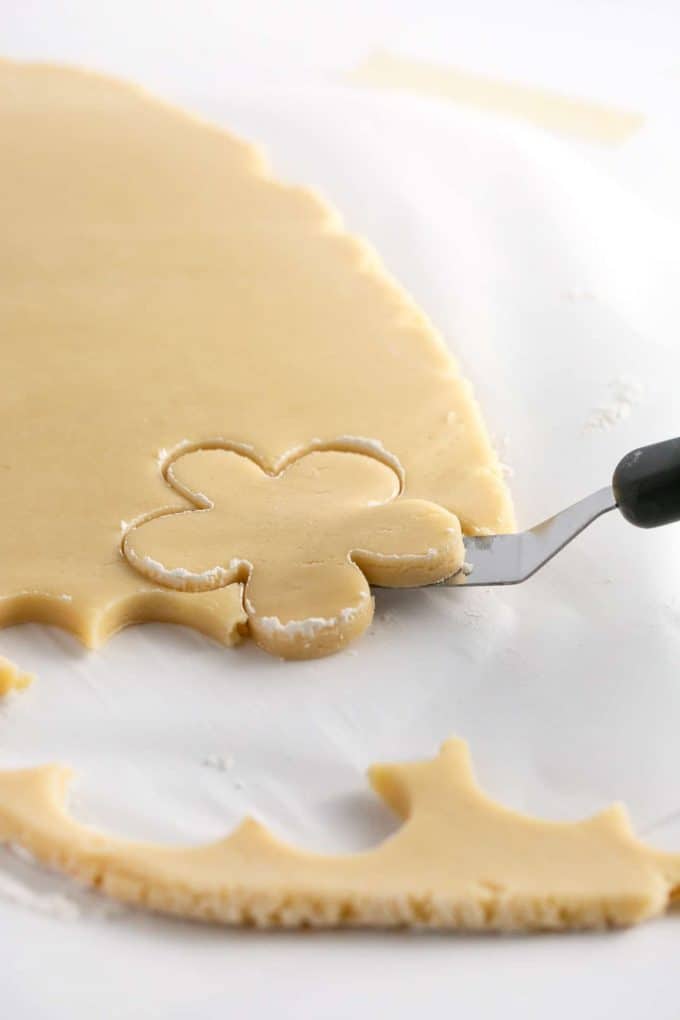
Step 7: Immediately Cut Dough
An important thing to keep in mind before you start cutting is that you want to begin cutting at the very edge of the dough, rather than the middle. This will help so that you can get the most cookies out of each sheet of dough, as the less you re-roll the dough, the less the cookie swill spread in the oven.
Often times, a big reason cookies will spread is because you kneaded and rolled out the dough too many times. Every time you do this, the butter in the dough gets warmer and will cause spreading. If you can manage to cut all your cookies in 2 roll-outs, that is ideal. (When I have a small chunk of dough leftover that I've rolled too many times, I'll make a small batch of slice and bake cookies.)
Along these lines, you also want to start cutting out the shapes immediately after rolling out. This is good for two reasons:
- If your house is warm/humid and you wait too long to roll out, the dough will soften, be harder to handle, and will be more likely to spread.
- If you wait too long to roll out, the dough can become dry causing the cookies to crumble when cutting and baking.
Want to make the dough ahead of time and roll out later? Learn all about How to Freeze Sugar Cookie Dough.
Step 8: Lift Dough with Offset Spatula
After cutting out the shapes, gently pull away the excess dough and use an offset spatula to help lift the cut cookies up and onto the parchment-lined baking sheet. While you're lifting it up with the spatula, use your other hand to support the bottom of the cookie so that it doesn't break then gently slide it onto the baking sheet.
Tip: Unlike a regular spatula, offset spatulas are great because they are skinny and will allow your hand to get under the cookie to help guide it to the baking sheet.
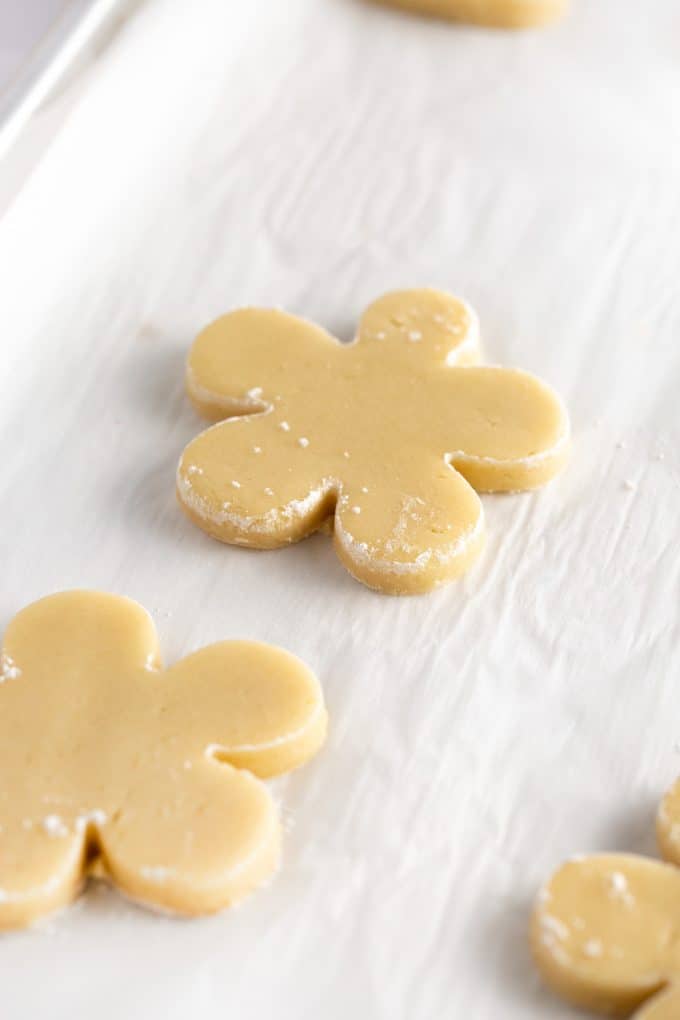
Step 9: Bake
Once all your cookies are cut and onto the baking sheet, it's time to bake! Just like I mentioned before, you want to bake the cookies immediately after cutting so that they don't become soft and warm.
Tip: If you're using the same baking sheet for all the cookies, you want to make sure it's not too hot as you place on the next batch. Because if you put dough on a hot baking sheet, it will start to melt down and cause the cookies so spread even before baking.)
Frequently Asked Questions
Do you have to chill dough for sugar cookies?
I don't personally chill the dough when I use my cut out sugar cookies. I have found that if you work fast and don't knead and roll out the dough more than 2 times, then the cookies will hold their shape.
If you have rolled out the dough too many times and it looks soft and buttery, then I would recommend chilling the cut shapes on the baking tray for 20-30 minutes before baking.
Why do my sugar cookies spread and lose their shape?
There are several main reasons I have found that cause cookies to spread.
- You have kneaded and rolled out your dough too many times, leaving the butter melted and soft.
- You're using a recipe with too much leavening. My favorite recipe is my cut out sugar cookies.
- Altitude. If you live in a high elevation, you may want to experiment with decreasing the leavener (baking powder or baking soda). When I lived in Utah, I often had issues with cookies spreading and had to cut back on the baking powder.
Can you freeze homemade sugar cookie dough?
Yes you can! I wrote an entire post on How to Freeze Sugar Cookie Dough. In this, I go over how you can freeze the dough before or after you roll it out and cut it, as well as how you can freeze baked sugar cookies.
Can sugar cookie dough be refrigerated overnight?
Yes it can. If you're going to do this, I recommend pressing it into the disc (like Step 4 above), placing in a gallon-sized plastic bag, and laying it on a flat surface in the refrigerator. When you're ready to cut and bake, let the dough thaw to room temperature then roll out.
How thick should dough be for cookie cutters?
Like I mentioned above, I have found that a minimum of ⅜" thickness is the best when using cookie cutters. This will not only give the cookies nice stability as you're cutting and lifting them off the countertop, but it will also result in softer baked cookies. When I'm trying to impress, I will go as thick as ½" for super soft cookies but I don't recommend going any thicker than that or you will have a hard time getting the cookies to evenly bake through.
Can you roll out dough on parchment paper?
Absolutely! Like I showed above, I recommend cutting around 2 feet of parchment and then using masking or regular tape to adhere each corner to the counter. This will help the parchment from slipping around as you're rolling.
How do you keep cookie dough from sticking to the rolling pin?
Before rolling, you'll want to use your hands to evenly coat the rolling pin with flour. If your dough is sticky, you'll also want to sprinkle a bit of flour on top of the dough before rolling. Use the photo guides in this post to see how much flour is necessary, as you don't want to use too much flour or your dough will become dry and crumbly.
rebecca says
is it best to create the cookie dough with a stand up mixer, or a wisk?
Melissa says
It's a thicker dough, so a stand mixer is definitely ideal!
DENISE says
This is game changing advise thank you I actually ha e these rings and had no idea what they were for lol. Thank you
Michelle DiDonato says
Well written. Clear and concise. Kudos. I tried cutting and freezing the cookies and baking them is small batches over the next couple months. Worked great. It also work with the gingerbread cookie mix.
Peggy Travis says
Your explanation of rolling out sugar cookie dough is fantastic. Thank you very much!