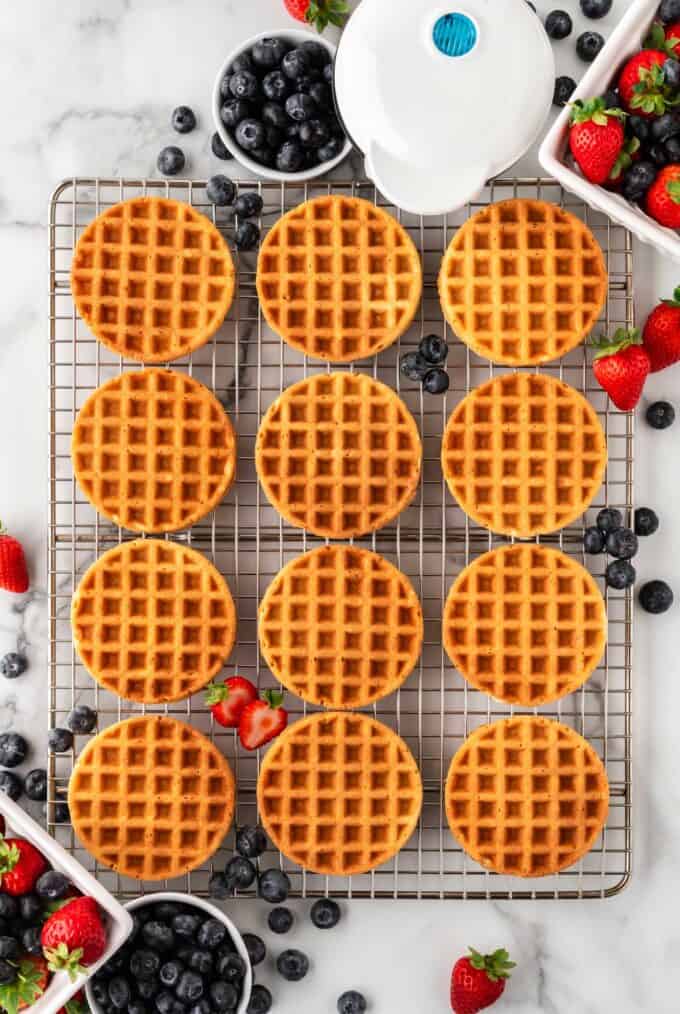
If your kids love Eggos, skip the store-bought and stock your freezer with these crispy mini waffles! The mini size reheats beautifully in the toaster or air fryer and is perfect for a quick breakfast!
Save this Recipe!
Enter your email below and I'll send this recipe to you.
Why I Love This Mini Waffle Recipe
- Crispy, not soggy: This is the mini version of my classic waffle recipe, which has an incredibly light & crispy texture perfect for toppings.
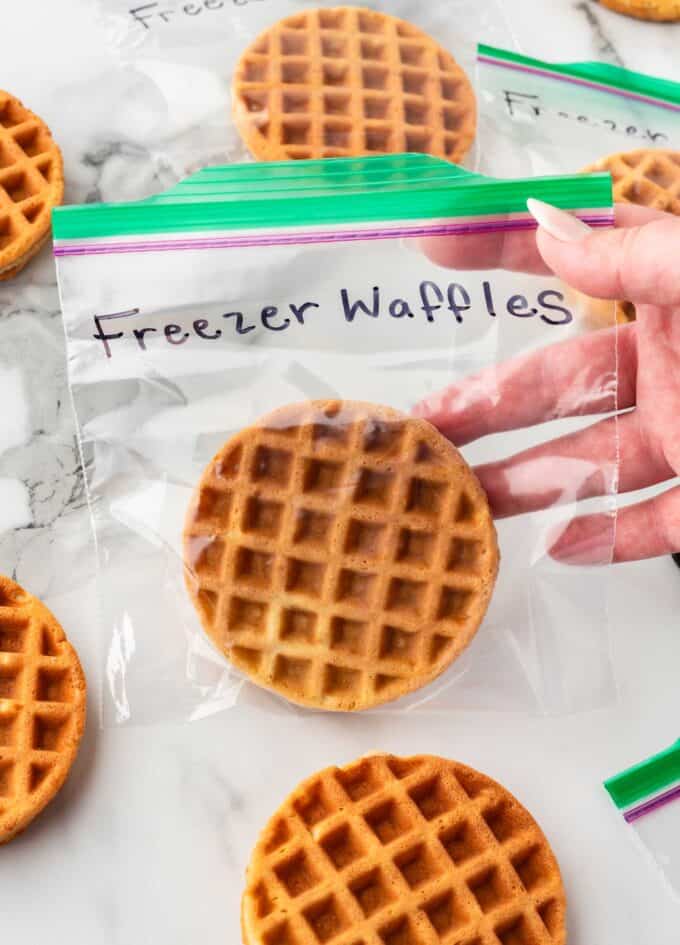
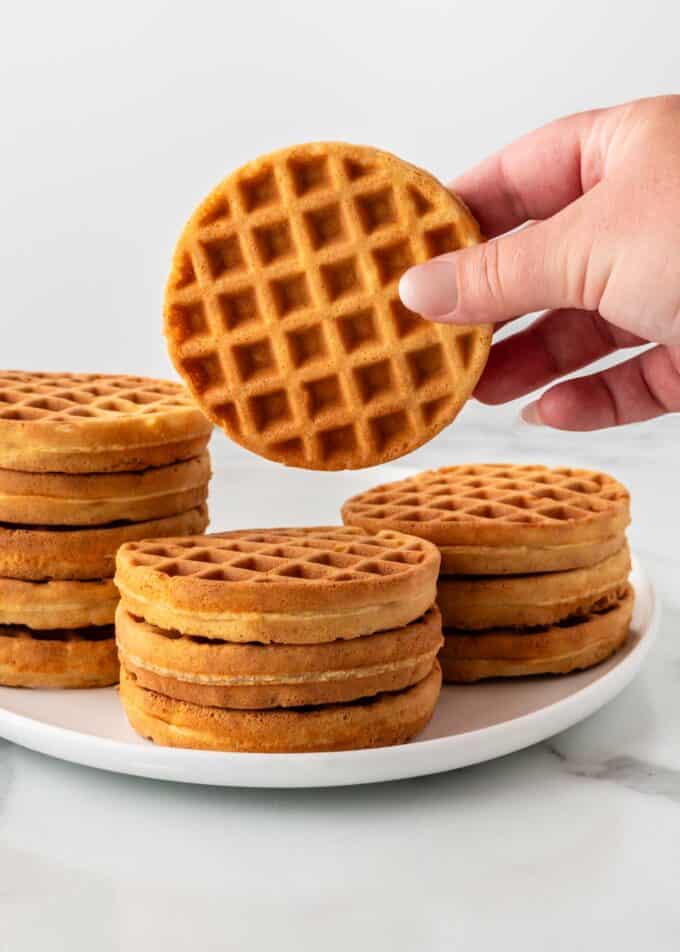
- Perfect for freezing: Because of how crispy these are, they freeze beautifully. Simply let the waffles cool then store in a ziplock bag or airtight bag in the freezer (reheating instructions below). They make the perfect snack or quick breakfast!
- Add any mix-ins and toppings: Serve with the traditional drizzle of maple syrup, fresh fruit, or you can get creative with your mix-ins and toppings (chocolate chip waffles, anyone?!)
- Fun for brunch: This is an easy recipe for serving up on Sunday morning breakfast! Pair with my cinnamon rolls or blueberry muffins for extra goodness.
Ingredient Notes & Substitutions
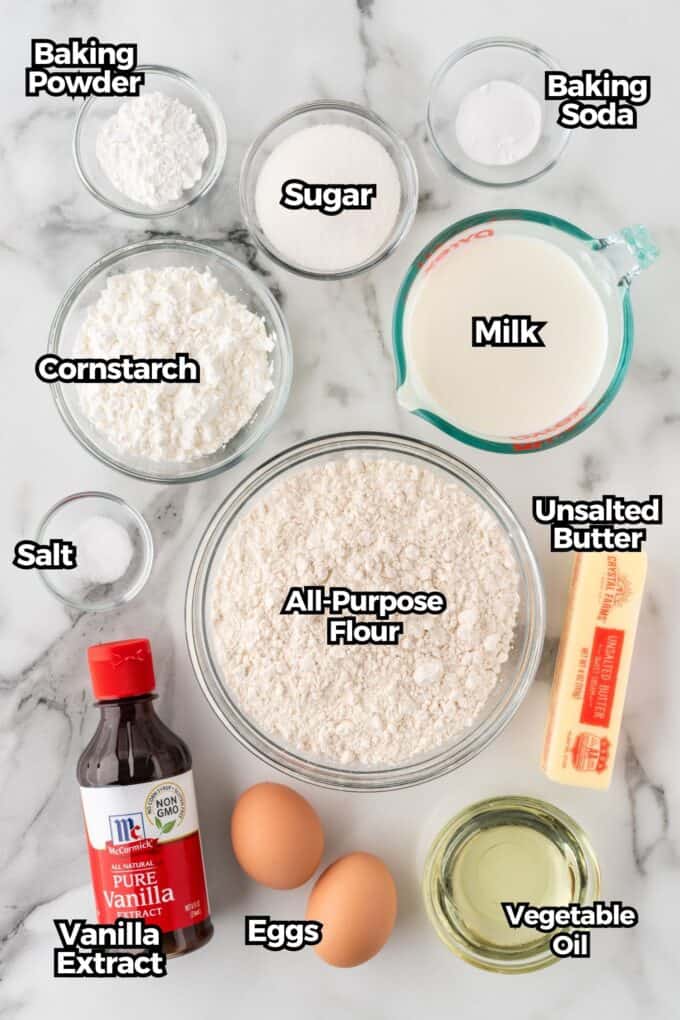
This homemade Eggo waffle recipe uses simple ingredients you probably have in the pantry!
- Cornstarch: This is what sets it apart from regular waffles, as it gives them a crisp, sturdy, and fluffy texture! If you've been striving for crispier waffles, this is your answer. Don't skip it!
- Baking Powder & Soda: The baking powder will give you the lift, while a touch of baking soda will give them that even, golden brown color. Baking soda is also crucial in the crispiness, so don't skip it!
- Butter & Oil: The butter will give you the flavor while the oil will help crisp them up. I use unsalted butter but you can use salted, if desired.
- Eggs (divided into yolk & whites): While beating the egg whites is an extra step, I promise you it’s worth it! Believe me, I tried this recipe without it and it’s just not the same!
- Mini Waffle Iron: These are inexpensive on Amazon.
How to Make Homemade Mini Waffles
Step 1: Separate Wet & Dry Ingredients
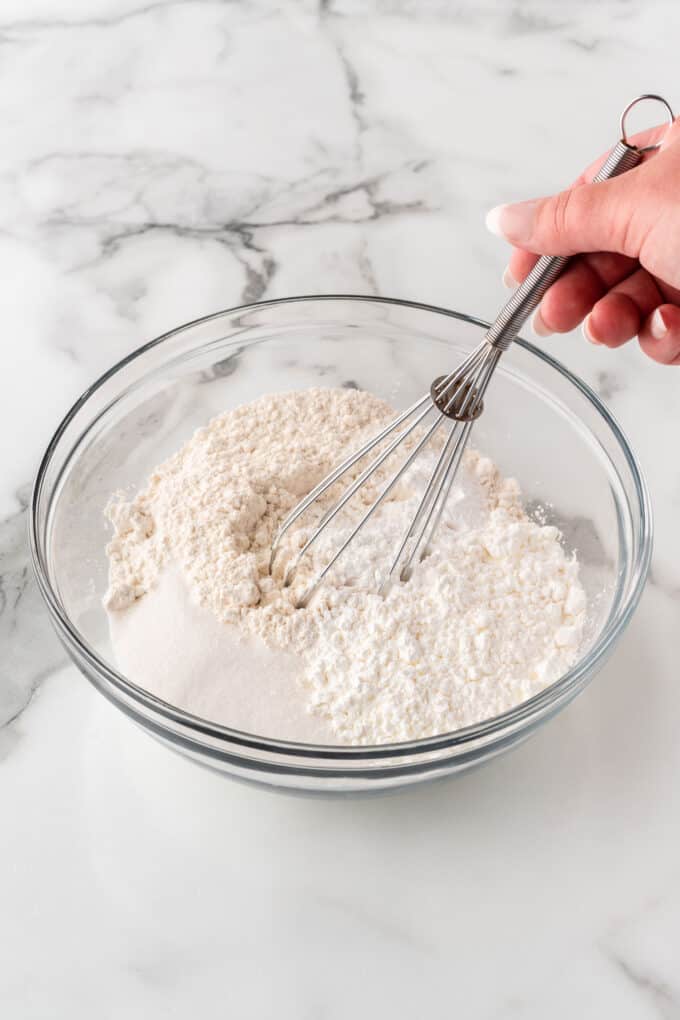
In a large mixing bowl, whisk together all-purpose flour (2 cups), cornstarch (½ cup), granulated sugar (¼ cup), baking powder (1 tablespoon), baking soda (½ teaspoon), and salt (¼ teaspoon). Set aside.
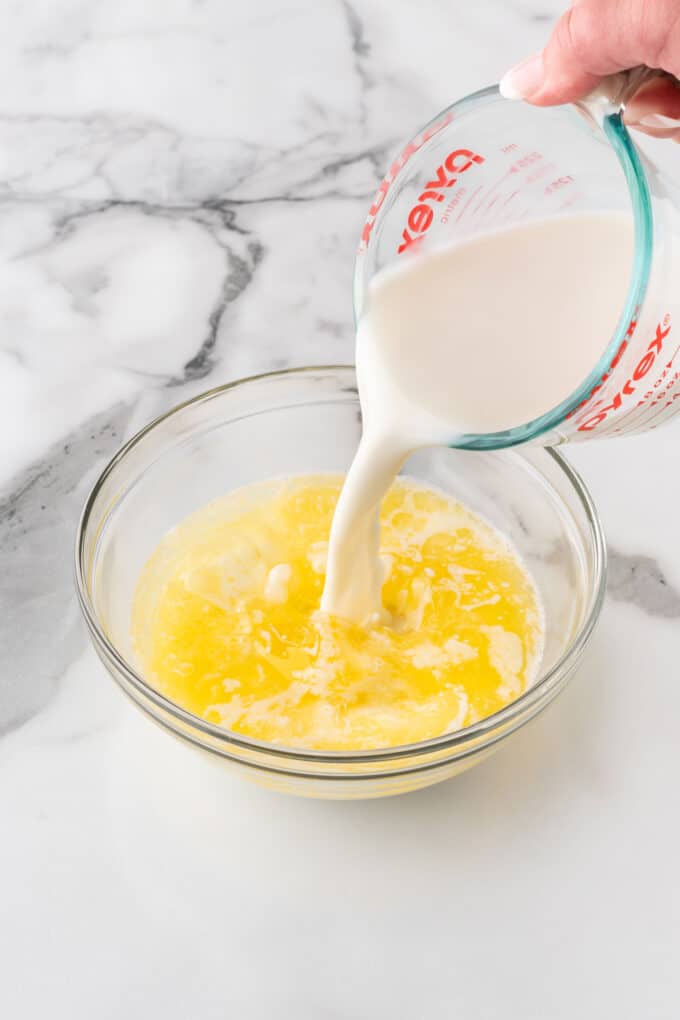
- In a separate medium-sized bowl, melt the butter (¼ cup).
- Once melted, add in the milk (1½ cups) and vegetable oil (¼ cup), then give it a quick stir until combined.
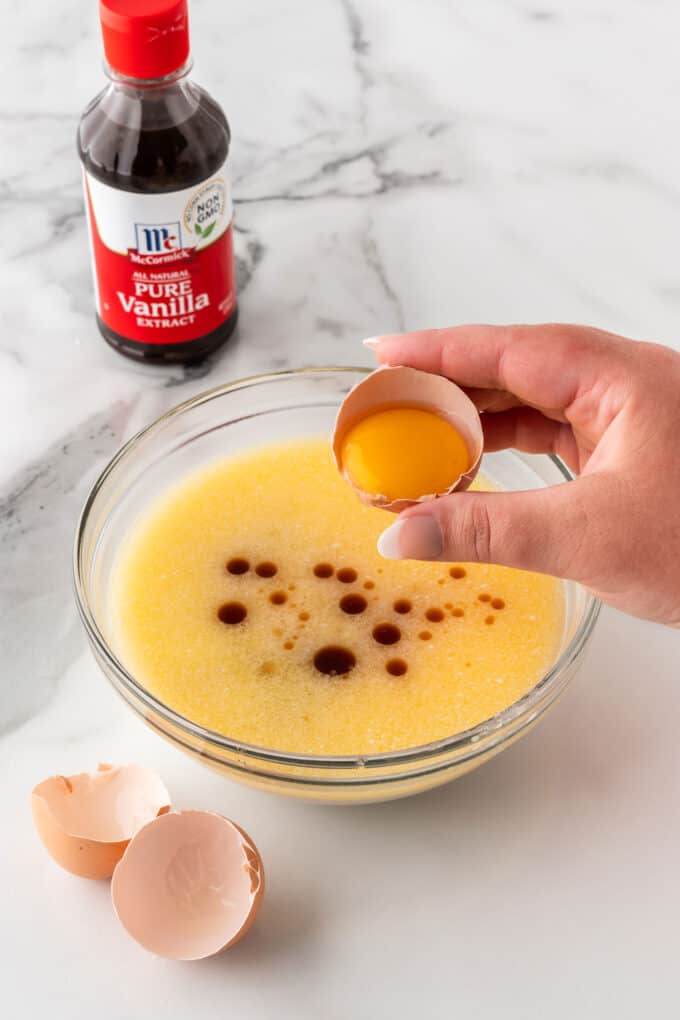
- Next, add 2 egg yolks (not the whites yet!) and vanilla extract (1 teaspoon) and mix until combined.
Tip: Adding the milk to the hot butter first will cool it down so that you don’t accidentally cook the egg yolk!
Step 2: Beat Egg Whites
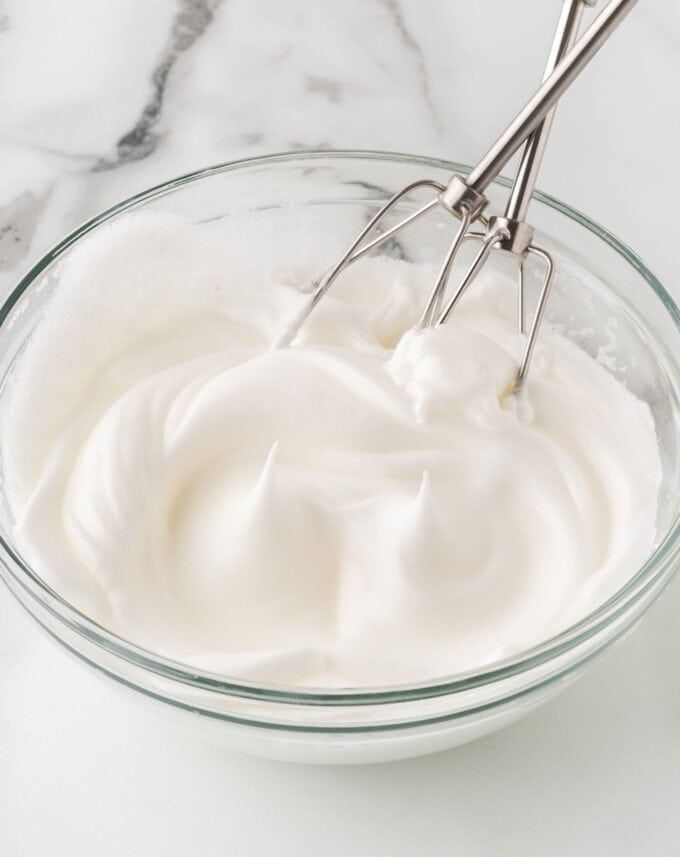
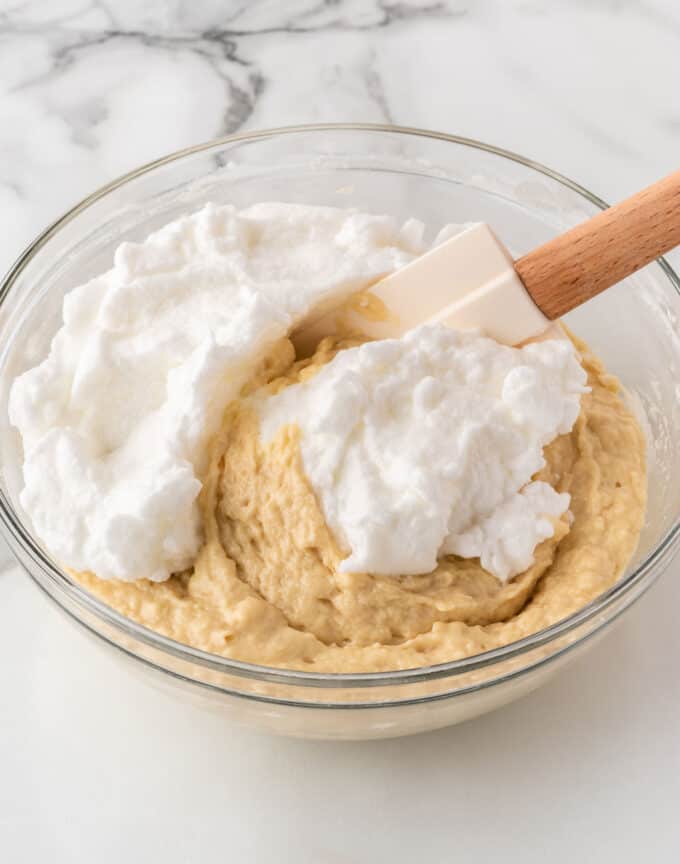
In a clean small bowl, use an electric mixer to beat the 2 egg whites for 1-2 minutes until light, fluffy, and stiff ("stiff peaks"). Use a spatula (not the electric mixer) to *gently* fold the egg whites into the batter. You want to mix until it's about 90% combined, where you can still see some streaks of egg whites.
Tip: This is an important step! If you want the lightest & crispiest waffles, whipping the egg whites is crucial. I know it's an extra step but it's worth it!
Step 3: Pour Into Waffle Iron
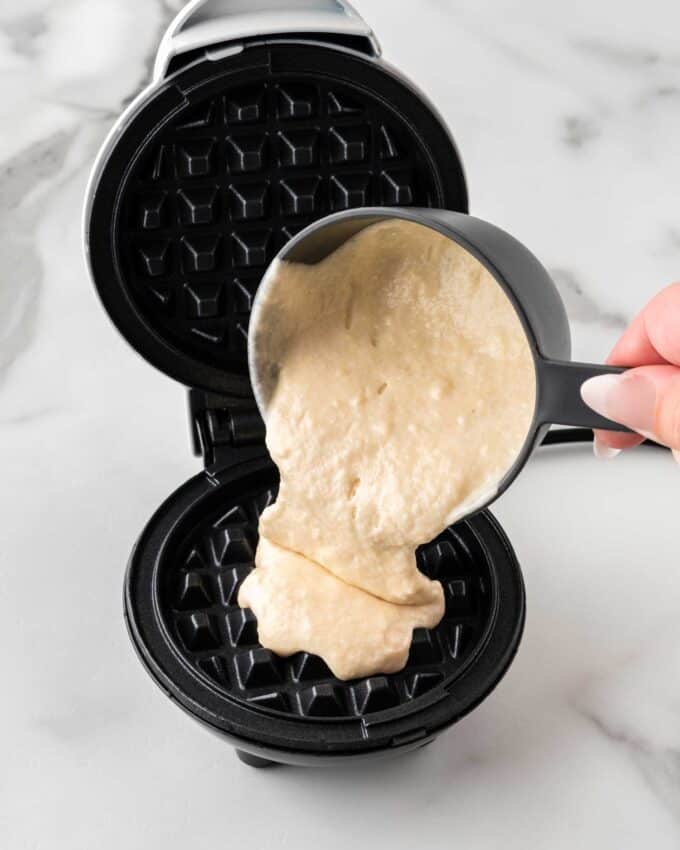
Heat your mini waffle iron to the highest setting. Spray with nonstick cooking spray, then scoop waffle batter into the preheated waffle iron. I fill my mini waffle iron with about ¼ cup then spread it to the ends. Cook until golden brown, or to your liking!
To prevent them from getting soggy, place cooked waffles on a wire rack while you're cooking the other ones.
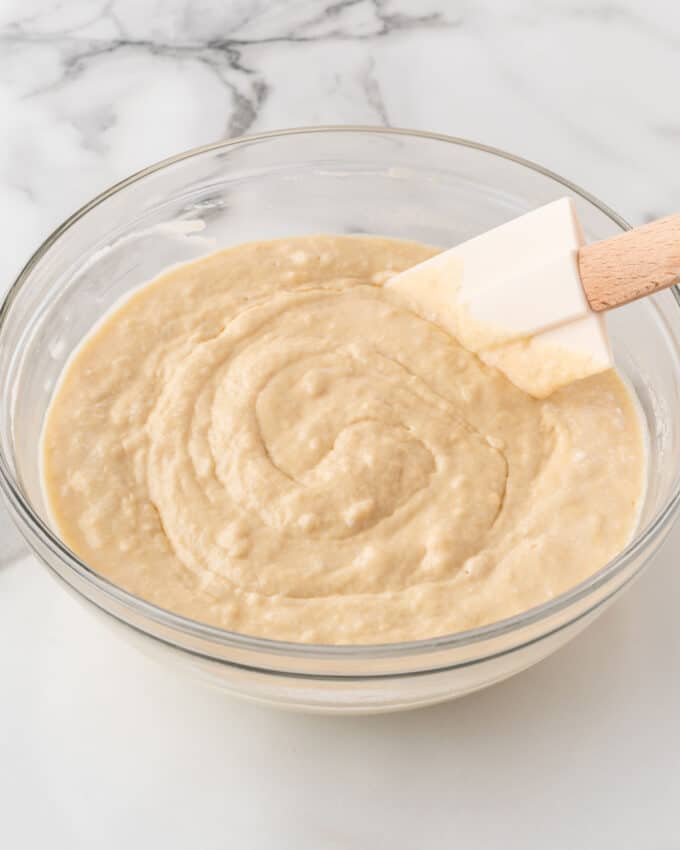
Tip: The batter will be thick & a little lumpy, which is why you want to spread it to the edges of the waffle iron.
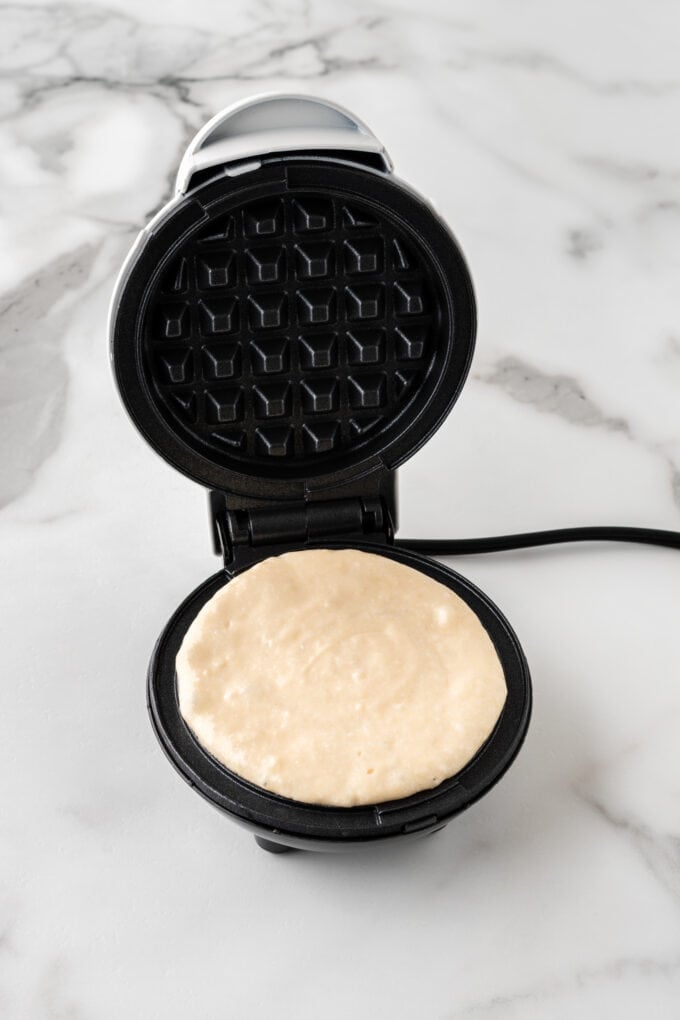
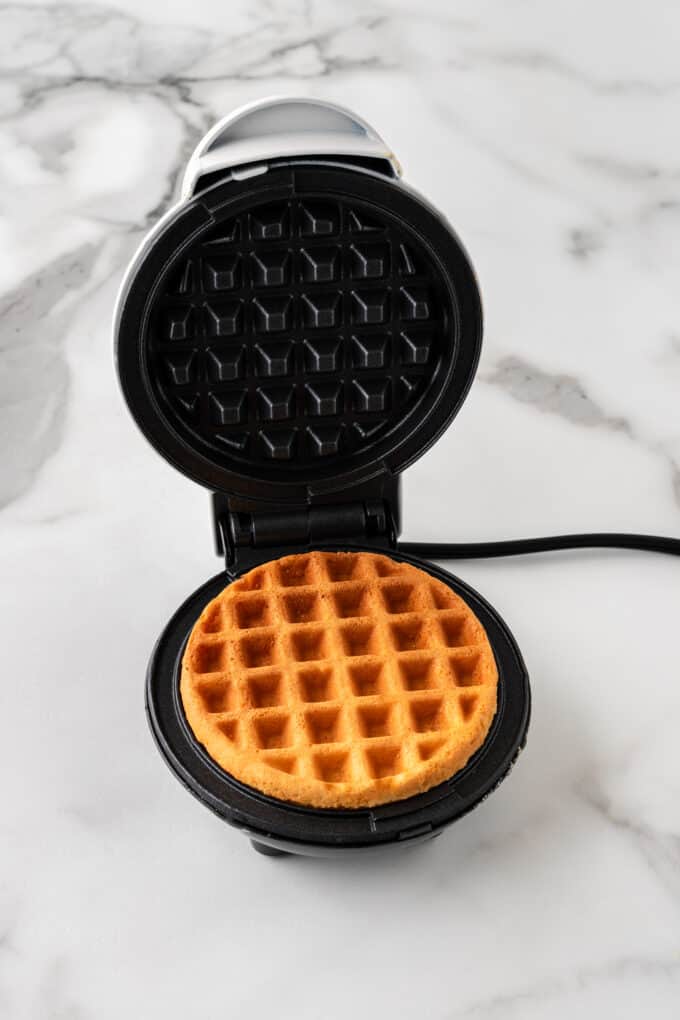
Step 4: Top & Enjoy!
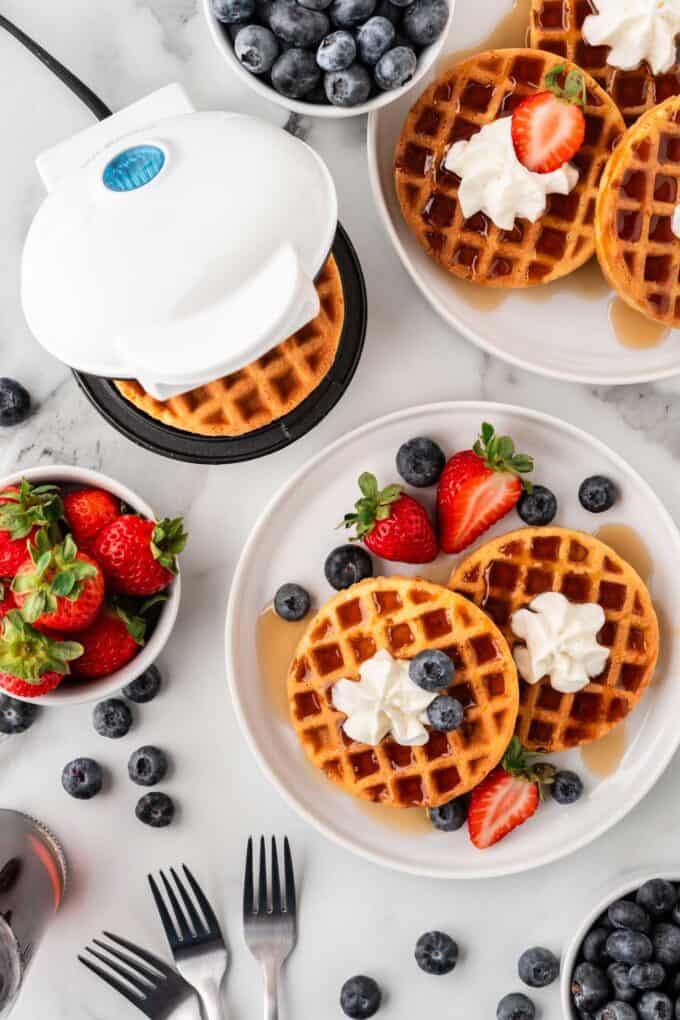
Serve immediately or keep them on a baking sheet or oven rack in the oven at 200°F to stay warm & crispy. Top with your favorite waffle toppings and enjoy! If you love them, be sure to save this easy waffle recipe for next time!
Tips & Variations
- Add mix-ins! You can add in mini chocolate chips, blueberries, or even cinnamon sugar to make flavored waffles! If you use mix-ins, be careful with adding them to a regular toaster as the mix-ins can leak out and burn.
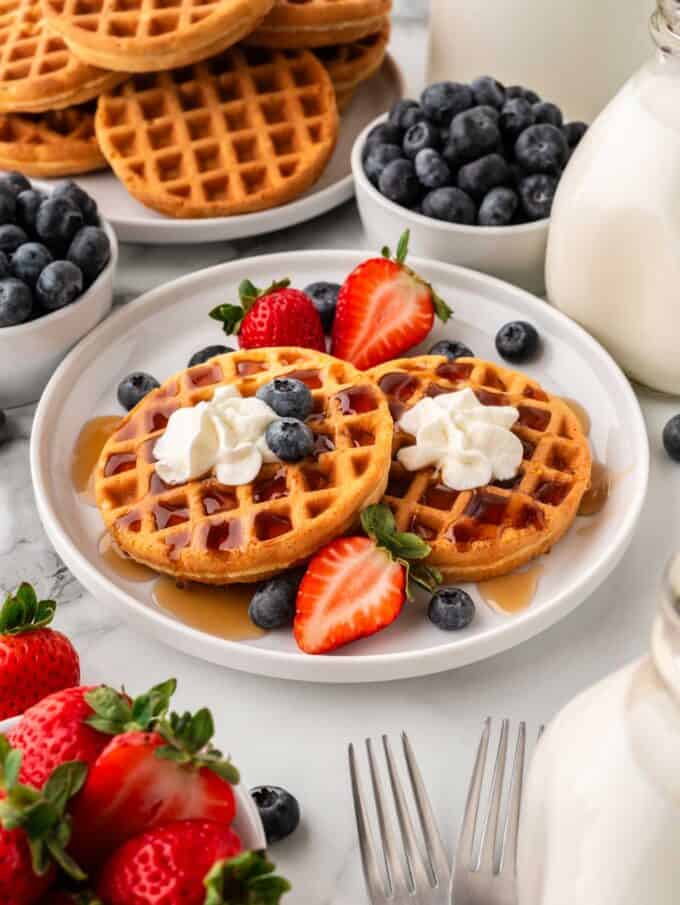
- Sweet toppings: I love serving these with melted butter, fresh berries, syrup, and whipped cream but you can add any toppings you like. Honey, chocolate chips, chocolate sauce, or bananas are also great options for a dessert waffle!
- Savory toppings: If you prefer savory waffles, you can add shredded cheddar cheese to the top of the batter after you pour it into the waffle iron.
Freezing Instructions
- Store in an airtight container, then reheat from frozen. Just keep in mind that they can lose some of their crispiness, depending on how you reheat them.
- Microwave: I don't recommend reheating in the microwave or they will get soggy.
- Toaster: Pop in the toaster for 1-2 cycles until heated through. If you use mix-ins, be careful with adding them to a regular toaster as the mix-ins can leak out and burn.
- Air fryer: 350°F for 2-3 minutes
- Oven or Toaster Oven: Reheat the frozen waffles on a sheet pan at 350°F for about 5 minutes (keep an eye on them so they don't overbrown!).
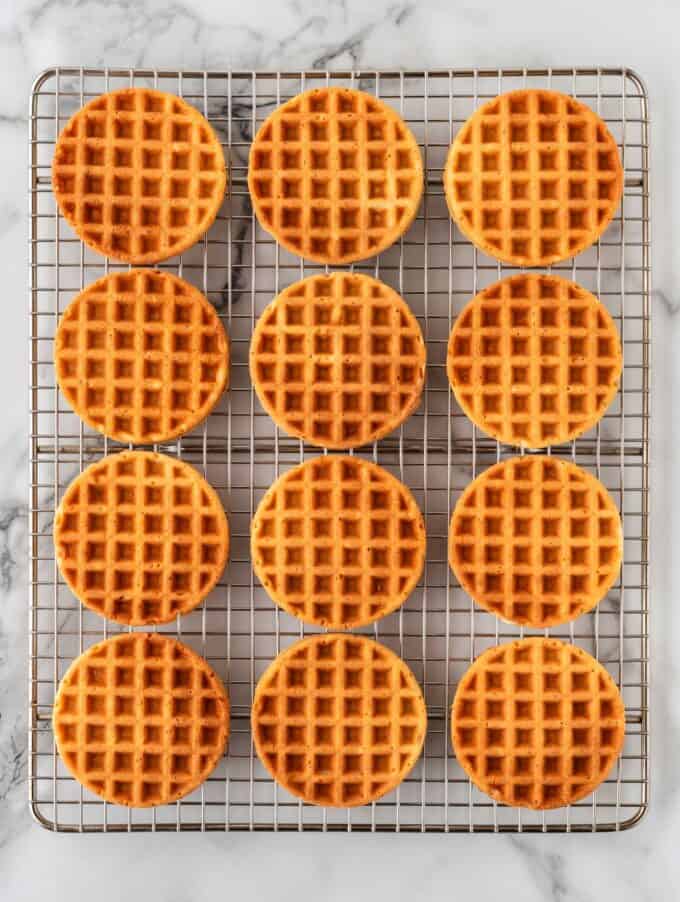

Frequently Asked Questions:
To make it ahead of time, mix the batter all the way up to the egg white step and then store in the fridge. Right before cooking, beat the egg white and fold in.
A lot of other waffle recipes don't use the egg white but it is crucial for getting a light & crispy waffle.
I developed this recipe with all-purpose flour since it's what most people have on hand. It will give you a light & crispy texture. You can use other flours but keep in mind that something like a whole wheat flour will give you a denser texture.
Yes, feel free to use another kind of neutral-flavored oil. I've made these with coconut oil and they work great!
Did you make this recipe? If so, will you do me a huge favor and leave a review and rating letting me know how you liked this recipe? This helps my small business thrive so I can continue providing free recipes and high-quality content for you.
Freezer-Friendly Mini Waffles
Ingredients
- 2 cups all-purpose flour
- ½ cup cornstarch
- ¼ cup granulated sugar (i.e. 4 tablespoons)
- 1 tablespoon baking powder
- ½ teaspoon baking soda this is what really helps create a golden brown color!
- ¼ teaspoon salt
- ¼ cup unsalted butter (i.e. ½ stick)
- 1 ½ cups whole milk can also use 1% or 2%
- ¼ cup vegetable oil coconut oil also works well
- 1 teaspoon vanilla extract
- 2 large eggs, divided separate the yolks & whites (but don't discard, we're using both!)
Before you begin! If you make this, will you do me a huge favor and leave a review and rating letting me know how you liked this recipe? This helps my small business thrive so I can continue providing free recipes and high-quality content for you.
Instructions
- Preheat your mini waffle iron the highest setting.
- In a large mixing bowl, whisk together all-purpose flour (2 cups), cornstarch (½ cup), granulated sugar (¼ cup), baking powder (1 tablespoon), baking soda (½ teaspoon), and salt (¼ teaspoon). Set aside.
- In a separate medium-sized bowl, melt the butter (¼ cup). Once melted, add in the milk (1½ cups) and vegetable oil (¼ cup), then give it a quick stir until combined.
- Next, add 2 egg yolks (not the whites yet!) and vanilla extract (1 teaspoon) and mix until combined. Tip: We're adding the milk to the hot butter first so that it will cool it down and prevent you from accidentally cooking the egg yolk!
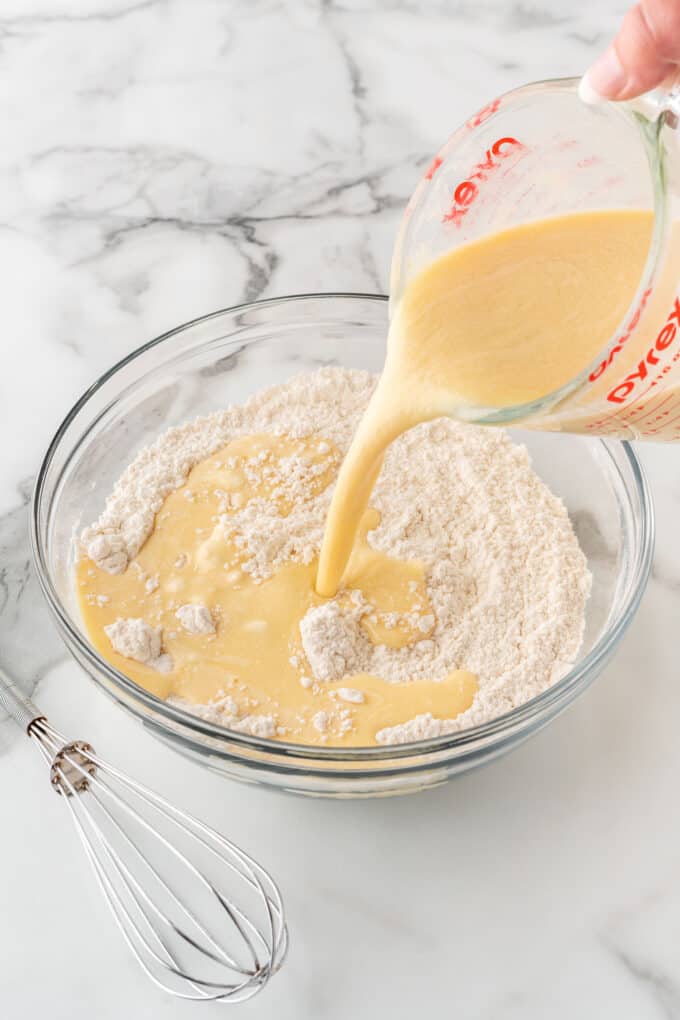
- Add the milk mixture to the dry ingredients and mix until just combined (don’t stir too much or you can cause the batter to become tough!).
- In a clean small bowl, use an electric mixer to beat the 2 egg whites for 1-2 minutes until light, fluffy, and stiff (”stiff peaks”). Use a spatula (not the electric mixer) to *gently* fold the egg whites into the batter. You want to mix until it's about 90% combined, where you can still see some streaks of egg whites.
- Spray mini waffle iron with nonstick cooking spray, then scoop batter into the preheated waffle iron. I fill my mini waffle iron with about ¼ cup of batter, then spread it to the ends. Tip: The batter will be thick & a little lumpy, which is why you want to help spread it to the edges of the waffle iron.
- Cook until golden brown, or to your liking! Note that to get a nice crispy waffle, you will need to cook it a little longer than you would typically do. A golden color is what we're going for!
- Serve immediately or keep them on a baking sheet or oven rack in the oven at 200℉ to stay warm & crispy. Top with your favorite toppings and enjoy!
- To freeze: Allow to fully cool then place in a freezer-safe bag. When ready to eat, reheat in the toaster or the air fryer (they only need a couple of minutes to heat back up!).
Last Step! Please leave a review and rating letting me know how you liked this recipe! This helps my small business thrive so I can continue providing free recipes and high-quality content for you.

Vivian says
How much is half a stick of butter?
Melissa says
4 tablespoons, i.e. 1/4 cup.
Vivian says
I loved them, can i make them with a non gluten flour?
Cindy says
Super easy to make, which is absolutely necessary when cooking with an 8 year old! We added sprinkles before baking, which made them extra fun.
Melissa says
I'm so glad you enjoyed the freezer-friendly mini waffles! Sprinkles are so fun!!
Tina S says
Grandkids and I love these! They're crispy, reheat well, and taste yummy! Thank you for the recipe! 😊
Melissa says
I'm so glad you all love the Freezer-Friendly Mini Waffles, Tina! Thanks so much for leaving a review. I appreciate it!
Jo Riverhouse says
Part of the baking challenge. Brilliant recipe. Made these for breakfast (and the Freezer!) and we are huge fans. Thanks for sharing!
Melissa says
Thank you so much for leaving a review and for participating in the monthly baking challenge, Jo!
Mandy young says
My grandson loves this recipe! Saves me from buying store bought and they freeze so well and so easy to reheat!
Time saver for sure
Love this website
Alyssa Berkenbush says
I made these as part of the baking challenge and we throughly enjoyed these mini waffles and they are going to be perfect for school mornings.
Adrienne says
I made these waffles as part of the Baking Challenge and they have been a lifesaver! We love waffles in our house but making them from scratch during the week is impossible. I tossed this together last weekend and we have been enjoying them all week! They are super crisp and light and reheat perfectly!
Melissa says
I am soo happy to hear that you all are loving this recipe! Thank you so much for leaving a review, Adrienne! I really appreciate it!
Esther says
The best recipe ever, super simple and delicious. My 12 year old daughter made it with her mini waffle maker that she got for Christmas. She was all over the moon because she did everything on her own and we really enjoyed the warm waffles.
Melissa says
Aw that's awesome to hear! Thank you so much for leaving a review, Esther! Glad you and your daughter enjoyed the recipe!
S says
Great recipe !
Melissa says
Glad you think so, thanks so much for leaving a review!