
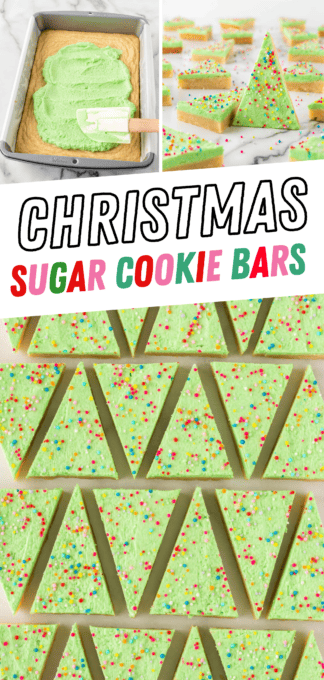
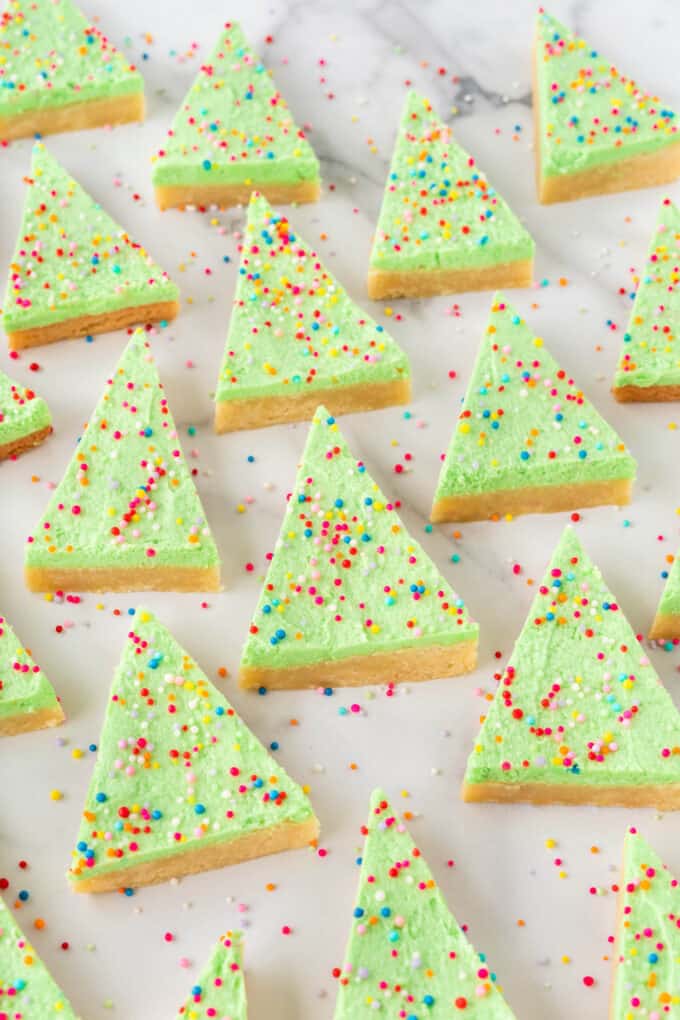
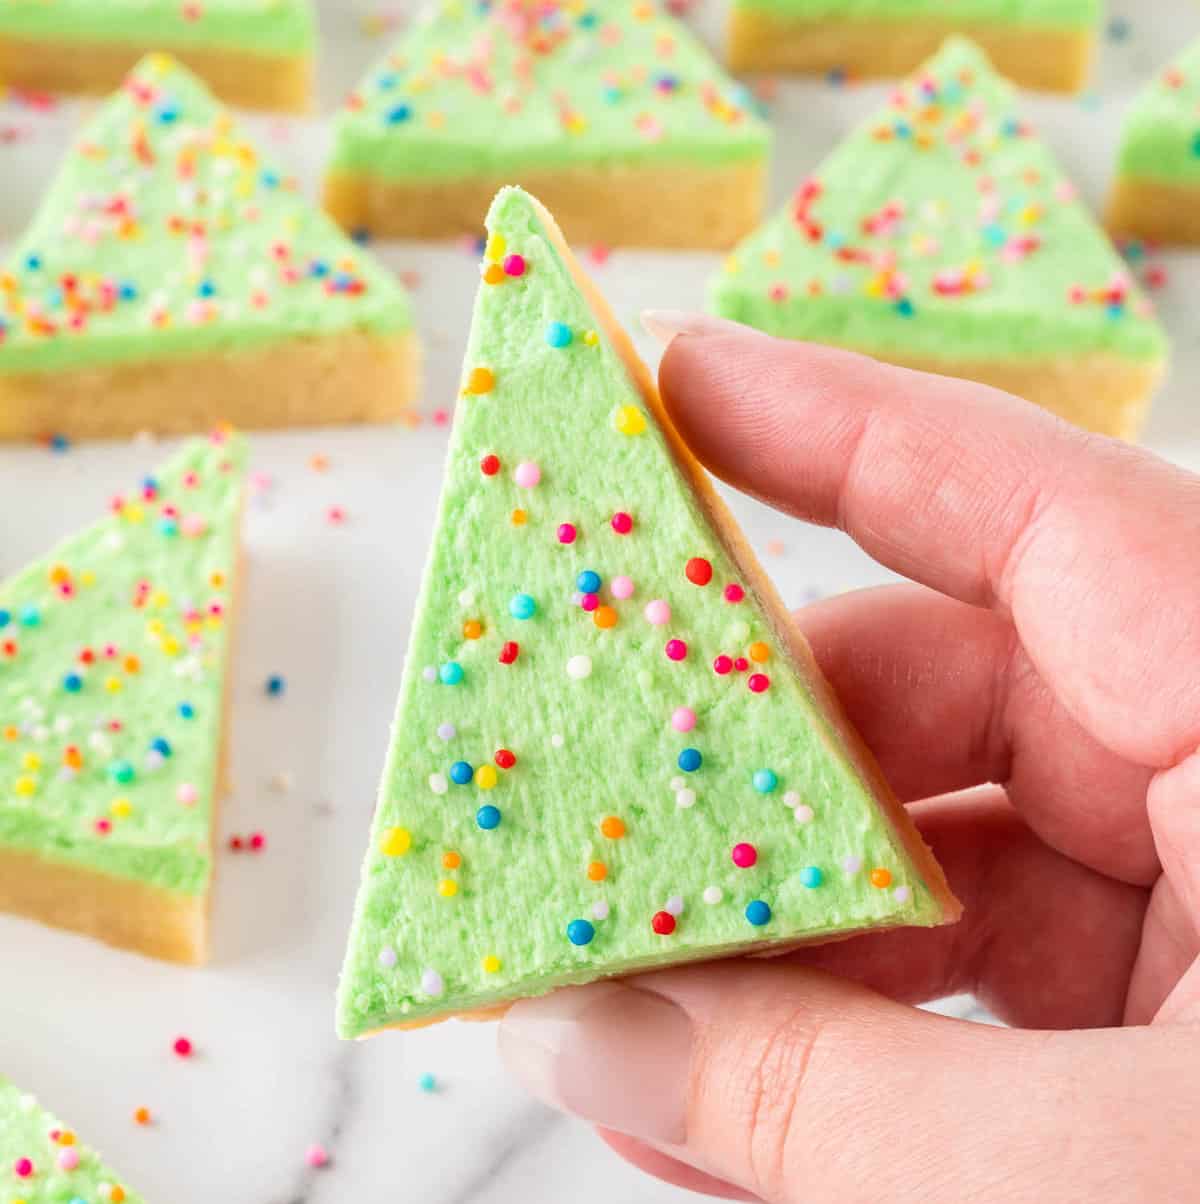
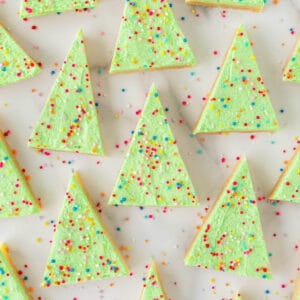
Skip the cookie cutters and make these EASY Christmas tree sugar cookie bars in a 9x13 pan! Simply bake, frost, and use the photo visuals below to cut into 24 perfectly-sized treats for holiday cookie platters!

Why I Love These Christmas Tree Sugar Cookie Bars
- No cookie cutters needed: While I love decorating cut out sugar cookies when I have time, sometimes you just need something cute & delicious with minimal effort.
- No decorating skills needed: As long as you can spread frosting and toss on some sprinkles, you have the skills to make these adorable little tree cookies! I love coming up with easy holiday cookies and these are one of my go-to recipes!
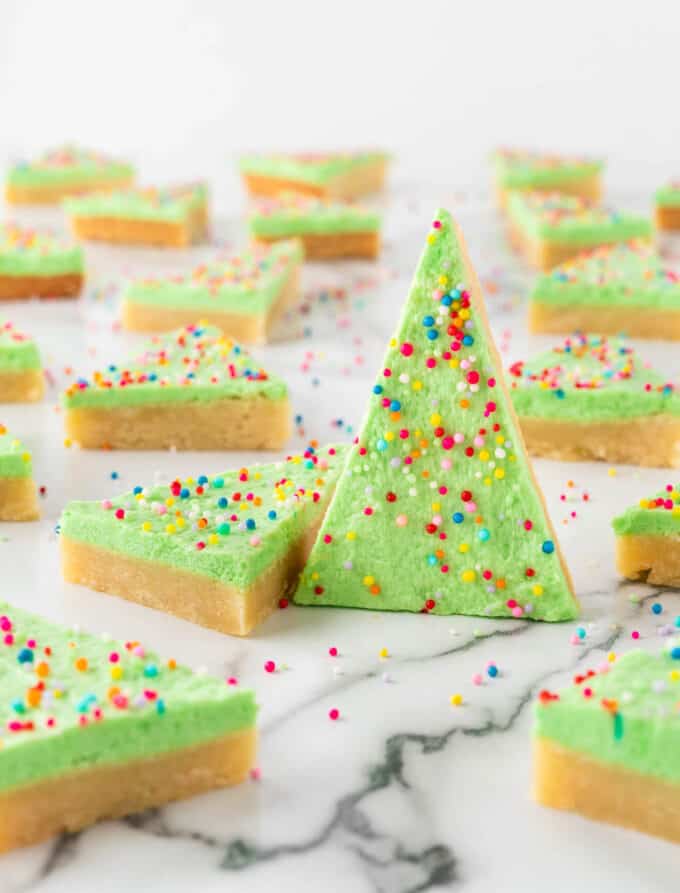
- Perfect size for cookie platters! After slicing these, you'll have 24 perfectly sized tree cookies!
- Soft & thick bars: Let's not forget that these are made with my all-time favorite thick & soft sugar cookie bars recipe. My family literally begs me to make these whenever I visit!
P.S. These use the same cutting method as my cosmic christmas tree brownies which are so cute! Triangle Christmas bars for the win!
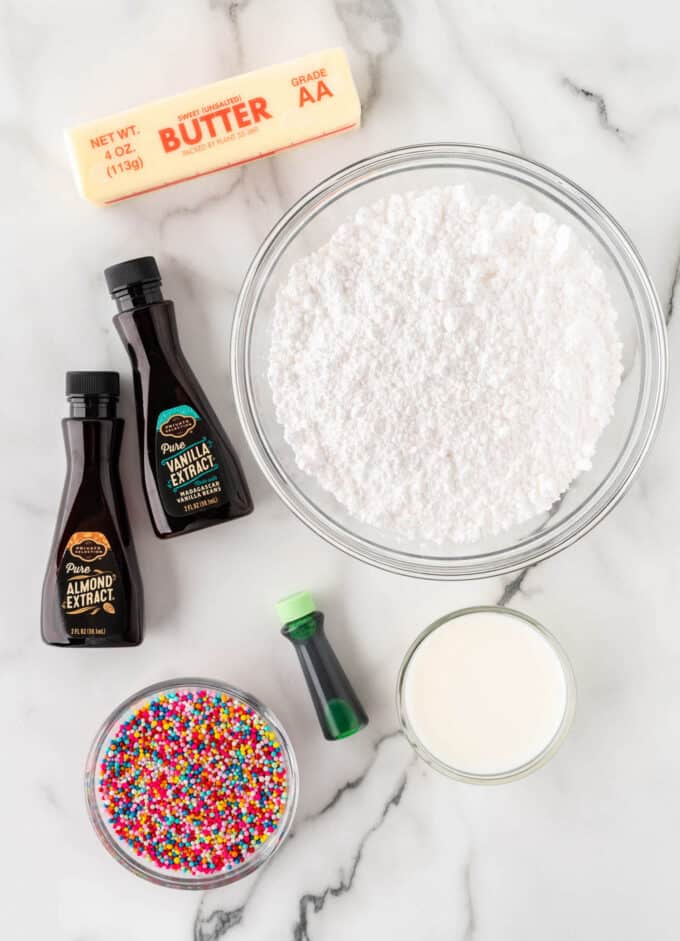
Ingredient Notes & Tips
Jump down to the full recipe card for the recipe amounts and condensed recipe instructions.
- Unsalted butter: I use unsalted butter for 95% of my baking because I like controlling the amount of salt. If salted butter is all you have, you can use that and simply omit the salt from the recipe.
- Almond Extract: If you're not a fan of almond extract, you can simply omit it or replace with more vanilla extract. But it is what makes these sugar cookie bars so delicious & flavorful!
- Sprinkles: Use your favorite nonpareil sprinkle mix to create the tiny ornaments or use any sprinkles you have on hand! These would be so cute with any kind of sprinkle and you could even put a little sprinkle star on top!
- 9x13 pan: I highly suggest using a parchment-lined, light-metal 9x13 pan for these. Light metal will allow your bars (and any baked good!) to bake more evenly and prevent the over-browning that dark metal or glass pans can cause.
Make it gluten-free! Use your favorite gluten-free flour to make this gluten-free! My favorite brand is Bob's Red Mill Gluten Free 1-to-1 Baking Flour.
How to Make Christmas Tree Cookie Bars:
This is just an overview showing step-by-step photos, jump down to full recipe card with exact instructions to make these Christmas bar cookies.
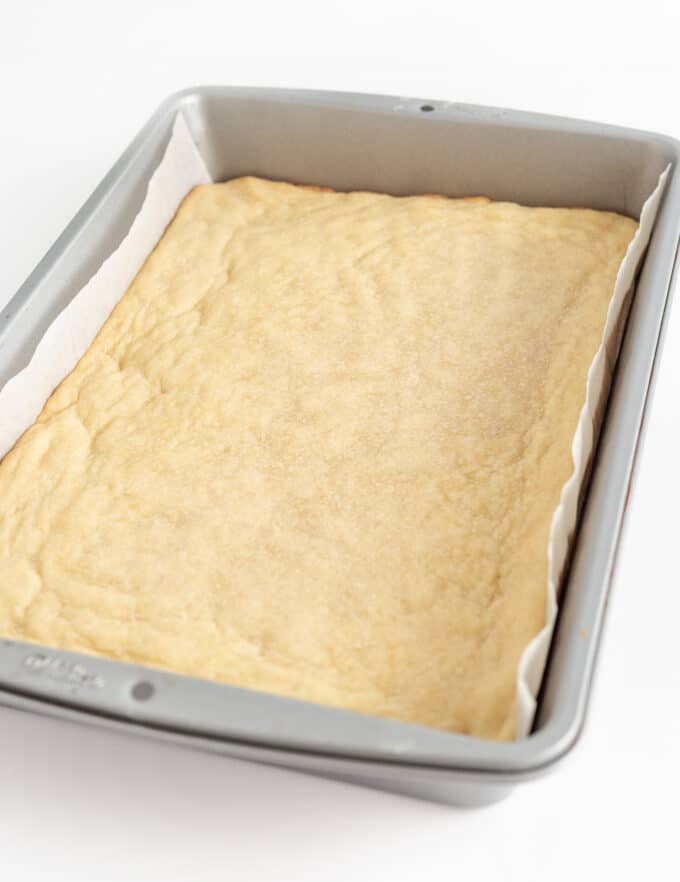
Step 1: Make Sugar Cookie Bars
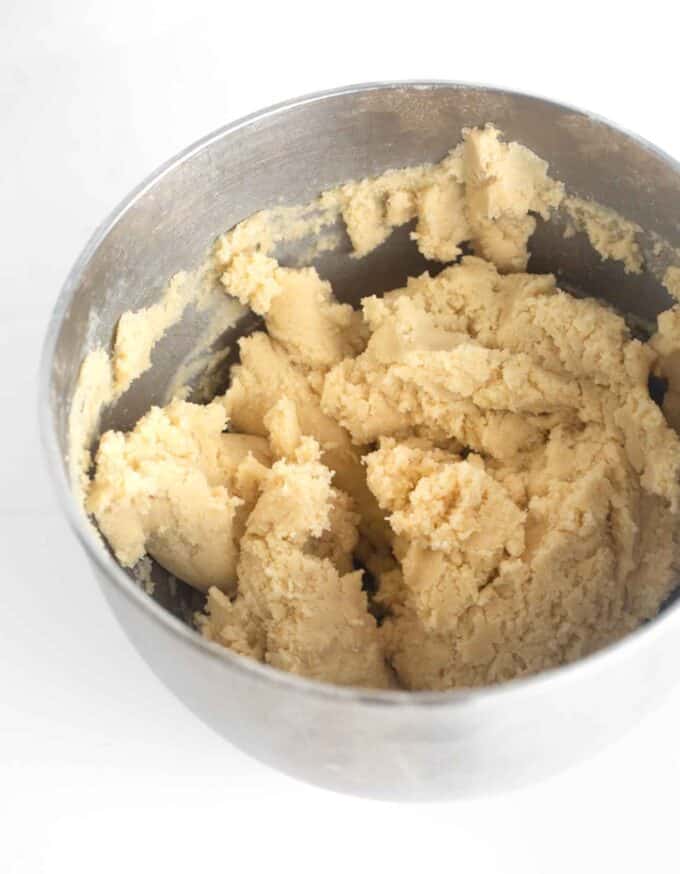
Use the recipe card below to mix your sugar cookie dough. The dough should have a thick consistency and soft texture. When pinched between your fingers, the dough should be similar to playdoh consistency and not be very sticky (if you use a handheld mixer, your dough will look a bit less solid than the photo below and that's okay).
Don't skip the parchment! Lining the pan with a parchment sling will allow you to get these clean cuts; it will be very difficult to cut these in the pan itself.
Step 2: Make Frosting & Decorate
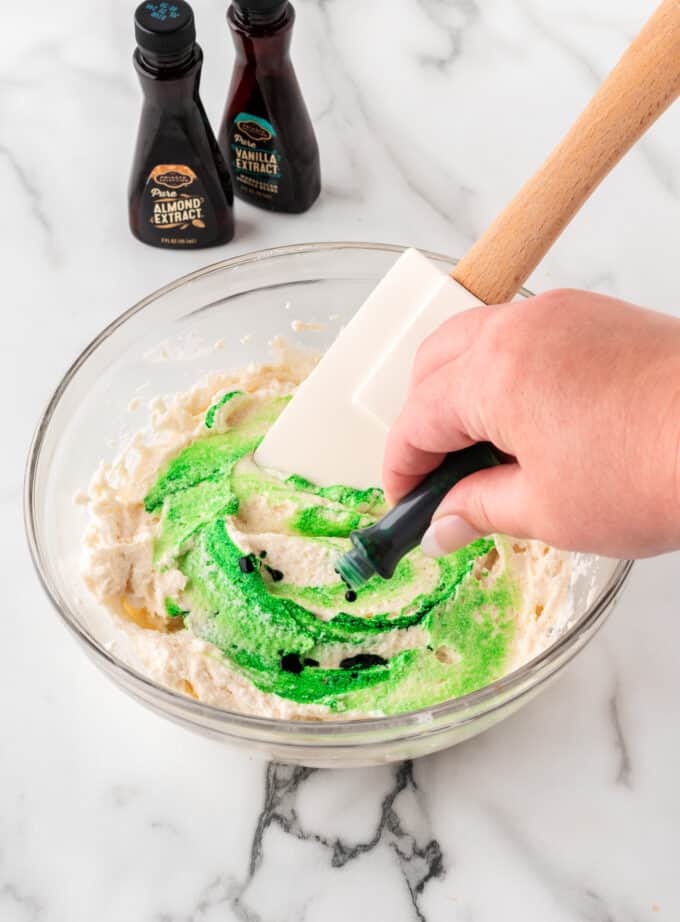
While your bars are in the oven, whip up the homemade buttercream frosting, dye it green, and then spread over the completely cooled bars.
If using sprinkles, add them immediately after frosting. If you wait too long, the frosting will set and the sprinkles won't stick (and you'll have to press them in with your hand).
Fun tip! If you want to add a little frosting star (like I did on TikTok), reserve about 2 tablespoons of the white frosting so that you can dye it yellow!
Step 3: Cut Into Triangles
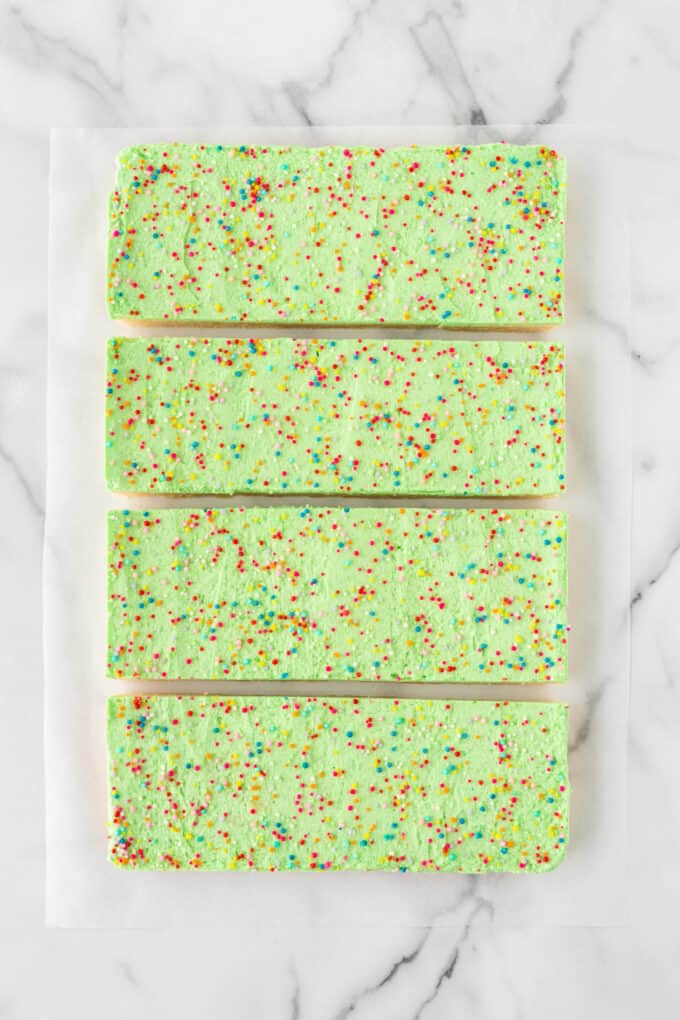
Run a knife along the edges of the bars (that aren't covered with parchment), then carefully lift or slide the cookie bars out of the pan. Use the instructions & photo references below to cut.
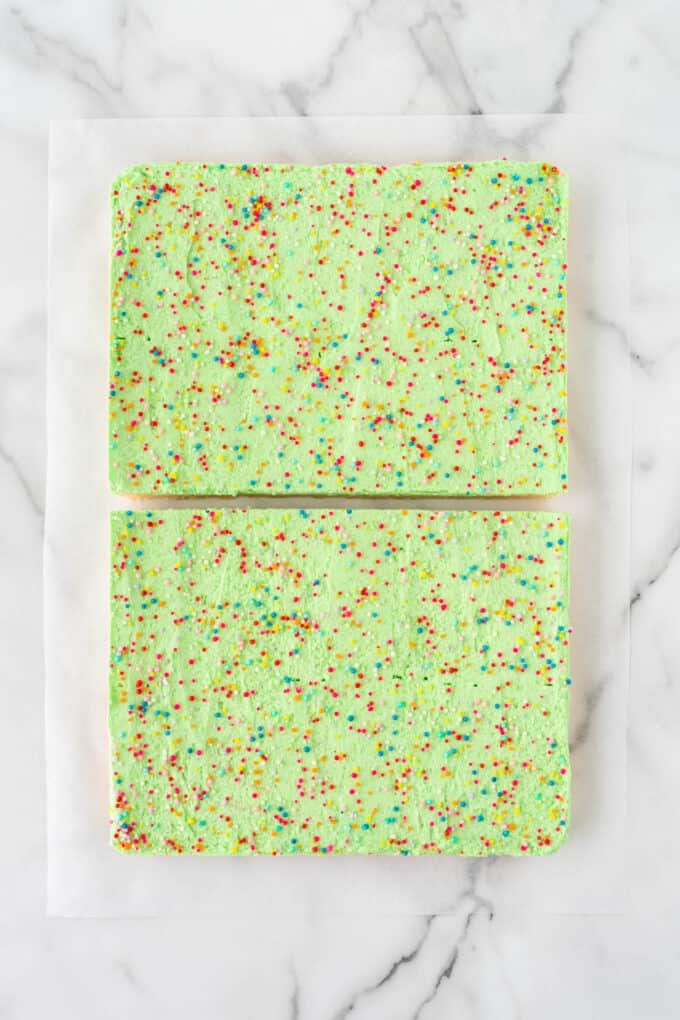
- Use a large, straight-edged knife to cut the bars in half horizontally, then cut each half into half again.
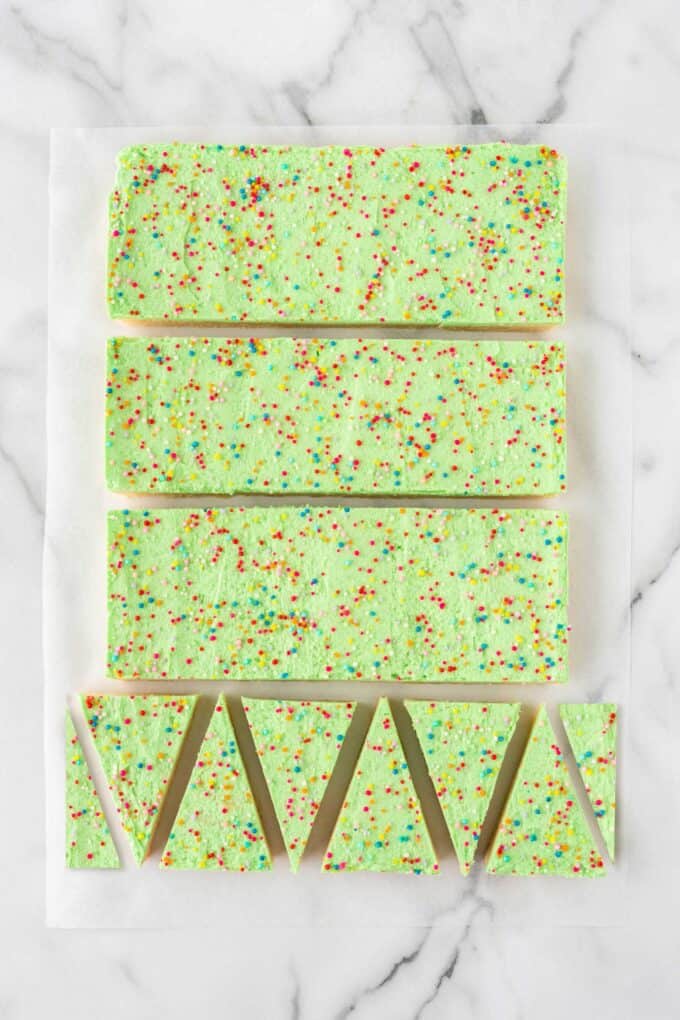
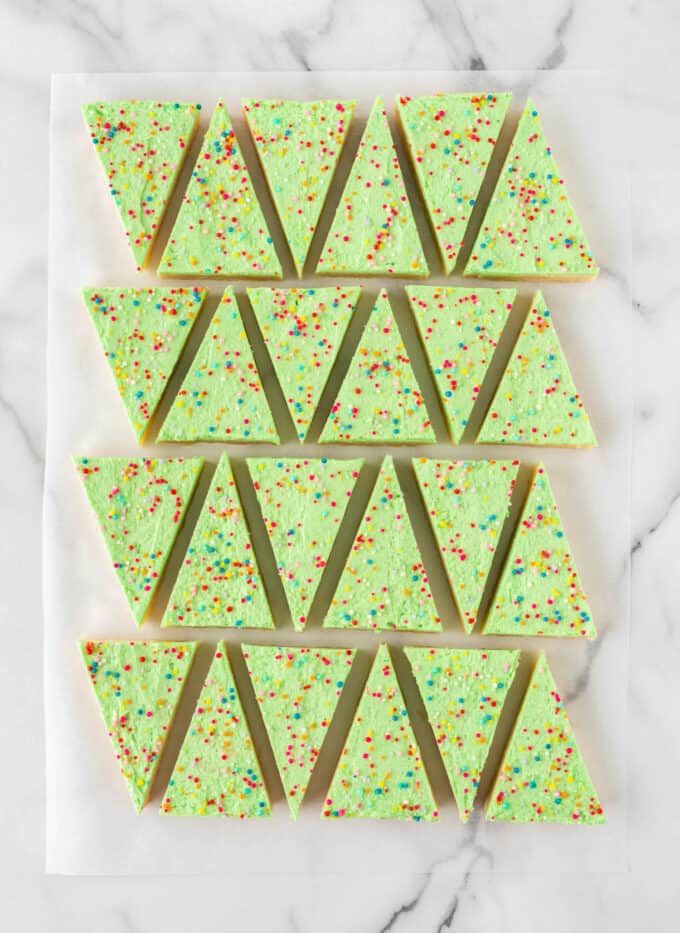
- Starting on the bottom quadrant, use a sharp knife to cut into triangles. To keep clean edges, wipe the knife off on a warm, wet cloth in between each cut (or whenever the frosting is sticking to the knife).
- Continue until all triangles are cut (you should get 24 cookie trees). You can snack on the edge pieces.
Tips & Variations
- Don't overbake! The trick to soft sugar cookie bars is to take them out right when you see the TINIEST amount of brown around the edges. The center may look underdone and this is okay; the bars will continue to bake in the hot pan when cooling.
- Use a parchment sling: Lining your pan with parchment paper and allowing an overhang on the long sides will allow you to lift the bars out of the pan after they are cooled. This will allow you to get clean, even cuts using a large knife.
- Use different colors of frosting! These would be gorgeous frosted white for more of a winter wonderland theme or even red for little Santa hat cookies! There are lots of creative ways to experiment with these easy holiday cookie bars!
- Use canned frosting: Even though the homemade buttercream is so delicious, if you're needing to save time, you can totally use premade frosting! I find it helpful to microwave canned frosting for 15-20 seconds to help it spread smoothly (just make sure every piece of the foil seal is off the lid before microwaving!)
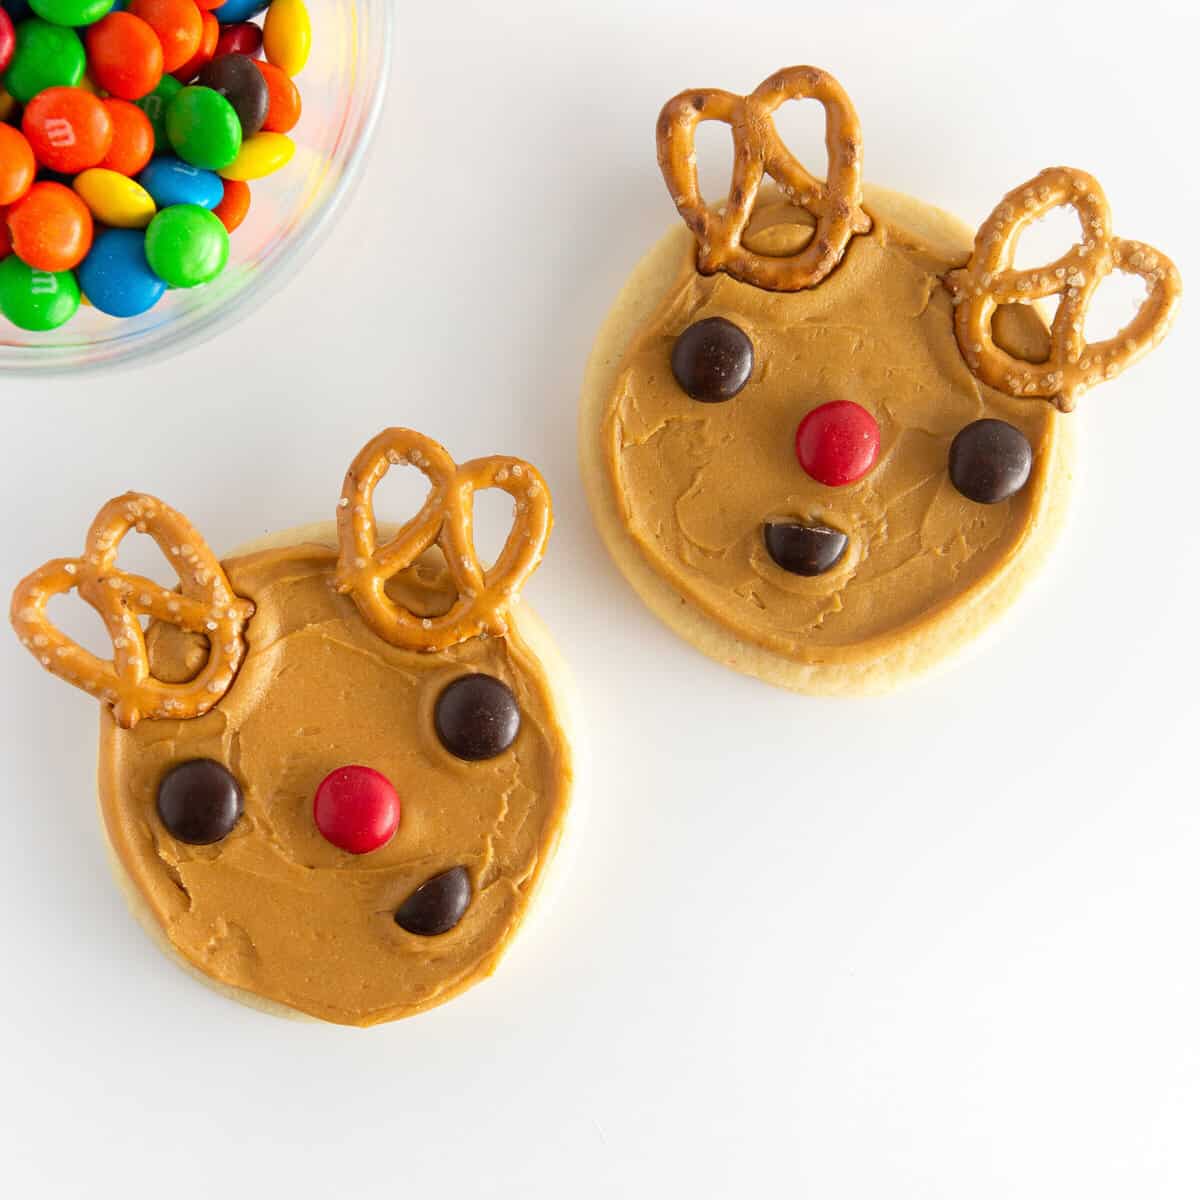
Looking for more fun Christmas tree cookie decorating ideas? Check out my roundup of 5 easy Christmas tree cookie decorating ideas or my series of twelve simple Christmas cookies using a circle cookie cutter!
Frequently Asked Questions:
These bars do not need to be refrigerated but are so delicious chilled! Store in an airtight container for 3-4 days (they last longer but will start to dry out). See the next question for freezing instructions.
These sugar cookie bars freeze really well and are actually so good straight from the freezer! To avoid smearing the icing, freeze the frosted bars in a single layer for 1-2 hours. Once frozen, you can stack them in between pieces of parchment paper and place in an airtight container. When ready to thaw, be sure to unstack them before thawing so that the frosting doesn't smear.
The tricks are to (a) make sure the frosting is chilled & firm, (b) make sure you use a parchment sling (see photo below) so that you can easily lift the bars out of the pan for cutting, and (c) wipe your knife off between cuts. The parchment sling will allow you to lift the bars out and use a large knife and cut across without the pan getting in the way. Wiping the knife off on a warm, wet cloth in between each cut (or whenever the frosting is sticking to the knife) will prevent smearing and crumbs.
You can also use the parchment sling overhang to help press down the edges to avoid crispy pieces.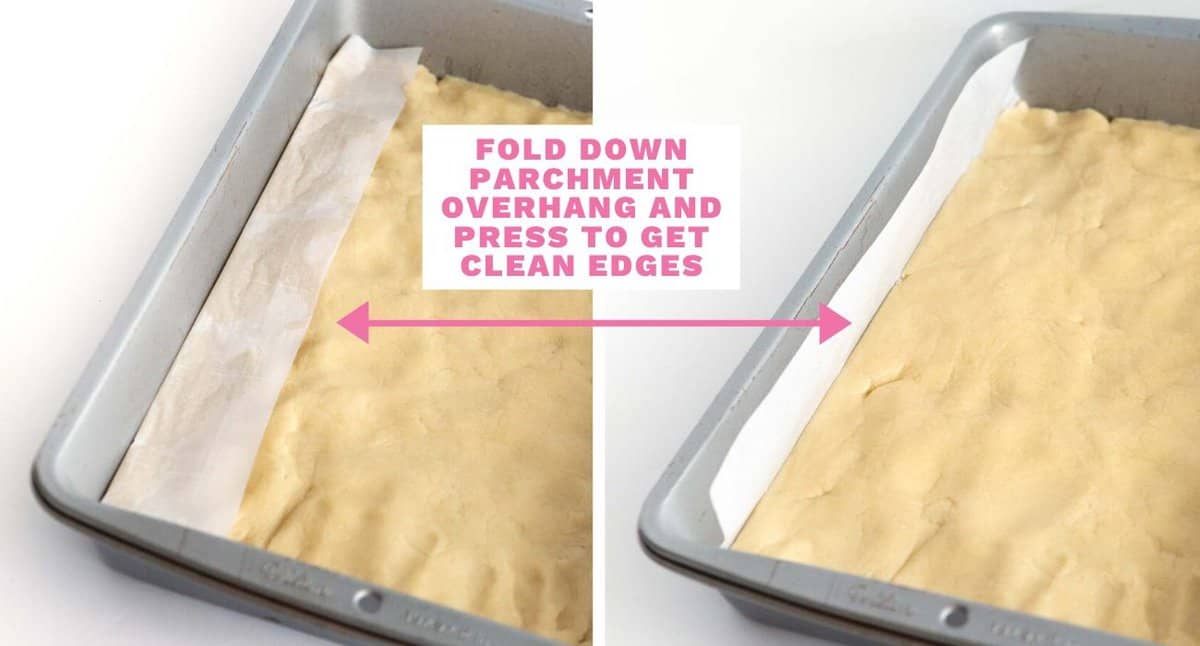
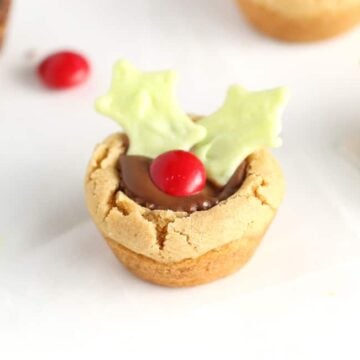
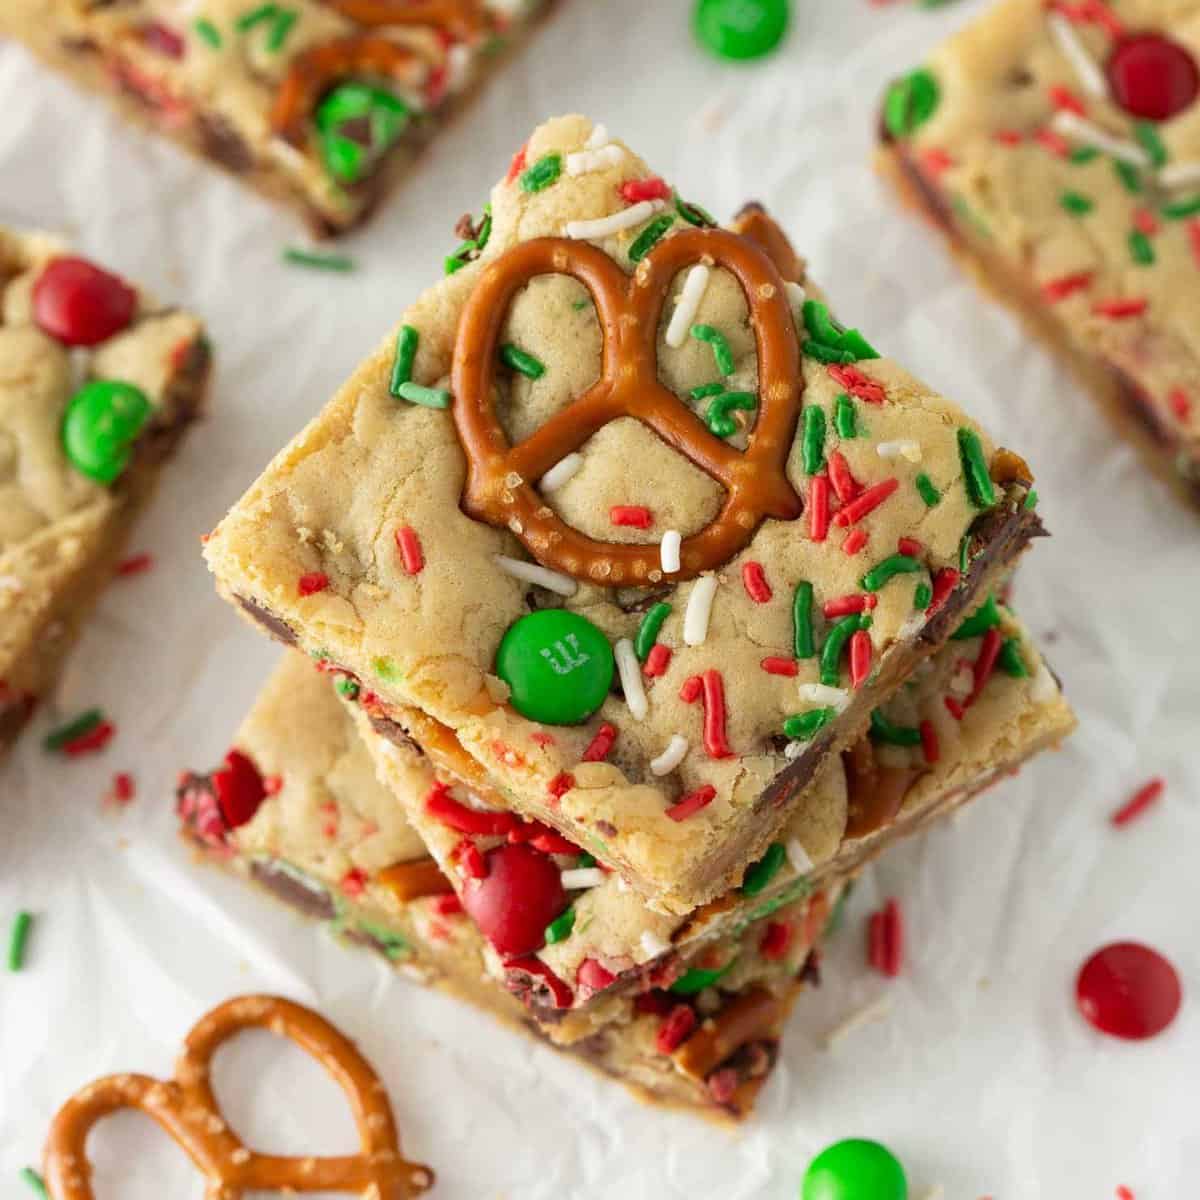
Looking for more easy Christmas cookies to make this year? Check out some of my other recipes linked below!
Did you make this recipe? If so, will you do me a huge favor and leave a review and rating letting me know how you liked this recipe? This helps my small business thrive so I can continue providing free recipes and high-quality content for you.
Christmas Tree Sugar Cookie Bars
Ingredients
⭐️ Before you begin! If you make this, will you do me a huge favor afterwards and leave a review and rating letting me know how you liked this recipe? This helps my small business thrive so I can continue providing free recipes and high-quality content for you.
Instructions
- Preheat oven to 350°F. If butter hasn't been softened you can place in microwave for 10 seconds to *slightly* soften it.
- In a large bowl, cream together 1 cup unsalted butter (2 sticks) and 1 cup granulated sugar on medium speed for 20-30 seconds. While mixer is still on medium speed, add in 1 large egg, 2 teaspoons vanilla extract, and 1 teaspoon almond extract.
- Once mixed, add in 1 ½ teaspoons baking powder, ½ teaspoon salt, and *2 ¼ cups all-purpose flour; adding flour ½ cup at a time on low speed.*Be sure to measure your flour properly using the spoon & level method, as adding too much can result in dry bars.
- Mix until all flour disappears, typically 20-30 seconds. You do not need to beat/mix this any longer than it takes to mix in the flour. When pinched between your fingers, dough should be similar to a playdoh consistency and not be very sticky. Refer to photo above in post for how dough should look.
- Spray a light-colored metal 9×13 pan with cooking spray, then line pan with parchment paper, leaving a 2 inch overhang on each long side so that you will be able to lift the bars out of the pan (photo reference in FAQ section above).
- Drop the dough into 1-tablespoon sized chunks into the prepared pan. Use your hands or a spatula to press down the dough until it covers the pan.Tip: If the dough is sticky, you can place another piece of parchment paper on top and continue pressing down. To get clean edges, you can fold down the sides of the parchment paper and press like shown in the FAQ section above.
- Bake bars at 350°F for 14-16 minutes. The trick to soft sugar cookie bars is to take them out right when you see the TINIEST amount of brown around the edges. The center may look underdone and this is okay; the bars will continue to bake in the hot pan when cooling.
- Allow to cool completely before frosting (you can put the pan in the fridge on a cooling rack to speed this up).
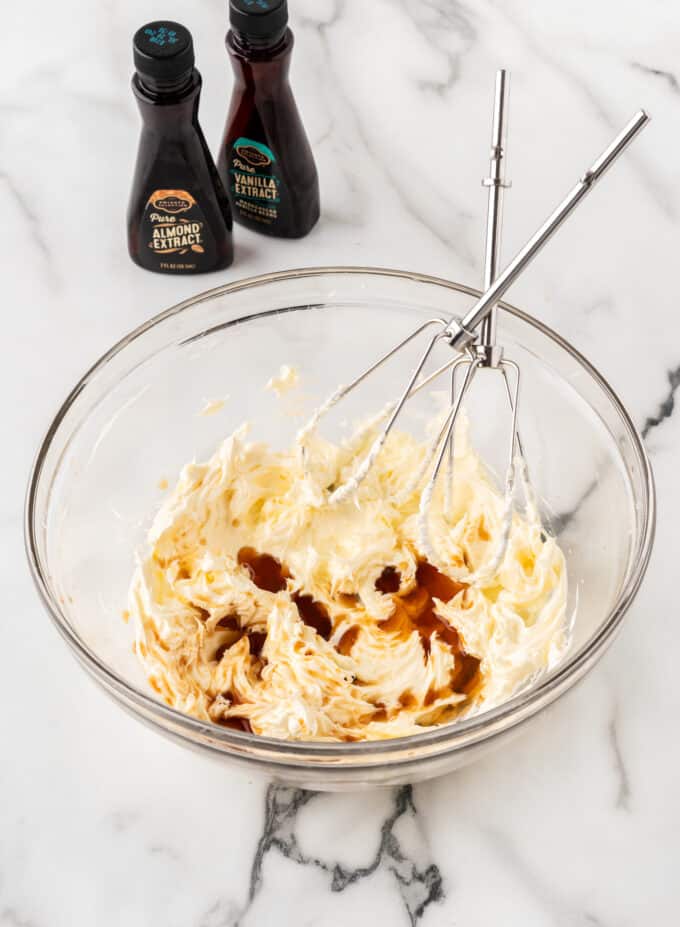
- In a large bowl, beat ½ cup unsalted butter (1 stick) on medium speed using a hand or stand mixer (with paddle attachment) for 1-2 minutes, until light and creamy.
- Keeping the mixer on medium speed, slowly add in 2 teaspoons vanilla extract, ½ teaspoon almond extract, and 2 cups powdered sugar.Once incorporated, turn mixer to high speed and beat for 2 minutes until light and fluffy. Add 1 tablespoon of milk and beat for 30 seconds. Add the remaining 1 tablespoon of milk if frosting seems too thick to spread.
- Add Green food coloring and mix until combined. If you plan to add a little frosting star, reserve about 2 tablespoons of the white frosting so that you can dye it yellow!!
- If using Sprinkles, add them immediately after frosting. If you wait too long, the frosting will set and the sprinkles won't stick.Chill or freeze bars for 30-60 minutes before cutting (this will help prevent the frosting from smearing!).
- Refer to the tips in the post above on how to cut the perfect trees!
- If not eating same day or within 3-4 hours, place in airtight container to stay fresh. These bars can sit out for a few days due to the sugar in the frosting keeping the milk stable. These bars are also amazing chilled or frozen for 1-2 months (any longer and they tend to dry out).

Made these today and they were insanely easy and so so good. I’m also a huge fan on how the instructions are laid out with the measurements as you go so you’re not constantly scrolling up to check.
Thank you so much for taking the time to leave a review, Katie! I really appreciate it!
These cookies were so so good everyone who tried them loved them. I made them for a cookie exchange and they were a huge hit. Such an easy recipe and they come out so good! FOLLOW THE TIPS for them to be perfect because I definitely thought they weren’t baked all the way but I trusted the process and they were perfect! Such an easy recipe and makes so many cookies!
Yay, that's awesome to hear everyone loved this recipe, Gabby! Thank you so much for taking the time to leave a review!
JUST MAKE IT!!! This is the perfect holiday treat. I really appreciate how it wasn’t intimidating to frost all the cookies. Cant wait to add this to the holiday baking list every year! Merry a Christmas ❤️
I'm so glad you enjoyed this recipe so much, Kristina! Thank you so much for taking the time to leave a review! :)
Very easy and festive for the holidays!
Delicious!!! Easy to follow and look/taste incredible. The parchment paper is key!! I didn’t have any and it was difficult to remove them from the tray to cut. Still came out great though 🙂
I'm so glad you enjoyed this recipe, Kristen! Thank you so much for leaving a review!
This was so good and easy!! I made it dairy and gluten free and they turned out amazing!! My kids love them!!
Excellent recipe, however can Philsbury sugar cookie roll be used for this recipe
Pillsbury premade dough would probably work but I haven't tried it so I can't speak to if they'll hold up well when cut! You'd likely want two of the rolls for thicker bars.
I made these tonight and they are INCREDIBLE. The frosting is verrrry sweet so they don’t need a thick layer, but the cookie dough turned out so beautifully — soft, firm, so delicious. Would be great without the frosting as a breakfast cookie, haha. Simple but effective and full of holiday cheer!
I'm so glad you enjoyed this recipe, Caitlin! Thank you so much for taking the time to leave a review, I really appreciate it!
Tasty and fun little treat! We ended up decorating them with little festive shaped candies. I didn’t love how much of the bar was wasted cutting triangles so we left half of it as squares. Easy recipe to follow, and comes together quickly. Frosting is a little sweet, and a touch too vanilla-y for my taste but otherwise - what a fun recipe!
Very festive and easy to make!
I made these and they turned out perfect! They look great and taste amazing - the almond extract is a must in my opinion. I'm just a casual baker and don't want recipes that are too intense, this is exactly what people like me need! Thank you!!
I'm so glad you enjoyed this recipe, Shelby! Thank you so much for leaving a review!
These were so easy and amazing!!!
Absolutely brilliant recipe! Easy to follow and amazing results! I will definitely be making these again:)
I'm so glad you enjoyed this recipe! Thank you so much for taking the time to leave a review!
SUPER SUPER YUMMY DOUGH
Although when making the dough is super super sticky and I couldn’t get it to flatten down perfectly into the pan so my cookies were a little lumpy
Hi Kaylee! The dough shouldn't be super sticky but you can add 1-2 tablespoons more flour if this happens again. Or you chill the dough for about 20 minutes before pressing into the pan, or spray your hands with cooking oil to help press it down. Hopefully that helps for next time!
This recipe is amazing!! I sent some with my husband to work and the same day got asked to make more! Everyone loves them.
That's awesome to hear everyone loved this recipe, Amanda! Thank you so much for taking the time to leave a review!
I loved these cookies! They taste so amazing and they’re so easy to make. They are so soft and sweet. Great recipe.