

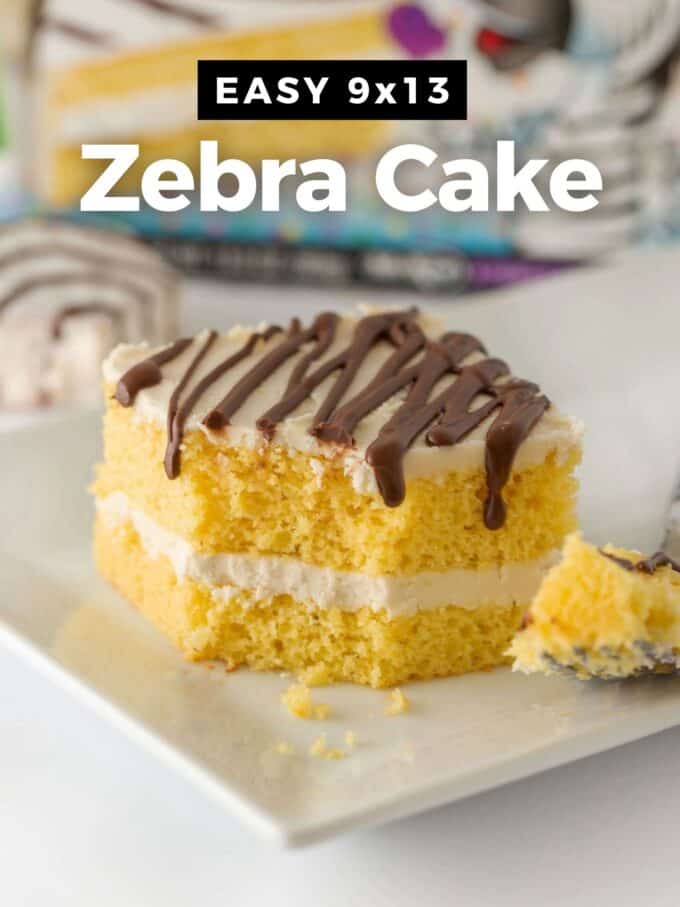
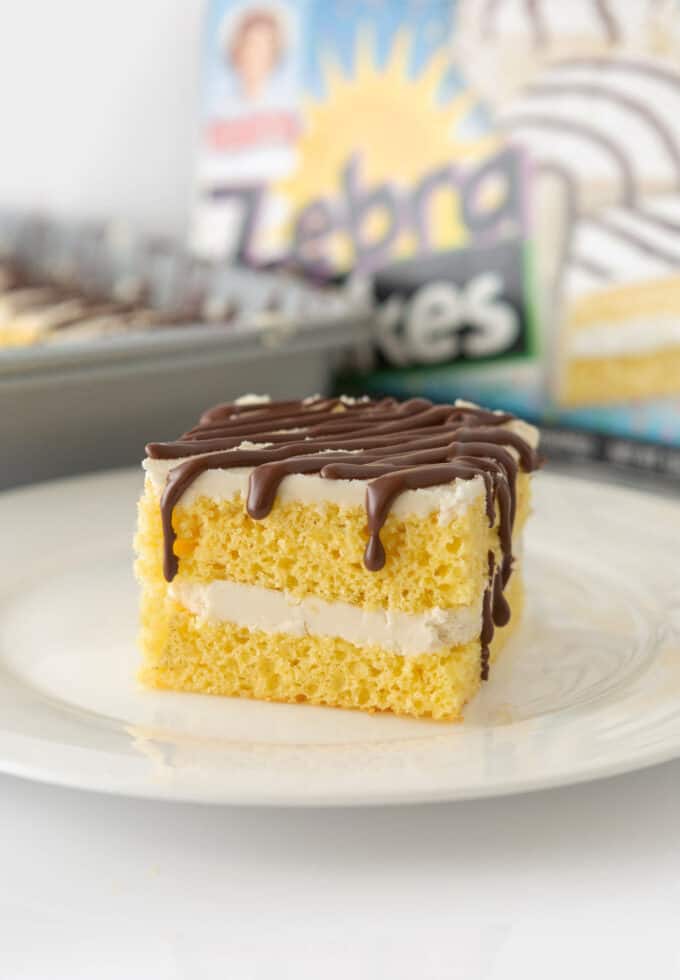
This 9x13 Zebra Cake recipe is an easier version of my individual Little Debbie Zebra Cakes! Fluffy vanilla buttercream is sandwiched between two layers of moist cake, then the top is frosted and drizzled with rich chocolate stripes.
Why I Love This 9x13 Zebra Cake
- Much easier than the individual cakes! These are for all of you who want to make my Homemade Zebra Cakes, but with a lot less time & effort. The individual cakes require cutting & dipping, which can be a bit of a project, but not this 9x13 zebra cake!
- Super moist cake: The cake is made with a standard yellow boxed cake mix but uses butter and milk instead of oil giving it a moister crumb and richer flavor.
- Delicious, fluffy buttercream filling: It's definitely an upgrade on the store-bought version because it's real buttercream. It's so good and totally worth the 10 minutes it takes to whip up.
- You can make it into a Zebra Cake birthday cake: It's the perfect size for a safari or zoo-themed birthday party!
Love Little Debbie remakes? Be sure to try my Homemade Cosmic Brownies, 5-Ingredient Star Crunch Bars, and Homemade Oatmeal Creme Pies too!
Tips & Ingredient Notes
The full list of zebra cake ingredients are in the recipe card at the bottom of the post.
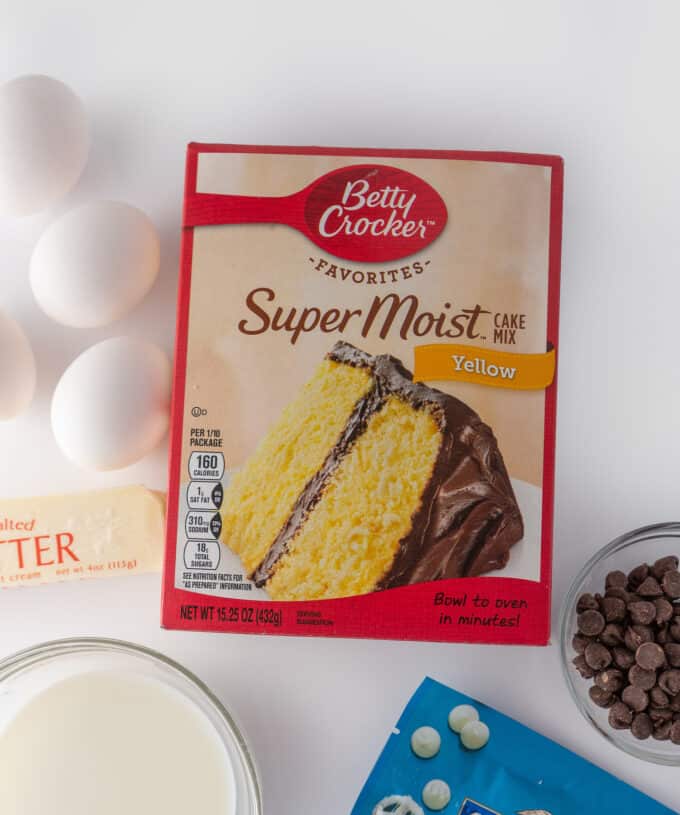
- Yellow cake mix - My favorite is Betty Crocker Super Moist Yellow Cake Mix. It has a sweet & iconic zebra cake taste. Pillsbury is my second choice for this, with Duncan Hines ranking in last place (it's not as sweet & a bit flour-y tasting).
- Butter - instead of oil, we're using butter to give this a more dense & moist texture. Be sure to use real butter, not margarine for the best texture and flavor.
- Milk - to make the cake denser than the traditional box, we're using milk to add a little more fat to the cake.
- Eggs - we're using 3 eggs + 1 extra egg yolk to give the cake more fat and a denser, bakery-style texture.
- Powdered sugar - this is for the fluffy buttercream; no substitutions can be made here.
- Vanilla extract - any brand works but if you want your icing to be pure white, use clear vanilla extract.
- Salt - helps to naturally tone down the sweetness of the buttercream.
- Chocolate chips & shortening - for the stripes! The shortening helps thin the chocolate so it's easier to drizzle.
Make it gluten-free! Use your favorite gluten-free cake mix to make this gluten-free! Depending on the texture of the cake & how crumbly it is, you may want to cut the frosting recipe in half and only frost the top (as slicing it may be too fragile). Or make two cakes and stack.
How to Make Zebra Cake (9x13):
This is just an overview showing step-by-step photos, click here to jump down to full recipe card with exact instructions.
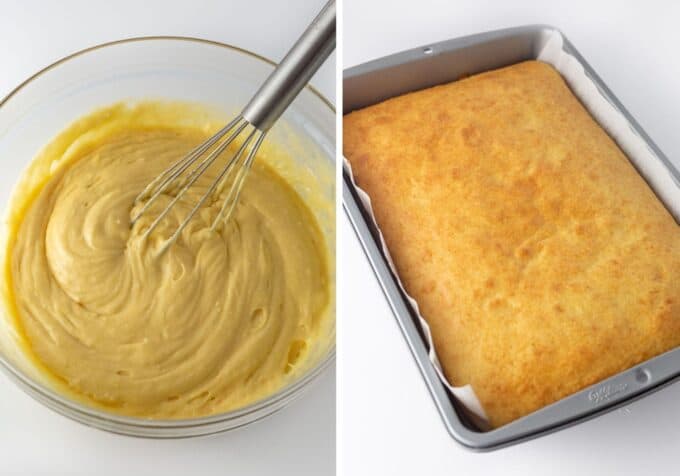
Step 1: Make Cake
To a large bowl, add the dry yellow cake mix, add ½ cup of melted unsalted butter, ¾ cup of milk, 1 teaspoon of vanilla extract, 3 large eggs, and 1 extra egg yolk.
Pour the cake batter into a greased and parchment-lined 9×13 light-colored metal baking pan. Use a spatula to smooth the top. Bake the cake in a 350ºF oven for 20 to 22 minutes, or until a toothpick comes out clean.
Tip: Before baking, tap the pan on the countertop about 20 times. This will remove any air bubbles from the batter!
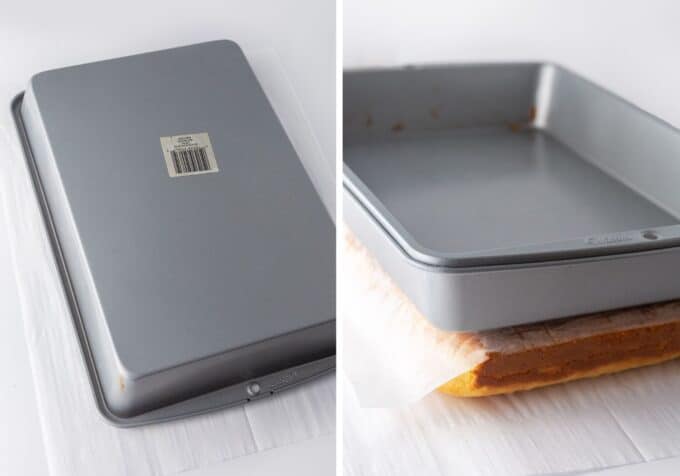
Step 2: Flip, Cool
Let the cake cool for 10 minutes, then carefully flip it onto a wire rack or a piece of parchment paper. If the cake has a bit of a dome after you flip it, press the pan on top to weigh it down as it continues to cool.
Once cooled, place the cake back into the pan and freeze it for 30 to 60 minutes; this helps you get a clean slice down the center for the filling.
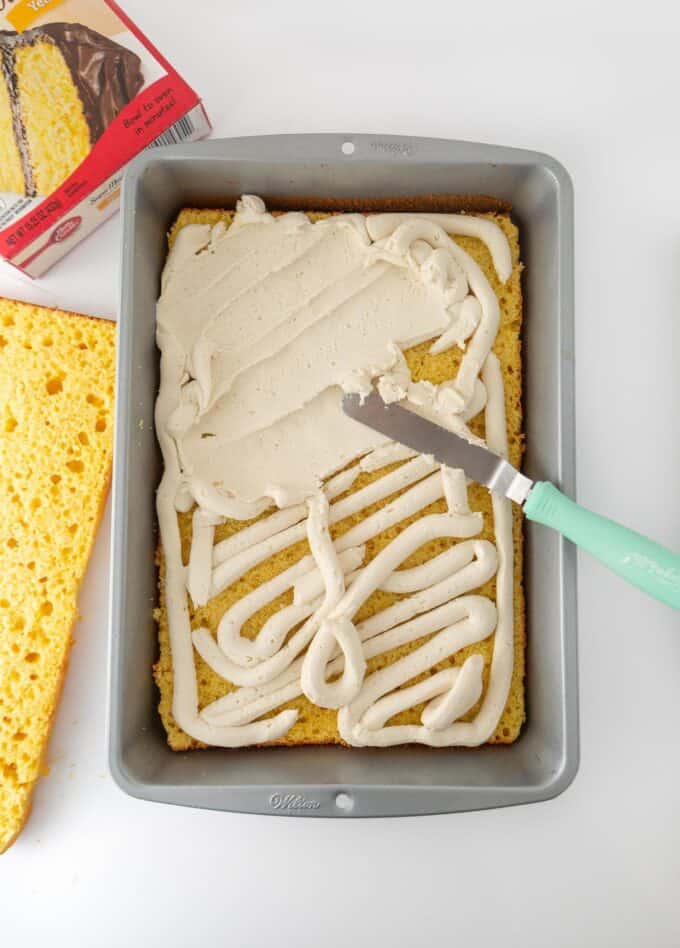
Step 3: Slice & Add Filling
Use a serrated knife and very carefully cut the cake in half lengthwise, so it has two layers. Take your time to make sure the two halves are even.
Add half of the frosting to the bottom half of the cake. I recommend putting it in a piping bag and squiggling it all over the center, then spreading it with an offset spatula. This prevents the cake from forming crumbs as you drag the frosting across the surface (and also helps you evenly disperse it since the frosting may not "stick" to the frozen cake as well).
Tip: If you don't have a piping bag, just scoop the frosting into a plastic zip-top bag and snip off the corner with kitchen shears.
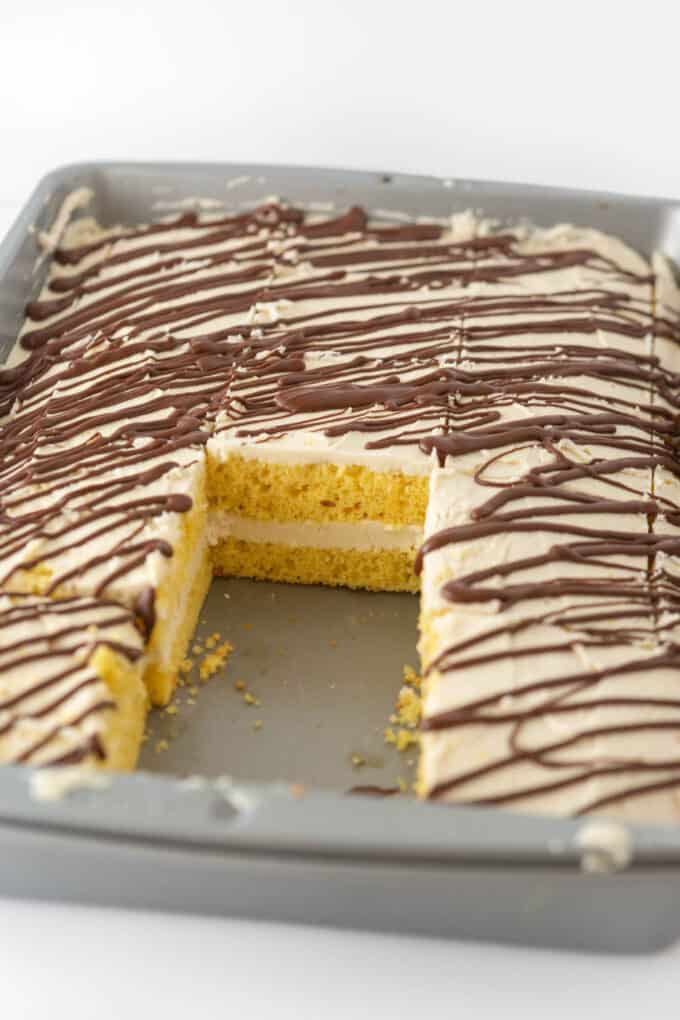
Step 4: Add Frosting & Drizzle
Place the top half of the cake over the layer of filling. Pipe the rest of the frosting over the top, then spread it in an even layer.
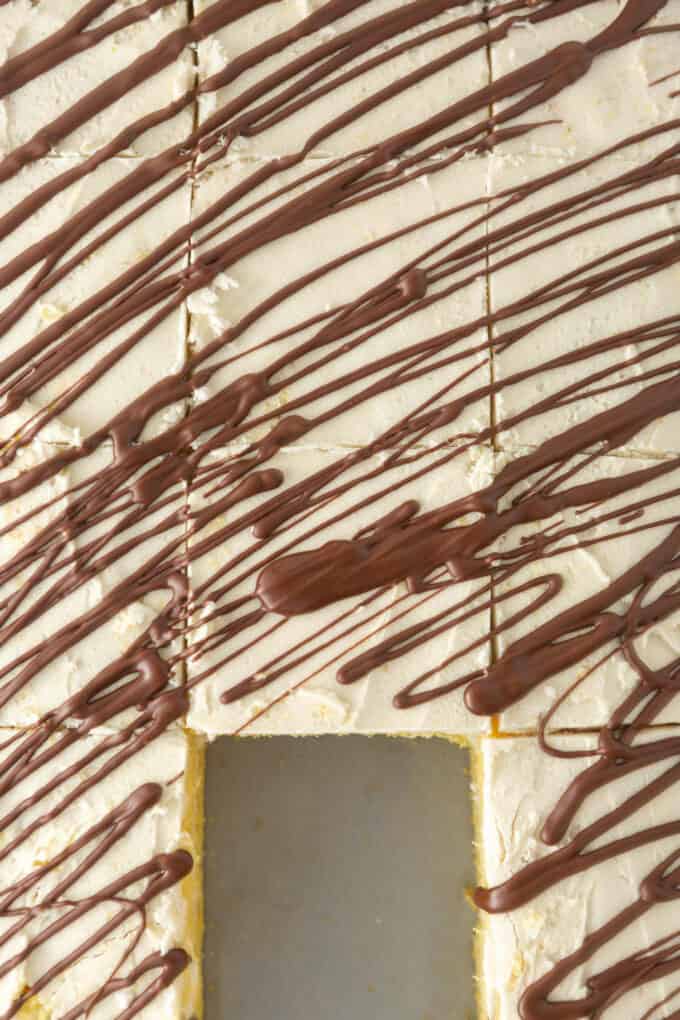
Microwave ¼ cup of chocolate chips with 1 teaspoon of shortening in 30-second increments at 50% powder. Stir after each interval. Once the chocolate chips melt, place the mixture in a piping bag or plastic zip-top bag and cut a small corner off so you can pipe the stripes onto the cake. Allow chocolate to set before cutting.
Cut into squares and serve your homemade Zebra Cakes!
Tip: Don't have shortening on hand? Coconut or vegetable oil will work, too.
Storage & Freezing
Storage: This 9x13 Zebra Cake will keep in the fridge for 3 to 4 days. Cover it tightly, or transfer the individual pieces to an airtight container.
Freezing: Zebra Cake can be frozen for up to 2 months. Wrap it well or freeze it in an airtight container. Thaw it in the refrigerator overnight before serving.
Frequently Asked Questions:
This 9x13 Zebra Cake recipe is already made without oil; it swaps in milk and butter instead.
Absolutely! Simply swap the yellow cake mix with a chocolate cake mix. Follow the rest of the recipe as written.
Little Debbie Zebra Cakes feature two layers of vanilla-flavored yellow cake with a cream filling between them; the cake is coated in white chocolate, then drizzled with regular chocolate. This recipe is similar, but it omits the coating, which makes it much easier to whip up!

9x13 Zebra Cake
Ingredients
⭐️ Before you begin! If you make this, will you do me a huge favor afterwards and leave a review and rating letting me know how you liked this recipe? This helps my small business thrive so I can continue providing free recipes and high-quality content for you.
Instructions
- Be sure to read through the blog post above for important tips & tricks (and step-by-step photos!).
- In a large mixing bowl, stir together boxed 15.25 oz dry yellow cake mix (don't use instructions on back), melted ½ cup unsalted butter, ¾ cup milk, 1 teaspoon vanilla extract, 3 large eggs + 1 egg yolk. Pour in greased and parchment-lined 9x13 light-colored metal baking pan, spread until smooth, then tap pan on counter about 20 times to remove the air bubbles.
- Bake at 350°F for 20-22 minutes or until toothpick comes out clean. Allow cake to cool for 10 minutes, then flip over onto a wire rack or piece of parchment paper. If your cake has a bit of a dome, press the pan on top as "weight" to help it flatten while it continues cooling.
- Once cooled, freeze cake for 30-60 minutes. This will help the cake firm up so that you can cut it into circles without it crumbling.
- Using an electric mixer (if using a Kitchenaid stand mixer, use the whisk attachment), cream ¾ cup unsalted butter and ¼ teaspoon salt on high speed for 2 minutes until soft and creamy.
- Slowly mix in 4 ½ cups powdered sugar, ½ cup at a time, add 1 tablespoon vanilla extract, then beat for 5-8 minutes at medium-high speed. It's important that you beat this for at least 5 minutes for it to be fluffy & creamy. If your frosting is thick, you can add additional 3-4 teaspoons milk (as needed) until desired consistency.
- Put frosting in a piping bag with large round tip or ziploc bag with the large corner cut off, then set aside for next step.
- Remove cake from the freezer then immediately cut it lengthwise into two layers with a serrated knife.
- On the bottom half, pipe half of the frosting and spread. Place the other half of the cake on top and gently press down.
- Pipe the rest of the frosting on top of the cake, then use a spatula to spread it into an even layer.
- Finish it off by melting ¼ cup milk or semi-sweet chocolate chips and 1 teaspoon shortening (optional) in the microwave at 50% power in 30-second increments, then put it in a ziploc bag with a tiny corner cut off to pipe on "zebra" stripes on top.
So Yummy!! The cake reminded me of the zebra cake for sure!! We like the filling so plan to double that and I even took some melted white chocolate and covered the top to get that coating like the snack cakes have. I WILL be making this again!
I'm so glad you liked the zebra cake recipe, Jackie! Thanks for taking time to leave a review!
This zebra cake is AMAZING! My husband isn't a sweets guy but likes zebra cakes. He loved it so much and keeps asking me to make this for him!
So happy to hear you enjoyed this recipe, Lillian! Thank you so much for leaving a review!
My husband doesn't eat very many sweets but loves zebra cakes. I made this and he keeps asking me to make it and im currentlymaking it! He loves it better! Thank you for sharing this recipe!
Yay, what a compliment! I'm so glad to hear y'all love this recipe so much! Thank you for leaving a review, Lillian! I really appreciate it!