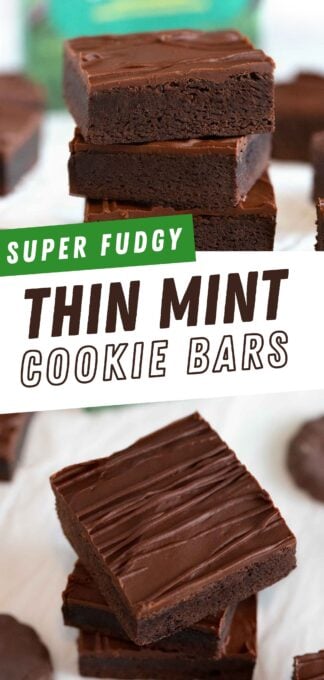
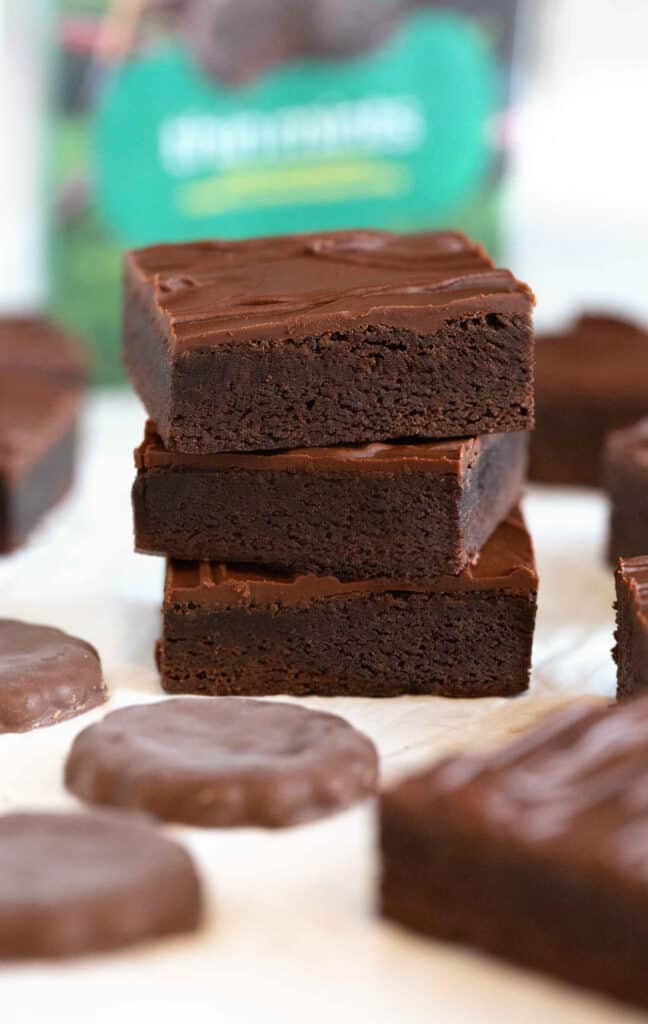
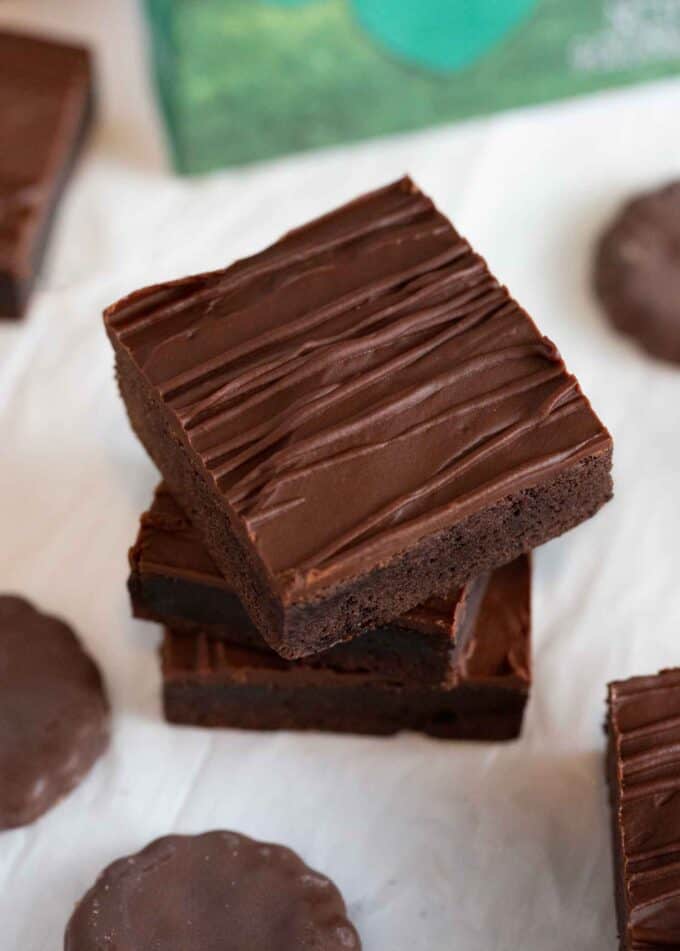
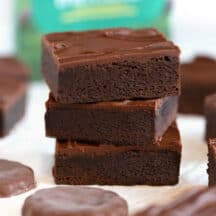
These thick, fudgy, brownie-like cookie bars are topped with a chocolate mint coating that is inspired by Girl Scout thin mint cookies! Chocolate + cookies + brownies + peppermint extract = a thin mint lover dream.
Save this Recipe!
Enter your email and I'll send this recipe to you.
Why I Love These Chocolate Mint Squares
- Fudgy & brownie-like: I honestly couldn't decide whether I should call these cookies or brownies because they are truly a hybrid of both. They use an adapted version of my fudgy cosmic brownie cookie recipe but made thicker for a 9x13 pan of mint chocolate cookie bars!
- Not too minty: A little peppermint extract goes a long way and just ¼ teaspoon in the coating is enough to give these enough thin mint flavor!
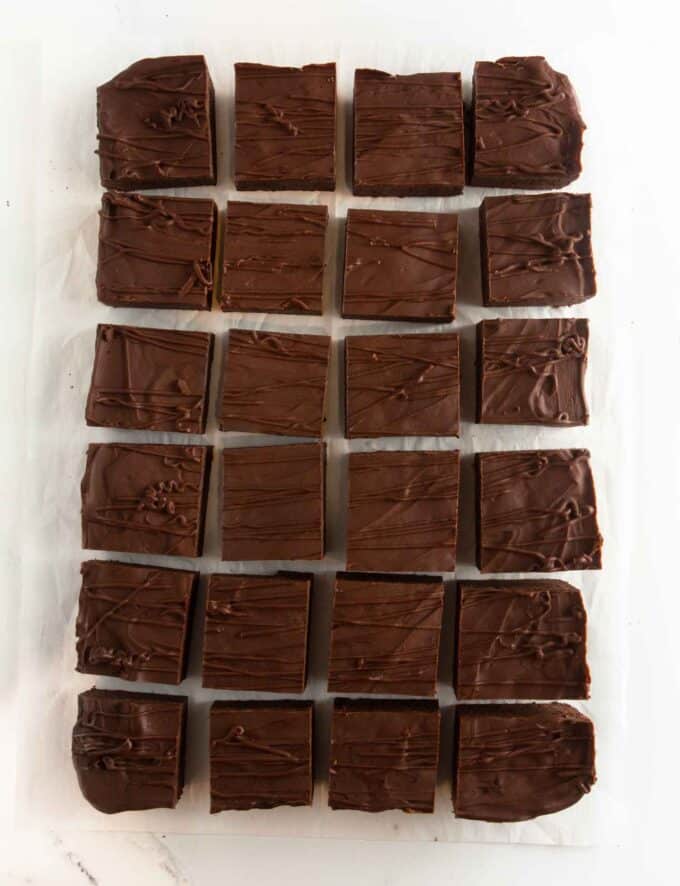
- Perfect for a crowd: I just love a good pan of 9x13 cookie bars because you can cut them into 12 large squares, 24 smaller squares (which I did for these!), or even cut each of those squares in half for 48 cookie sticks!
Looking for more inspired Girl Scout cookie recipes? I love these Ritz cracker thin mints or even my giant thin mint cookie cake!

Ingredient Notes
This is just an overview, jump down to the full recipe card for the recipe amounts and condensed recipe instructions.
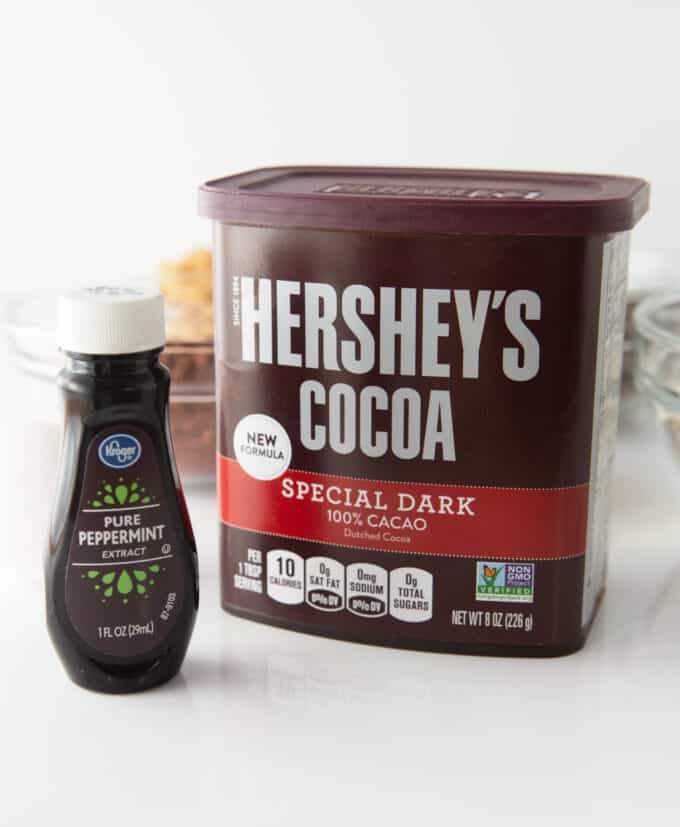
- Cocoa Powder: I use and recommend Hershey’s Special Dark Cocoa powder to give them a moist, rich flavor. You can substitute for regular unsweetened cocoa powder, just note that your cookies will have a puffier texture and won’t have the iconic brownie taste.
- Light corn syrup: We’re using a small amount of corn syrup to create a chewy, dense, fudgy cookie. Omitting it will not result in the ideal texture, so I highly recommend using it (ps. light corn syrup is not the same as high fructose corn syrup!). You can find this in the baking aisle (Karo or generic brand works). If you can’t find it where you live or don't want to use it, you can use thick honey to achieve a similar texture.
- Chocolate chips: I use semi-sweet chocolate chips but if you want a more subtle chocolate flavor, you can use milk chocolate chips fror the coating.
- Peppermint extract: I don't have a strong opinion on brands. I don't personally like using spearmint extract on these chocolate mint bars, as I think it tastes too much like toothpaste.
Make it gluten-free! Use your favorite gluten-free flour to make these GF! My favorite brand is Bob’s Red Mill Gluten Free 1-to-1 Baking Flour and many who have made the cosmic brownie cookies have used it with success!
How to Make Thin Mint Bars:
This is just an overview showing step-by-step photos, jump down to full recipe card with exact instructions.
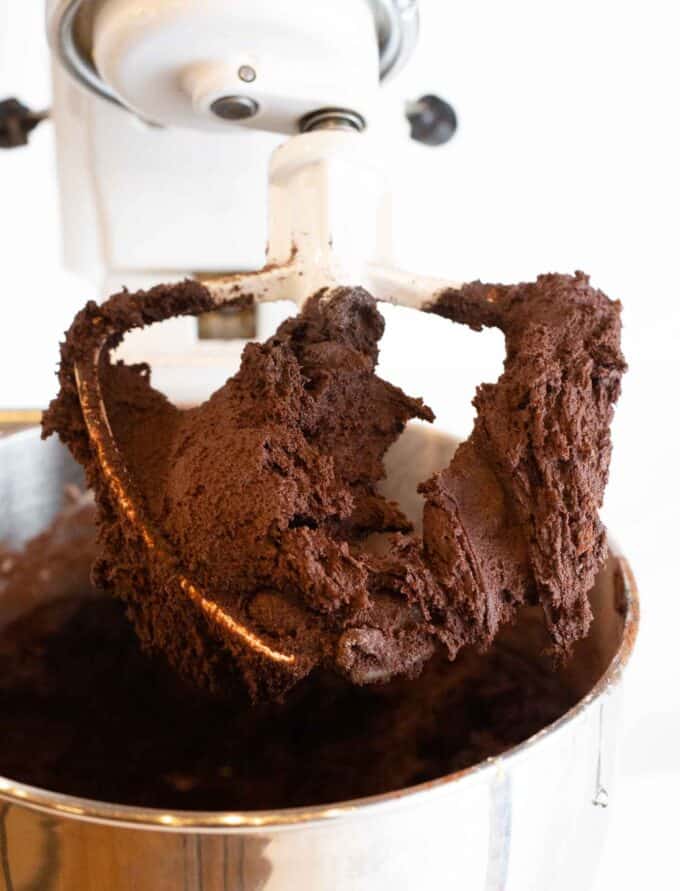
Step 1: Make Dough
In a large bowl, use an electric mixer to mix together cookie dough. The dough will be a bit thick and sticky, as shown below.
- Preheat oven to 350°F.
- In a large bowl, use an electric mixer on medium-high speed to cream softened unsalted butter (¾ cup, 1 ½ sticks), light brown sugar (¾ cup), and granulated sugar (¾ cup) for 2 minutes until light and fluffy.
- Add the eggs (2 large), vanilla extract (2 teaspoons), and light corn syrup (3 tablespoons) and mix on low speed until combined. Scrape down the sides of the bowl so everything can combine.
- Add in baking powder (1 teaspoon) and salt (½ teaspoon) and mix for another 5-10 seconds until combined.
- Lastly, add dark cocoa powder (¾ cup) and all-purpose flour (2 ¼ cups) and mix on medium until combined.
Tip: Using softened butter is important here! If your butter is straight from the fridge, microwave for 10 seconds to slightly soften.
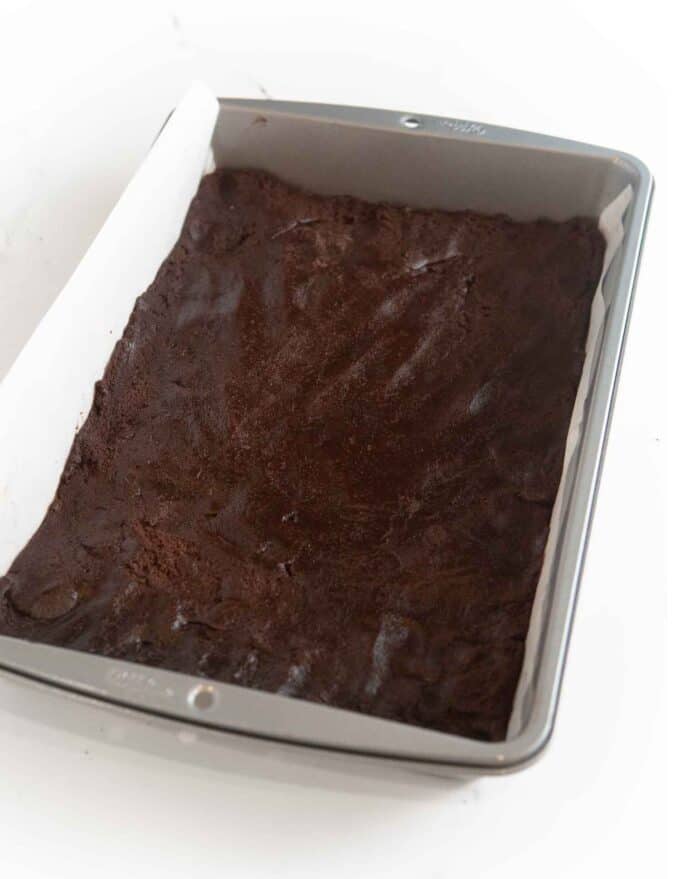
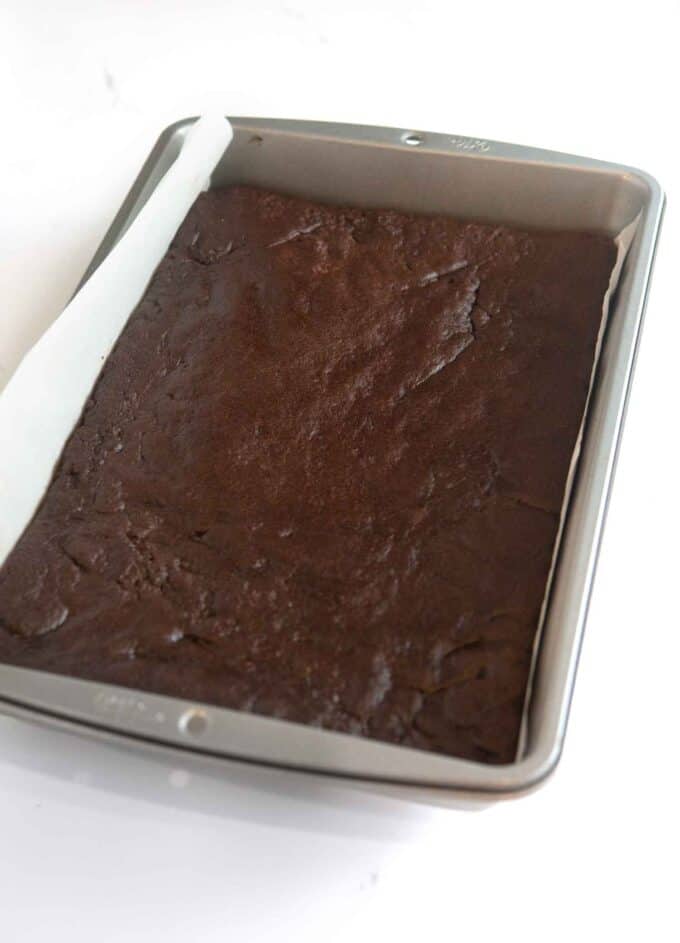
Step 2: Press Into Pan & Bake
Spray a light-colored metal 9×13 pan with cooking spray, then line the pan with parchment paper, leaving a 2-inch overhang on each long side so that you will be able to lift the bars out of the pan.
Drop the dough into 1-tablespoon-sized chunks into the prepared pan and spread until smooth on top. Bake bars at 350°F for 18-22 minutes, or until the center no longer looks wet. The center may look a tiny bit underdone but the bars will continue to bake in the hot pan when cooling. Allow to fully cool before decorating.
Tip: This dough is a little sticky, so to help spread, I recommend spraying your hands with cookie spray or placing another piece of parchment paper on top and continuing to press down.
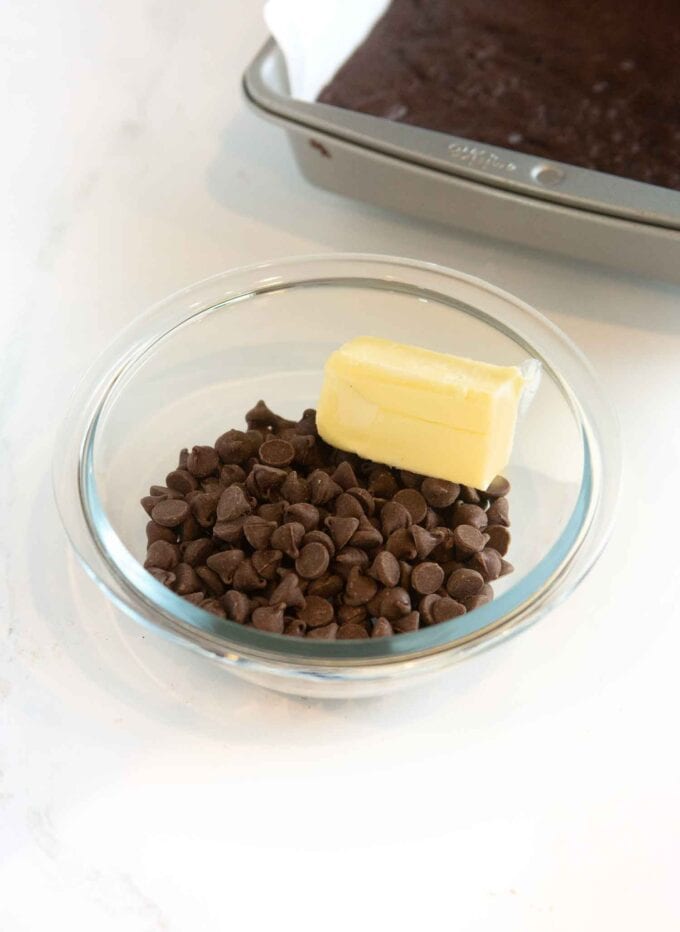
Step 3: Microwave Coating
Add chocolate chips (1 cup) and unsalted butter (¼ cup, i.e. ½ stick) to a small to medium-sized microwave-safe bowl. Heat on 50% power for 30-second increments until fully melted, stirring in between (even if nothing is melted the first few rounds, still stir it!). Microwaving on 50% power is important to melt the chocolate slowly to prevent the chocolate from seizing or burning.
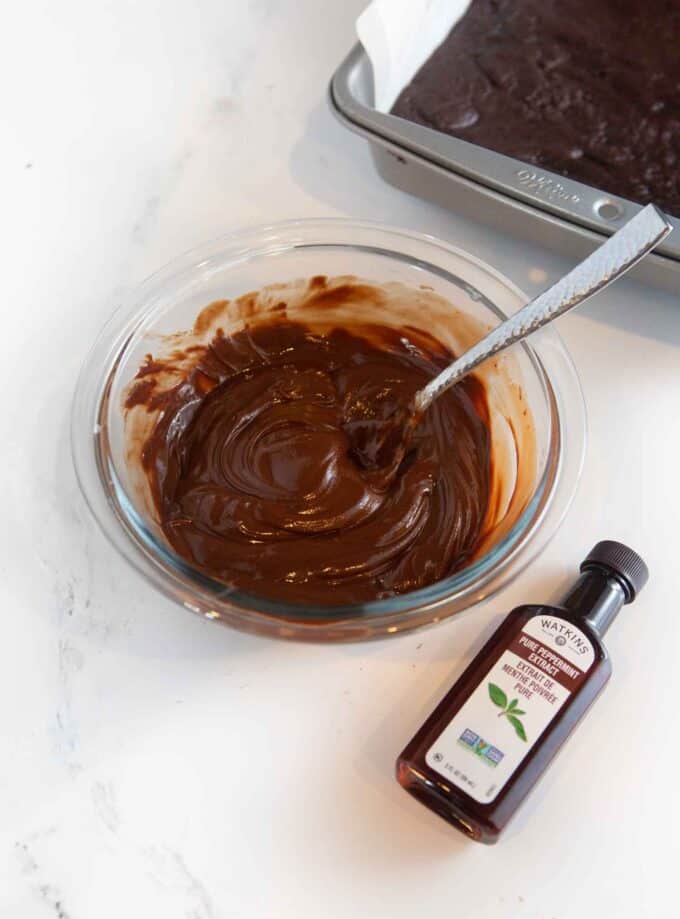
Once melted, add in the ¼ teaspoon peppermint extract and stir. Before spreading, set aside about 2 tablespoons of chocolate for the drizzle.
Tip: Note that this coating isn't as liquidy as a ganache; it's a little firmer so that it hardens up well. That said, if your mixture looks too thick to spread, you can add 1 tablespoon of melted butter to help thin.
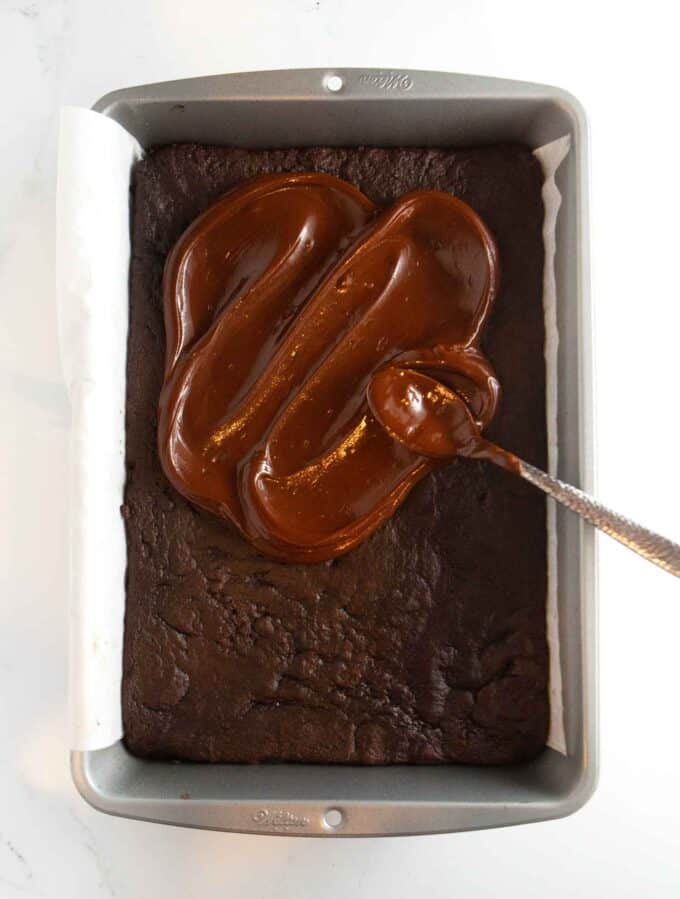
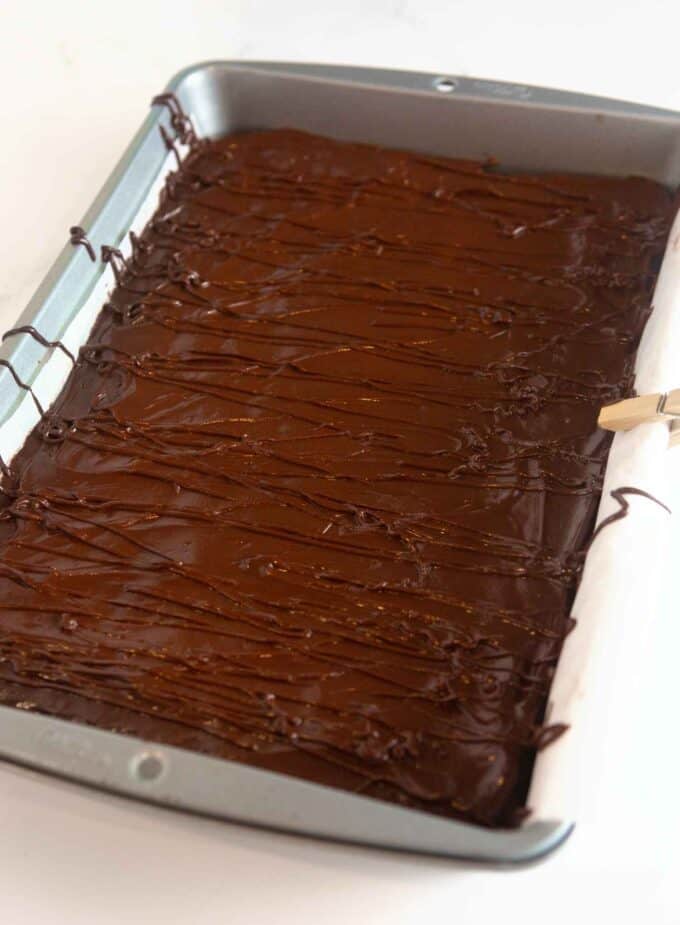
Step 4: Decorate & Drizzle
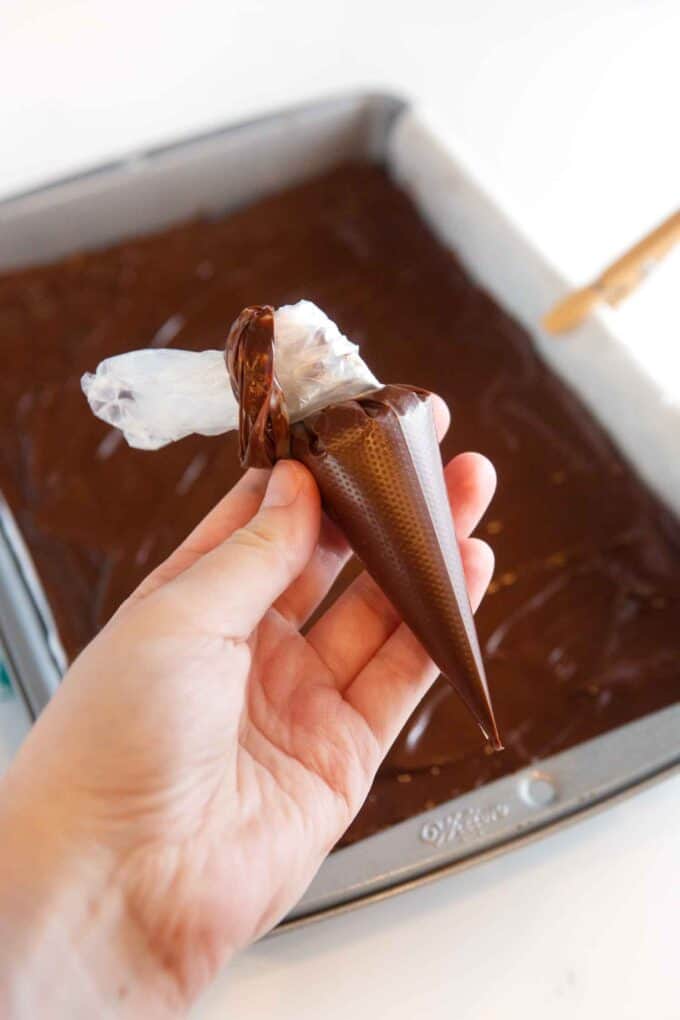
Spread melted chocolate over the cooled cookie bars until the top and sides are covered. Place the 2 tablespoons of reserved chocolate in a piping bag or ziploc bag with a tiny corner cut off, then drizzle over top for added presentation.
Step 5: Decorate & Cut
Allow chocolate to harden before cutting; it's best to refrigerate or freeze for 30 minutes to help set.
Tip: To get clean slices, fill a tall cup with hot water. In between cuts, dip the knife into the water and use a paper towel to dry it off. When cutting, don't "saw" the bars but rather press straight down and gently lift the knife.
Tips & Variations
- Add chocolate chips! You could totally add chocolate chips, mini chocolate chips, or Andes mint chips to the dough to transform them into mint chocolate chip brownies. I'd recommend no more than ¾ cup of mix-ins.
- Top them! Use green sprinkles or crushed thin mint cookies (or the Keebler copycats) to jazz them up for a St. Patrick's Day dessert!
- Cut them in small squares or sticks! While you can cut these into 12 large squares, I think the smaller 24-square size is perfect for these. Or if you want to serve up bite-sized pieces, cutting each of those squares into 2 "sticks" will get you 48 scrumptious bites!
- Leave out the mint! If you make these & love them, you can also make them without the mint for a regular version!
Frequently Asked Questions:
When I was first creating this base dough for the fudgy cosmic brownie cookies, I found that you just can’t achieve the dense, fudgy texture without a tiny bit of corn syrup. In addition, the corn syrup adds sweetness to the cookie without adding more granulated sugar which can give it a gritty texture. I promise it’s worth it!
If you don’t want to use it or can’t find it where you live, you can use thick honey or light molasses to achieve a similar texture (it won’t be exact). Or you can use 1 tablespoon of milk but keep note that the cookies will likely end up puffier and won’t have the same chewy, dense, fudgy texture.
You can, just keep in mind that you won’t have as moist, rich, and fudgy of a cookie bar (I find that the dark cocoa powder really does make a difference in moistness!). Regular unsweetened cocoa powder is more acidic and will react with the baking soda, creating a puffier cookie.
Aside from chilling them to help the coating harden, you don't need to refrigerate them and you can simply store them in an airtight container. That said, I do find that refrigerating them does give an even more chewy, fudgy, thin mint brownie texture.
Did you make this recipe? If so, will you do me a huge favor and leave a review and rating letting me know how you liked this recipe? This helps my small business thrive so I can continue providing free recipes and high-quality content for you.
Easy Thin Mint Cookie Bars
Ingredients
- ¾ cup unsalted butter (i.e. 1 ½ sticks) softened
- ¾ cup light brown sugar
- ¾ cup granulated sugar
- 2 large eggs
- 2 teaspoons vanilla extract
- 3 tablespoons light corn syrup Fun fact: this is not the same thing as high fructose corn syrup!
- 1 teaspoon baking powder not baking soda!
- ½ teaspoon salt
- ¾ cup dark cocoa powder I use & recommend Hershey's Special Dark for an affordable option
- 2 ¼ cup all-purpose flour
Toppings:
- 1 cup semi-sweet chocolate chips
- ¼ cup unsalted butter (i.e. ½ stick)
- ¼ teaspoon peppermint extract
Before you begin! If you make this, will you do me a huge favor and leave a review and rating letting me know how you liked this recipe? This helps my small business thrive so I can continue providing free recipes and high-quality content for you.
Instructions
- Preheat oven to 350°F.
- Tip before starting! I will note that this is a thicker dough that is easiest to make with a stand mixer. If you only have a handheld mixer, you may just need to use a spatula to help mix the flour in.
- In a large bowl, use an electric mixer on medium-high speed to cream softened unsalted butter (¾ cup, 1 ½ sticks), light brown sugar (¾ cup), and granulated sugar (¾ cup) for 2 minutes until light and fluffy.
- Add the eggs (2 large), vanilla extract (2 teaspoons), and light corn syrup (3 tablespoons) and mix on low speed until combined. Scrape down the sides of the bowl so everything can combine.
- Add in baking powder (1 teaspoon) and salt (½ teaspoon) and mix for another 5-10 seconds until combined.
- Lastly, add dark cocoa powder (¾ cup) and all-purpose flour (2 ¼ cups) and mix on medium until combined.
- Spray a light-colored metal 9×13 pan with cooking spray, then line pan with parchment paper, leaving a 2 inch overhang on each long side so that you will be able to lift the bars out of the pan.
- Drop the dough into 1-tablespoon sized chunks into the prepared pan and spread until smooth on top.Tip: This dough is a little sticky, so to help spread, I recommend spraying your hands with cookie spray or use place another piece of parchment paper on top and continue pressing down.
- Bake bars at 350°F for 18-22 minutes, or until the center no longer looks wet. The center may look a tiny bit underdone but the bars will continue to bake in the hot pan when cooling.Allow to fully cool before decorating.
To Make Chocolate Coating:
- Add chocolate chips (1 cup) and unsalted butter (¼ cup, i.e. ½ stick) to a small to medium-sized microwafe-safe bowl. Heat on 50% power for 30 second increments until full melted, stirring in between (even if nothing is melted the first few rounds, still stir it!). Microwaving on 50% power is important to melt the chocolate slowly to prevent from the chocolate seizing or burning.
- Once melted, add in the ¼ teaspoon peppermint extract and stir. Before spreading, set aside about 2 tablespoons of chocolate for the drizzle.Note that this coating isn't as liquidy as a ganache, it's a little firmer so that it hardens up well. That said, if your mixture looks too thick to spread, you can add 1 tablespoon of melted butter to help thin.
- Spread melted chocolate over cooled cookie bars until tops and sides are covered. Spoon the 2 tablespoons of reserved chocolate in a piping bag or ziploc bag with a tiny corner cut off, then drizzle over top for added presentation.
- Allow chocolate to harden before cutting; it's best to refrigerate or freeze for 30 minutes to help set. To get clean slices, fill a tall cup with hot water. In between cuts, dip the knife into the water and use a paper towel to dry it off. When cutting, don't "saw" the bars but rather press straight down and gently lift the knife.
Last Step! Please leave a review and rating letting me know how you liked this recipe! This helps my small business thrive so I can continue providing free recipes and high-quality content for you.
Notes
- Cocoa Powder: I use and recommend Hershey’s Special Dark Cocoa powder to give them a moist, rich flavor. You can substitute for regular unsweetened cocoa powder, just note that your cookies will have a puffier texture and won’t have the iconic brownie taste.
Claire says
I loved this recipe so much!!! It was so good and it reminded me of when I was a little girl handing out girl scouts cookies.
Melissa says
Thank you so much for taking the time to leave a review, Claire! I can relate to those girl scout cookie selling days! :)
Vicki says
I made the thin mint cookie bars and they were addictive and so delicious!
Thank you for a great and easy recipe!
Melissa says
Thank you so much for taking the time to leave a review, Vicki! I really appreciate it!
Anna Shearer says
Great for around Girl Scout cookie season! Very yummy and quick to make .
Melissa says
Thank you so much for leaving a review, Anna!
Christine says
Made these today for the March Baking Challenge. So good! And easy to make!
Melissa says
Thank you so much for leaving a review, Christine!
Carisa Falzone says
Love these minty little gems! Served them for St Patty’s Day dessert. They were a big hit!
Melissa says
Thank you so much for leaving a review, Carisa! So happy to hear everyone enjoyed this recipe!
Stephanie K says
These are so delicious and super easy to whip up. Everyone gobbled them up and have been asking for more!
Melissa says
So glad to hear everyone loved the cookie bars! Thank you so much for leaving a review, Stephanie!
Kathryn says
Super simple and delicious. The amount of mint was perfect—I was a little weary about using mint as I didn’t want it to be overpowering, but it adds just the perfect amount!
Melissa says
So happy you loved this recipe, Kathryn! Thank you so much for leaving a review!
Lisa A says
So easy and so good! We made these for a St. Patrick's Day party for the Grandkids a huge hit. I gave so many people your website!
Melissa says
Yay, so great to hear this recipe was a hit for your party! And I appreciate you spreading the word :) Thank you so much for leaving a review, Lisa!
Rebekah Everson says
I made these for the #marchbakingchallenge and they were a huge hit! My husband's coworkers couldn't get enough. I'll definitely make these again!
Melissa says
Thank you so much for leaving a review and participating in the March baking challenge! Great to hear you enjoyed the recipe, Rebekah!
Bernadette says
Needed something for a quick last minute camping treat and this month's baking challenge was perfect!
Melissa says
Thank you so much for leaving a review and participating in the March baking challenge, Bernadette!
Kathryn Smith says
I have been excited to make these since I saw the recipe, for the March baking challenge. It was a strange dough to work with, but it baked really well. I did cut back on the sugar, but these would taste so good with a cup of milk!
Melissa says
Thank you so much for leaving a review and participating in the March baking challenge, Kathryn!
Rian says
I made this recipe as part of the March baking challenge. I absolutely love the texture of the brownie and frosting. However, the peppermint flavor does miss the mark for me (compared to the thin mint flavor). The peppermint is still somehow too strong even only at 1/4 tsp.
Annie Ford Moore says
YUM!! I make so many of your recipes and my husband said this is his favorite one yet!! So simple AND so delicious! Loved doing these for the March Baking Challenge!
Melissa says
Yay, so glad to hear you both enjoyed this recipe! Thank you so much for leaving a review and for participating in the March baking challenge, Annie!
Tomma Marcincuk says
These cookie bars are so fudgy and perfectly minty! I made them as part of the March baking challenge. They come together easily and are perfect for a beginning baker to make.