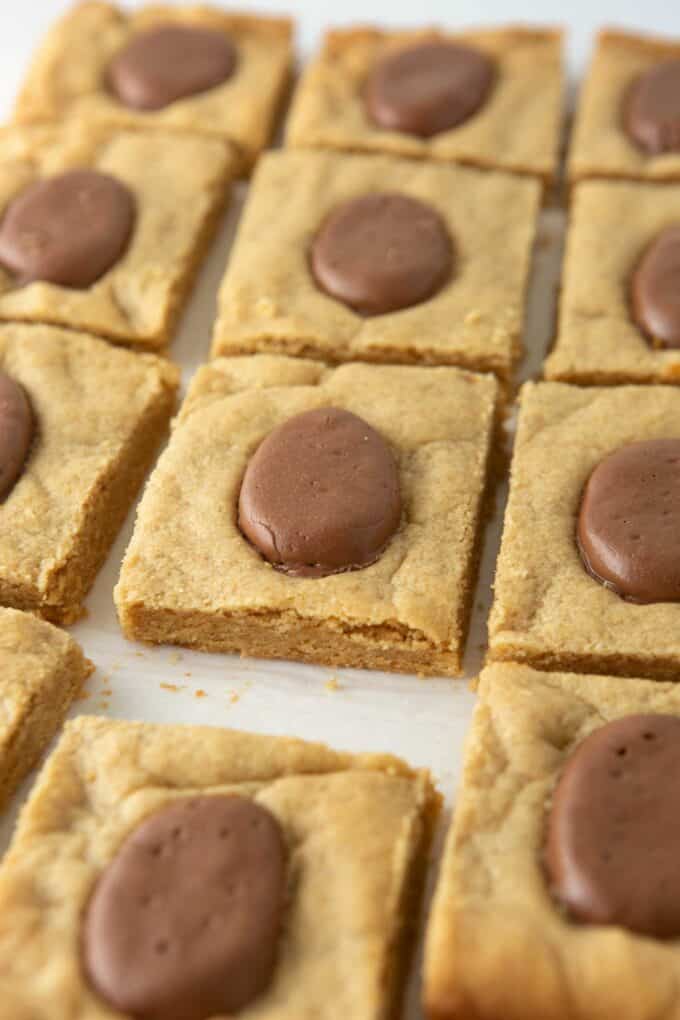
These soft, chewy, peanut butter cookie bars are perfect for Easter and can be made in under 30 minutes! Simply press the dough in a 9x13 pan and press in Reese's Eggs!
Save this Recipe!
Enter your email below and I'll send this recipe to you.
Why I Love These Peanut Butter Bars
- Topped with Reeses Eggs: Is there anything more to say? THEY'RE TOPPED WITH REESES'S EGGS!
- One-Bowl Recipe: Simply whip up these bars in one bowl, press in a 9x13 pan, and you have the most delicious, EASY peanut butter cookie bars!
- Soft & chewy: This recipe is based on my soon-to-come chewy peanut butter cookie cake recipe that keeps a perfectly soft texture for days!
Tips for Success
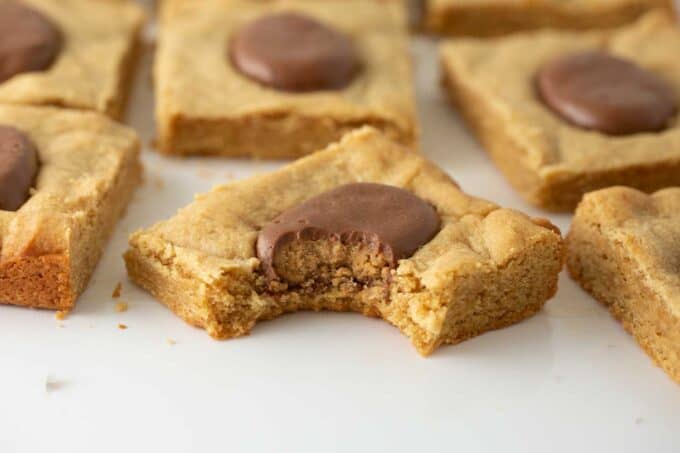
- Use creamy peanut butter: This recipe works best with store-bought, creamy peanut butter. If you want to make them with natural peanut butter, just note that the recipe may need to be adjusted and will not yield the same results.
- Don't substitute the brown sugar: Having a mix of both the brown sugar and granulated sugar not only give these bars a chewy texture, but it also helps them bind together and not be crumbly.
- Use the extra egg yolk & cornstarch: This recipe uses an extra egg yolk and cornstarch to give them a chewy texture. You can omit the cornstarch if needed, but I highly recommend it as it makes them extra chewy (and my taste testers loved the cornstarch version the most).
- Make it gluten-free! This recipe should work to make gluten-free with my favorite GF flour, but I tend to find it a bit crumbly in recipes with peanut butter (so it may not result in a sturdy bar). Instead, you might try my GF Peanut Butter Cookies and pressing the Reese's egg on top!
How to Make Reese's Egg Peanut Butter Bars
This is just an overview showing step-by-step photos, click here to jump down to full recipe card with exact instructions.
Step 1: Mix Dough
- In a medium-sized mixing bowl, beat the peanut butter and softened butter on medium speed for 20-30 seconds until combined.
- Add in the brown sugar and granulated sugar and continue beating on medium for another 20-30 seconds until creamy. Do not overmix.
- While the mixer is on low, add in the egg, extra egg yolk, vanilla extract, baking soda, cornstarch, and salt. Stir until combined. Slowly add flour and mix until just incorporated.
Tip: Feel free to add ½-1 cup of chocolate chips to the dough, if desired! I'm sure as heck not stopping you.
Step 2: Press Into Pan & Bake
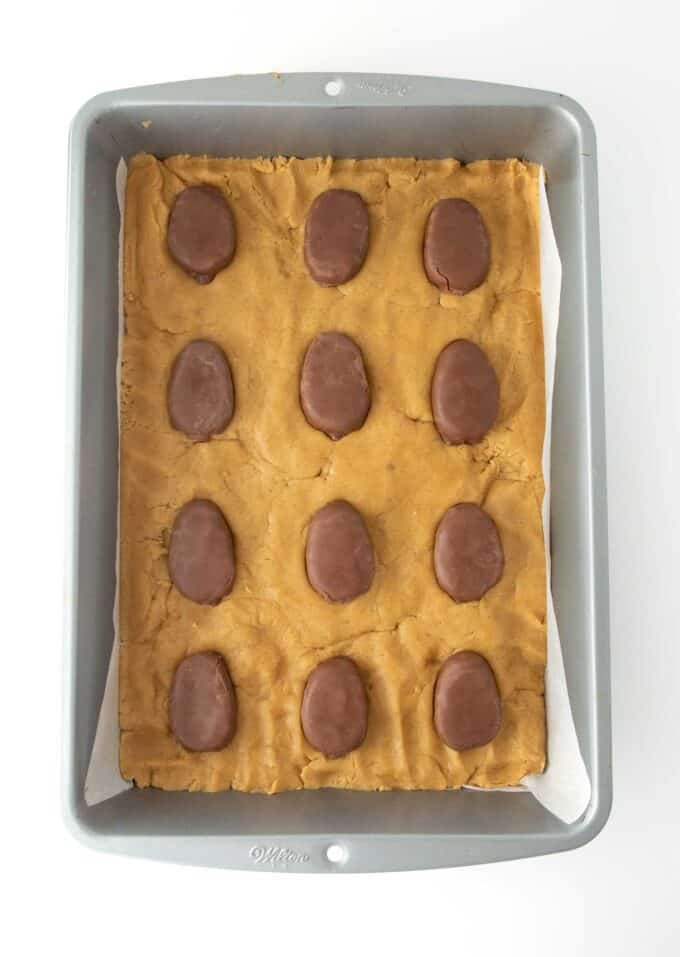
- Grease and line a 9×13 light-colored metal pan with parchment paper (I like to create a parchment sling, as shown below, so I can lift the bars out of the pan to cut). Spread dough into an even layer in pan.
- Press on 12 Reese's Eggs, as shown below. You want to press them into the dough (so half the egg is covered) but be careful not to press too hard or they'll break.
- Bake for 14-16 minutes or until edges are lightly brown and the center no longer looks wet. Allow the bars to cool for up to 30 minutes before cutting.
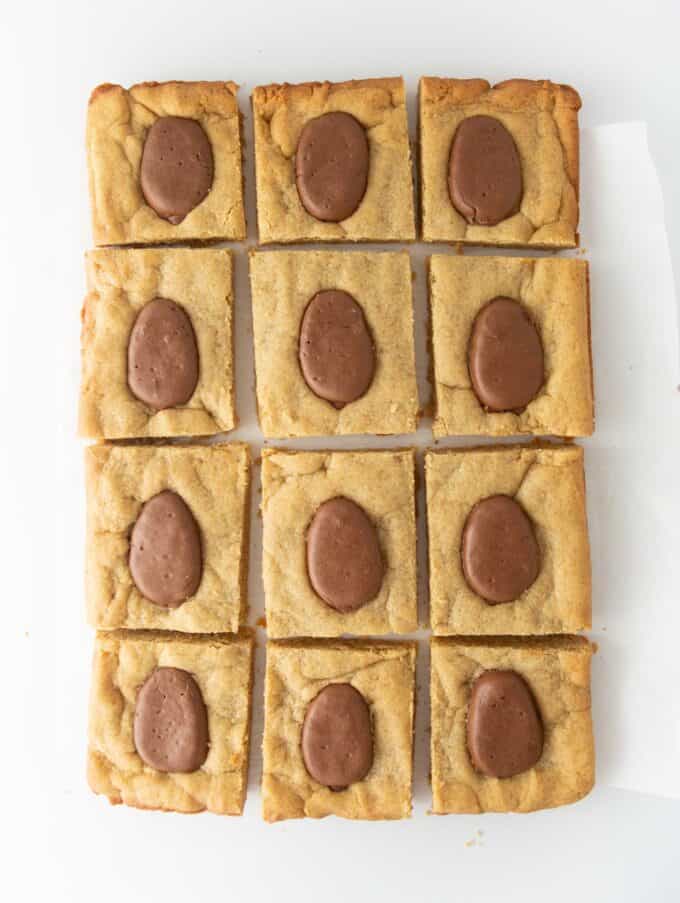
Step 3: Cut & Enjoy!
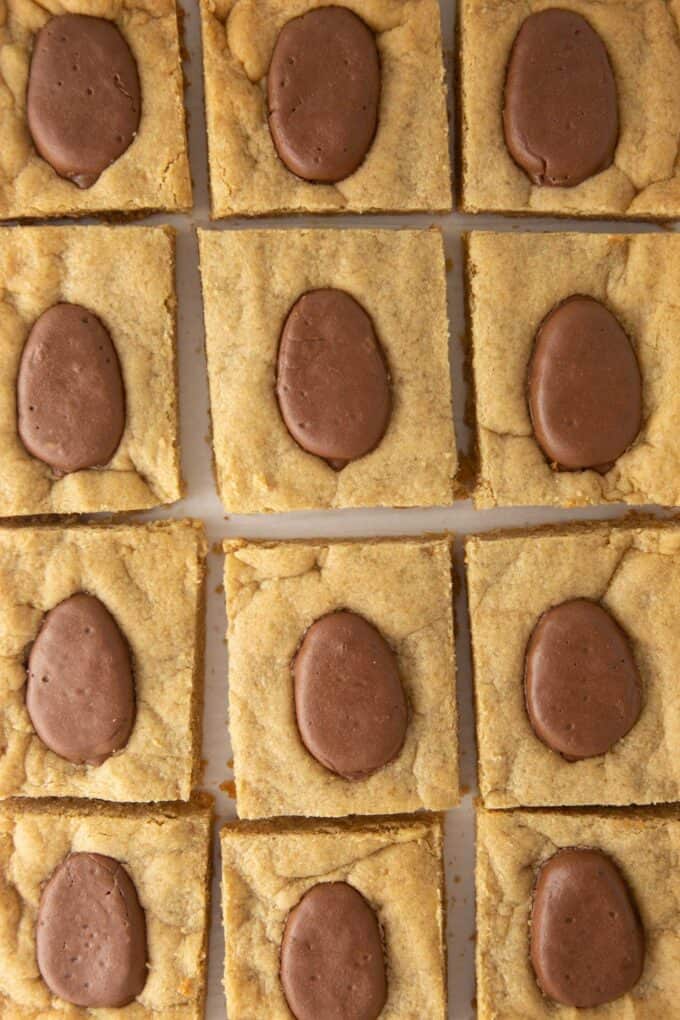
Lift cooled bars out of pan and slice in 12 squares.
Tip: To get clean cuts, use a large chef's knife and press downwards (don't saw back and forth). If any melted chocolate gets on the knife, wipe between cuts.
Storage & Freezing
Storage: Store in an airtight container for up to 5 days (although they're best within 3 days for ultra softness!).
Freezing: Store in an airtight container or freezer ziploc bag for up to 1 month. For optimal freshness, I recommend wrapping the individual bars in plastic wrap before placing in container.
Frequently Asked Questions:
Can I make these gluten-free?
This recipe should work to make gluten-free with my favorite GF flour, but I tend to find it a bit crumbly in recipes with peanut butter (so it may not result in a sturdy bar). Instead, you might try my GF Peanut Butter Cookies (which uses almond flour!) and pressing the Reese's egg on top!
Can I use natural peanut butter?
This recipe works best with store-bought, creamy peanut butter. If you want to make them with natural peanut butter, just note that the recipe may need to be adjusted and will not yield the same results. Again, you might instead try my GF Peanut Butter Cookies which was designed to use natural peanut butter!
Reese's Egg Peanut Butter Bars
Ingredients
- ½ cup unsalted butter softened
- ¾ cup creamy peanut butter
- ¾ cup light brown sugar
- ¼ cup granulated sugar
- 1 large egg
- 1 egg yolk i.e. you will be using 1 whole egg + 1 extra egg yolk
- 1 teaspoon vanilla extract
- ½ teaspoon baking soda
- ¼ teaspoon salt
- 1 tablespoon cornstarch
- 1 ½ cups all-purpose flour
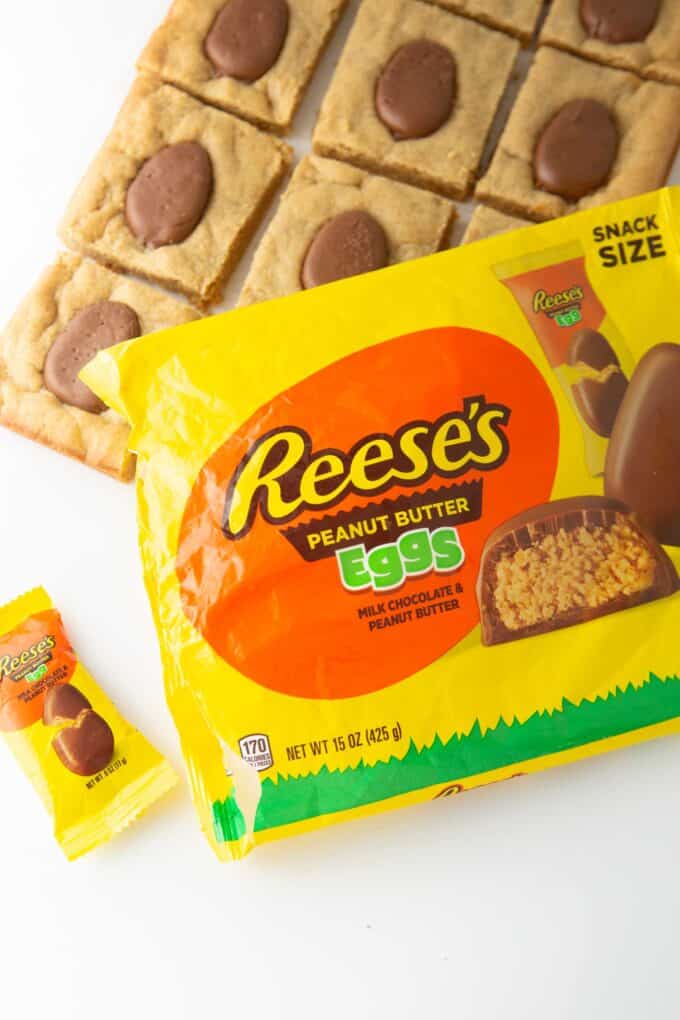
- 12 Reese'e Eggs you can also make these with regular peanut butter cups
Before you begin! If you make this, will you do me a huge favor and leave a review and rating letting me know how you liked this recipe? This helps my small business thrive so I can continue providing free recipes and high-quality content for you.
Instructions
- Preheat oven to 350ºF. While preheating, be sure to read tips & tricks in post above for recipe success.
- In a medium-sized mixing bowl, beat the peanut butter (¾ cup) and softened unsalted butter (½ cup, i.e. 1 stick) on medium speed for 20-30 seconds until combined.
- Add in the light brown sugar (¾ cup) and granulated sugar (¼ cup) and continue beating on medium for another 20-30 seconds until creamy. Do not overmix.
- While the mixer is on low, add in the egg (1 large), extra egg yolk (1 large), vanilla extract (1 teaspoon), baking soda (½ teaspoon), salt (¼ teaspoon), and cornstarch (1 tablespoon). Stir until combined. Slowly add all-purpose flour (1 ½ cups) and mix until just incorporated.
- Grease and line a 9×13 light-colored metal pan with parchment paper (I like to create a parchment sling, as shown in photos above, so I can lift the bars out of the pan to cut). Spread dough into an even layer in pan.
- Press on 12 Reese's Eggs. You want to press them into the dough (so half the egg is covered) but be careful not to press too hard or they'll break.
- Bake for 14-16 minutes at 350℉ or until edges are lightly brown and the center no longer looks wet. Allow the bars to cool for up to 30 minutes before cutting.
Last Step! Please leave a review and rating letting me know how you liked this recipe! This helps my small business thrive so I can continue providing free recipes and high-quality content for you.




Leave a Comment