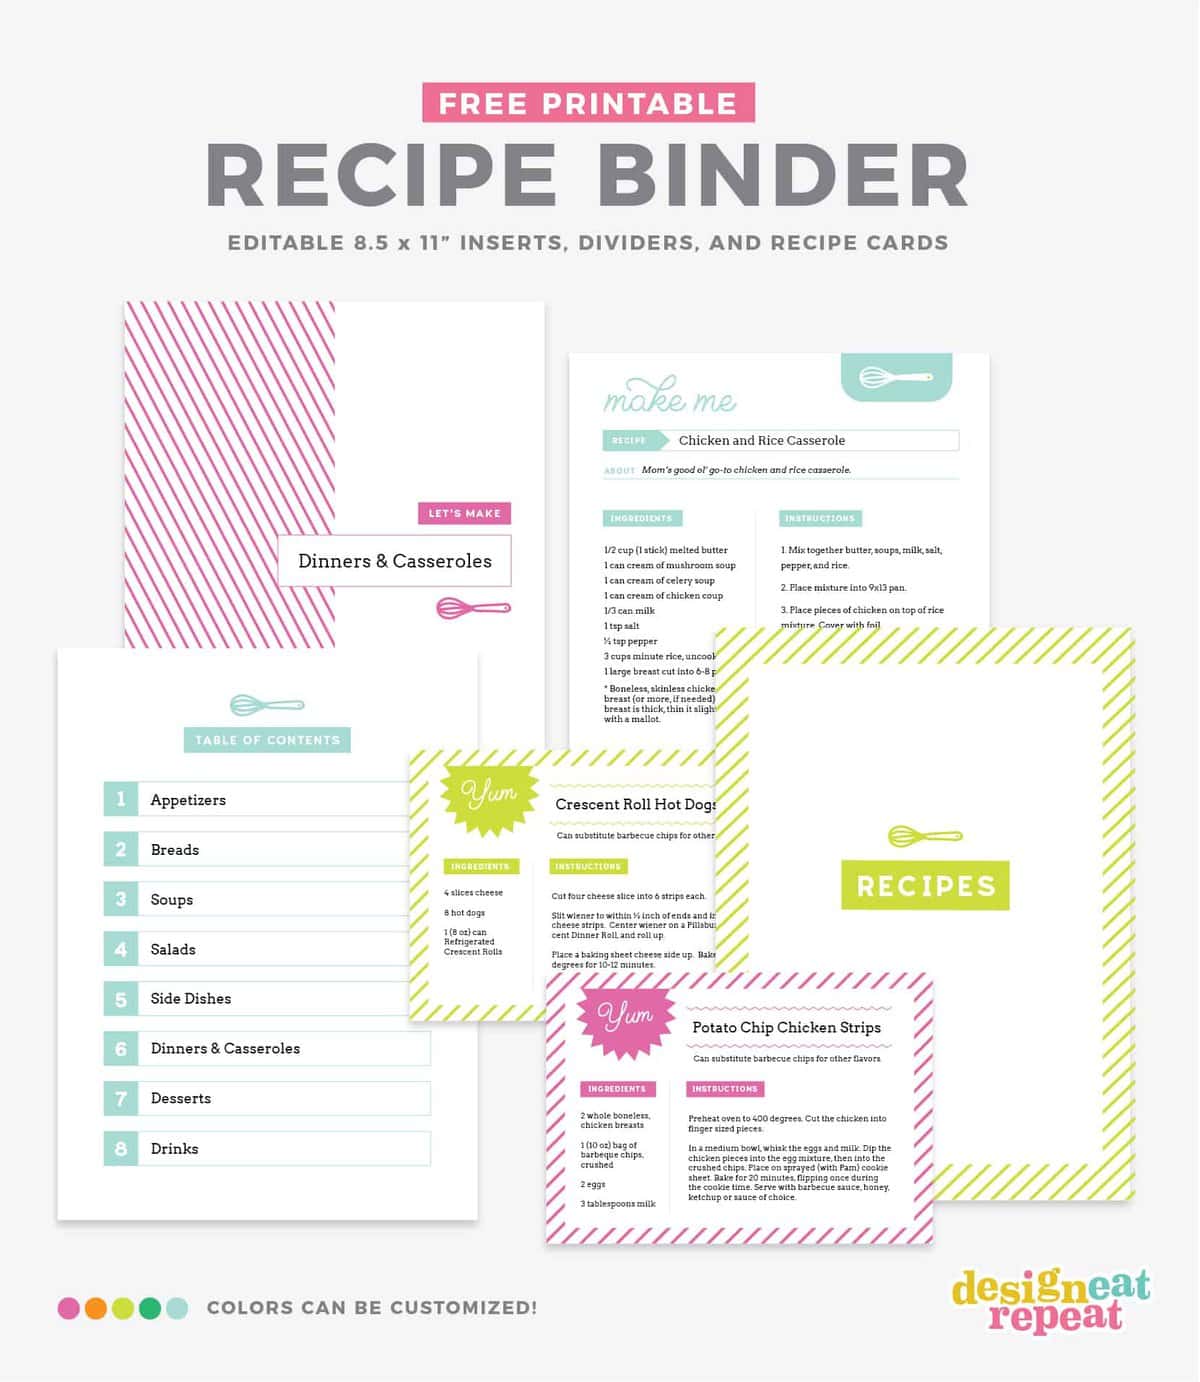
Organize your favorite recipes into a DIY recipe book with these fun and free printable recipe binder kit templates! Perfect for gifting to friends or family or just as a way to organize your favorite family recipes.
With the holidays just around the corner, I wanted to share the printable templates I used to create some DIY recipe books for the college siblings. But a little backstory before we start is that a few years ago, my sister and I typed up hundreds of recipes for my mom and compiled it into a recipe binder.
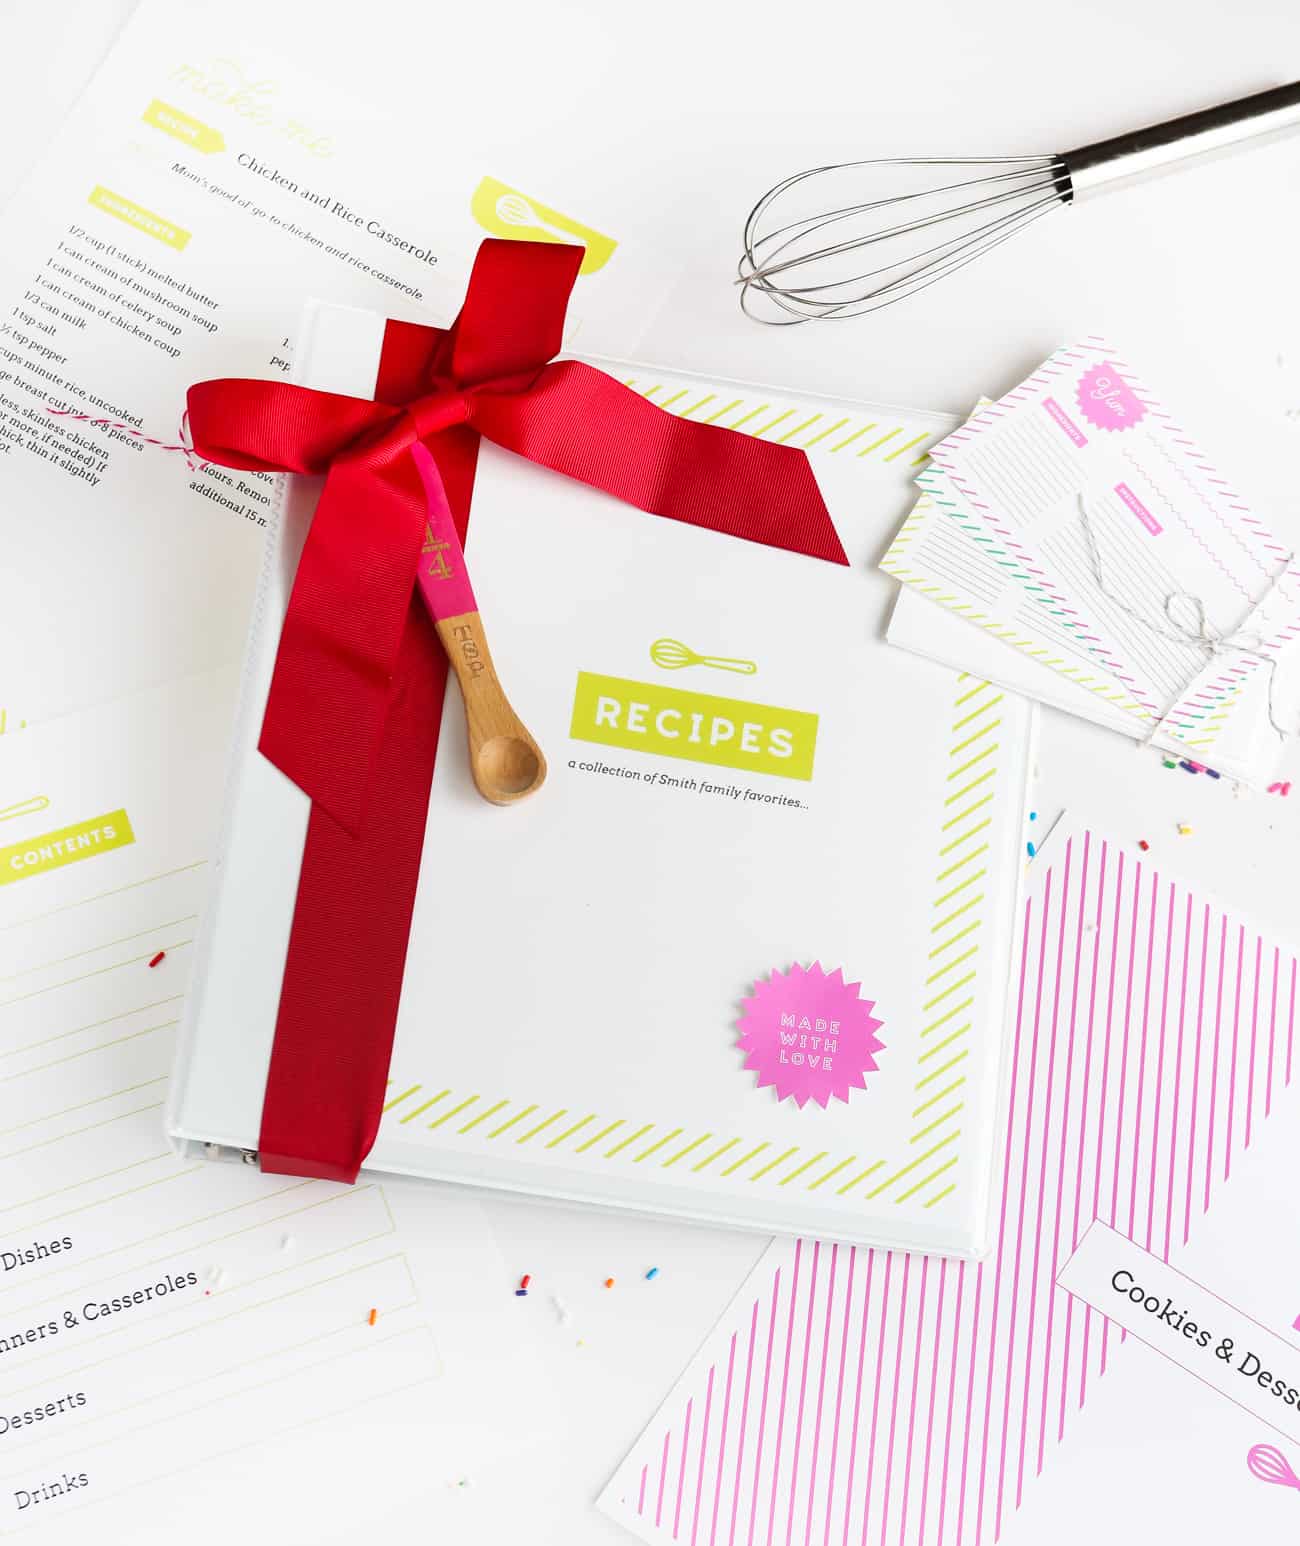
But being the overachieving designer I am, I went all-out on the design and basically handcrafted custom-sized tabs, dividers, and recipe pages. And as fun as that was, I could never find a way to share the templates with all of you because I designed it in InDesign, which I know many of you don't have and don't have the time/will to learn.
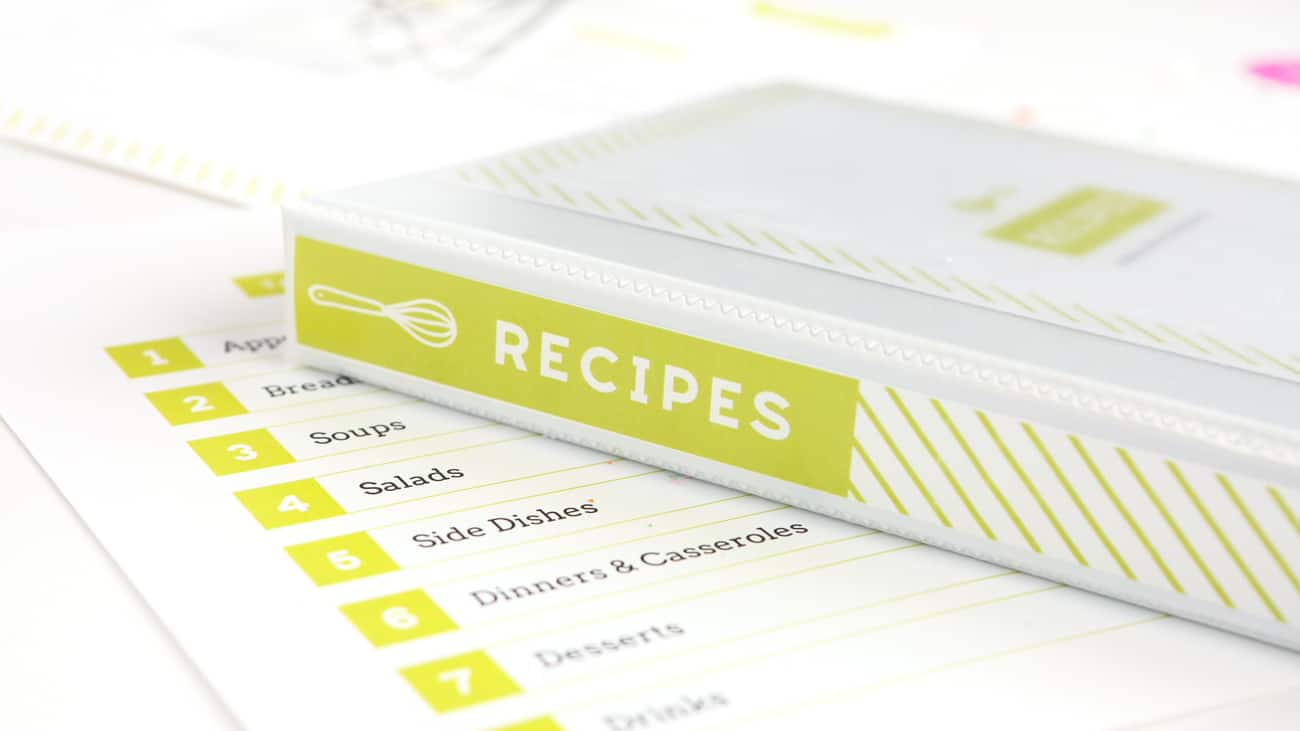
So this year as I designed a new recipe binder kit, I also designed files for Avery's free software so that you can make one of your own! And today I'm going to show you how to create a custom, DIY recipe binder kit using a white binder, the My Recipe Starter Kit clear dividers, and my (free) printable templates. Which means that you don't need any of my fancy design software to achieve these professional lookin' designs, as you can 100% customize them through Avery's free online software, Avery Design & Print. WAHOO!
What I love about recipe binders (vs. custom bound books) is that you can easily add or remove recipes down the road. Which is a must-have in my house because I'm constantly filling it with new recipes.
Binders also make it easy to change categories later on, so if you end up needing to create an entire new category for Cookies, you can do that. And with these templates, you are able to completely customize the whole thing. Between the colors and text, you can create your very own giftable recipe book in a few hours and under $25. Which I consider a steal considering some of those bound books online can cost $50+.
The most time-consuming part of creating your own recipe book is typing the recipes, but what I recommend doing is first saving them in a Word document so that you can simply copy & paste them into your design in Avery Design & Print Online (plus, you'll always have that Word file available if you need them later down the line!). So let's get started!
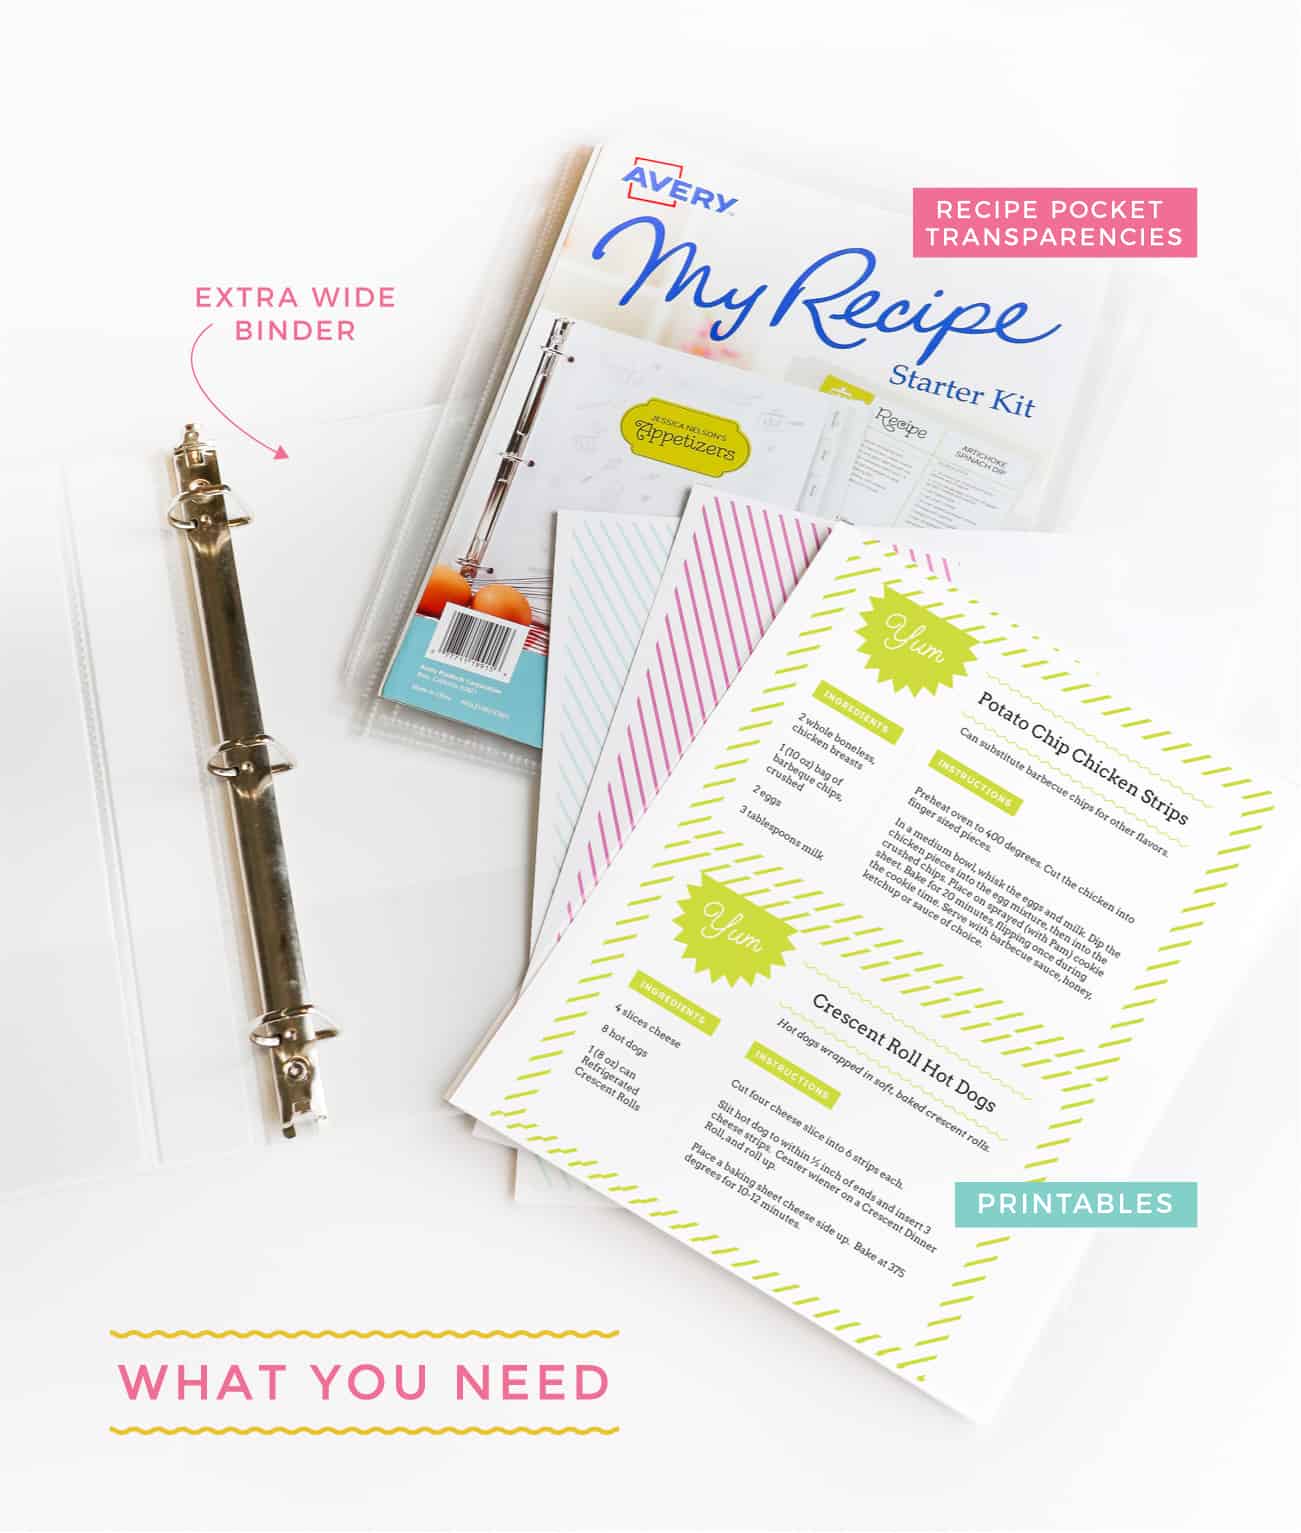
What you’ll need for your DIY Recipe Binder Kit:
- 1-3″ extra wide white binder with a clear pocket (Avery also has cute pre-printed binders in several styles: Vintage, Chalkboard, and Epicurean)
- My Recipe Starter Kit (includes heavyweight sheet protectors for (10) full page recipes, (5) 2-up recipe card pages, and (8) tabbed pocket divider sheet protectors.)
- Scissors
- White Cardstock & Text-Weight Paper
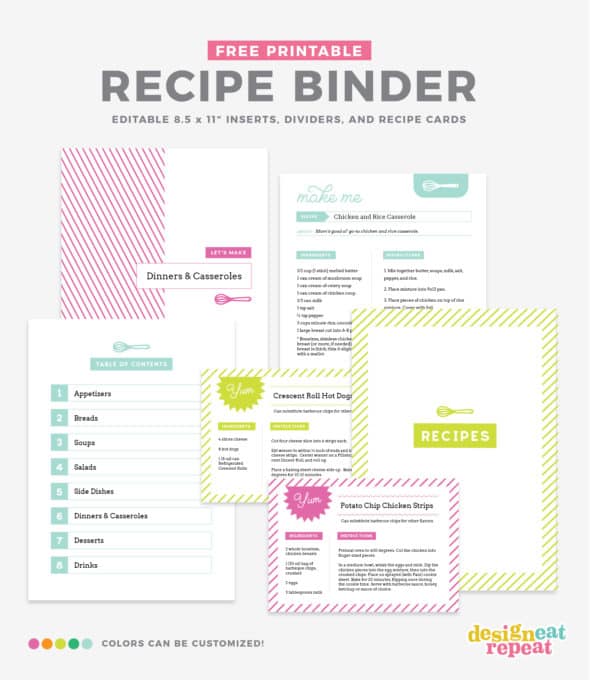
- Design Eat Repeat Free Avery Recipe Binder Templates (includes designs for: Cover Page, Table of Contents, 1" Binder Spine, Section Dividers, Binder Tabs, 3x4" Recipe Cards, Half-Page Recipe Cards, Full-Page Recipe Pages, and (bonus!) lined 3x5" Recipe Cards)
How to Make your DIY Recipe Binder Kit:
Step 1: Download Templates
To get started, download the zipped folder (click here) of free printable recipe binder kit templates. After downloading and unzipping the file, you will see 9 templates each labeled with their appropriate name. Follow the instructions below to customize each template through Avery Design & Print Online.
Step 2: Customize Recipe Binder Cover
To get started, upload the recipe binder cover template to Avery by:
- Go to Avery Design & Print Online and at the top of the screen hit the button for "Open a Saved Project." (You will have to log in or create a new (totally free!) account.)
- At the top of the page, click "Upload Project" then click "Browse to open a file".
- Navigate to the template folder you just downloaded and upload the file titled, "Cover.avery".
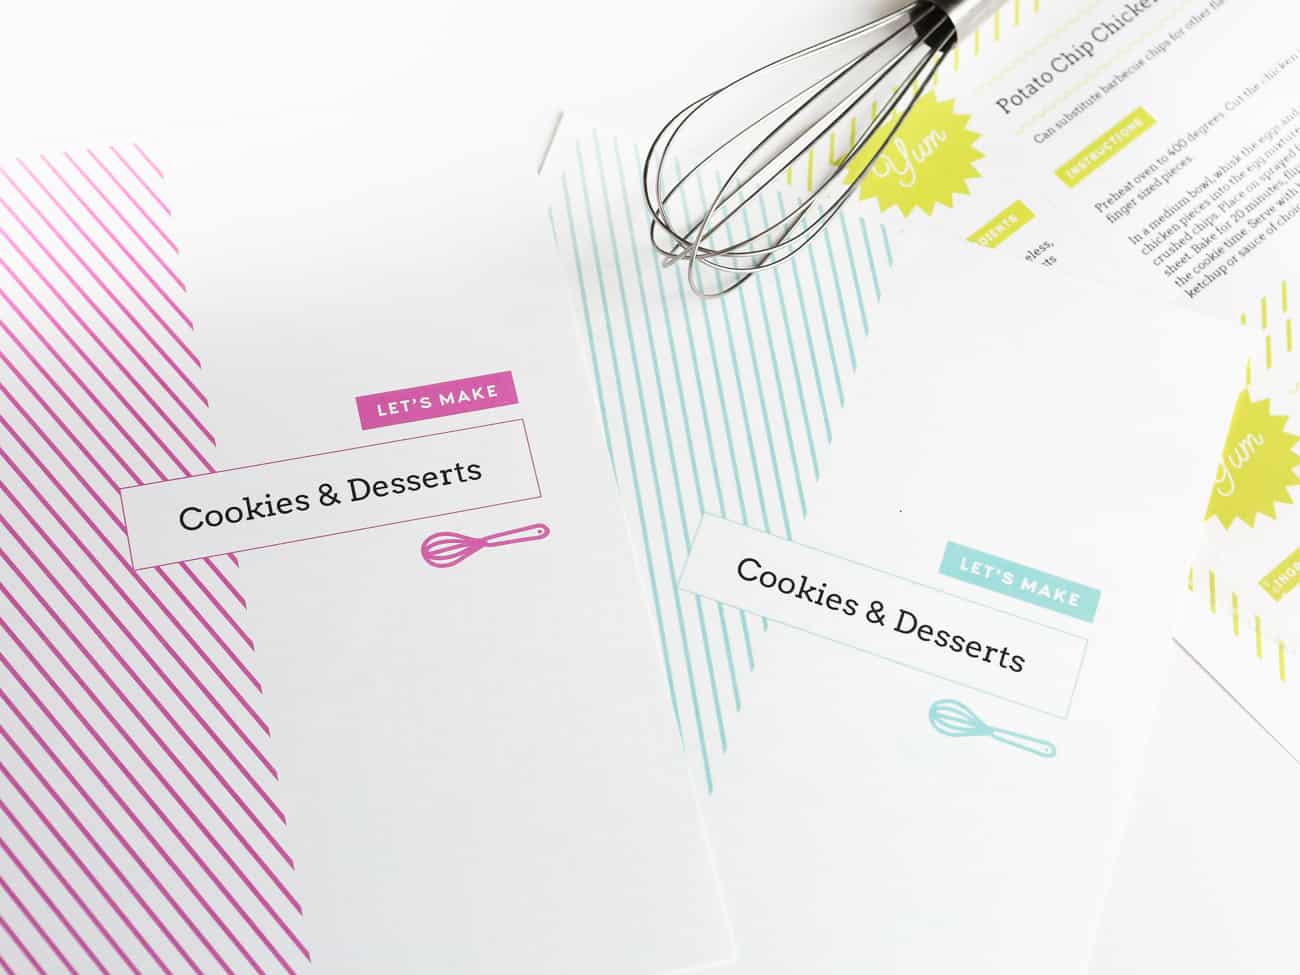
- Use the text editor to customize the text and *colors. When finished, print on 8.5 x 11" white cardstock paper and slip into the front of the binder.
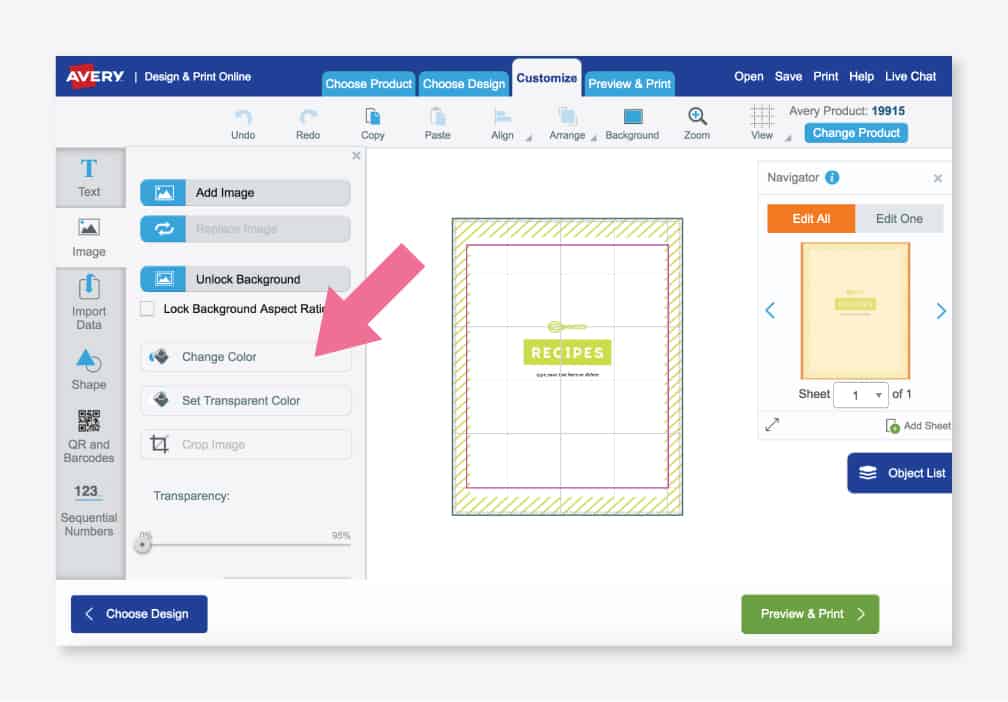
Tip: To customize colors, simply go to the Image tab > Change Color (see below). Select your new desired color and then go to the design and click on the existing color you want to change.
Step 3: Customize Recipe Binder Table of Contents
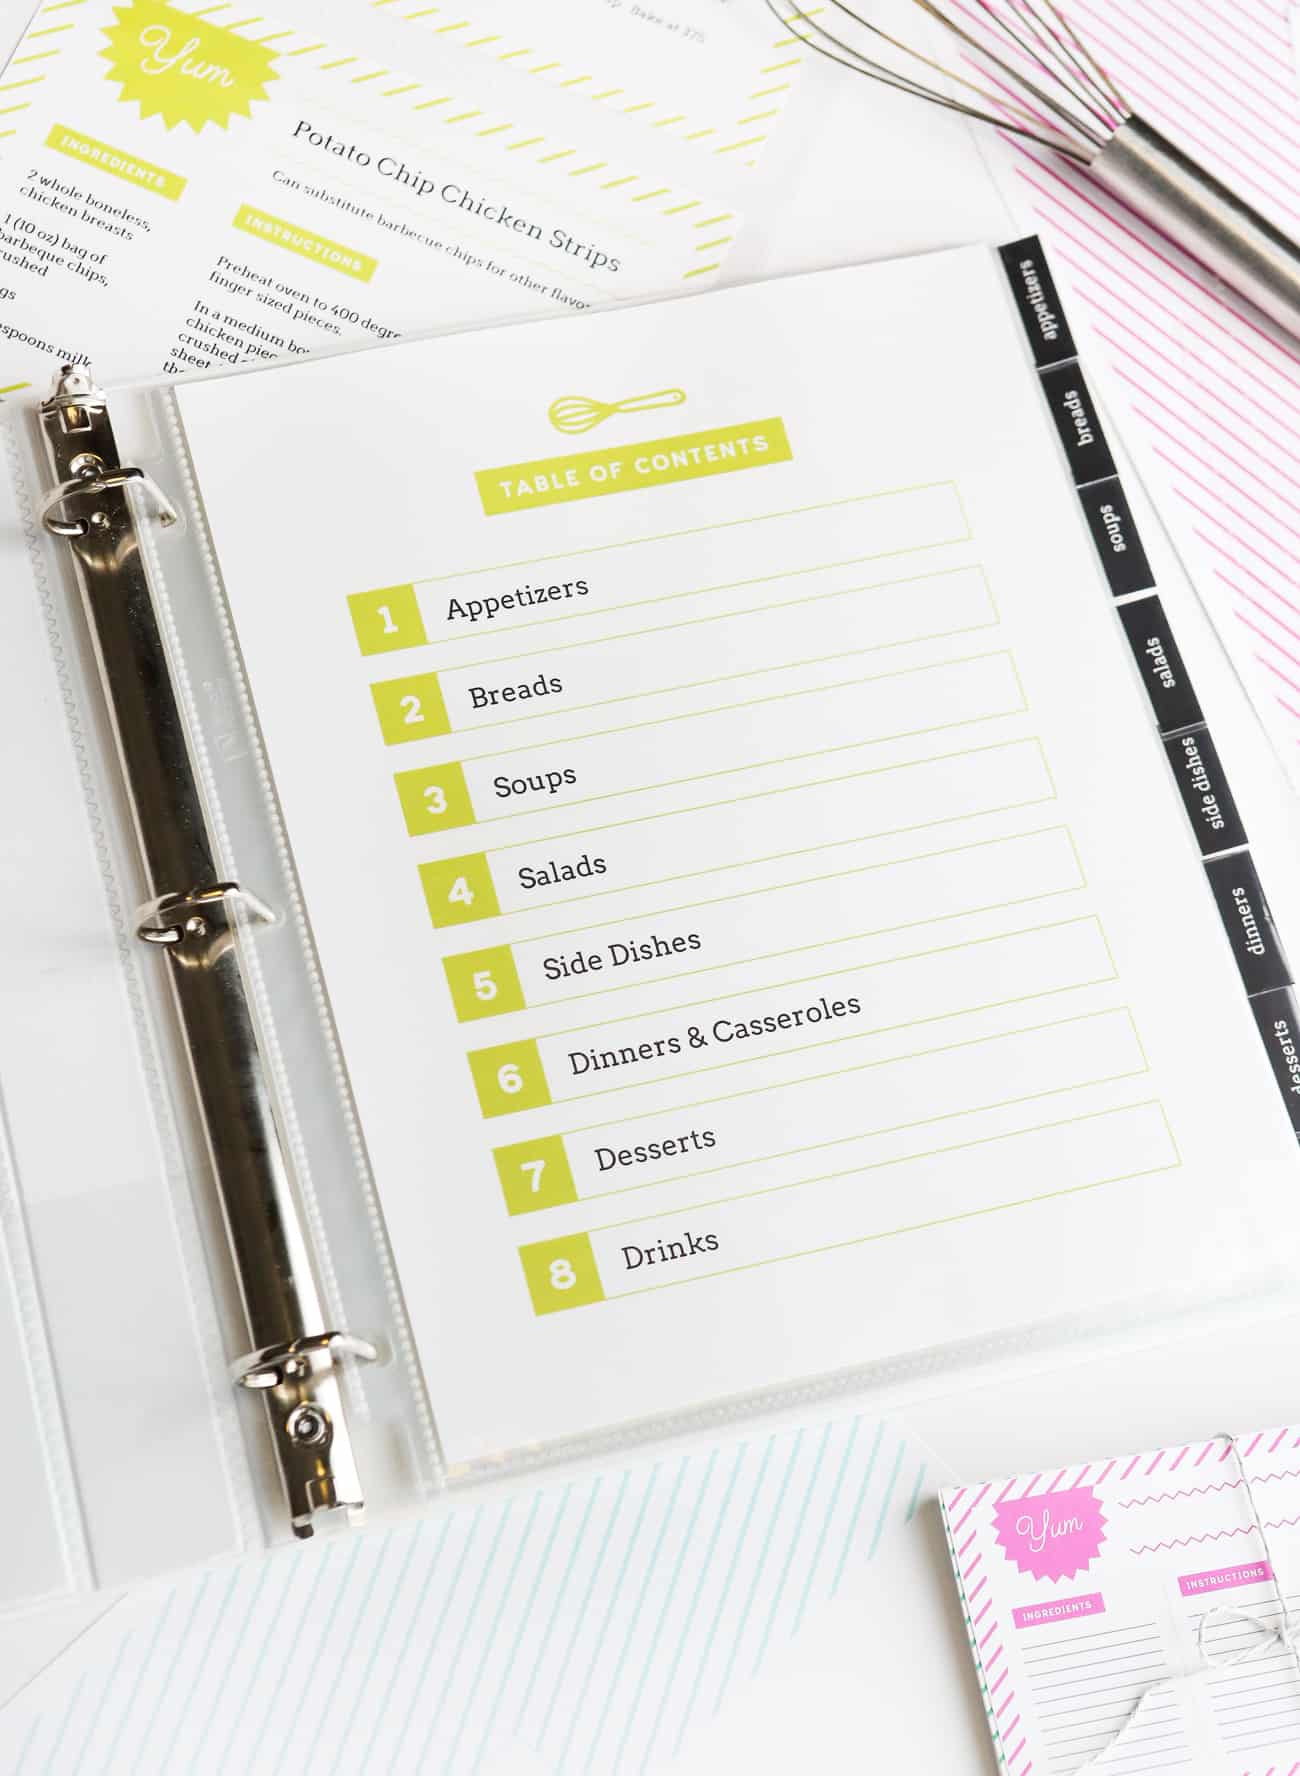
Next up, the table of contents! This design includes boxes for up to 8 categories. The overall color of the design can be changed (see above on how to change colors), although the default table of contents template is lime green.
- Go to Avery Design & Print Online and at the top of the screen hit the button for "Open a Saved Project." (or if you're still on the cover design page, you can simply go to "Open" > "Load Project From Computer")
- At the top of the page, click "Upload Project" then click "Browse to open a file".
- Navigate to the template folder you downloaded and upload the file titled, "TableOfContents.avery".
- Use the text editor to customize the text and *colors. When finished, print on 8.5 x 11" white cardstock paper and slip into one of the full-page sheet protectors from the My Recipe Starter Kit. Place this page at the front of the binder.
Step 4: Customize Recipe Binder Dividers
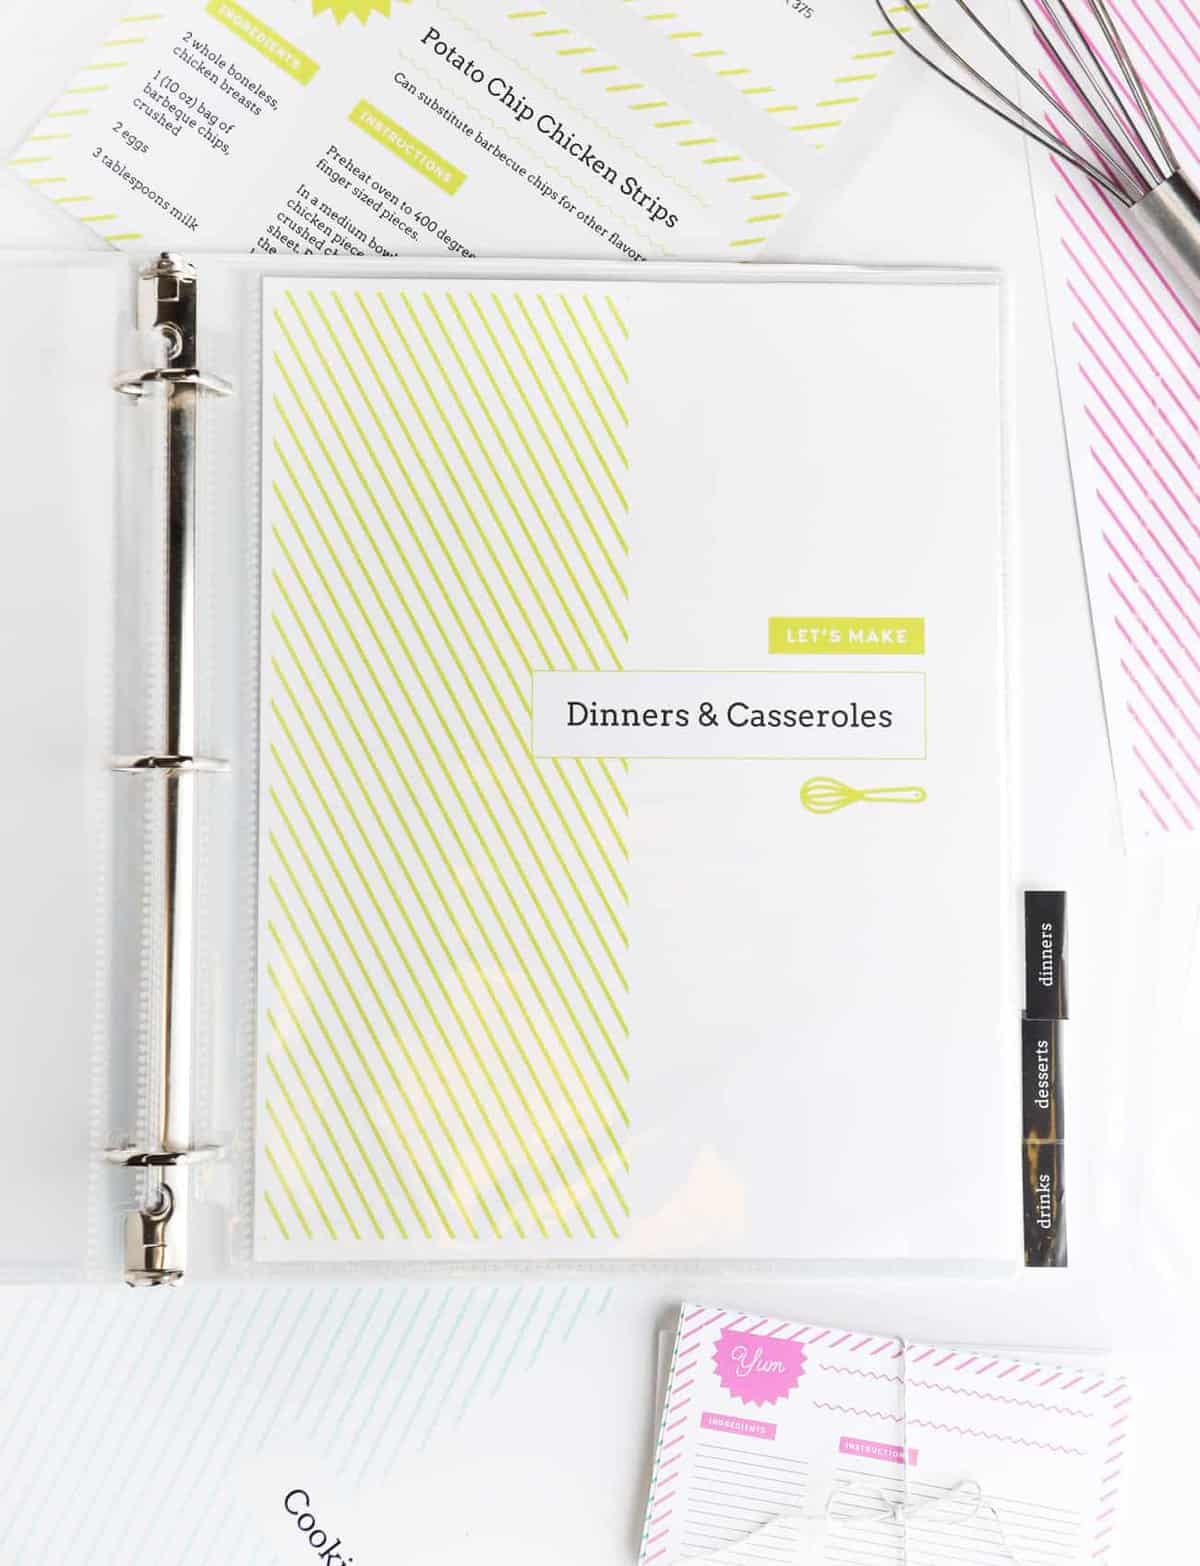
Next up are the category divider pages. These are the pages that go in between each category to help organize the pages. Simply create one page with each category you listed on the table contents, print, and slip into one of the 8-tabbed pocket divider sheet protectors.
- Go to Avery Design & Print Online and at the top of the screen hit the button for "Open a Saved Project." (or if you're still on the previous design's page, you can simply go to "Open" > "Load Project From Computer")
- At the top of the page, click "Upload Project" then click "Browse to open a file".
- Navigate to the template folder you downloaded and upload the file titled, "Category.avery".
- Use the text editor to customize the text and *colors. When finished, print on 8.5 x 11" white cardstock paper and slip into one of the tabbed full-page sheet protectors from the My Recipe Starter Kit (ie. if you listed Appetizers first in the table of contents, you will slip the category page into the sheet protector with the first side tab).
Step 5: Customize Recipe Binder Divider Tabs
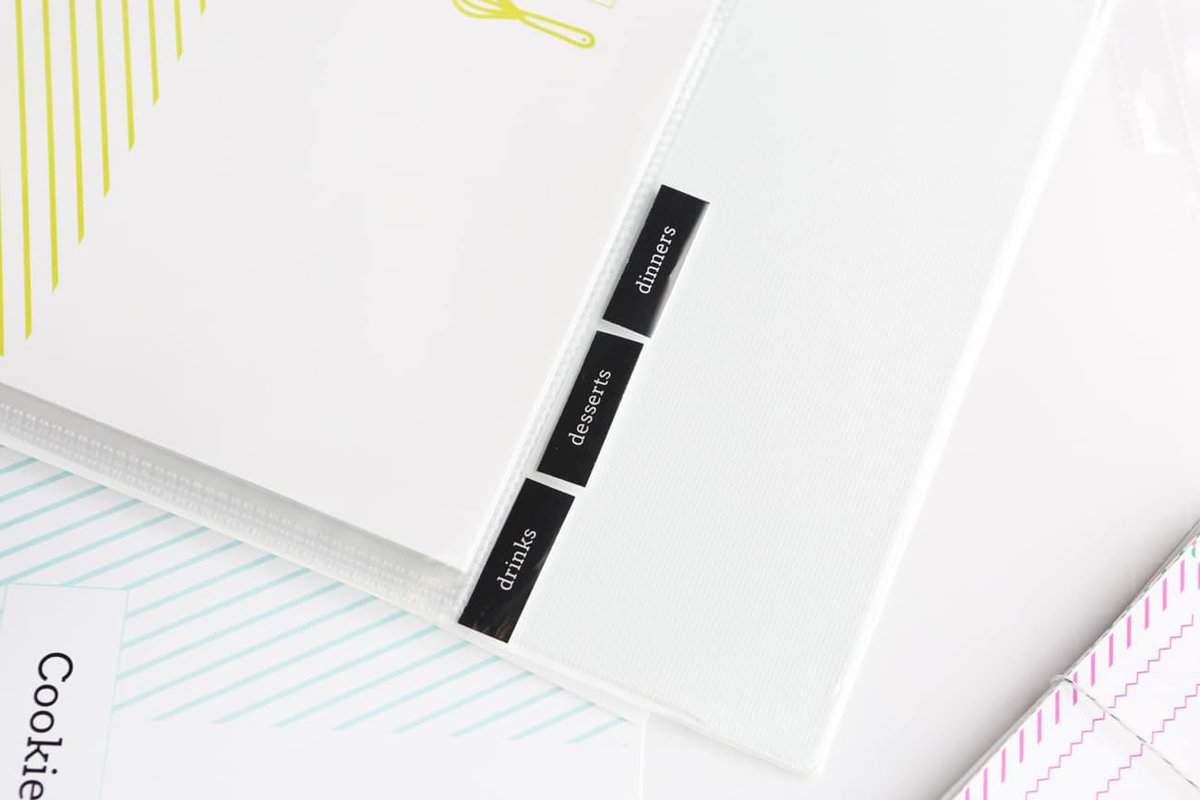
Next up are the small tabs that will slip into each of the 8-tabbed sheet protectors. Use the text editor to customize the text to match the categories and change the color to your liking. The great thing about these sheet protectors is that they already include the plastic tabs, sized perfectly with the template, so you don't have to worry about getting the size right.
- Go to Avery Design & Print Online and at the top of the screen hit the button for "Open a Saved Project." (or if you're still on the previous design's page, you can simply go to "Open" > "Load Project From Computer")
- At the top of the page, click "Upload Project" then click "Browse to open a file".
- Navigate to the template folder you downloaded and upload the file titled, "Tabs.avery".
- Use the text editor to customize the text and *colors. When finished, print on 8.5 x 11" white cardstock paper and slip into the coordinating sheet protector that you just added the Category pages to.
Tip: I recommend adding a small bit of clear, double-sided adhesive to the back of each tab before slipping in to help them stay inside.
Step 6: Customize Recipe Cards
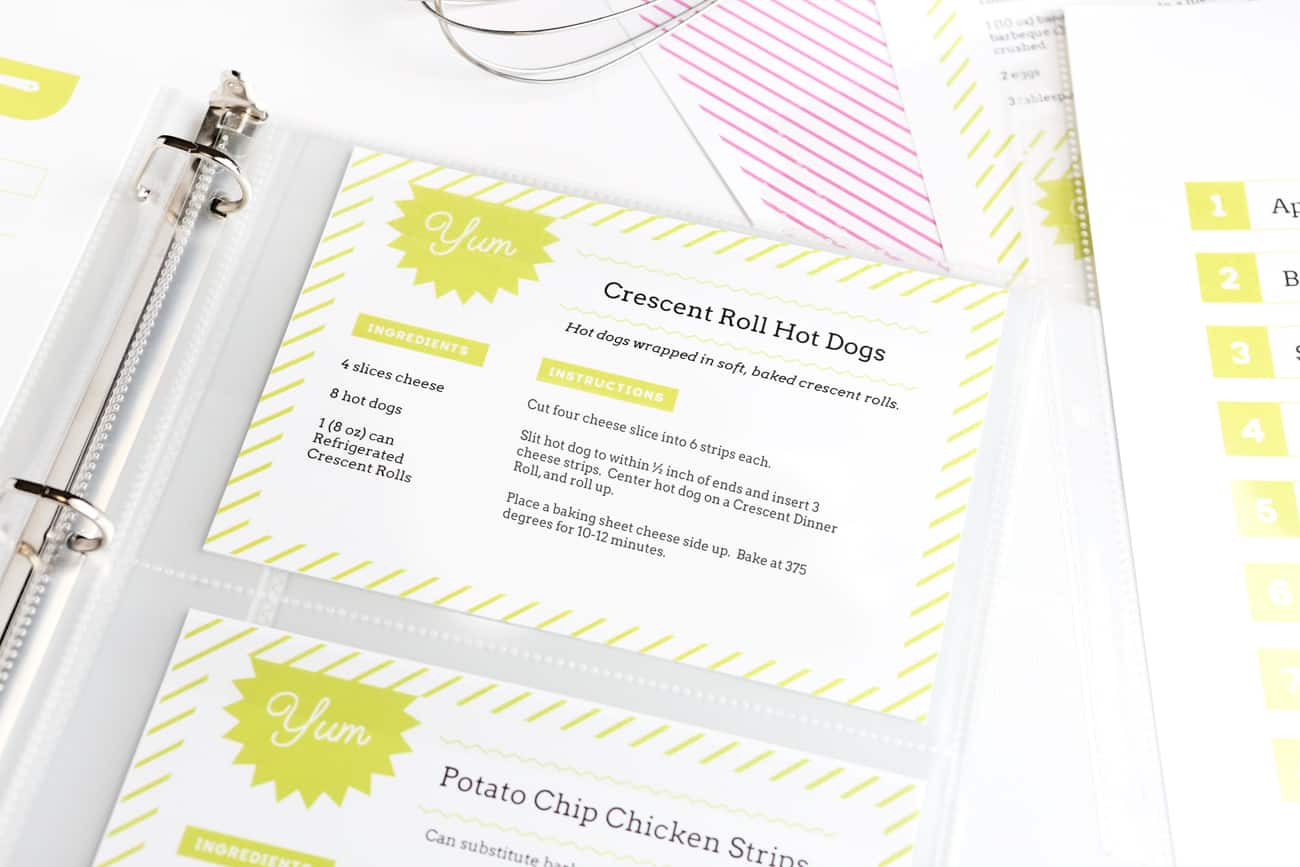
Next up are the customizable recipe cards. Use the text editor to customize the text for each recipe. You can change the font size to fit longer recipes or even flip to the back side to utilize that space. Included in the download file are two sizes for editable recipe cards: half-page recipe cards (to print on cardstock) & 4x6" recipe cards (that you can print on perforated Avery postcards).
- Go to Avery Design & Print Online and at the top of the screen hit the button for "Open a Saved Project." (or if you're still on the previous design's page, you can simply go to "Open" > "Load Project From Computer")
- At the top of the page, click "Upload Project" then click "Browse to open a file".
- Navigate to the template folder you downloaded and upload the files titled, "4x6RecipeCard.avery" for 4x6" cards or "HalfSheetRecipeCard.avery" for half-page recipe cards (to fit perfectly in the 2-cup page protectors included in the My Recipes Starter Kit).
- Use the text editor to customize the text and colors. When finished:
- Print the 4x6" cards on perforated Avery postcards and adhere to a 8.5x11" colored or patterned paper before slipping it into a full-page sheet protector.
- Print the half-page recipe cards on white cardstock and slip into the 2-up Secure Top Card Protectors that are included in the My Recipes Starter Kit.
Step 7: Customize Recipe Pages (for longer, full-page recipes)
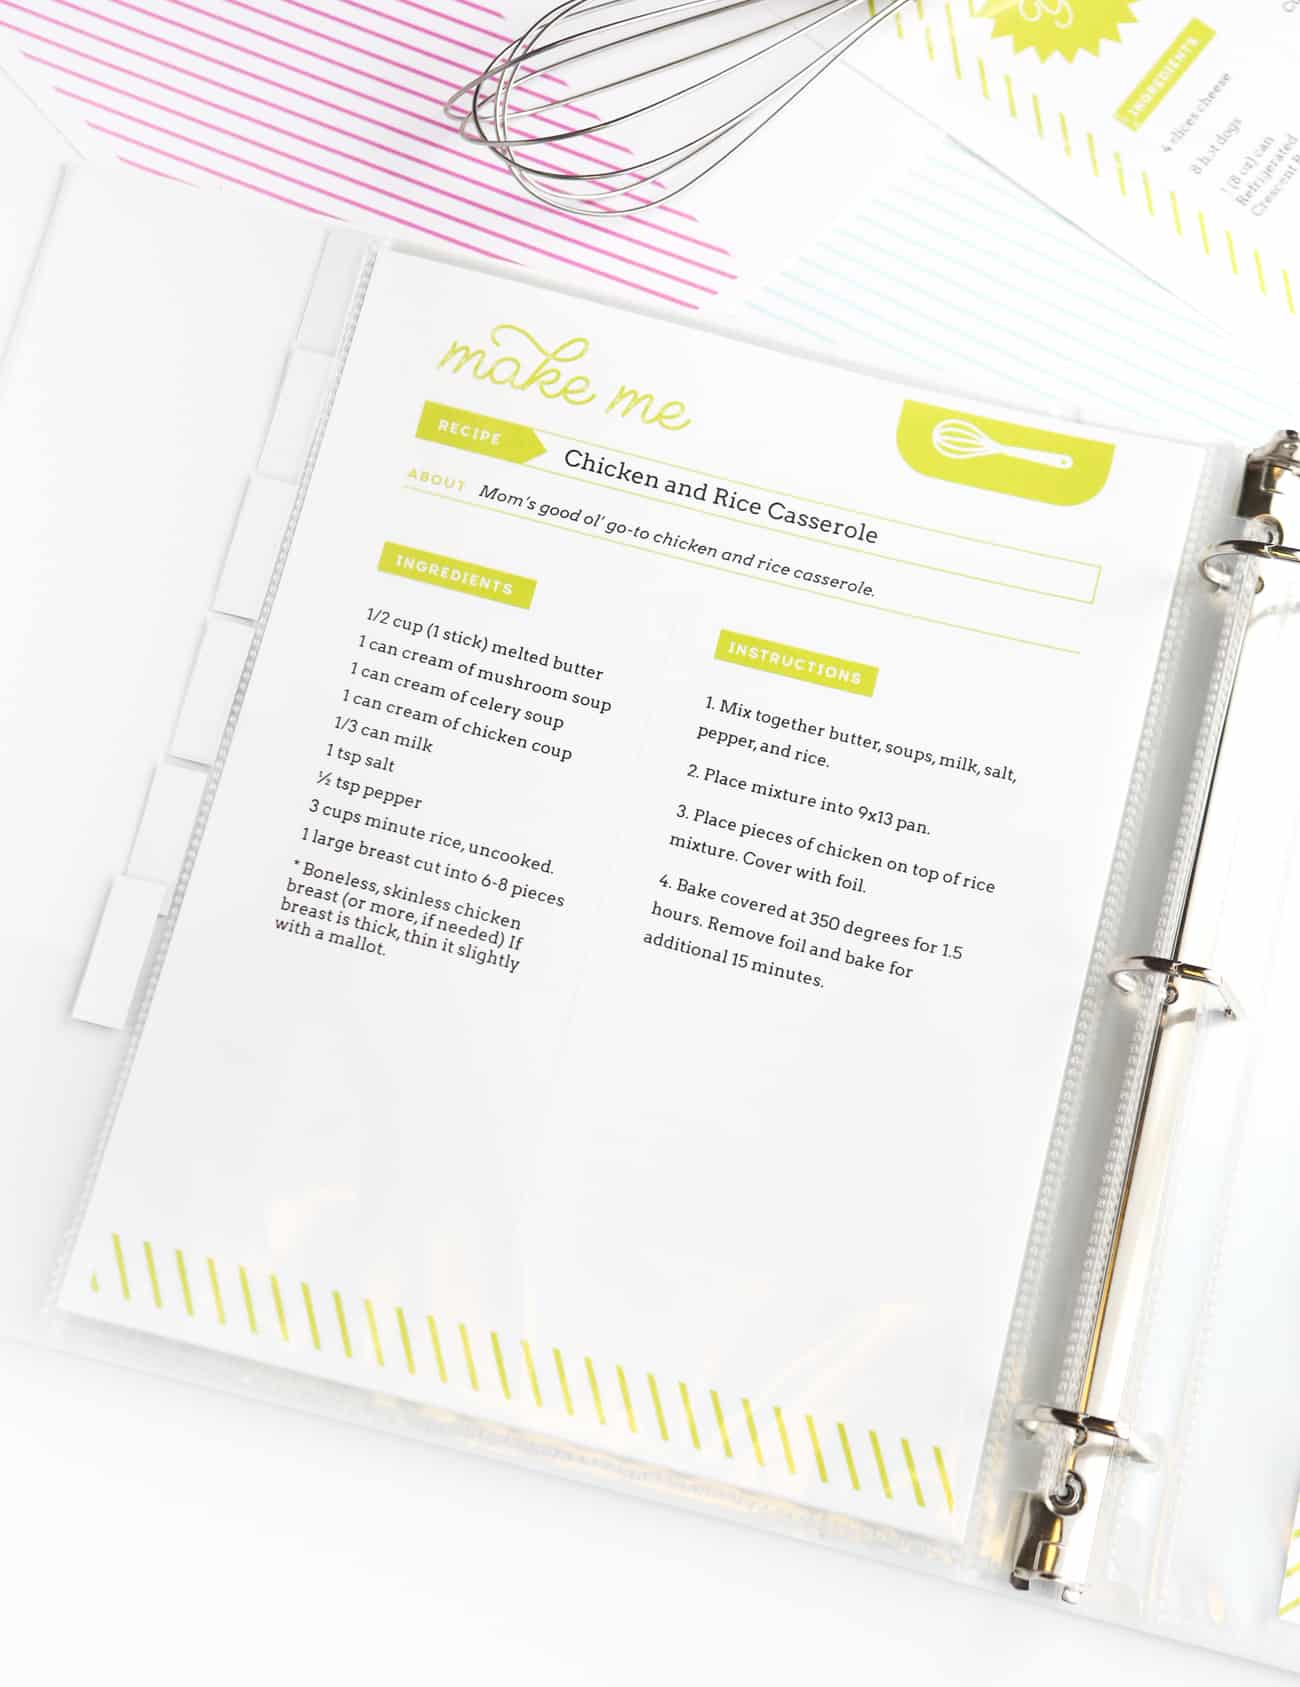
If you would rather create full page recipes, use this 8.5 x 11 template instead of the recipe cards. Upload the recipe binder dividers template to Avery and use the text editor to customize the text for each recipe.
- Go to Avery Design & Print Online and at the top of the screen hit the button for "Open a Saved Project." (or if you're still on the previous design's page, you can simply go to "Open" > "Load Project From Computer")
- At the top of the page, click "Upload Project" then click "Browse to open a file".
- Navigate to the template folder you downloaded and upload the file titled, "FullPageRecipe.avery".
- Use the text editor to customize the text and colors. When finished, print on white text-weight paper and slip in the full-page sheet protectors that are included in the My Recipe Starter Kit.
Step 8: Print Binder Spine
To give the binder an even more personalized touch, slip this designed spine into the side of the binder sleeve. You can change the colors to your likings to match the rest of the book.
- Go to Avery Design & Print Online and at the top of the screen hit the button for "Open a Saved Project." (or if you're still on the previous design's page, you can simply go to "Open" > "Load Project From Computer")
- At the top of the page, click "Upload Project" then click "Browse to open a file".
- Navigate to the template folder you downloaded and upload the file titled either, "OneInchSpine.avery" or "TwoInchSpine.avery" depending on the thickness of your binder.
- Use the text editor to customize the colors. When finished, print on white cardstock paper and slip in the side of the binder.
Tip: It is important to use heavy cardstock for the spine, otherwise you will have a hard time slipping it into the side. I recommend layering the spine with 2-3 sheets of additional cardstock to help you slide it in. Once it's slid in, you can slide out the excess cardstock.

The great thing about Avery's software is that although it allows you to digitally customize the text, you always have the option to leave things blank and hand write instead. So if digital isn't your thing, you can simply use the instructions above to open the files in Avery and then just hit "Print" (rather than customizing).
Once finished, tie it up in a fun bow and attach a gift tag (free printable tags here!).
Bonus: Personalized 3x5" Recipe Cards
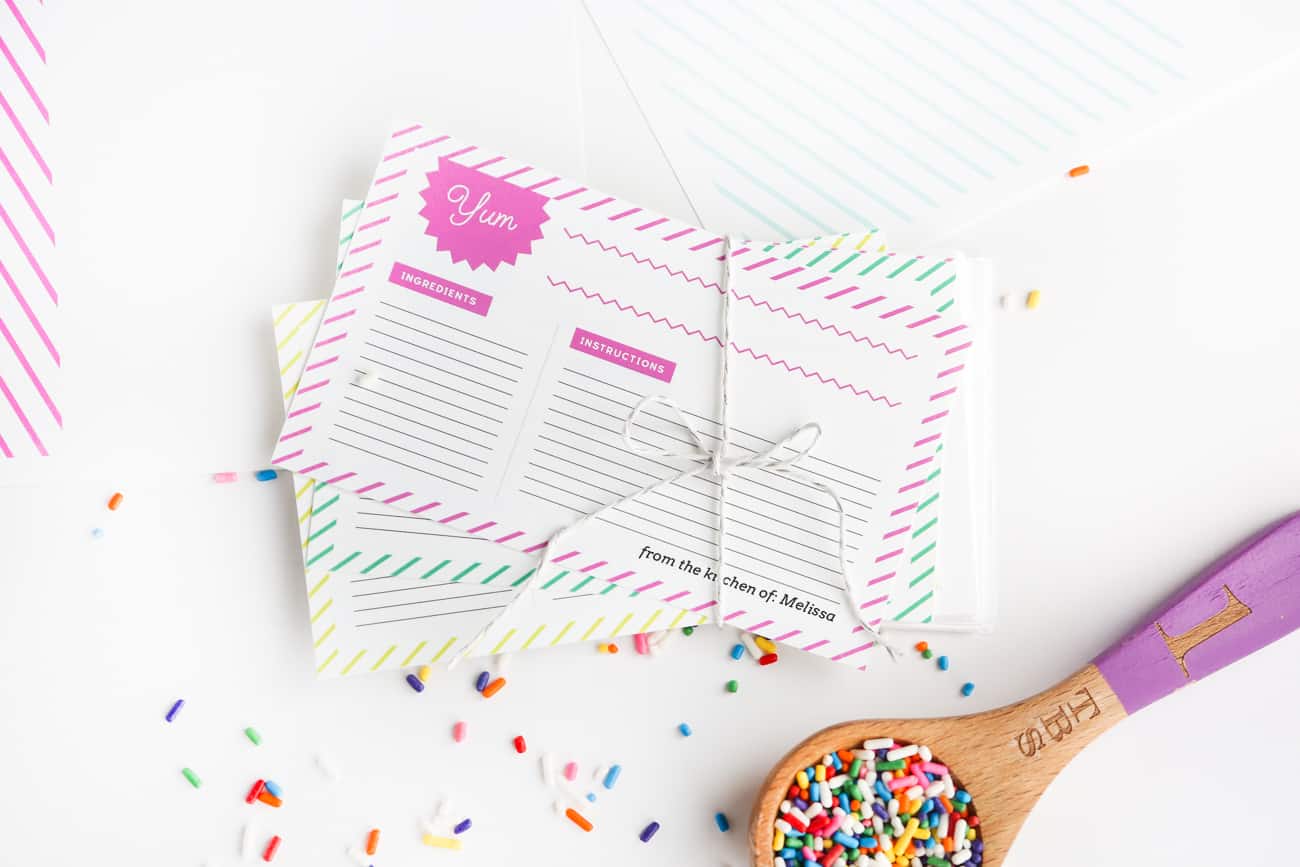
Another fun idea for bakers & cooks is gifting a stack of customized recipe cards by personalizing them to the recipient's name. To do this, upload the recipe cards to Avery, customize, print, and tie up in a cute little bow! To do this:
- Go to Avery Design & Print Online and at the top of the screen hit the button for "Open a Saved Project." (or if you're still on the previous design's page, you can simply go to "Open" > "Load Project From Computer")
- At the top of the page, click "Upload Project" then click "Browse to open a file".
- Navigate to the template folder you downloaded and upload the file titled, "Bonus3x5RecipeCards.avery".
- Use the text editor to customize the colors and add your recipients name in the "From the Kitchen of" field. When finished, print on Avery 3x5 Index Cards (they're pre-cut!) and tie together with a bow.
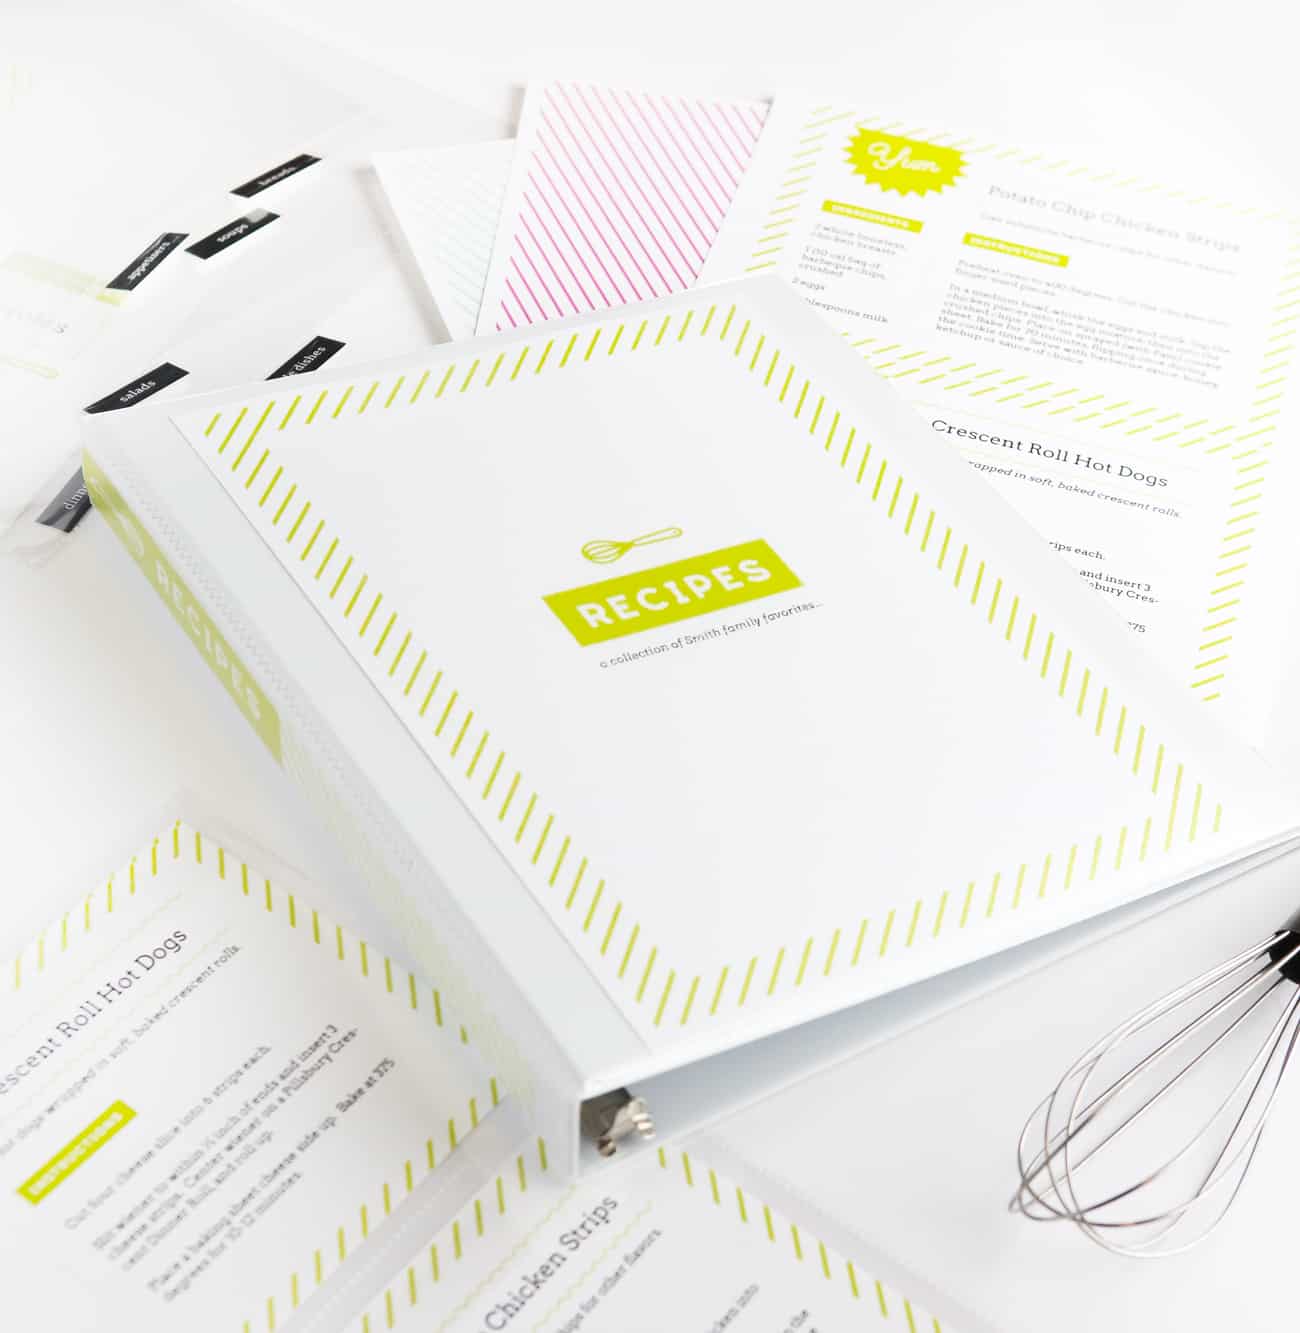
And there you have it! A complete, customizable recipe DIY recipe book binder! Avery also has more design options, so if you want to switch up the design, you can check out their library of recipe binder templates.
I hope you all found this tutorial helpful and can't wait to see the types of DIY recipe books you make! If you end up using these templates, please send me a pic by tagging @designeatrepeat on Instagram, Facebook, or Twitter! And as always, if you have any questions feel free to leave them in the comments!
This post was created in partnership with Avery. All content, templates, and opinions are that of my own. Thank you to my sponsors who help keep this blog & free printables running! For more holiday printables & projects, head on over to the holiday archive!


Ms. Moon Ichinaga says
Your Avery Starter Kit is no longer available on Amazon. Is it available from any other online source?
Melissa says
I'm not sure but if you google "Avery MyRecipe Starter Kit" a few might pop up! Otherwise, the kit was mainly a binder & page protectors so you could totally create your own by getting those items from an office supplies store (not as handy but will work).
Thanks for letting me know this product was discontinued!
Trish says
Avery says your template is no longer available
Melissa says
Thanks for letting me know! I relinked it to the same kit on Amazon.
Jodi Porta says
Thank you so much for sharing this!!.
This is awesome. I have been trying to find simple templates to print my recipes and keep them in a binder. You did a lot of the hard word for me, and for that I am truly grateful :)
I will use this Avery site for lots of other projects too.
Melissa says
You’re so welcome, Jodi! I’m so glad you will be able to put it to good use!
Kay says
I'm so excited to get started. I want to make my daughter a family favorites recipe book for Christmas. I think she would love that. Thank you for your page, it's so user friendly, I can't wait to start. Regards from South Africa ?
Melissa says
You're so welcome, Kay! I love that you're making one for your daughter; I would love to hear how it turns out!
ShayLynn says
I am trying to download the zip file to open in Avery but everytime I click on the link it just gives me a 403 error screen. Any thoughts?
Melissa says
Thanks for letting me know! I just changed some stuff on my site and it must have moved. But you can download it on the link below! On the right side, you should see a "..." and then you can select download.
https://www.dropbox.com/s/9a5u8itzkkamhfr/Recipe%20Binder%20Avery%20Templates.zip?dl=0
Maeghan says
I love this so, so much! Is there anyway to get lines on all of the cards instead of the text boxes? I would love to be able to write my recipes on all of the layouts instead of typing them :) I have them all uploaded to my Avery, but can't figure it out.
Melissa says
Hi Maeghan! Is this what you are wanting? https://www.designeatrepeat.com/wp-content/uploads/2020/04/RecipeCardsWithLines.pdf If so, you can skip uploading them to Avery and just print them directly from there to fill in! :)
Maeghan says
Yes it is ? am I able to open these in Avery to change them to black to match the other pages I made?
Melissa says
Those exact files won't open in Avery. Do you just want everything that's currently limed green turned black? I can make a PDF for that :)
Maeghan says
Yes please! Thank you - you are so gracious! I love this so much ❤️ It is exactly what I have been looking for, except in black!
Melissa says
You got it! Love the look of it in all black. Would love to see a pic of your binder when it's all done! https://www.designeatrepeat.com/wp-content/uploads/2020/04/RecipeCardsWithLines_Black.pdf
Maeghan says
Thank you again! I would love to send a picture as soon as I get it all together - currently looking for sheet protectors for the half sheet print outs! I know that you said that they fit the ones in the My Recipe Starter Kit, but I don't need everything in that kit and will definitely need more than 5 of those sheets :)
If you are aware of a link or where to purchase them; please share!
Melissa says
These might work well! https://www.amazon.com/BCW-Archival-Storage-2-Pocket-5x7-Inch/dp/B003FZDFI6
Maeghan says
You are so sweet! Thank you!
May I ask one more question? Is it possible to edit the text on the spine covers? I think I may be missing something on Avery. I have been messing with it, but I have been unable to figure out how to edit the text that says "Recipes." Am I missing something?
Again, thank you so much :)
Melissa says
I don't think I made the spine editable (I should fix that though!). But you could put a solid colored box over it and put a new text box overtop. Or if you email me what you want it to say I can email you the file to save you the hassle! designeatrepeat(at)gmail.com
Rebecca says
Hey I'm trying to edit the templates in Avery Design but when I change the color it's still giving me a lime green border that I can't seem to change is there a way around this?
Melissa says
So strange! Have you emailed Avery support about that? If it's still not working, shoot me an email!
Kaitlyn says
I'm having the same issue! Did you find a solution?
Melissa says
Hi! I don't remember hearing back from this reader so I assume she figured it out. Email me if support isn't able to help!
Sofia says
Hi¡ im trying to download the samples and it doesn’t work. Do you have another link or something¿ just amazed with your blog <3
Melissa says
Hey Sofia! The download files are .avery files that only work when uploaded to Avery.com. If you aren't getting them to work there, shoot me an email and I can help! xx
ml says
Hi ! What font do you use for your printcards? Thank you
Melissa says
Hey there! Are you referring to the serif font? If so, that one is called Arvo!