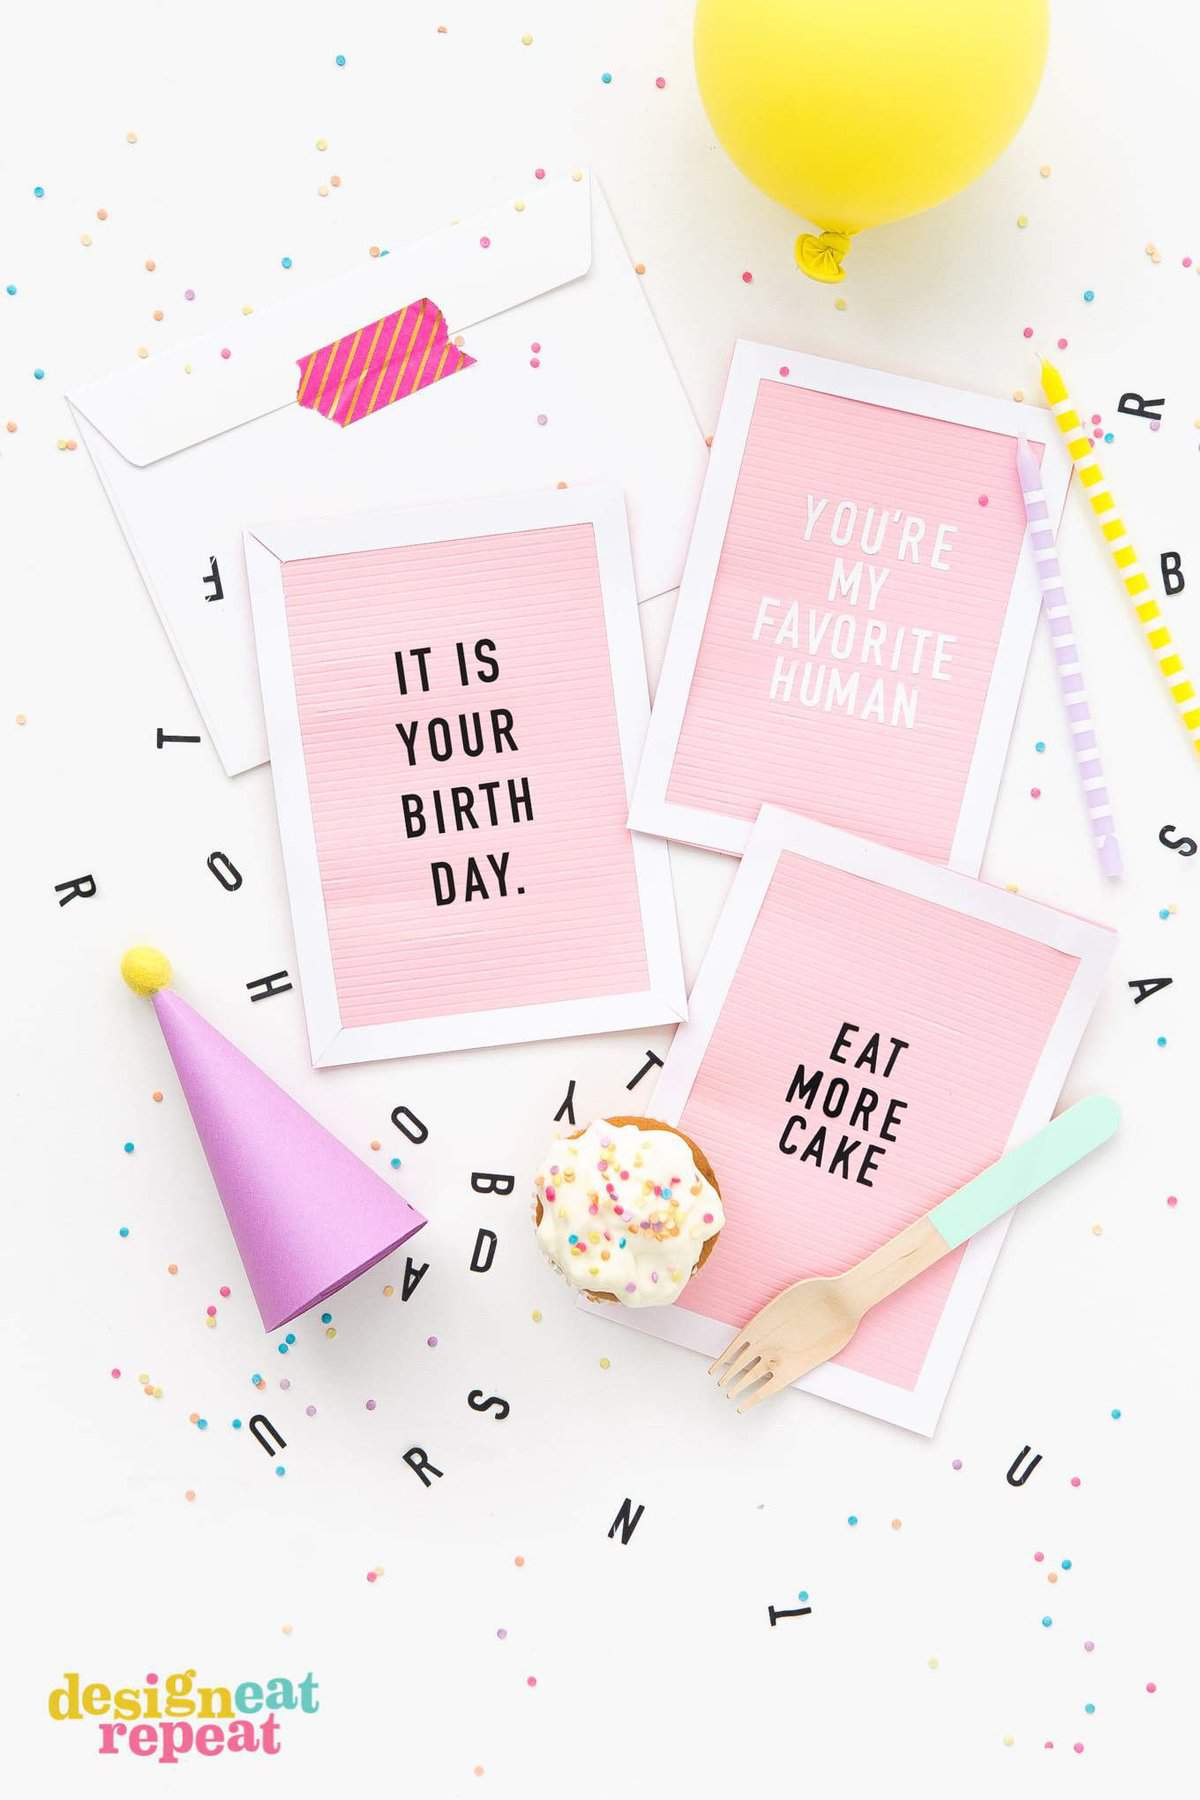
Bring the letterboard trend to your craft room with these Letterboard DIY Birthday Cards! Customize with your own phrases and slip in an envelope for a fun & creative handmade birthday card!
Save this Recipe!
Enter your email and I'll send this recipe to you.
If you have an Instagram account, then you surely know how the letterboard craze has taken over home decor. With witty phrases and clever puns (and fun board colors!) it's no wonder its become a social media trend. And although I don't own one myself, I thought it was time to make mini versions that dual as letterboard themed DIY birthday cards!
What You Need to Make Letterboard DIY Birthday Cards
- White cardstock
- Pink cardstock
- The printable frame guide
- A scoreboard & scoring tool
- Sticker paper
- Black marker (or 1" tall black alphabet stickers)
- Strong double-sided adhesive
- An envelope to gift in!
How to Make Letterboard DIY Birthday Cards
Step 1: Trim Paper & Add Score Lines
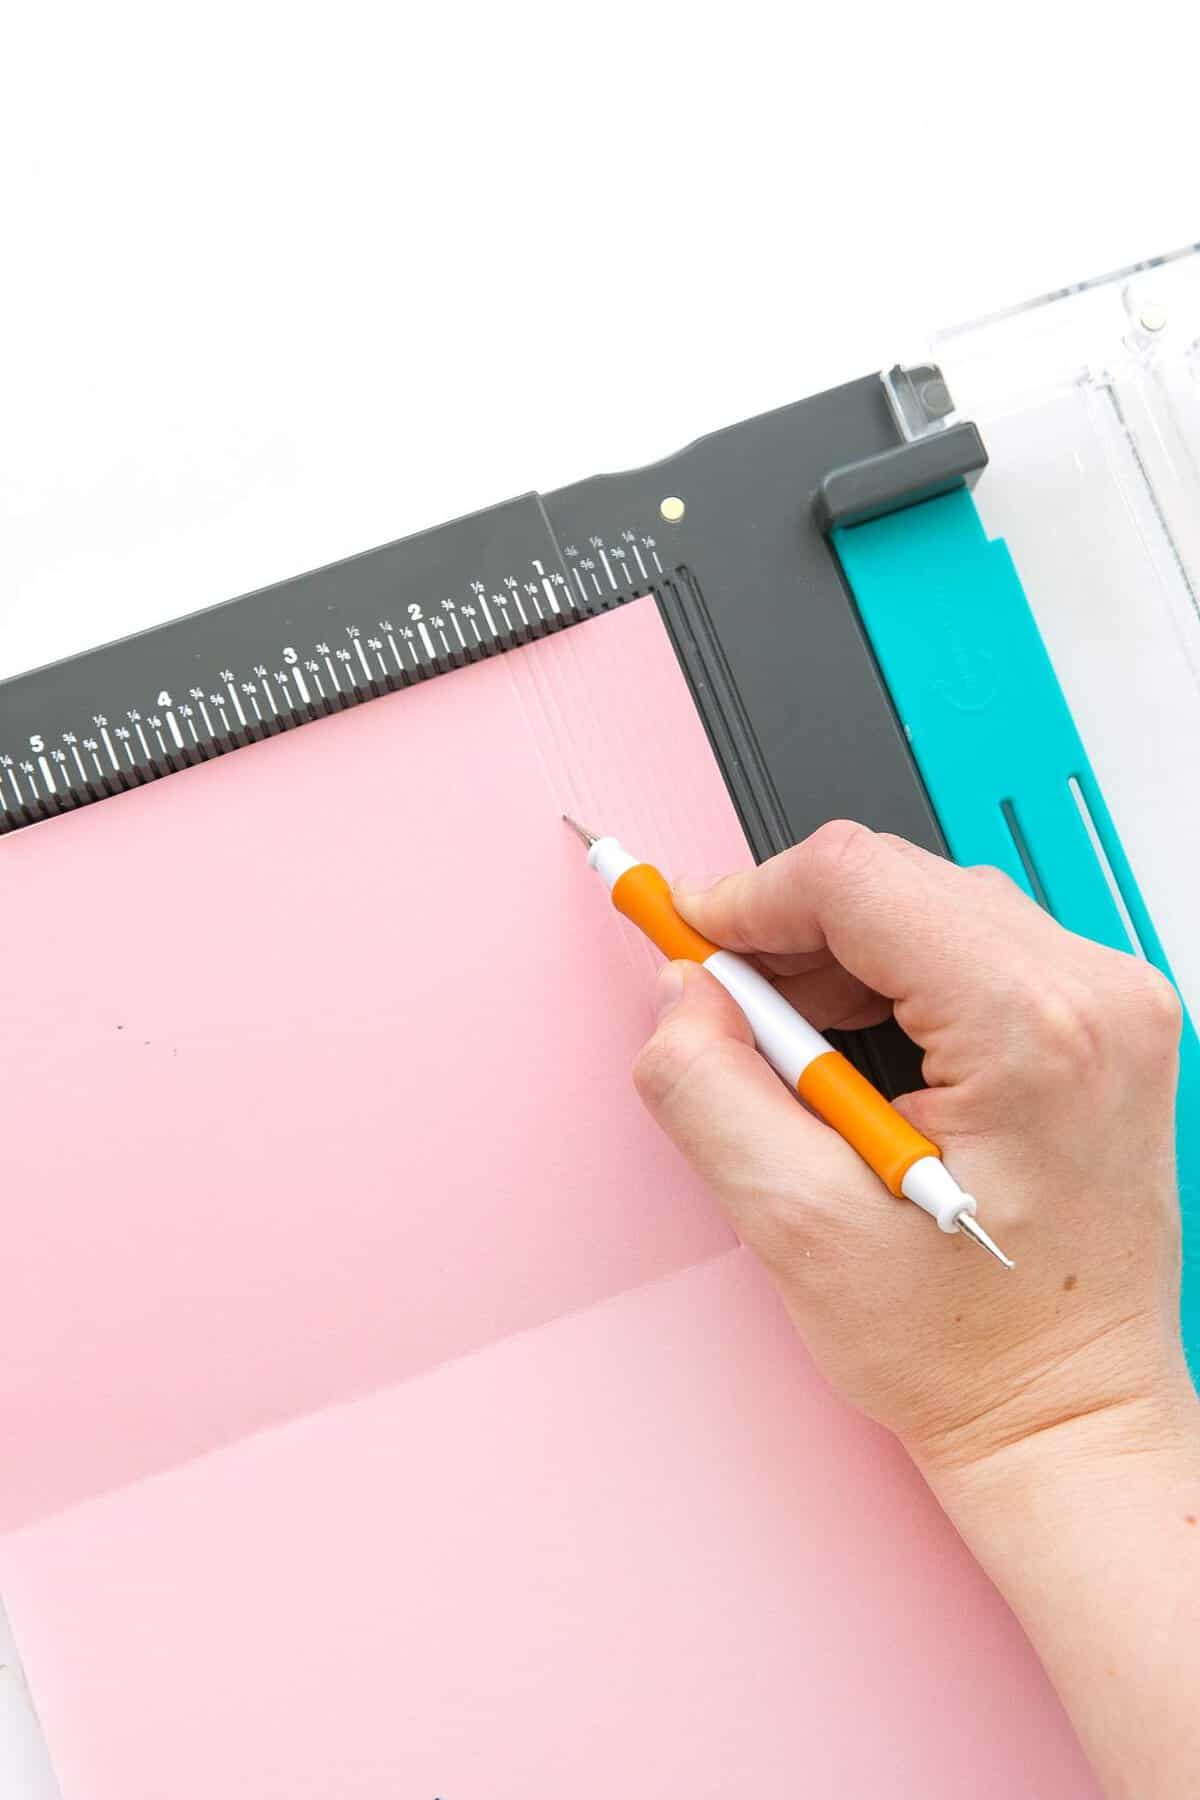
To get started, trim a piece of light pink (or any color) cardstock down to 7 x 10" (to make a 5 x 7" card). Fold it in half to create the 5 x 7" card and then use a scoreboard and scoring tool to engrave horizontal lines to the front of the card. (As you can see below, I only scored lines on that one half of the paper since I only wanted them on the front).
Step 2: Cut and Adhere Frame
Once scored, I then cut out the white frame out of cardstock (use the free printable below for a size guide) and then adhered it to the front of the card (place printed side down to hide any dashed lines).
Step 3: Cut Out Letters
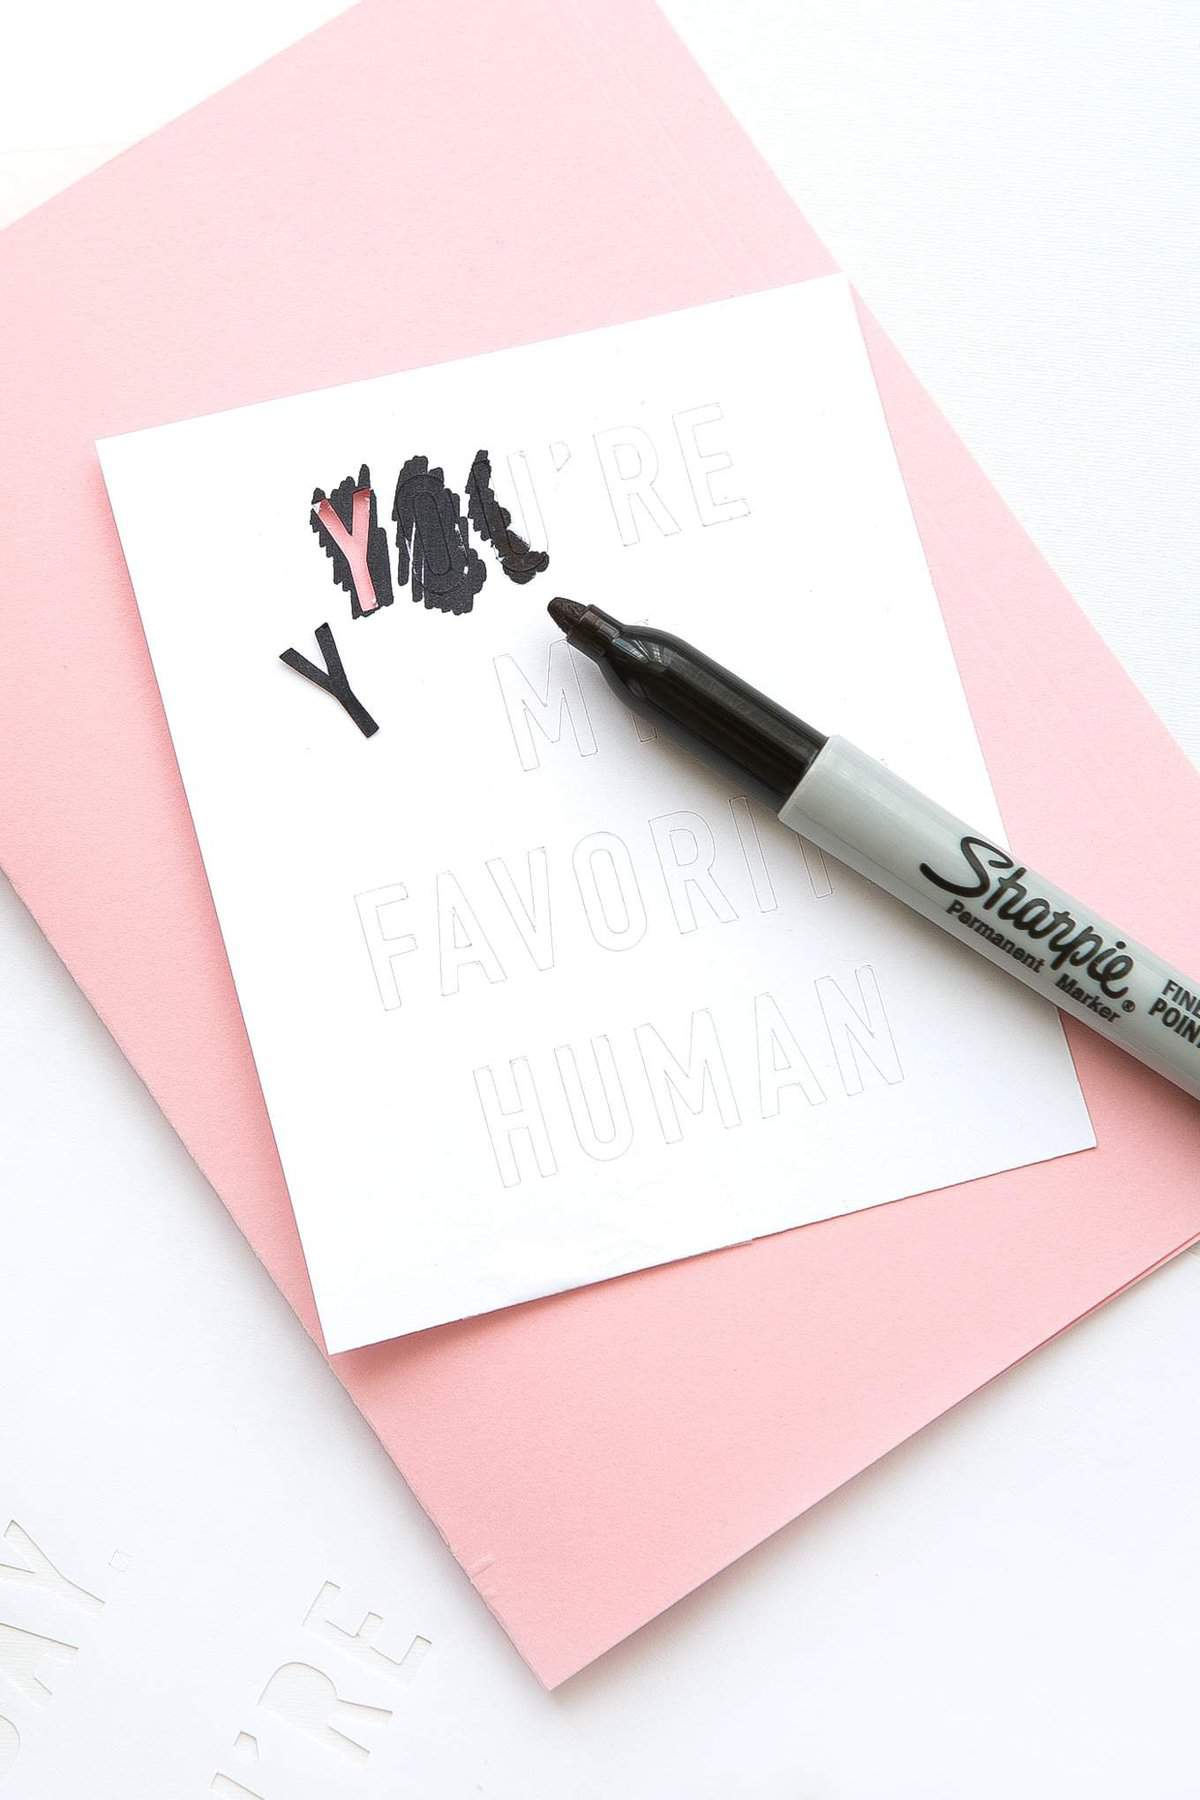
Next, I cut out 1" tall letters on a piece of 8.5 x 11" sticker paper with my Silhouette Cameo and then (before removing from the mat) I used a black maker to turn some of the letters black. This was the "my printer is out of black ink" method, but I recommend printing the letters black using Print & Cut OR just using pre-made black alphabet stickers.
Tip: Use premade 1" black alphabet stickers instead of cutting them out.
Step 4: Position & Adhere Letters
Once cut out, I used my Alphabet Alignment Guides to position and place the letters on the cards. My favorite part of this project is that you can customize the phrases to whatever you'd like! I decided on using one of my favorite scenes from The Office for the phrase below, because nothing says Happy Birthday like a message from Dwight Schrute himself.
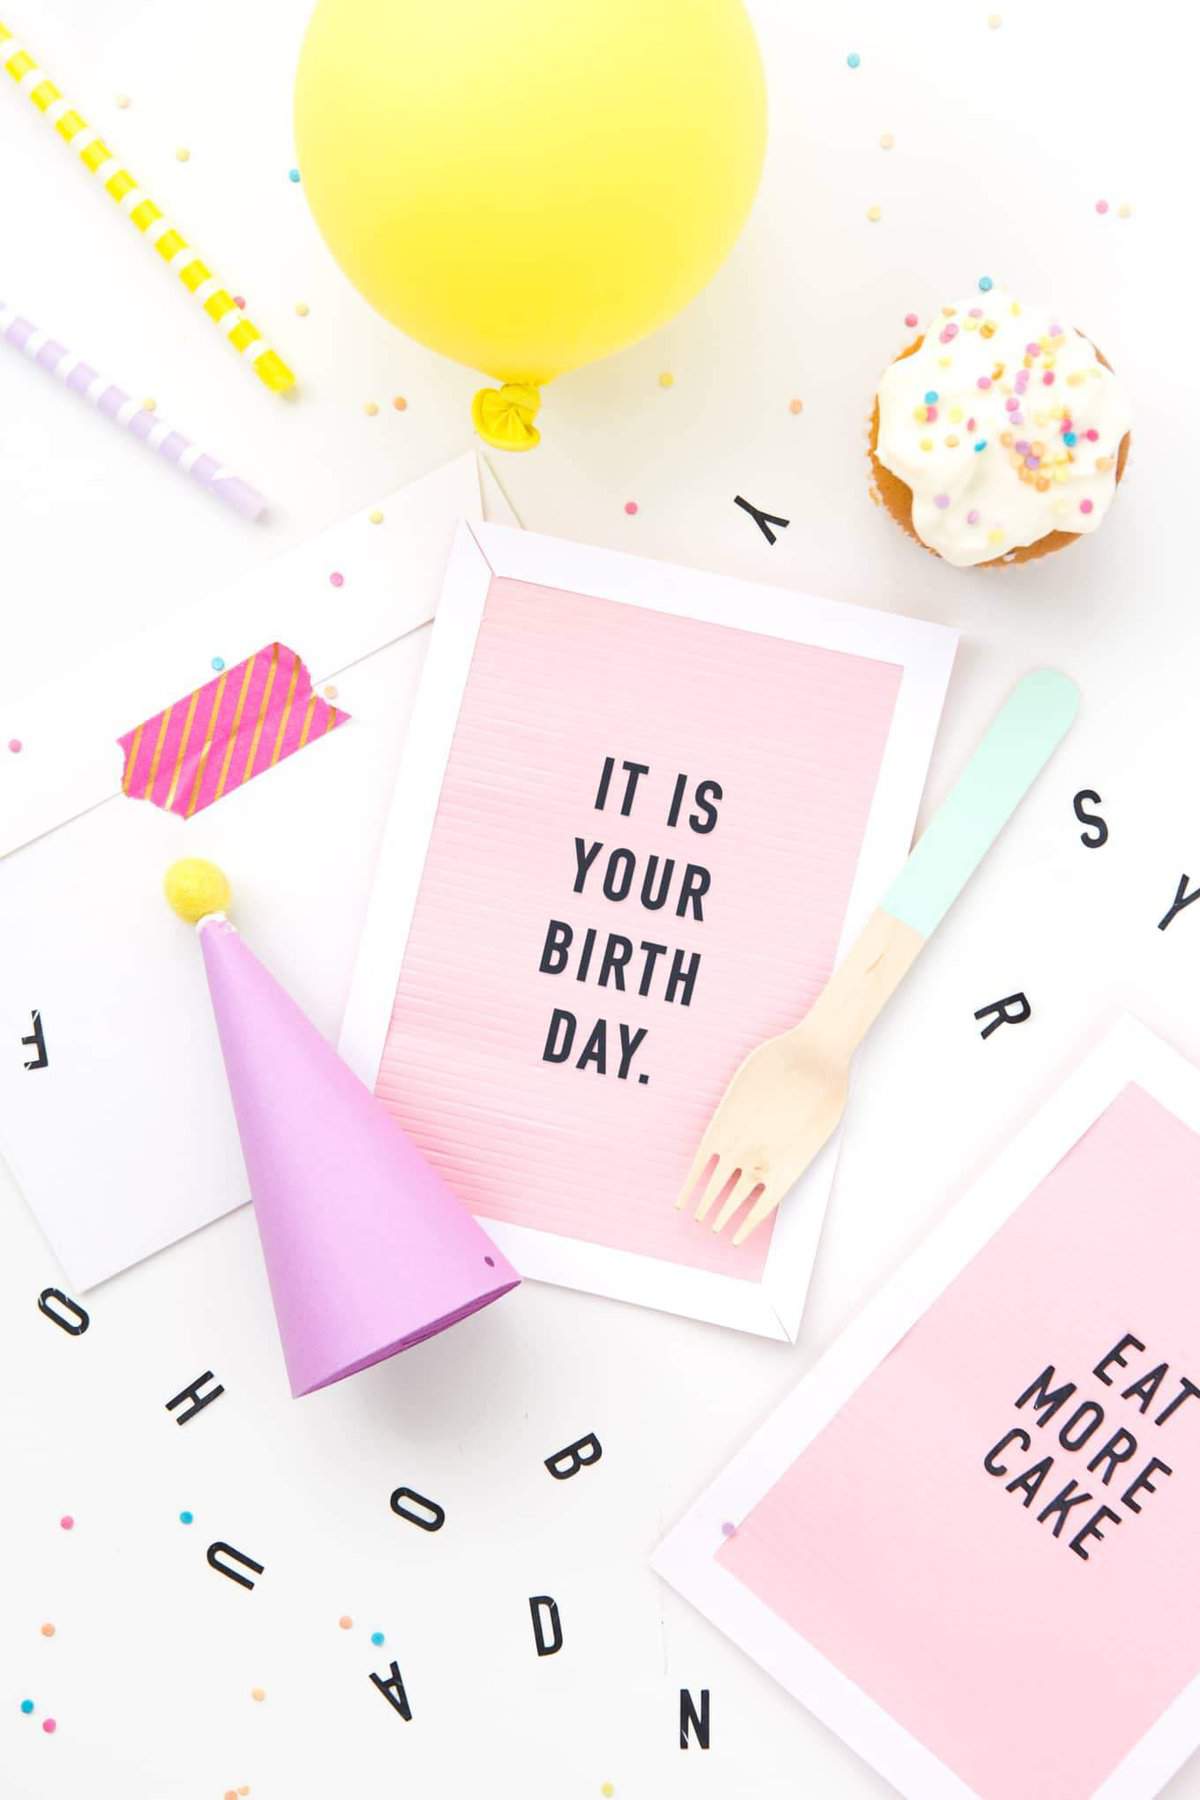
The other phrase? My own life motto: Eat More Cake.
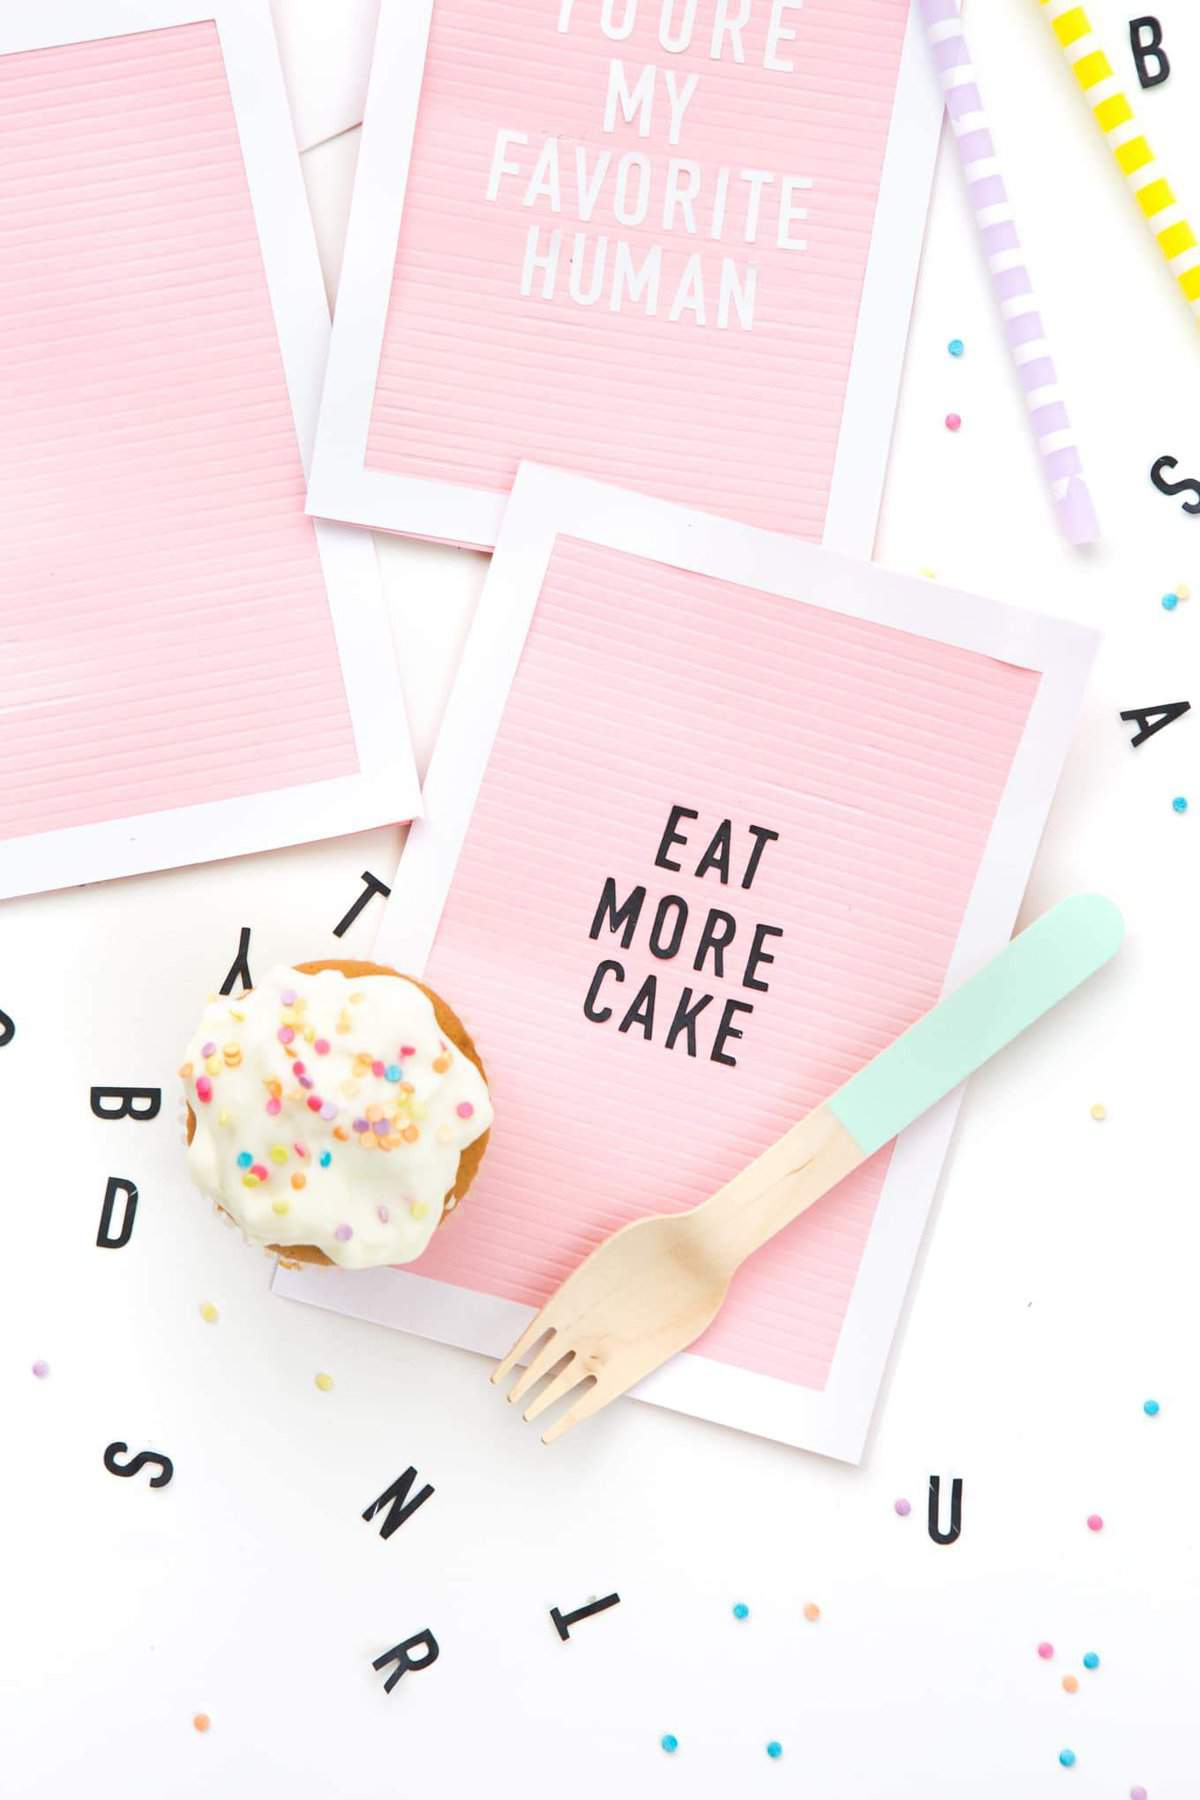
So there you have it! A fun birthday card idea you can customize any way you choose! So tell me, what phrase would you write? I'll be updating this post soon with the SVG files, so stay tuned!
Bring the letterboard trend to your craft room with these Letterboard DIY Birthday Cards! Customize with your own phrases and slip in an envelope for a fun & creative handmade birthday card! Tip: Use premade 1″ black alphabet stickers instead of cutting them out.How To Make Letterboard DIY Birthday Cards
Materials
Tools
Instructions
Notes

Harri says
Wow! Love this!
Courtney says
This is SO CUTE!