
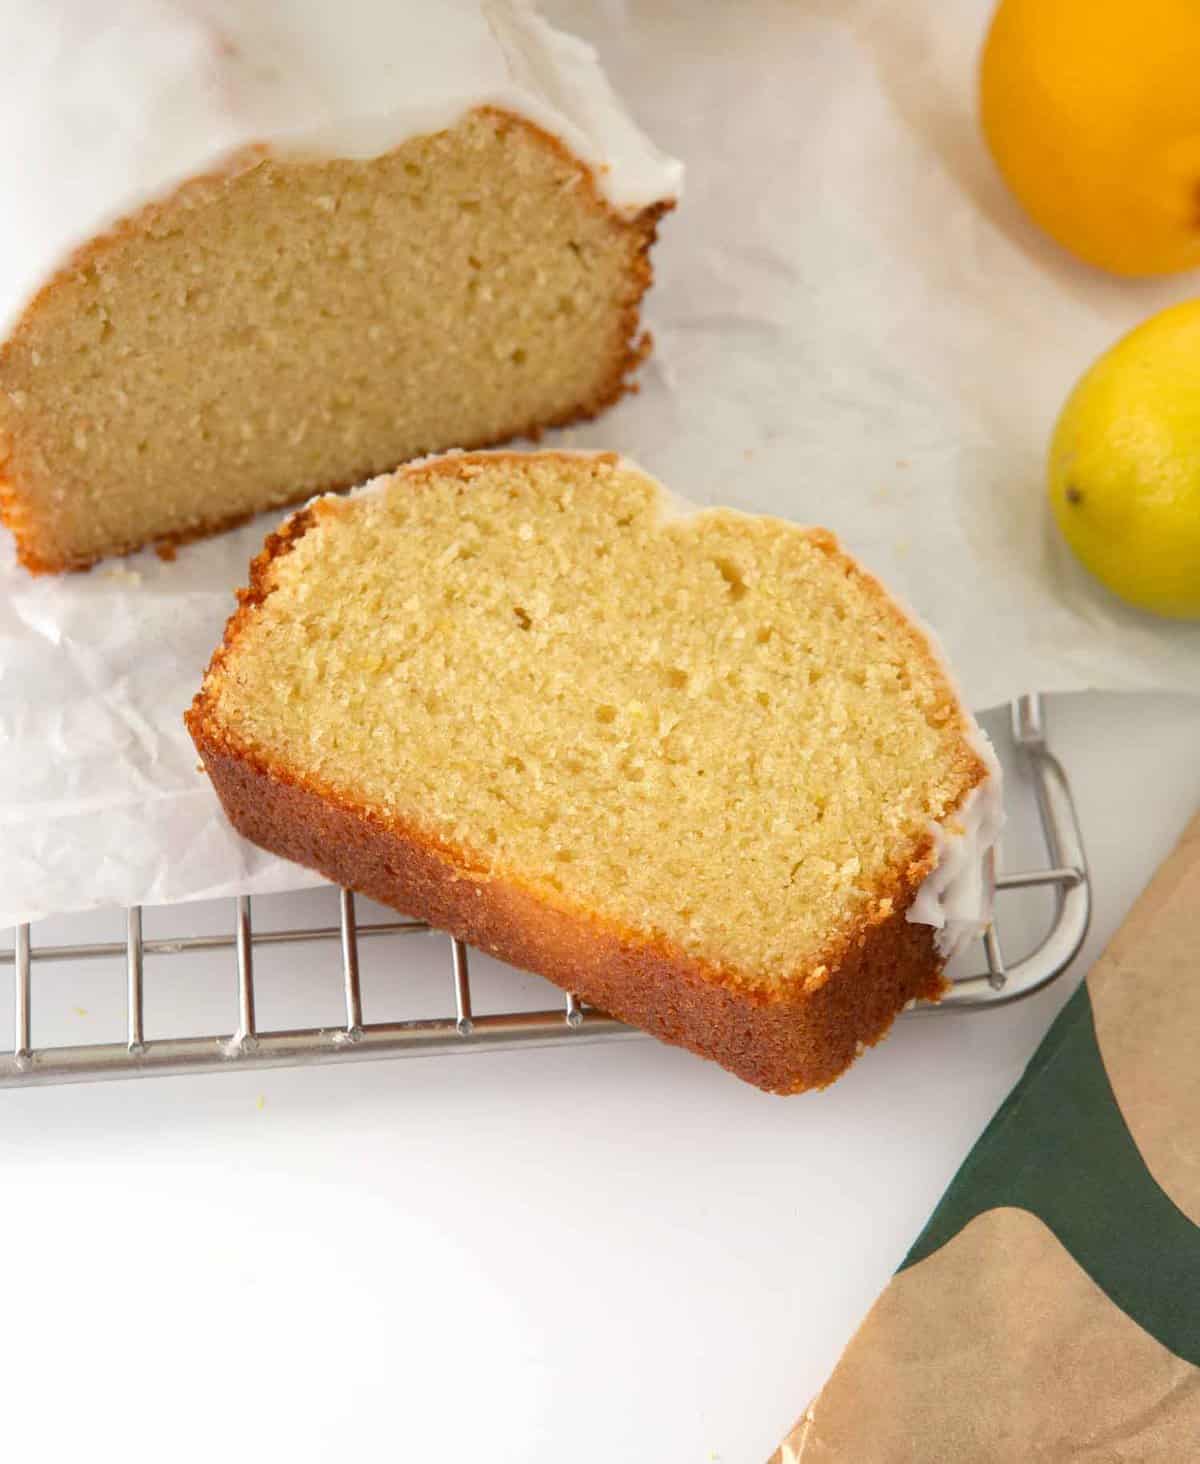
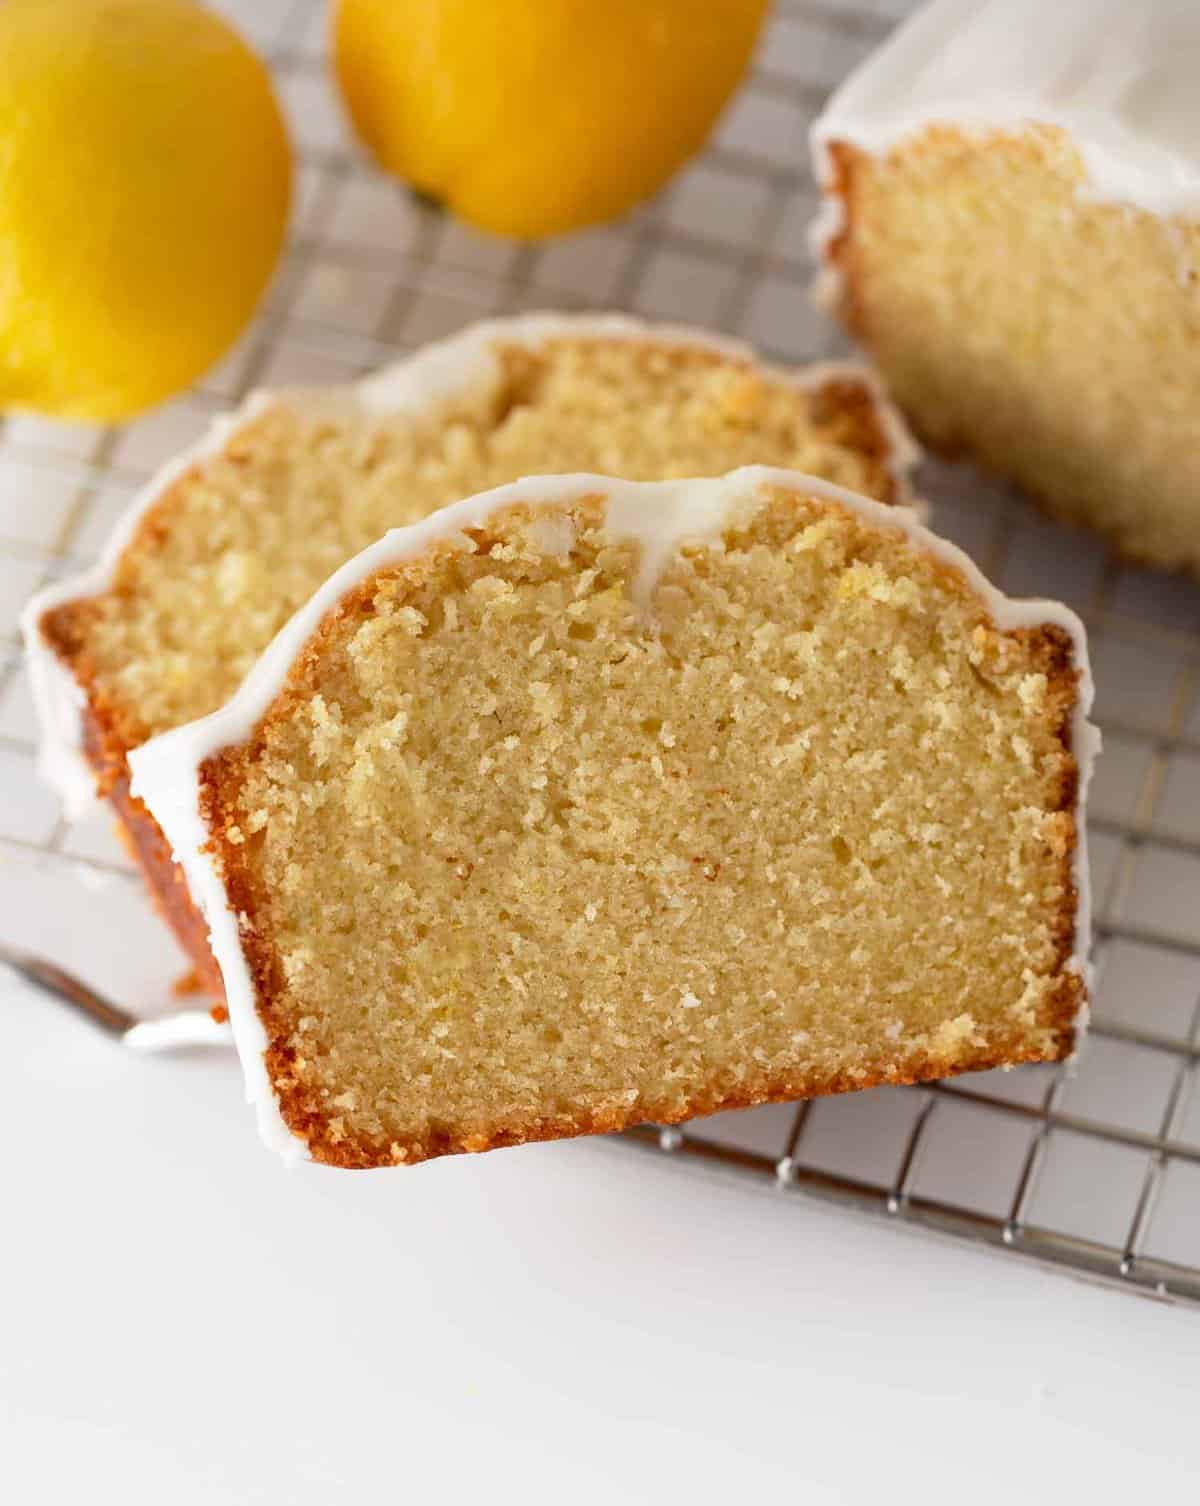
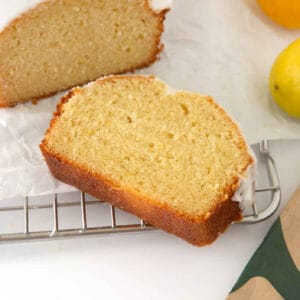
Moist, buttery, soft lemon bread made in one bowl, no mixer required! After months of testing, I finally mastered a thick & soft recipe inspired by the Starbucks lemon loaf!
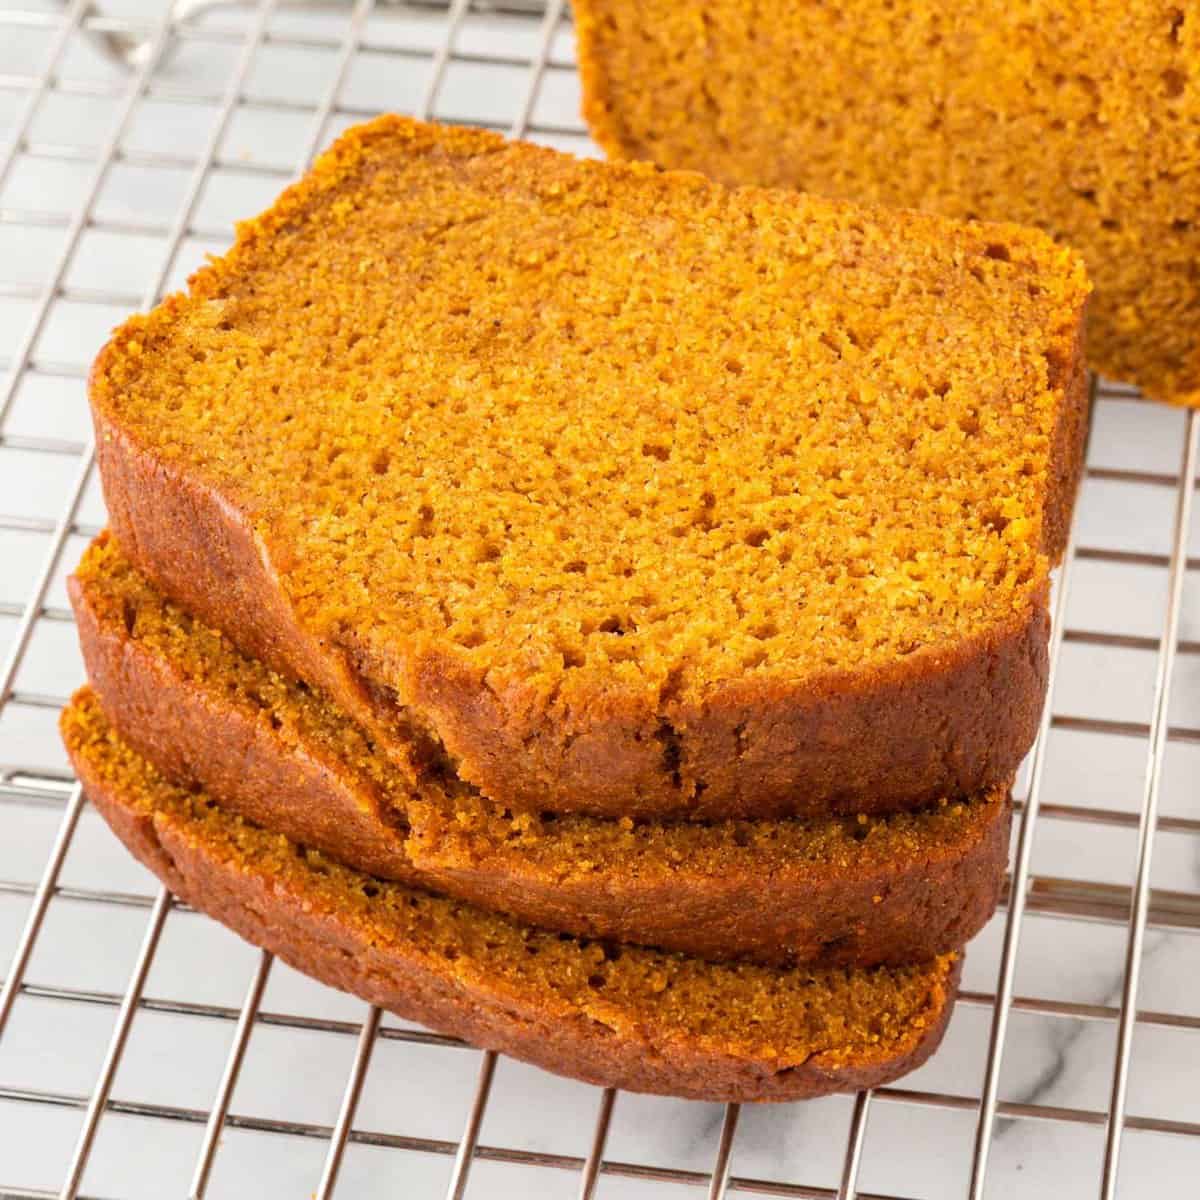
Psst! If you love this, try my copycat Starbucks pumpkin bread next!
What is the Starbucks lemon loaf?
Starbucks' website describes it as a "citrusy, buttery, moist lemon pound cake topped with a sweet icing." It's basically just cake with your breakfast coffee and I'm not one to argue about that. Coffee cake...but better.
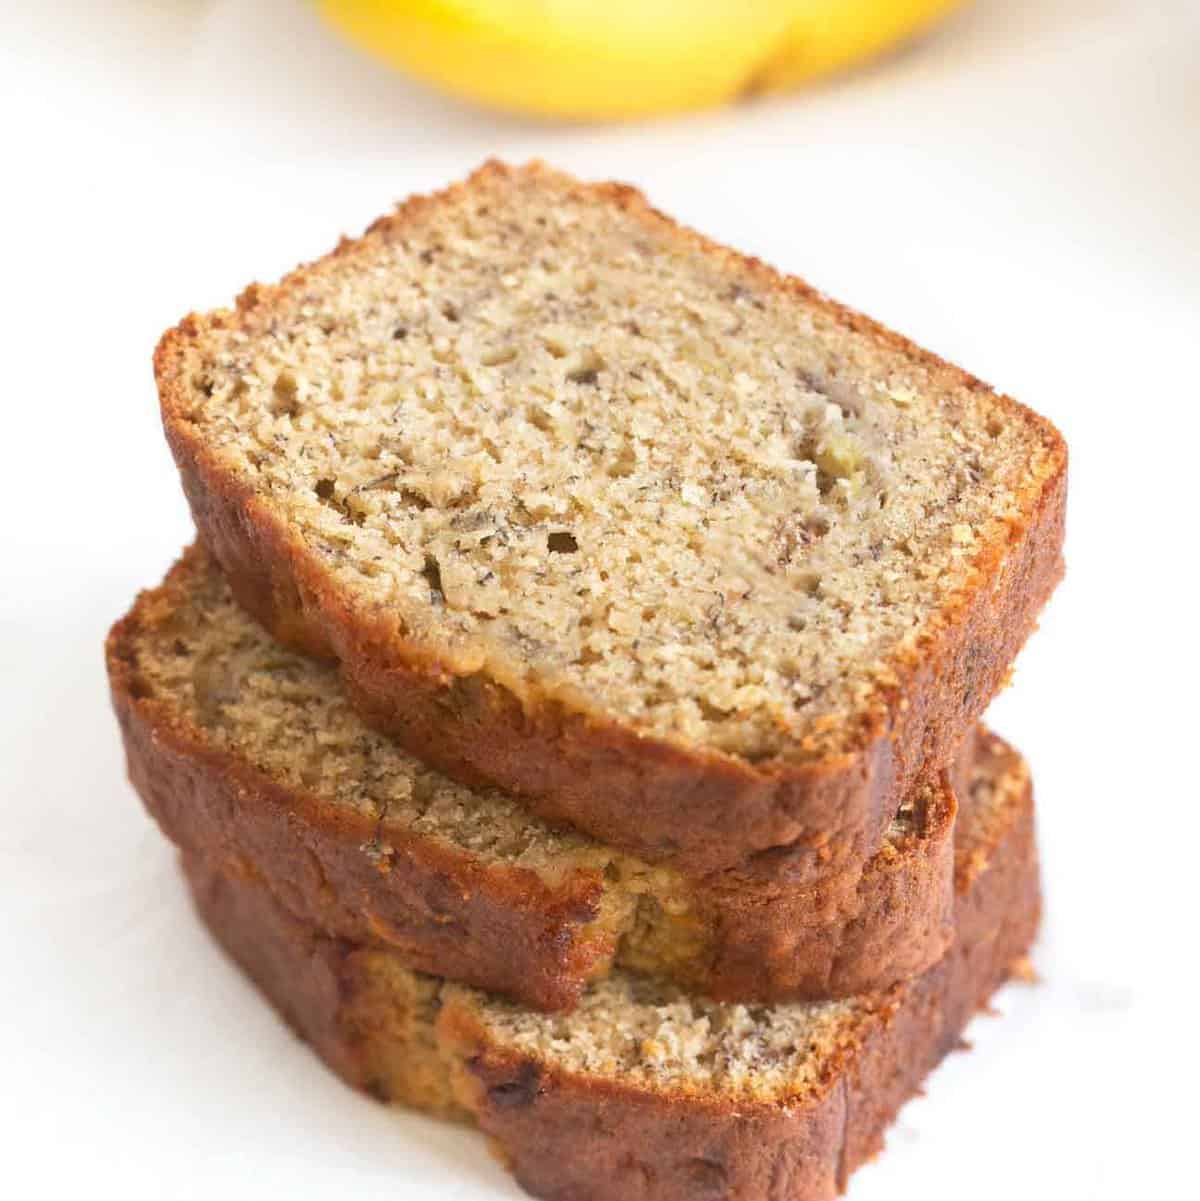
If you love moist & soft breads like this, you'll also love my copycat starbucks pumpkin bread and the ultimate moist banana bread!
Why I LOVE this Copycat Lemon Loaf
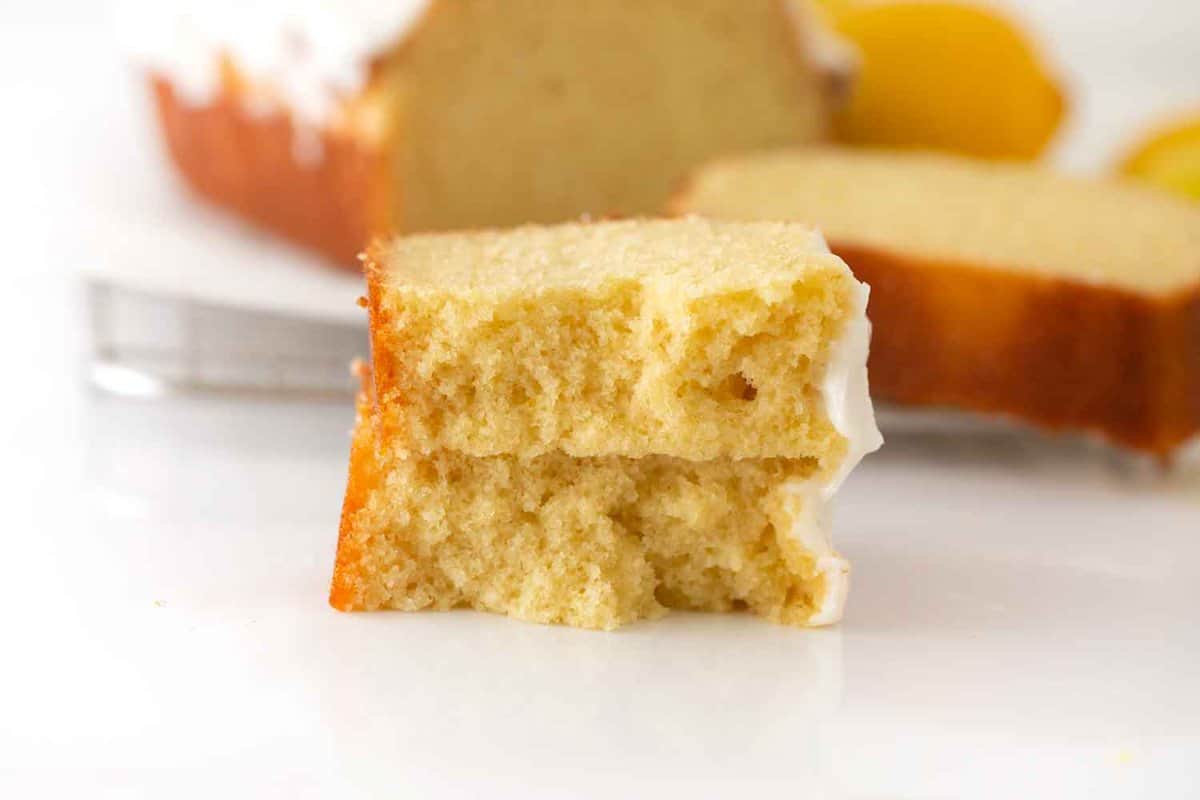
- Very close to Starbucks! It took me 7 tries and 2 months to achieve this moist, slightly dense, lemon-packed lemon loaf recipe. It wasn't enough for me to just make a good lemon bread...I wanted that moist & tender Starbucks texture! I will say that Starbucks' version, on a good day, is a tiny bit moister due to fancy preservatives most chains add to quick breads, but I'd say this is a 90% match and it's DANG good for being homemade!
- One bowl, no mixer! Oh yes, I said it. You don't need an electric mixer for this recipe. In fact, I recommend against it in order to achieve a tender, dense texture.
- Simple ingredients: You'll need some lemon extract & one fresh lemon, but other than that, this recipe uses simple ingredients you probably have in your pantry! Some lemon bread recipes use lemon cake mix or pudding mix...but we're going full-on homemade here. Other lemon pound cake recipes also use a simple syrup, which you could totally make to make it even moister, but I'm all for ease and that's just an extra step I'm not going to do, ha!
Ingredient Notes & Substitutions
This is just an overview, click here to jump down to the full recipe card for the recipe amounts and condensed recipe instructions.
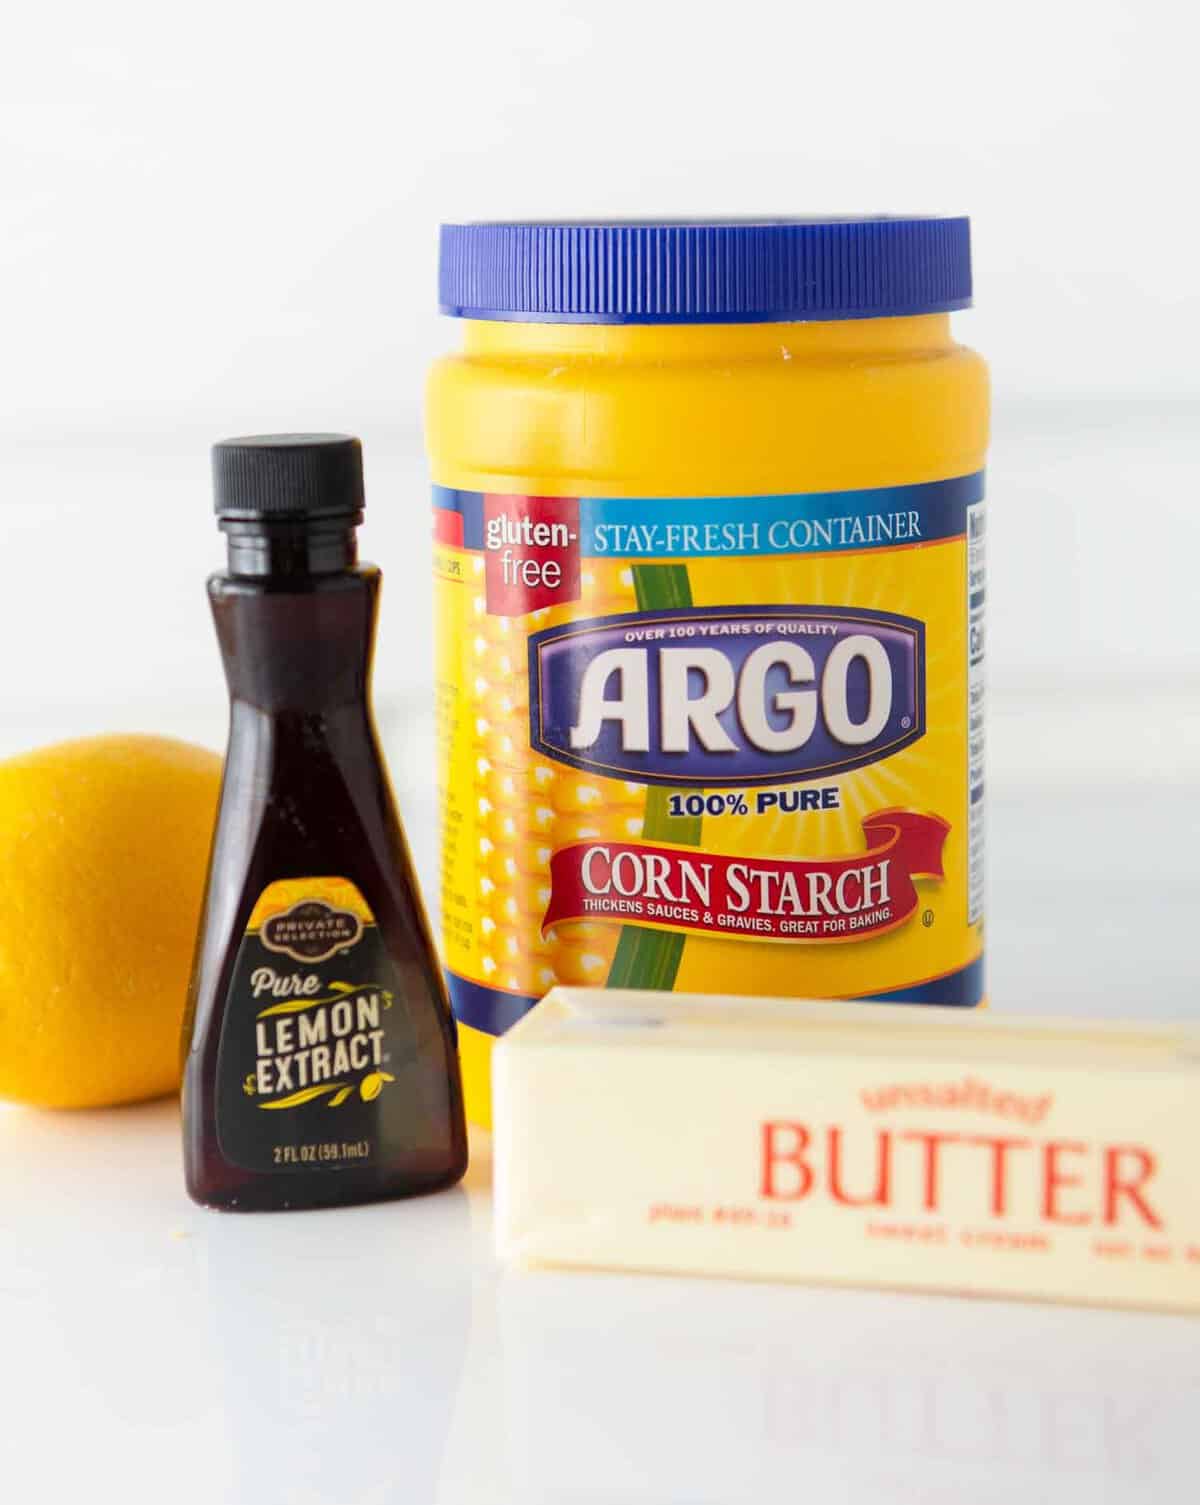
- Lemon Extract: I tested this recipe using just the fresh lemon juice & zest but felt like it didn't maintain a strong lemon flavor after baking (the acidity of the lemon juice also caused it not to rise as much). So, adding the 1-2 tablespoons of lemon extract is a must if you want that strong citrusy flavor like Starbucks. 1 tablespoon if you like a more subtle lemon & 2 tablespoons if you like a pretty strong lemon flavor. I just used the $3 Kroger brand and I actually liked the taste much better than my expensive bottle of Nielsen Massey (which kind of has a strong alcohol/lemon Pine-Sol taste). All that said, if you don't have access to lemon extract, I suggest adding 1 tablespoon lemon zest (about 2 large lemons) to the batter for a light citrus taste.
- Cornstarch: Using cornstarch essentially turns your flour into a DIY cake flour, giving the bread a finer, more tender crumb. I don't recommend omitting it, as it also helps make and keep the bread super moist! But if you absolutely don't have it or are allergic to corn, you can leave it out.
- Milk: I used whole milk but 1% or 2% is also fine. At first, I tested this recipe using sour cream but ultimately felt that it made the texture too dense and the milk gave it the tender, fluffy texture I wanted. I also know not everyone keeps sour cream in the fridge, so this was also a win-win for ease!
- Baking Powder: This is different than baking soda and allows the loaf to rise. That said, note that this won't rise into a super tall & fluffy loaf.
- Vegetable Oil: Again, I tried this recipe without oil (using sour cream instead) and wasn't able to achieve the tight, tender, moist crumb. We're only using ¼ cup but it does make a big difference!
Tips for Success
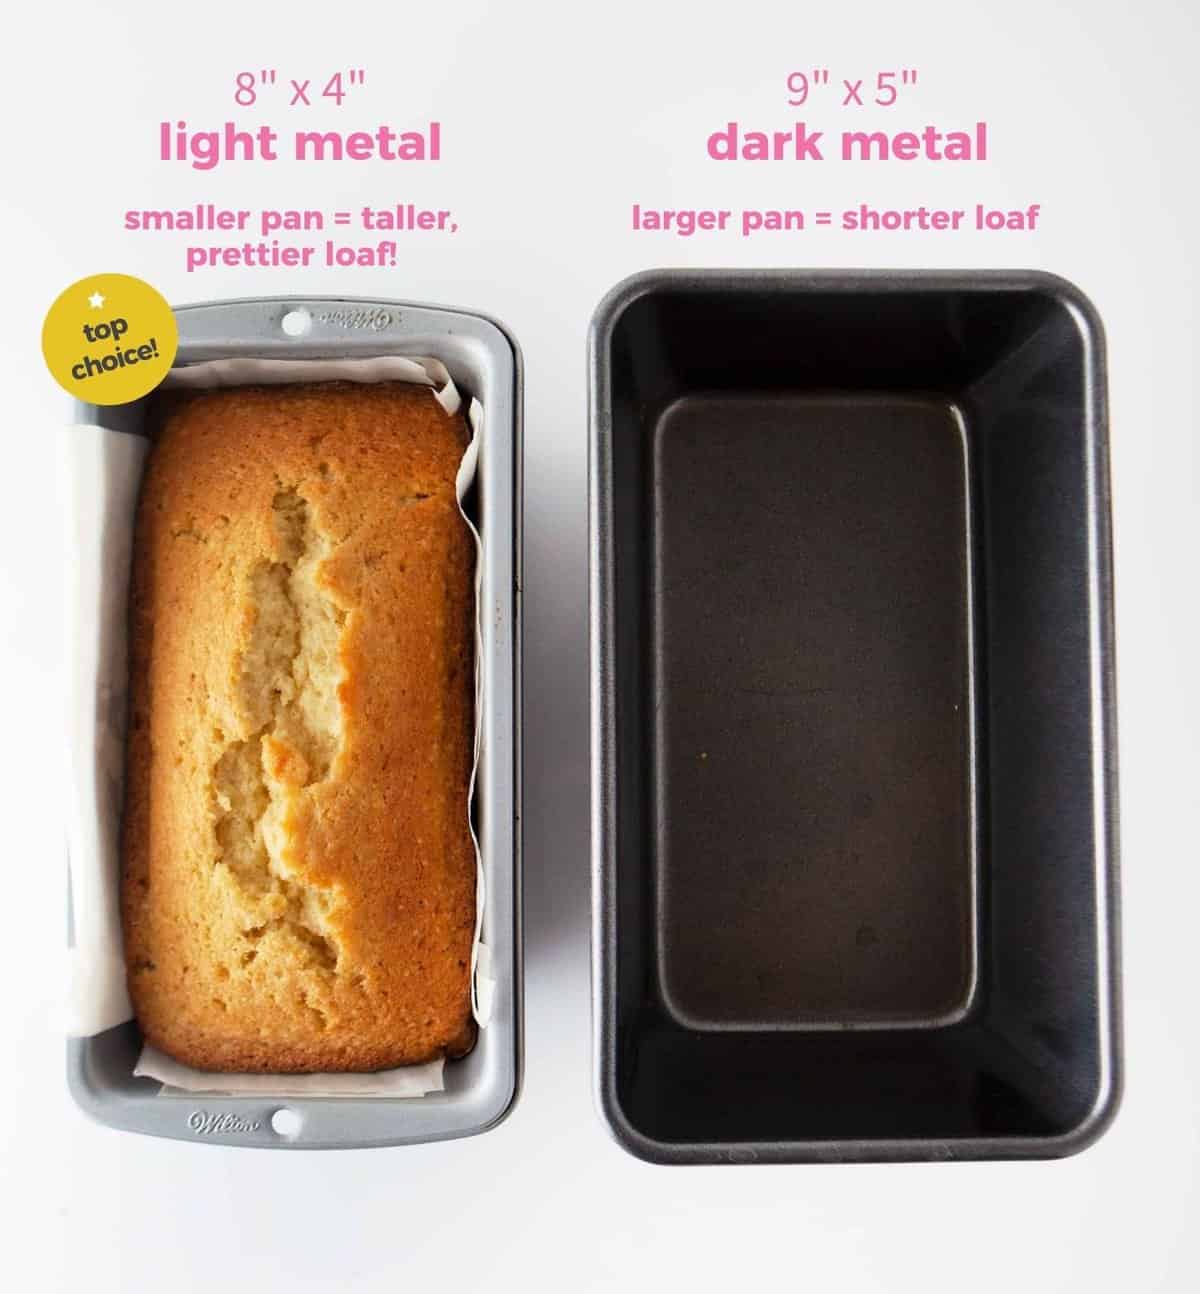
- Use a light-metal pan with parchment: For an even bake, I recommend using a 8x4" light metal loaf pan (they're cheap!) and lining it with parchment paper. If you only have a dark metal pan, reduce the temperature to 325°F and use a toothpick to test for doneness around 45 minutes. If you only have a glass pan, you will want to reduce the temperature to 325°F and likely bake for an extra 10-15 minutes.
- Mix by hand with a spatula: For ease & to keep the loaf dense, I recommend mixing this by hand! In doing so, you only need one bowl for the batter with minimal cleanup.
- Soften butter: Since we're mixing by hand, this is one recipe you'll want softened butter. If grabbing straight from the fridge (what I do), just microwave the stick standing up (not laying flat) for 15-20 seconds. You don't want it melted but you do want it soft enough to be able to mix with a spatula. All that said, if you start mixing the butter with the sugar and it's not soft enough, you can pop the whole bowl (if microwave-safe!) in the microwave for about 10-15 seconds to soften OR you can use a mixer for this step until it's combined. It's okay to see little specks of butter in the batter but you don't want large chunks.
- Top might crack: It's normal for the top of the loaf to crack. It will be a little crevice for all that scrumptious glaze.
How to Make Copycat Starbucks Lemon Loaf:
This is just an overview showing step-by-step photos, click here to jump down to condensed, printable recipe card with exact instructions.
Step 1: Make Lemon Batter
Before you begin: I recommend mixing this by hand with a spatula, not an electric mixer! Since this is essentially a pound cake that we want to have a tight, slightly dense texture, we don't want to whip too much air into it!
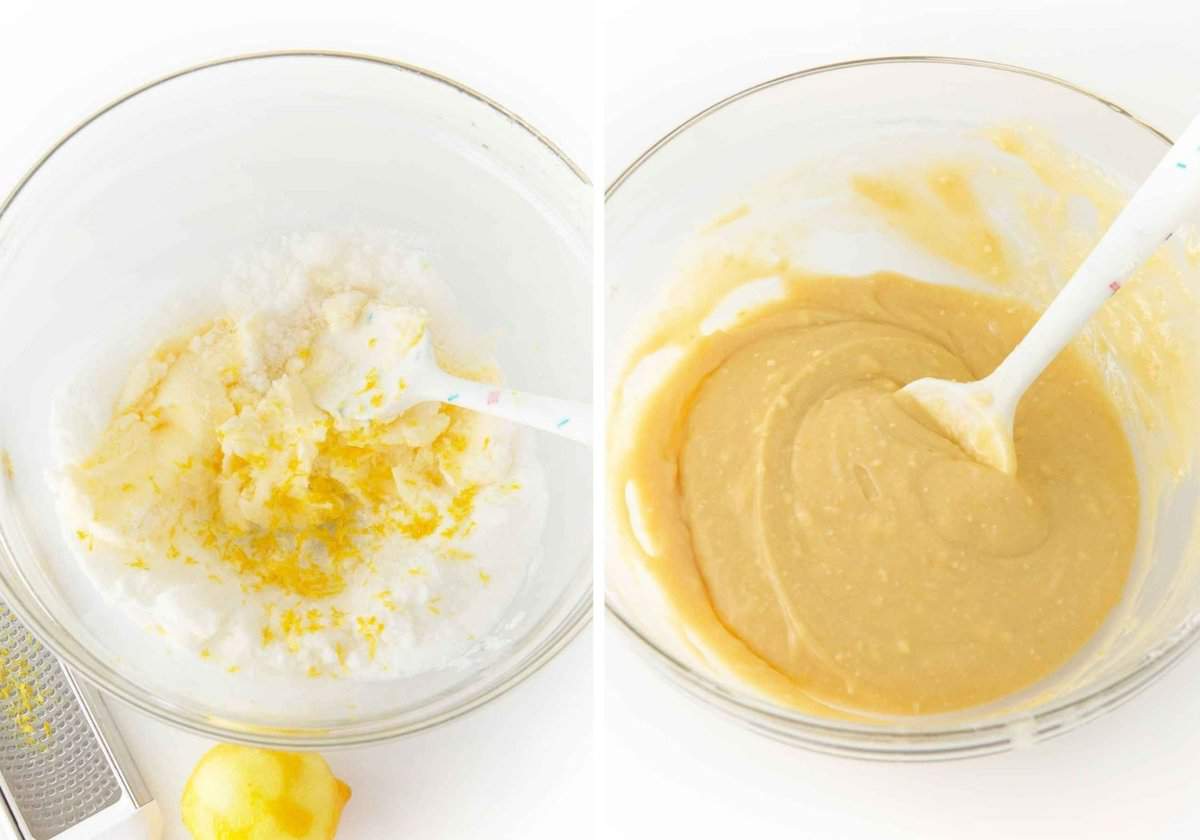
- In a medium-sized mixing bowl, mix together ½ cup softened butter (1 stick), 1 cup granulated sugar, 1 tablespoon lemon extract, and ½ tablespoon fresh lemon zest (optional). This will infuse the butter and sugar with the lemon flavor.
- Add 2 teaspoons vanilla extract, 2 eggs, 1 teaspoon baking powder, and ½ teaspoon salt, then mix until incorporated.
- Add 1 ¼ cup flour and 2 tablespoons cornstarch and mix until just combined.
- Lastly, add ¼ cup milk and ¼ cup vegetable oil and stir until combined.
Tip: The lemon zest is optional (but encouraged!), as I know not everyone has a zester at home. If you don't have one, you can use this DIY method using a vegetable peeler.
Step 2: Bake & Cool
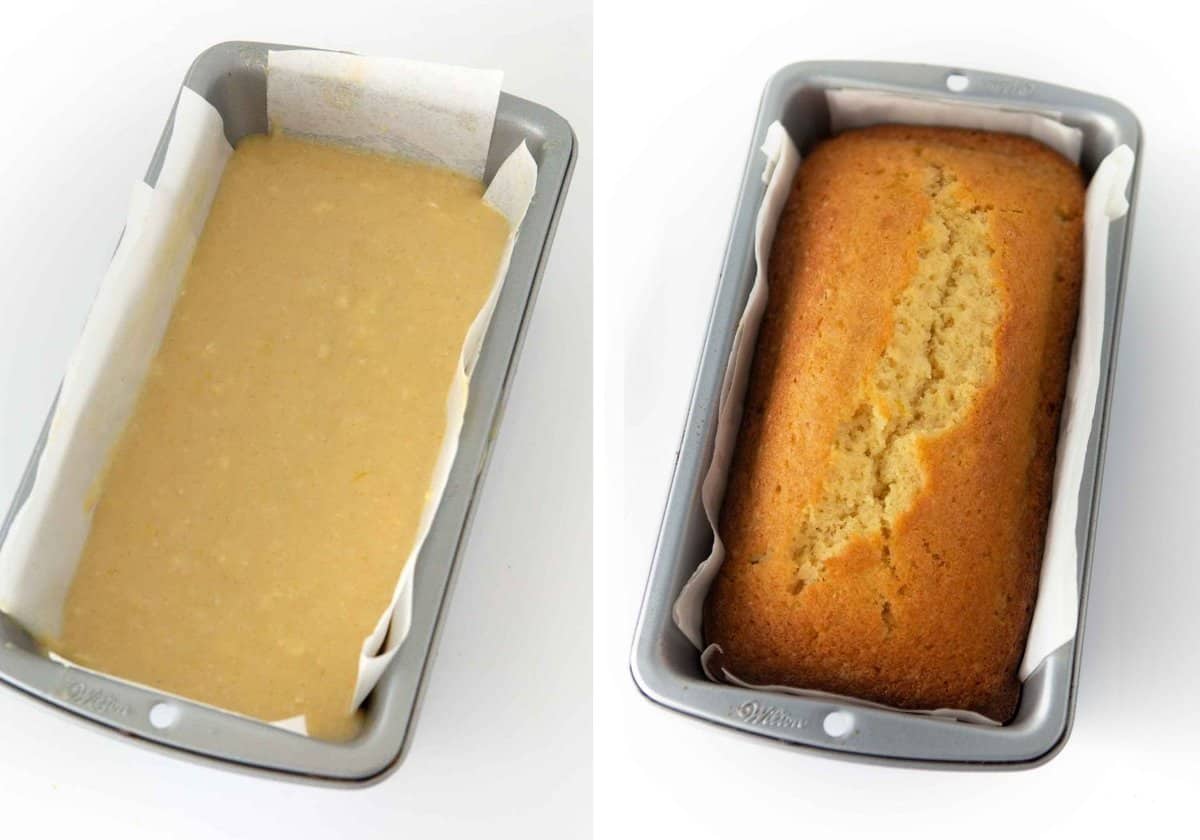
- Grease an 8x4" light-metal loaf pan and line with parchment paper (see image below for how I create a parchment sling; I put one long skinny peice on the short sides and 1 larger sheet on the long sides). Pour batter into pan, then tap against the counter to release any air bubbles.
- Read these baking instructions carefully! Bake at 350°F for 60 minutes total, but when there are 15 minutes left, tent a piece of foil on top to prevent the top from overbrowning. This will allow the inside to finish baking without overbaking the top. Allow the loaf to FULLY cool before adding glaze.
Step 3: Make & Add Glaze
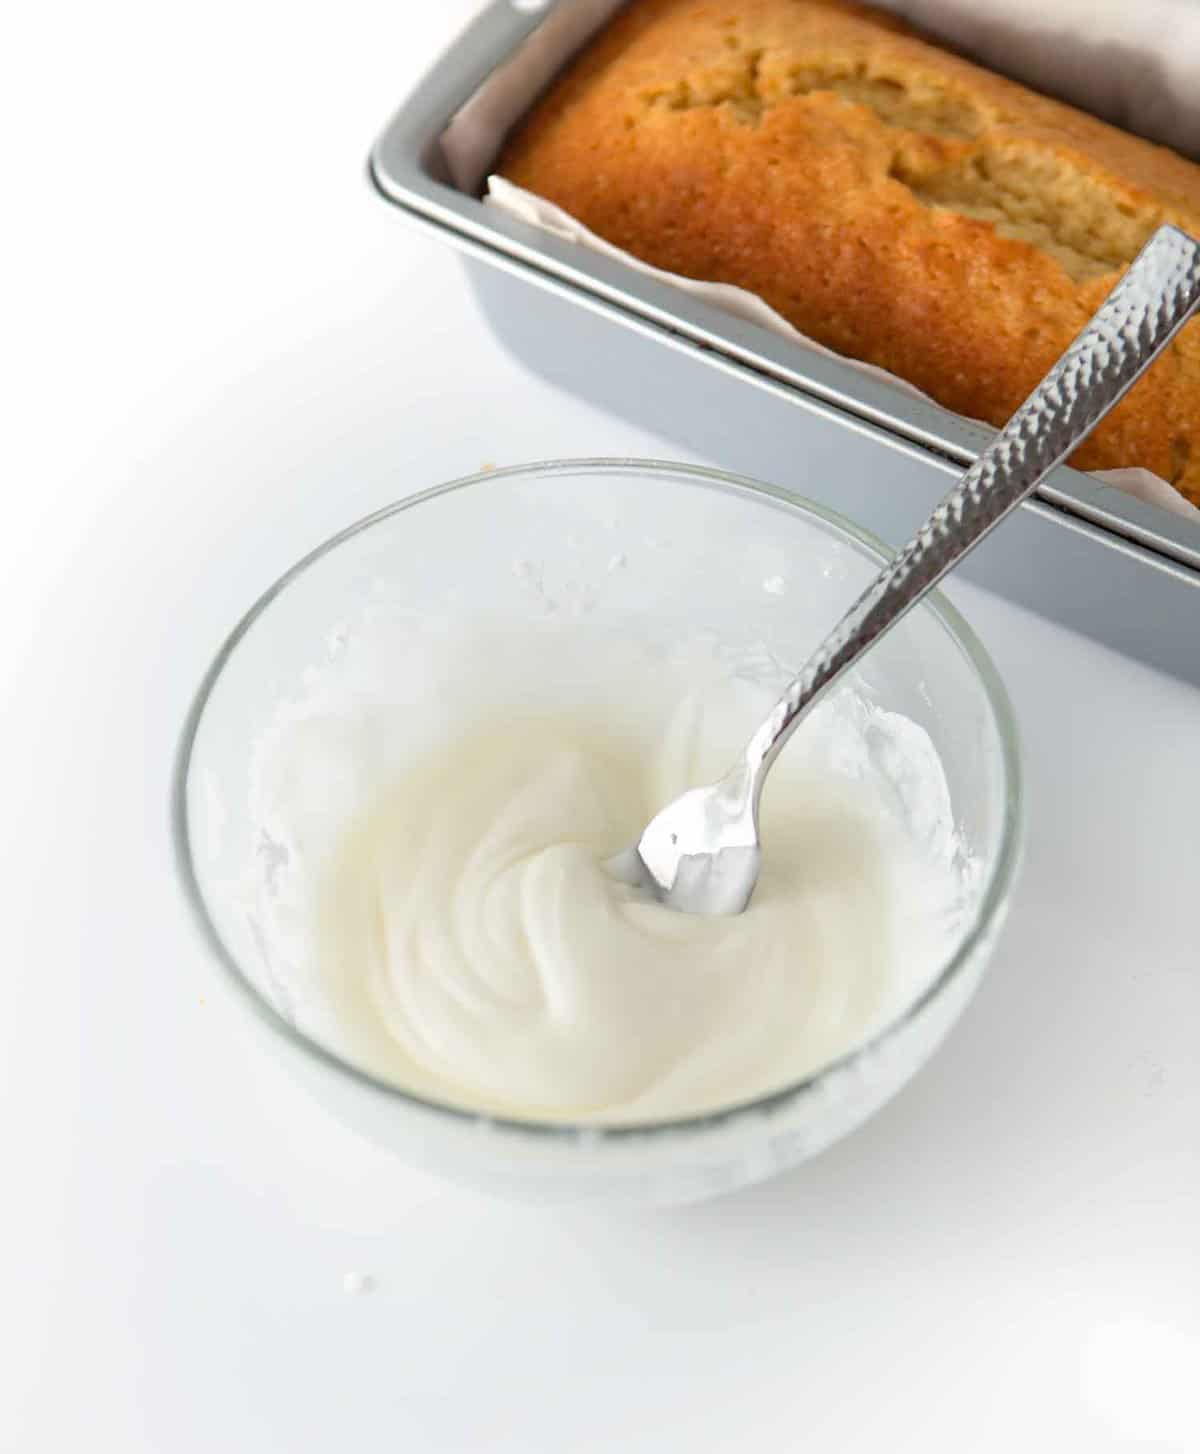
- In a small bowl, mix together 1 tablespoon softened butter, 1 cup powdered sugar, ⅛ teaspoon salt, 1 tablespoon fresh lemon juice, and 1 tablespoon milk. If your glaze is too thick to pour, add a bit more milk.
- Stir until smooth, then pour over the cooled loaf. To prevent it from pooling on the sides, I sometimes like to pour half on at once, allow it to set, then add the second half.
Tip: The butter helps cut the sweetness of the sugar, as well as thicken up the glaze so that it's not see-through when you pour it on.
Step 4: Enjoy!
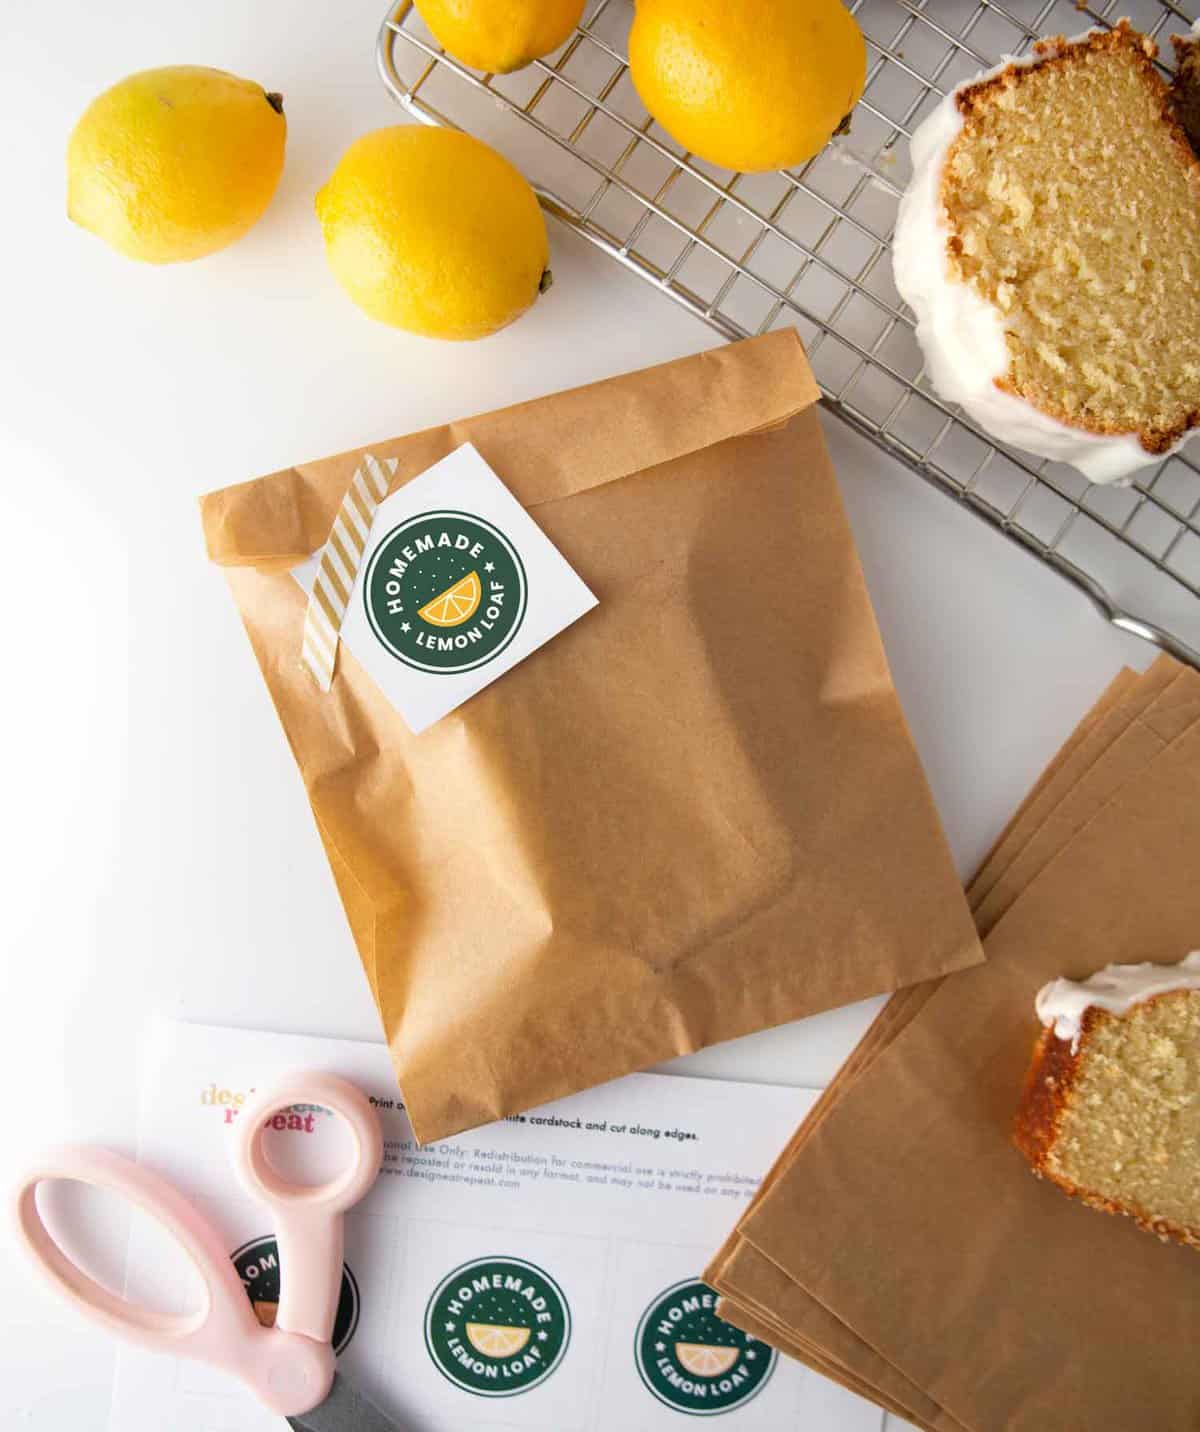
I'm a little packaging nutjob and love gifting homemade treats! After allowing the glaze to fully set, I cut into thick slices, slipped them into these brown paper treat bags, and attached on the cute little gift tag.
Free Printable: You can get these free printable tags by joining the June baking challenge! It's free to join and the printable tags will be emailed to you.
Storage, Freezing, and Gifting
- Storing: I like to store quick breads in a gallon-sized ziploc bag to stay moist. Alternatively, you can keep it in the pan and cover with plastic wrap. I don't recommend covering with foil, as it will dry out quicker.
Freezing: If possible, it's best to freeze this before adding the glaze (as the glaze will "sweat" and become sticky when defrosted). Regardless, wrap bread in plastic wrap and freeze in an airtight container for up to 2 months. Allow to thaw to room temperature before slicing. - Gifting: You can use the same tips in my banana bread packaging post to gift your lemon bread! Includes my free printable gift tags to gift standard or mini loaves!
Frequently Asked Questions:
In my testing, fresh lemon juice and zest just didn't achieve a strong citrusy flavor in the bread. The fresh lemon juice in the batter is also acidic and caused the loaf to not rise as much. So I highly suggest using the lemon extract but if you're okay with a very subtle lemon flavor, you can omit it and replace with 2 tablespoons lemon zest in the batter.
You can, but it won't be as tender of a crumb. I highly suggest cornstarch, as it gives quick breads (just like my moist banana bread) such a tender, moist texture!
Be sure to read my ingredient substitution section above for why I used all these particular ingredients!
You're in luck because I tested this gluten-free and am thrilled to report it worked great! It's a tiny bit more crumbly & didn't rise as much as the regular one... but it's still so soft and delicious - you'd hardly know it was gluten-free!
I used Bob's Red Mill Gluten-Free 1-to-1 All-Purpose flour and made no other adjustments.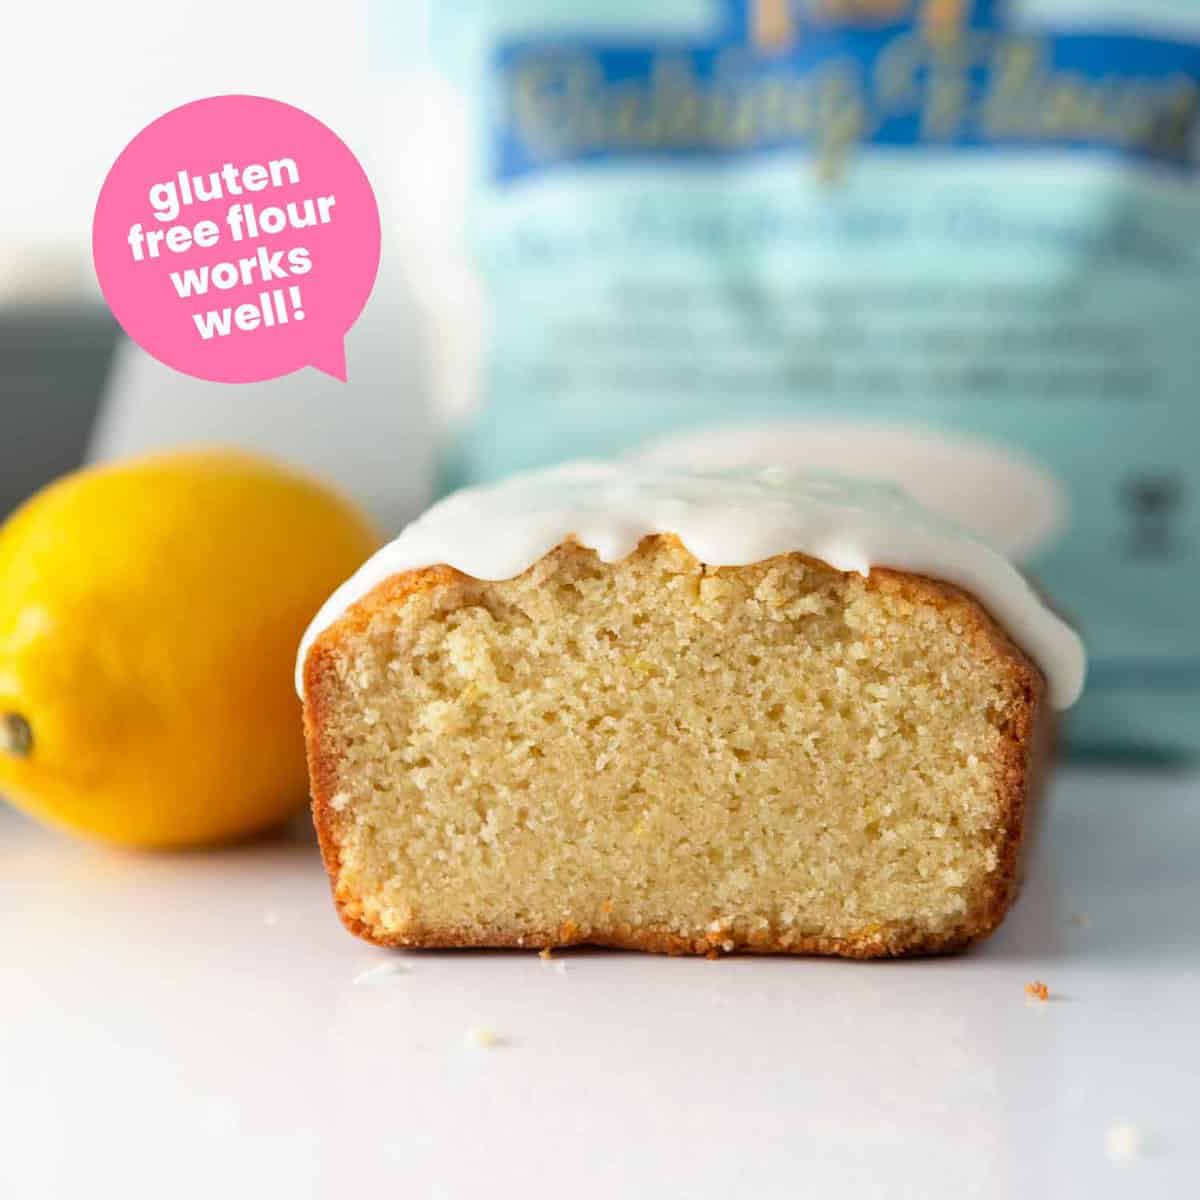
More Copycat Recipes:

Copycat Starbucks Lemon Loaf
Ingredients
⭐️ Before you begin! If you make this, will you do me a huge favor afterwards and leave a review and rating letting me know how you liked this recipe? This helps my small business thrive so I can continue providing free recipes and high-quality content for you.
Instructions
- For best success, be sure to read the tips & tricks in the blog post above! I recommend mixing this by hand with a spatula, not an electric mixer.
- In a medium-sized mixing bowl, mix together softened ½ cup unsalted butter (1 stick), 1 cup granulated sugar, 1 tablespoon lemon extract, to taste, and ½ tablespoon lemon zest (about 1 large lemon) (optional) until smooth and no more butter chunks remain. This will infuse the butter and sugar with the lemon flavor.If your butter isn't incorporating easily, it's too cold. You can pop the bowl in the microwave in 5-second increments until it's easy to stir.
- Add 2 teaspoons vanilla extract, 2 large eggs, 1 teaspoon baking powder, and ½ teaspoon salt, then mix until incorporated.
- Add 1 ¼ cups all-purpose flour and 2 tablespoons cornstarch, then mix until just combined. Lastly, add ¼ cup milk and ¼ cup vegetable oil and stir until combined.
- Grease an 8×4″ light-metal loaf pan and line with parchment paper. Pour batter into pan, then gently tap against the counter to release any air bubbles.
- Read these baking instructions carefully! Bake at 350°F for 60 minutes total, but when there are 15 minutes left, tent a piece of foil on top to prevent the top from overbrowning. This will allow the inside to finish baking without overbaking the top.* Because ovens bake differently, use a toothpick or skewer to check for doneness around 45 minutes. If you're using a dark metal pan, you will want to check for brownness earlier around the 30 minute mark. You will also likely not need to bake for the full 60 minutes.
- Allow the loaf to FULLY cool before adding glaze.
- In a small bowl, mix together softened 1 tablespoon unsalted butter, 1 cup powdered sugar, ⅛ teaspoon salt, 1 tablespoon fresh lemon juice, and 1 tablespoon milk or heavy cream. If your glaze is too thick to pour, add a bit more milk.
- Stir until smooth, then pour over the cooled loaf. To prevent it from pooling on the sides, I sometimes like to pour half on at once, allow it to set, then add the second half.
- After allowing the glaze to fully set, cut into thick slices and enjoy!

My husband is obsessed with the Starbucks loaf and he was so impressed with this recipe! I will definitely be making it many times in the future.
My first baking challenge!
June Baking Challenge
Thanks Samantha for leaving this review and participating in the June Baking Challenge!
So glad that you and your husband enjoyed this recipe.
This cake is nice and moist and light and a little tart but in a good way. It is Sooooooo good!
I made it as part of the June Baking Contest!
Thanks Lily, for taking part in the baking challenge!
Thanks for leaving a review Lily, I am glad that you enjoyed your Lemon Loaf.
Delicious! I used some substitutes to make it dairy free and it still turned out great! Reminds me of the lemon cookies I make but in a fun moist loaf! Thanks for the great recipe, I’m so happy I stumbled upon your tiktok account!
Thank you for leaving this kind review Lauren! I am so glad that you have enjoyed the recipes!
Delicious! Reminds me of the lemons cookies I always make but in a fun moist loaf! Thanks for the recipe!
So glad that you enjoyed the Lemon Loaf! Thank you for leaving a review Lauren.
I made this copycat lemon loaf, It turned our great. I will be making it again
Thank you for leaving a review Courtney, I am so glad that you enjoyed the lemon loaf!
Delicious. I used a little more lemon extract and a whole lemon for the glaze but this was great!
Thank you Britny for taking the time to leave a review. I am so glad that you enjoyed the recipe!
I definitely have too try it before the end of the month #bakingchallenge. Already so eager to try.
You will have to let me know how it turns out when you bake it Amare! Thank you for taking part in the baking challenge.
I made this recipe for the June baking challenge and oh my goodness! It is so delicious I hate half of it in almost two days. I followed the recipe and did 1 tablespoon of extract for the loaf and the next time I would make it I would probably do another half or even another tbsp. I used McCormick for reference! This tastes like a healthier more natural version than Starbucks!
Thank you for leaving this wonderful review Anna, I am so glad that you were able to easily follow the recipe and enjoy!
This recipe was super easy and didn’t take much to prep. This was a big hit at my social event!
I am so glad that the lemon loaf was a hit! Thank you for leaving a review to let me know Suzy.
Delicious! Easy to make! As a kosher baker, I had to make a couple adjustments to make the cake dairy-free but it all worked out and my lemon-loving husband loved it!!
I am glad that you enjoyed the recipe Aviva, thank you for leaving your review!
Absolutely amazing ! The best recipe i have found for a lemon loaf
Thank you Sommer, I am so glad that you enjoyed the Lemon Loaf.
Loved this recipe!!! Super easy to follow and tasted great!
I am so glad that you found the recipe easy and delicious Leita. Thank you for taking the time to leave a review!
Waayyy better than the Starbucks one!!
Ahh yay! So glad you loved it, Hannah!
Thanks so much for taking the time to leave a review!
I made this as part of the summer baking challenge. This recipe was super simple! It had great lemon flavor and the icing was just enough without it being overly sweet. I've never had Starbucks loaf but I will be making this again soon.
Thank you for participating in the challenge and leaving a review Angela.
I am glad that you enjoyed the lemon loaf.
This was so delicious! The recipe was easy to follow and my toddler loved helping. The cake and icing turned out great and it’s such a great lemony loaf for summer! Glad I am apart of the baking challenge.
Thank you for participating in the baking challenge Rachel! I am so glad that you and your toddler enjoyed making the loaf together!
Such a great dessert/snack on hot summer days, so refreshing. And so easy to whip up! I found you on tiktok and love the baking challenge, looking forward to more, and trying other recipes. Awesome stuff!
Thank you for taking part in the Baking Challenge Chelsea!
I am glad that you found the recipe easy and enjoyed the loaf!