
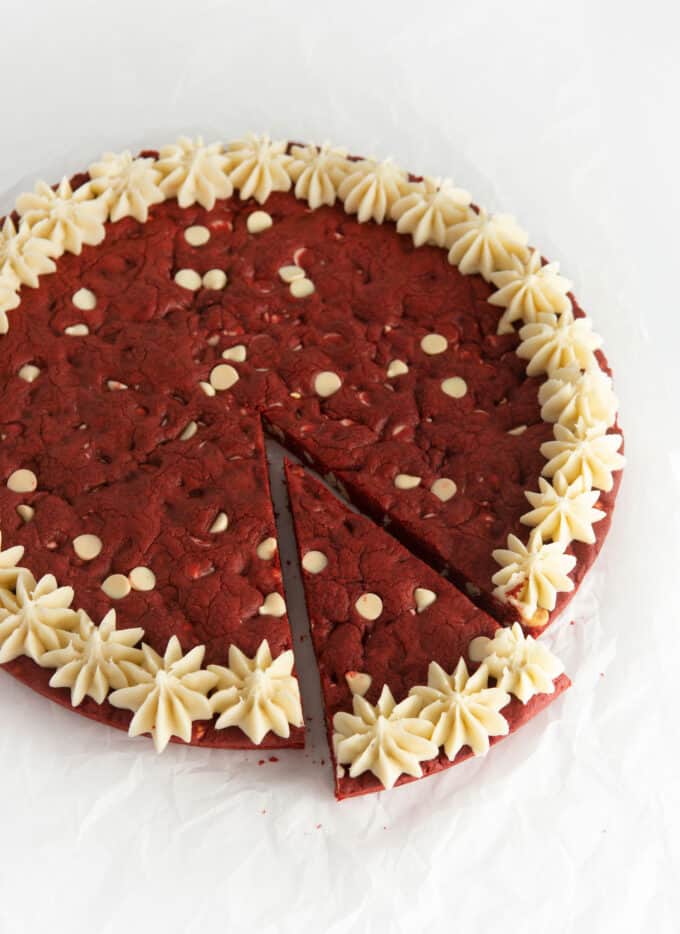
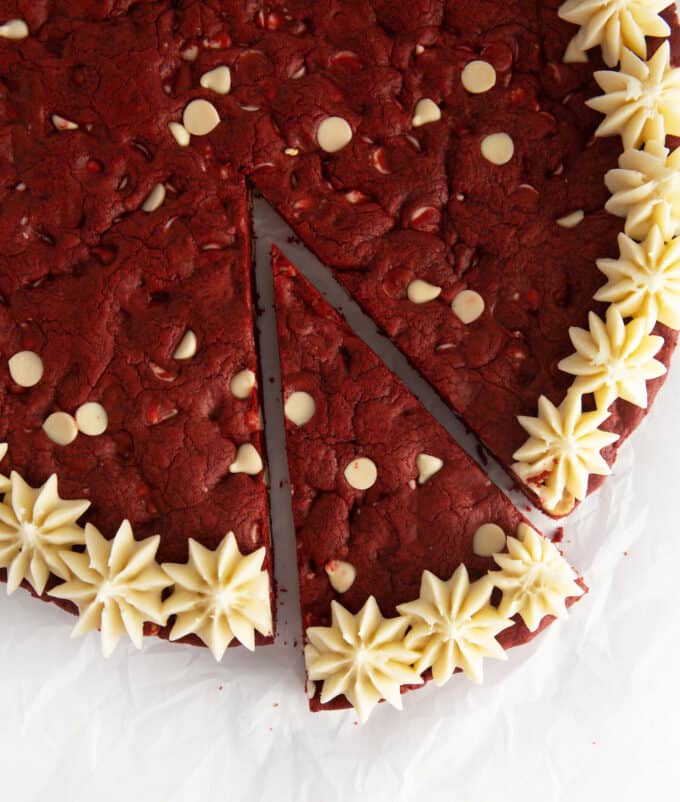
This red velvet cookie cake is soft, chewy, slightly cakey, filled with white chocolate chips, and topped with a decadent cream cheese frosting! It's the perfect birthday treat for red velvet lovers or as a festive Valentine's Day dessert!
Don't have a cookie cake pan? Snag one on Amazon, make a heart shaped pan with foil, or bake in a 9×13 pan (will be a bit thinner).
If you love red velvet cake, this cookie cake is for you! I worked hard to get a soft, chewy texture that had a good subtle chocolate flavor. When testing this recipe, I started with my Homemade Cookie Cake Recipe and added cornstarch (like in my Chewy Funfetti Cookie Cake!) to get the perfectly chewy texture. After many attempts, I finally got it right!
Why you'll love this red velvet cookie cake
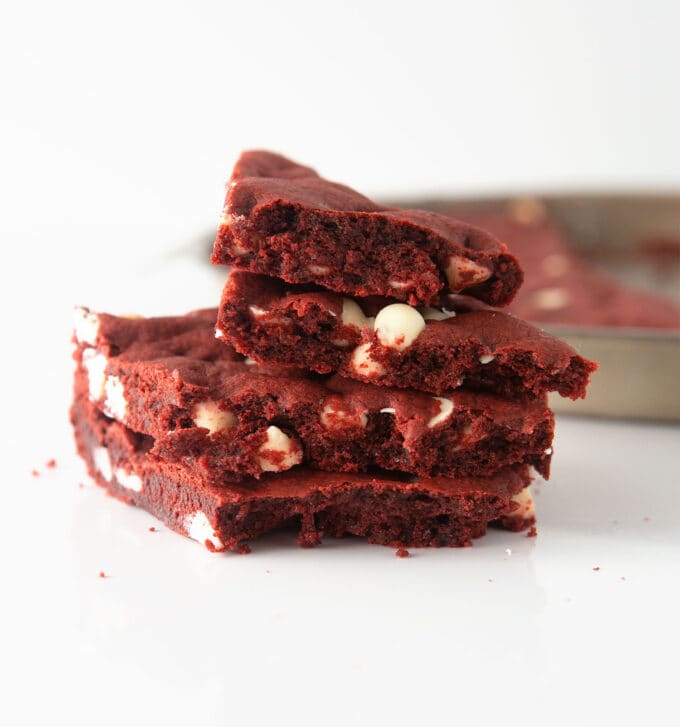
- Chewy: Just like my other cookie cake flavors, the combination of melted butter & not overbaking makes this red velvet cookie chewy with a slight cake-like texture.
- No mixer required! Because we're using melted butter, no mixer is required to make this red velvet cookie cake! If you do use a mixer, be sure to only mix until the ingredients are incorporated; overmixing will result in a more cake-like texture.
- Topped with cream cheese frosting: You can't have red velvet cake without cream cheese frosting!
- Shape into heart! Use the free template in my Valentines Heart Cookie Cake post to shape this into a heart!
Tips for Success
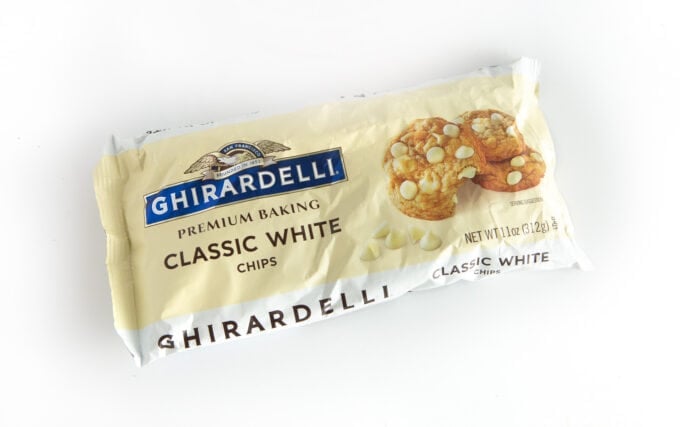
- Use a high quality white chocolate chip: While I use generic chips all the time, white chocolate chips are one that I don't like to cut corners on. The generic ones often taste waxy and artificial, which will affect the overall flavor of your cookie (trust me, I tried it and it was not good). I use Ghiradelli white chocolate chips, which are well worth the extra dollar!
- Don't overbake: The trick to a soft, super chewy texture is to only bake until the center is no longer "wet". The center may look slighty underbaked at 12 minutes but that's okay. Overbaking will result in a drier, less chewy texture.
- Mix by hand: Because this uses melted butter, you don't need a high-powered mixer. The trick to a chewy texture is to just mix the ingredients until incoporated!
- Cool completely: Before slicing, your cookie cake needs to be completely cooled. If your cake isn't slicing cleanly, refrigerate cookie for 30 minutes.
Ingredients for Red Velvet Cookie Cake
- Unsalted butter (you will be melting this)
- Brown Sugar & Granulated Sugar
- Large Egg
- Vanilla Extract
- Salt
- Baking Soda & Baking Powder
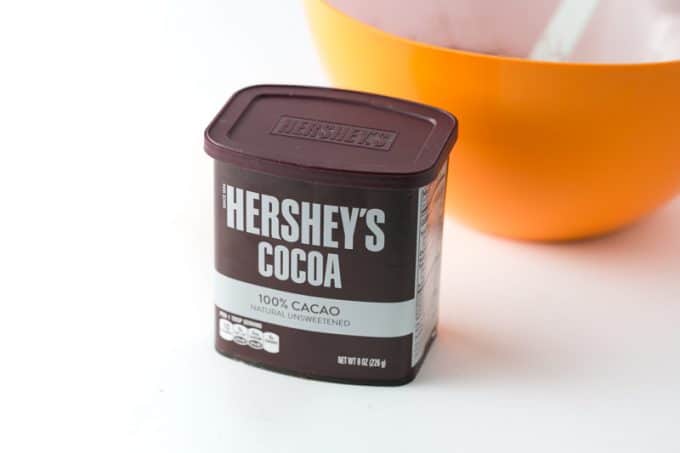
- Cocoa Powder (I use Hershey's Unsweetened)
- Cornstarch
- All-Purpose Flour
- Red Gel Food Coloring (I used Wilton but you can also buy "no taste" red food coloring)
- White Chocolate Chips (for best flavor, use a higher quality chip; I use Ghiradelli)
- 11" Round Cookie Cake Pan or DIY Cookie Cake Pan
How to Make Red Velvet Cookie Cake
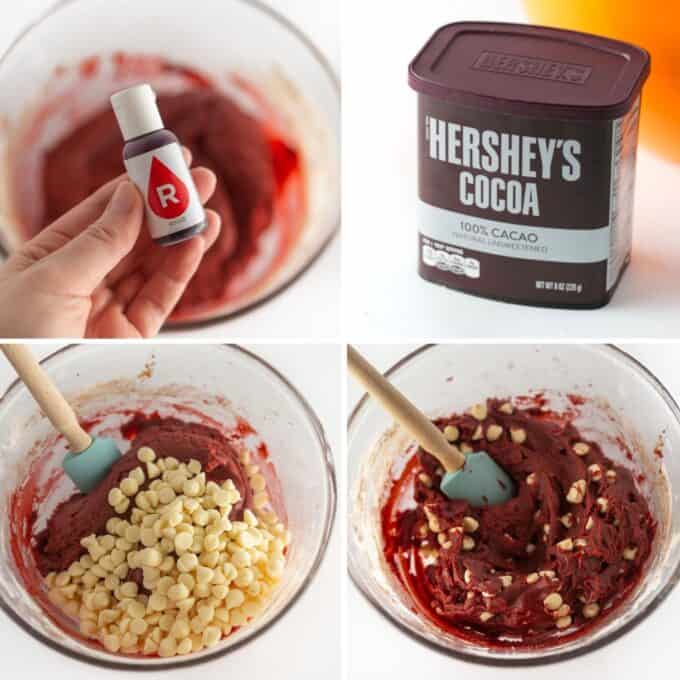
Step 1: Melt Butter & Mix Dough
Warm the butter in a microwave-safe bowl or saucepan until it's just melted. Combine the butter with the brown sugar and granulated sugar in a mixing bowl and use a wooden spoon or spatula to stir them together.
Next, stir in the egg, followed by the baking soda, baking powder and salt. Mix in red food coloring. Lastly, mix in cocoa powder, cornstarch, and flour followed by the white chocolate chips. Mix the dough until well-combined.
Tip: I recommend mixing this by hand (rather than with a mixer) to ensure a chewy texture.
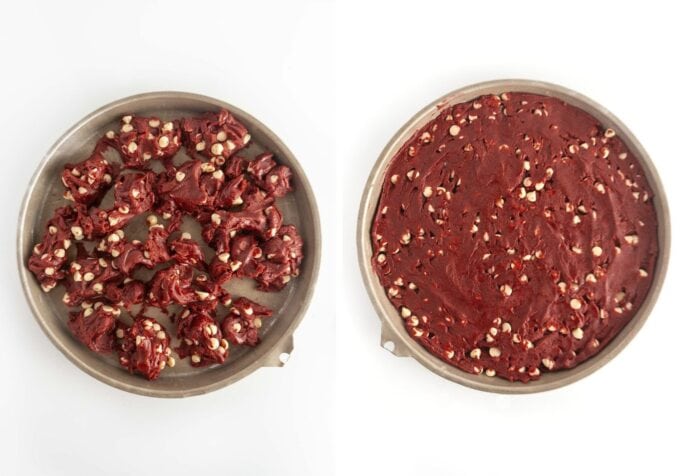
Step 2: Press Into Pan
Grease your cookie cake pan well (make sure you get all the edges!). If you plan to invert the cake onto a tray, I also recommend lining the bottom with parchment paper in order for the cookie cake to invert out of the pan easily.
Spread dough into an even layer in pan. For added presentation, press in 10-15 extra white chocolate chips.
Tip: If you don't have a round cookie cake pan, snag one on Amazon, make a DIY foil cookie cake pan, or bake in a 9×13 pan (will be a bit thinner, so bake a few minutes less). You can even shape this into a heart using my free heart template!
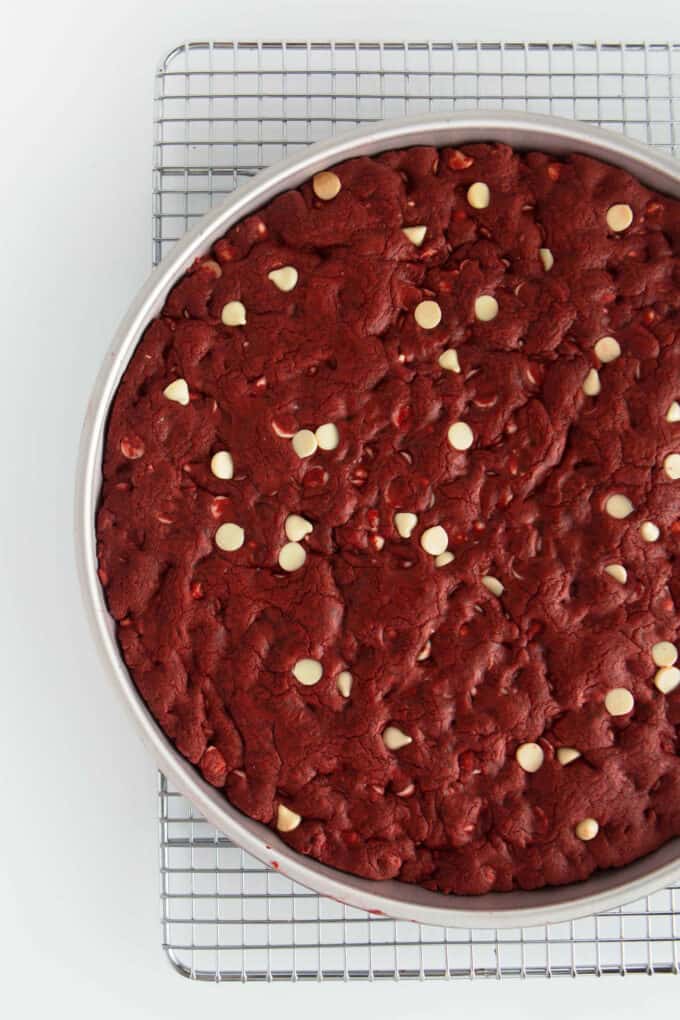
Step 3: Bake & Cool
Place the cookie cake in an oven preheated to 350ºF and bake it for 12-14 minutes, or until the center no longer looks super wet. It might look a little under-baked, but the residual heat from the pan will continue to bake the cookie even after you take it out of the oven.
If you plan to invert & remove your cookie cake from the pan, it needs to be cooled completely before attempting this (see FAQ section below for removal tips). Since this is a softer cookie, I personally prefer keeping it in the pan for serving. While you're waiting for the cake to cool, you can make the cream cheese frosting.
Step 5: Decorate
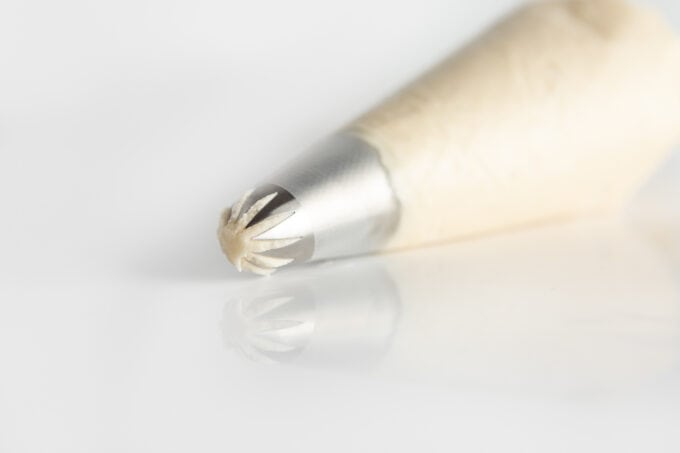
After making the frosting, use a piping bag and large star tip (included in my bundle) to create a simple cream cheese frosting border.
Tip: If baking this for a birthday cookie cake, use my number stencils to pipe on a large birthday number!
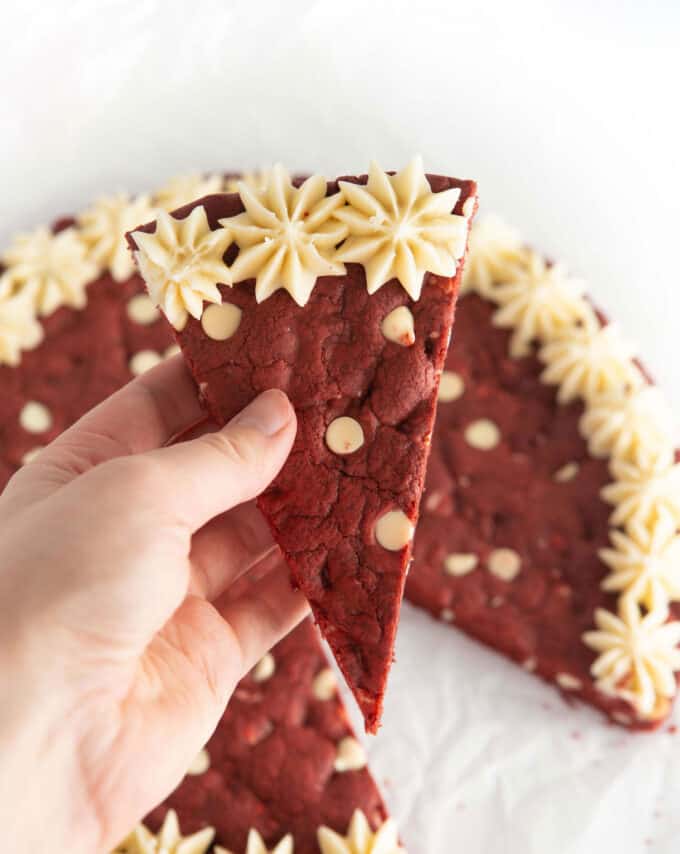
Step 6: Cut and Serve
Use a sharp chef's knife to slice it into wedges or cut it into smaller squares if you're serving a large crowd. If you start cutting and the cookie cake is not holding a sturdy slice, refrigerate it for 30-60 minutes before cutting.
Storing & Freezing
Storing: This red velvet cookie cake is best stored on the counter at room temperature, but once it's frosted, it will need to be refrigerated after a day since the buttercream contains cream cheese. If you want to make a cookie cake in advance, I recommend baking it first, then frosting it the day you plan on serving it. This cookie cake is best eaten within 2 days for the chewiest, softest texture (it tends to dry out quicker than other cookies).
Freezing: If making ahead of time, wrap the unfrosted cookie cake in plastic wrap and place in an airtight container. Freeze up to 1 month. When ready to serve, let thaw completely before frosting.
Frequently Asked Questions:
What if I don't have a cookie cake pan? Can I use a round pizza pan?
If you don't have a 11-inch metal cookie cake pan, use a 9×13-inch metal pan for a rectangular cookie cake; this will result in a thinner cake, so it will finish baking a bit earlier. You can also make a DIY cookie cake pan or make a thicker cookie in a smaller 8" or 9" pan (you'll just need to bake it longer).
This recipe is also great for red vevlet cookie cake bars, if you are just looking for a fun treat!
How do I remove the cookie cake from the pan?
When the red velvet cookie cake is cool to the touch, run a knife along the edges of the pan to help loosen it. Then, place a flat platter or cutting board on top of the pan and quickly flip it over to release the cookie cake. Put your serving platter over the cookie cake and flip it again. Now you're ready to decorate!
If you do plan to invert it, I highly recommend lining the bottom of the pan with parchment.
What brand of white chocolate chips do you use?
While I use generic chips all the time, white chocolate chips are one that I don't like to cut corners on. The generic ones often taste waxy and artificial, which will affect the overall flavor of you cookie (trust me, I tried it and it was not good). I use Ghiradelli white chocolate chips, which are well worth the extra dollar!
You can also experiment with mixing in crushed Oreos for the ultimate cookie cake!

Red Velvet Cookie Cake
Ingredients
⭐️ Before you begin! If you make this, will you do me a huge favor afterwards and leave a review and rating letting me know how you liked this recipe? This helps my small business thrive so I can continue providing free recipes and high-quality content for you.
Instructions
- Preheat oven to 350ºF. While preheating, be sure to read tips & tricks in post above for recipe success.
- Warm the ½ cup unsalted butter i.e. 1 stick[/adjustable] in a microwave-safe bowl or saucepan until it's just melted.
- In a large mixing bowl, combine the melted unsalted butter with the ½ cup light brown sugar and ¼ cup granulated sugar. Stir until combined. (I recommend mixing this by hand rather than a mixer.)
- Stir in the 1 large egg and 1 tablespoon vanilla extract, followed by the ½ teaspoon baking soda, ¼ teaspoon baking powder, and ¾ teaspoon salt. Stir in ½ teaspoon red gel food coloring.
- Mix in 3 tablespoon cocoa powder, 1 tablespoon cornstarch, and 1 ¼ cup all-purpose flour, followed by the 1 cup white chocolate chips. Mix the dough until well-combined.
- Generously grease a 11" cookie cake pan. If you plan to invert the cake onto a tray (rather than serving in the pan), I highly recommend lining the bottom with parchment paper in order for the cookie cake to invert out of the pan easily.
- Spread dough into an even layer in pan. Press in some extra chocolate chips for added presentation. Bake for 12-14 minutes, or until center looks slightly "dry" (my oven is perfect at 12 minutes). Do not overbake; it might look a little under-baked, but the residual heat from the pan will continue to bake the cookie even after you take it out of the oven.
- Cool completely and top with cream cheese frosting. If your cookie cake is not slicing clean, refrigerate for 30 minutes to firm up.
- To decorate, use a piping bag and large star tip to create a simple border.
- Beat the softened ½ cup unsalted butter i.e. 1 stick, 4 ounces cream cheese, 2 teaspoons vanilla extract, and a pinch of salt on medium-high speed for 1-2 minutes until smooth (it's okay if it looks a bit curdled, this will smooth out when you add the powdered sugar).Turn the mixer to low speed then add the powdered sugar ¼ cup at a time (2 ½ cups powdered sugar total). You may need to stop and scrape down the sides. Beat on high for 1-2 minutes until creamy and the frosting is at a good consistency to pipe. If it looks too runny, add more powdered sugar. If it looks too stiff, add a tiny bit of milk until you get to the desired consistency. This will make enough frosting to pipe a generous border along the edges.
Loved this! Doubled the batch and cooked as bars. I did add a tablespoon of vinegar to the double batch for the flavor. The icing turned out wonderful as well!
I am so happy to hear you enjoyed this recipe! Thank you so much for leaving a review, Grace!
Would I need to double this if I wanted to use like a 15 inch sheet cake kind of pan?
Yes, you'll want to double it!
Made this last night using foil ring as my cookie pan and there is nothing left! Everyone said they loved it, especially the cream cheese icing. Soooo yummy!
Thank you so much for leaving a review, Jenn!
Does this one need to be stored in the fridge because of the cream cheese? If it does, will the cookie become hard ?
It should be stored in the fridge once frosted. My suggestion to keep the cookie fresh is to not frost it until prior to serving, or at least the day before.
This was perfect!! The only changes I made were browning the butter and adding 2 tsp of vinegar (personal red velvet flavor staple). Fantastic present for my brother's graduation. Thank you!!!
So happy to hear you enjoyed this recipe! Thank you so much for leaving a review, Nola!
With the cream cheese frosting, how long is the cookie cake good for on the counter?
Check out the "storage" section above in the post for my recommendations for storage & freezing!
My son asked for a red velvet cookie cake for his birthday. This recipe was one of the first to pop up. Turned out amazingly delicious! It was a hit with a bunch of 13 year olds and adults! Definitely will make again!
So glad to hear everyone loved the recipe! Thank you so much for leaving a review, Audrey!